ORACLE WEBTIER INSTALLATION
The Oracle Webtier Installation consists of following topics:
Oracle Webtier is the Web server component for Oracle Fusion Middleware. The Oracle Web Tier installation gives you the option of installing Oracle HTTP Server and Oracle Web Cache. OPMN is installed, by default, and you do not have the option of deselecting this product.
Together, these products are responsible for managing incoming HTTP requests, caching web messages, and sending XML and HTML back to the client. Also, it provides a listener for Oracle WebLogic Server and the framework for hosting static pages, dynamic pages, and applications over the Web. Oracle Web Tier contains the following components:
- Oracle HTTP Server: Oracle HTTP Server 11g includes modules developed specifically by Oracle. The features of single sign-on, clustered deployment, and high availability enhance the operation of the Oracle HTTP Server.
- Oracle Web Cache: Oracle Web Cache is a content-aware server accelerator, or reverse proxy, for the Web tier that improves the performance, scalability, and availability of Web sites that run on Oracle HTTP Server. Oracle Web Cache is the primary caching mechanism provided with Oracle Fusion Middleware. Caching improves the performance, scalability, and availability of websites that run on Oracle WebLogic Server by storing frequently accessed URLs in memory.
- Oracle Process Manager and Notification Server (OPMN): OPMN provides a command-line interface for you to monitor and manage Oracle Fusion Middleware components and sub-components. The OPMN server should be started as soon as possible, after turning on the computer. OPMN must be running whenever OPMN-managed components are turned on or off.
There are different Methods to install Webtier. An Oracle Web Tier solution can be built in one of the following ways:
- In stand-alone mode: Oracle Web Tier is configured without a domain, and administered from the command line. See Section 1.3.1 for an overview of the installation procedure.
- Using Oracle Enterprise Manager Fusion Middleware Control: In order to use the Oracle Enterprise Manager Fusion Middleware Control, WebLogic Server domain needs to be configured using both the Enterprise Manager and the Java Required Files (JRF) domain templates.
Here, we install Oracle Web Tier in stand-alone mode and following are the sections lists the steps for it:
- Section 4.1, "Installing and Configuring Oracle HTTP Server (Webtier)”
- Section 4.2, “Verifying the Installation”
Installing and Configuring Oracle HTTP Server (Webtier)
Obtain Oracle Web Tier from the Oracle Fusion Middleware Downloads. Download webtier.zip file to a directory, and unpack the downloaded archive that contains the installer. By default, this directory is named webtier.
To start the installer, go to the directory where you unpacked the archive file and switch to the Disk1 directory. Now, start the installer using the below command:
./runInstaller –jreLoc Java_Home/jdk
Note: You must enter the absolute path of the JRE folder located in this JDK when launching the installer.
Now, follow the instructions as shown below to install Webtier,
Specify Inventory Directory Screen
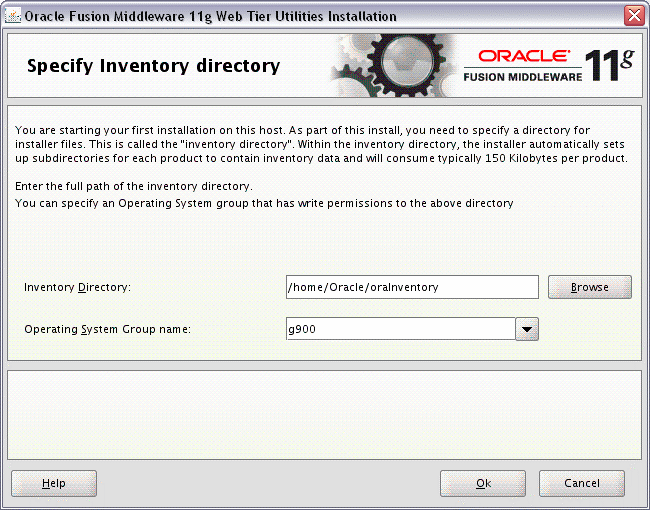
This screen appears for UNIX systems only; if this is your first Oracle installation on this host, you must specify the location of the inventory directory. This inventory directory is used by the installer to keep track of all Oracle products installed on the computer. The default inventory location is USER_HOME/oraInventory.
In the Operating System Group name field, select the group whose members you want to grant access to the inventory directory; all members of this group will be able to install products on this system. Click Ok to continue.
Inventory Location Confirmation Screen
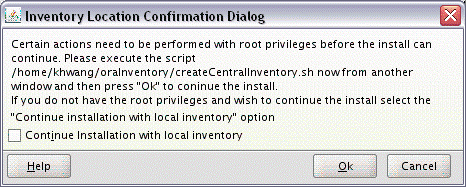
This screen appears for UNIX systems only; you are asked to run the inventory_directory/createCentralInventory.sh script as root.
If you do not have root access on this system but want to continue with the installation, select Continue installation with local inventory.
Click Ok to continue.
Welcome Screen
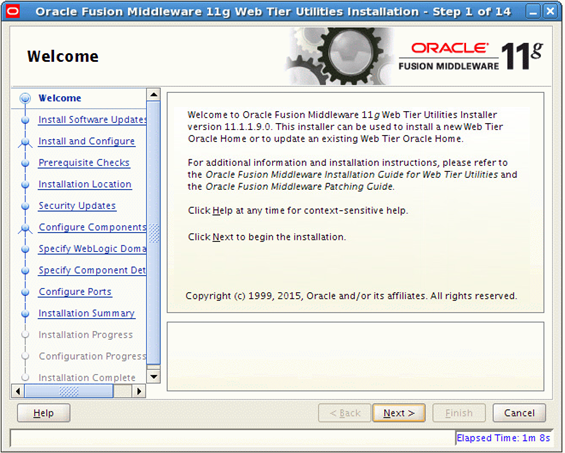
The Welcome screen is displayed each time you start the installer.
Click Next to continue.
Install Software Updates Screen
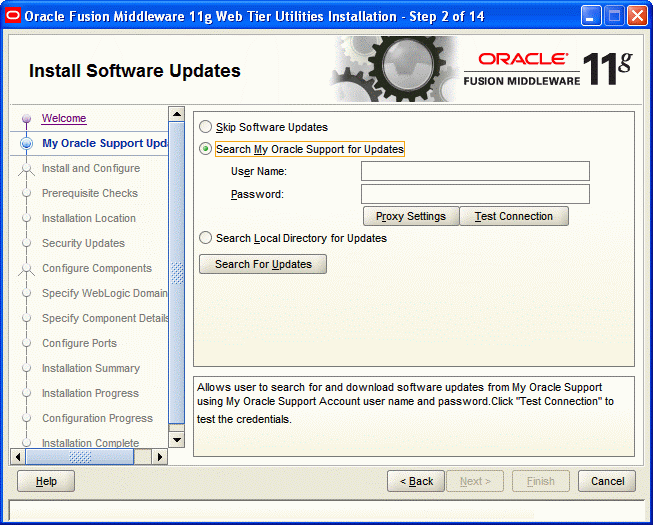
Select “Skip Software Updates” and Click Next to continue. (Kindly follow recommended practices regarding updates depending on the setup requirements or usage.)
Select Installation Type Screen
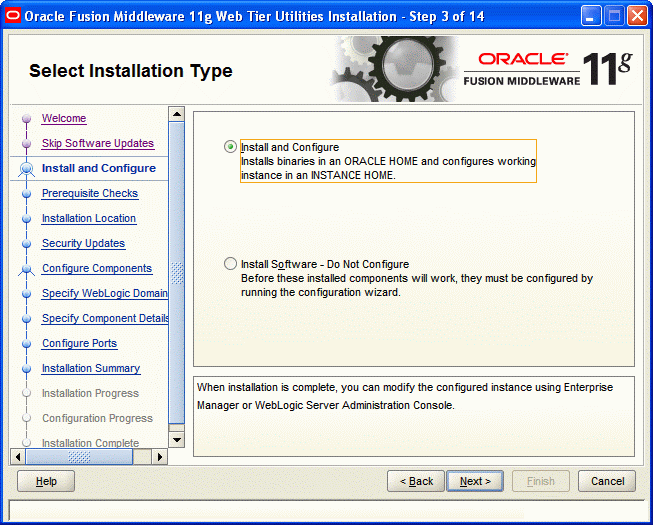
The following are the Installation Types available.
- Install and Configure: This option will install the product binaries in an Oracle Home directory, and create and configure a working instance in an Oracle Instance directory.
If you choose to install Oracle Web Tier, and associate it with the Fusion Middleware (EM) Control, then you should be able to begin configuring and managing your products using Enterprise Manager.
- Install Software - Do Not Configure: This option only installs the software binaries in an Oracle Home directory. You must then manually run the Configuration Tool from your Web_Tier_ORACLE_HOME/bin directory on UNIX, and Web_Tier_ORACLE_HOME\bin directory on Windows, to configure your products before you can use them. This option can be used to quickly create multiple instances of the software that share a common disk.
- Select Install and Configure.
Click Next to continue.
Prerequisite Checks Screen
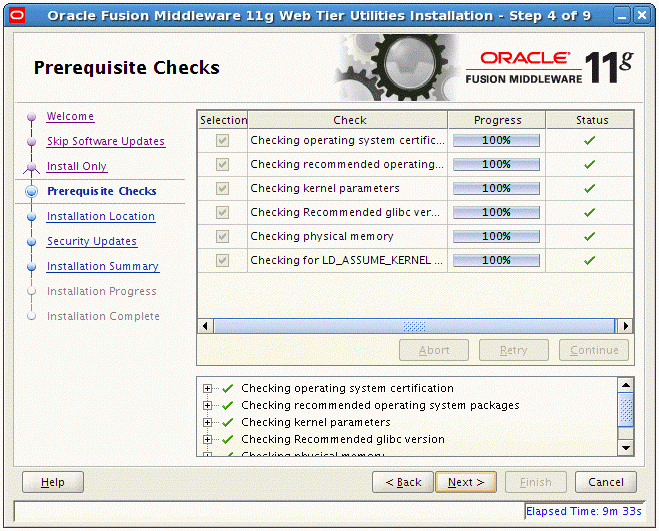
This screen shows whether the system requirements are met in order to install the software.
If there is a problem, a short error message appears in the bottom portion of the screen. Fix the error, and click Retry to try again.
If you want to ignore the error or warning messages and continue with the installation, click Continue.
To stop prerequisite checking for all components, click Abort.
Click Next to continue.
Specify Installation Location Screen
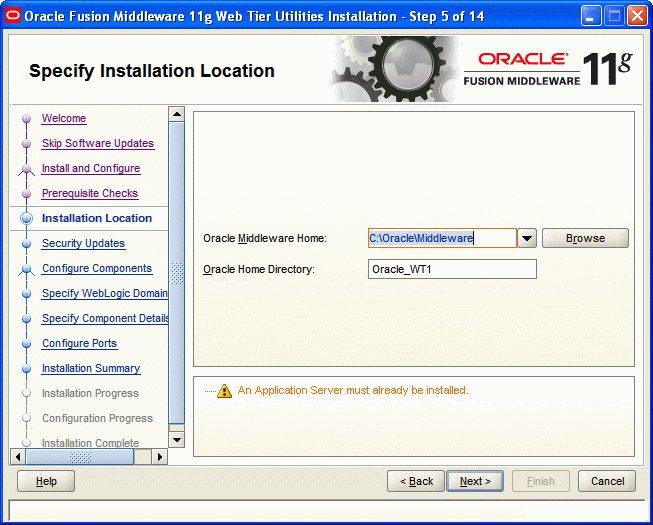
Specify the following installation locations:
- Oracle Middleware Home: The absolute path to the directory where WebTier will be installed.
- Oracle Home Directory: The directory name for your Oracle home:
- You can specify a pre-existing directory that you want to use as the Oracle home; the directory must be an empty directory.
- You can specify the name of a new directory that will be created for you inside the Middleware home.
Oracle Home directory is where your products will be installed. All software binaries will reside in this directory, and no runtime process can write to this directory.
Note: The Oracle Middleware Home path should be different from the Weblogic Server installation path, in case where Webtier installation would be done on the same server where Weblogic is installed. This installation directory will be referred to as Web_Tier_ORACLE_HOME throughout the remainder of this document. If you are performing an installation on a Windows operating system, be sure that your directory paths are valid, and do not contain double backslashes (\\).
Click Next to continue.
Specify Security Updates Screen
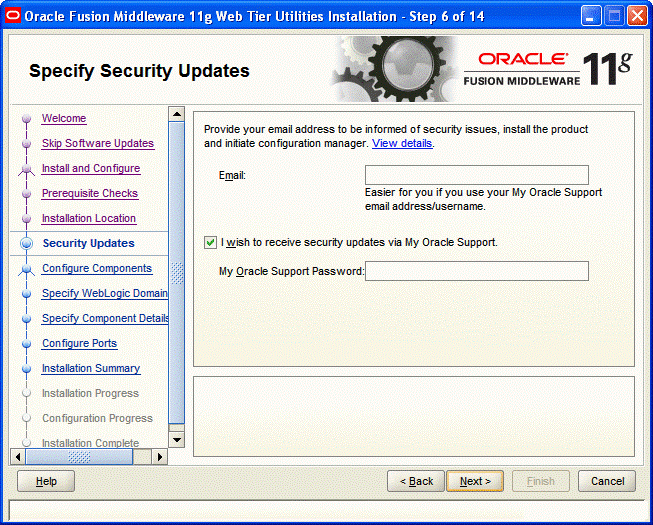
Enter your E-mail address if you want to receive the latest product information and security updates. If you have a My Oracle account and want to receive updates via this mechanism, select I wish to receive security updates via My Oracle Support, then enter your account password.
If you do not want to register for security updates, leave all the fields on this screen blank. You will be prompted to confirm your selection with the following screen:
Click Yes to confirm that you do not want to register for any security updates. (Kindly follow recommended practices regarding updates depending on the setup requirements or usage.)
Configure Components Screen
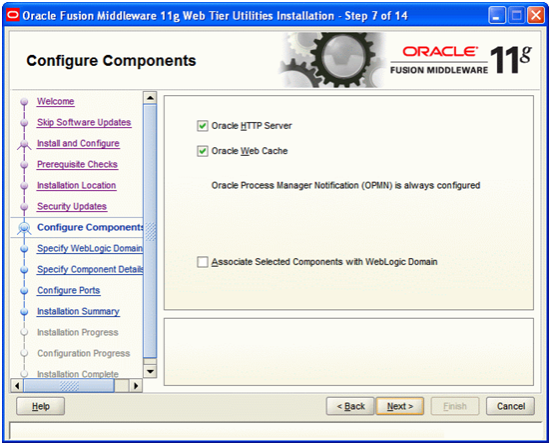
This screen shows the products and components that are available for installation and configuration. Select the component(s) you want to configure. Oracle Process Manager Notification (OPMN) is configured by default.
Uncheck Associate Selected Components with WebLogic Domain.
Click Next to continue.
Specify Component Details Screen
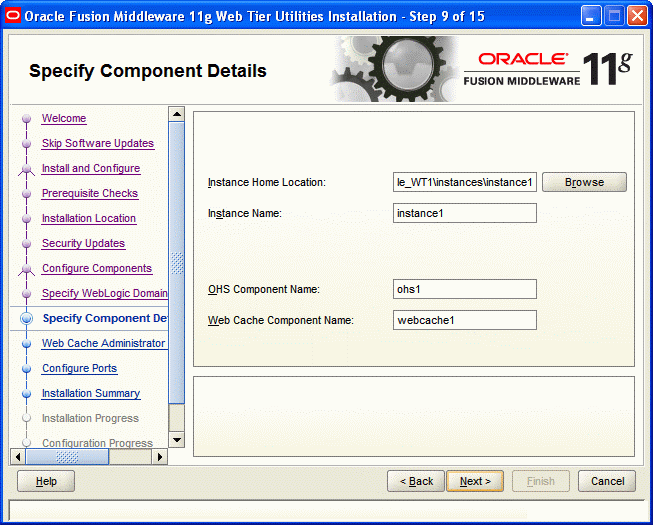
Specify the following component details:
- Instance Home Location: The absolute path to the directory where your Oracle Instance will reside. This is where application configuration files reside, and where the application process runs from. Runtime components write only to this location.
- Instance Name: Specify the unique name of your Oracle Instance. The Oracle Instance name may only contain alphanumeric and underscore (_) characters, it must begin with an alphabetic (a-z or A-Z) character, and must be 4 to 30 characters in length.
- OHS Component Name: Specify the name for your Oracle HTTP Server (OHS) component. This name may only contain alphanumeric and underscore (_) characters, and must be 4 to 30 characters in length.
- Web Cache Component Name: Specify the unique name of your Web Cache component. This name may only contain alphanumeric and underscore (_) characters, it must begin with an alphabetic (a-z or A-Z) character, and must be 4 to 30 characters in length.
Click Next to continue.
Web Cache Administrator![]() Administrator is a set of individuals that administer the applicant/Affiliate entity. For example, Accountants, Authorized Signatories for organizations, Power of Attorney for individuals. Password Screen
Administrator is a set of individuals that administer the applicant/Affiliate entity. For example, Accountants, Authorized Signatories for organizations, Power of Attorney for individuals. Password Screen
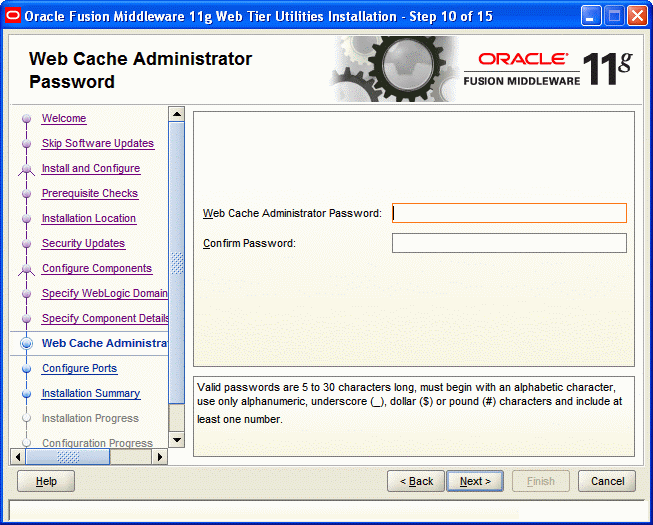
Specify a new password for your Web Cache administrator. Valid passwords are 5 to 30 characters long, must begin with an alphabetic character, use only alphanumeric, underscore (_), dollar ($) or pound (#) characters and include at least one number.
Click Next to continue.
Configure Ports Screen
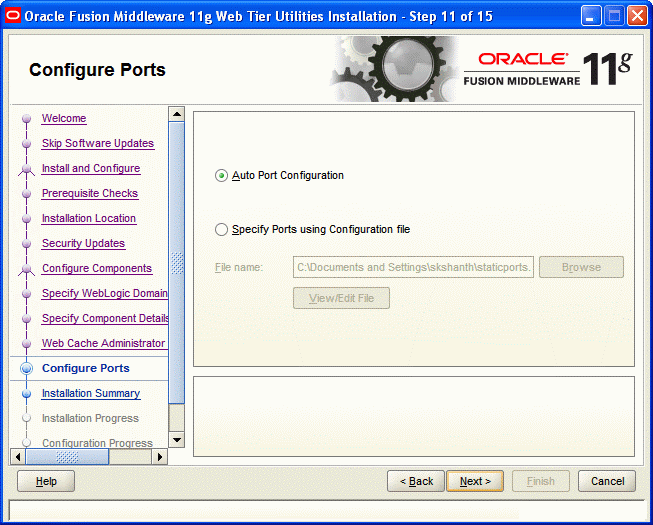
Select Auto Port Configuration if you want the installer to automatically assign the default ports to the components.
Click Next to continue.
Installation Summary Screen
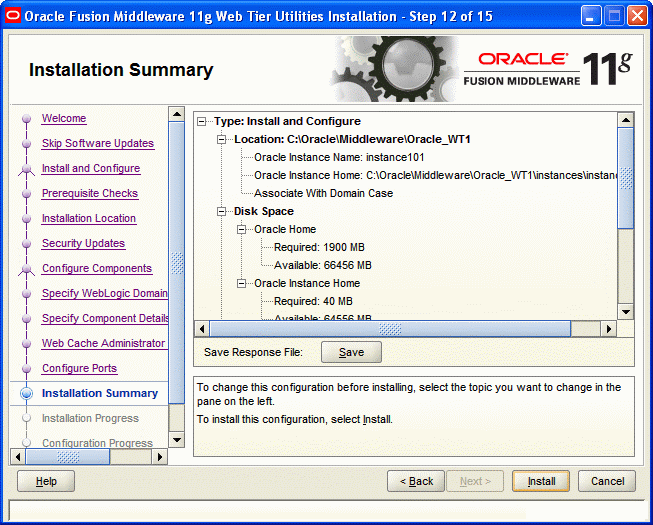
Review the information on this screen. The operations summarized on this page will be performed when you click Install.
If you want to make any changes to the configuration before starting the installation, use the navigation pane, and select the topic you want to edit.
If you want to save this configuration to a text file (called a response file), click Save. You will be prompted for the location of name of the file you want to create (for example, silent_install.rsp). This file can be used later if you choose to perform the same installation from the command line.
Click Install.
Installation Progress Screen
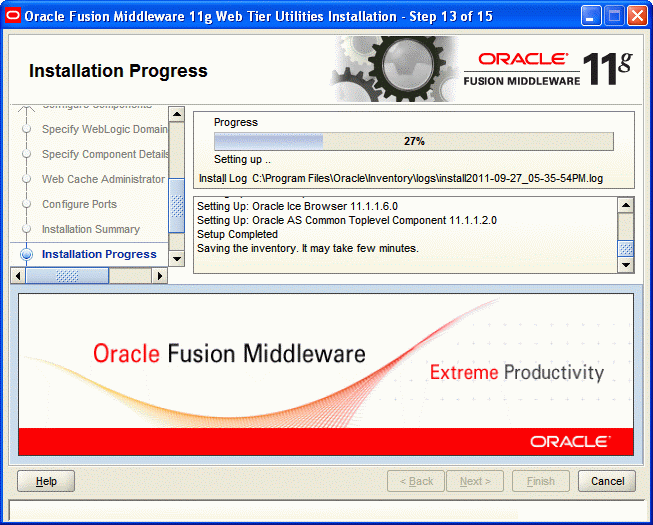
This screen shows the progress of the installation.
If you want to quit before the installation is completed, click Cancel. Doing so will result in a partial installation; the portion of the software that was installed on your system before you click Cancel will remain on your system, and you will have to remove it manually.
Configuration Progress Screen
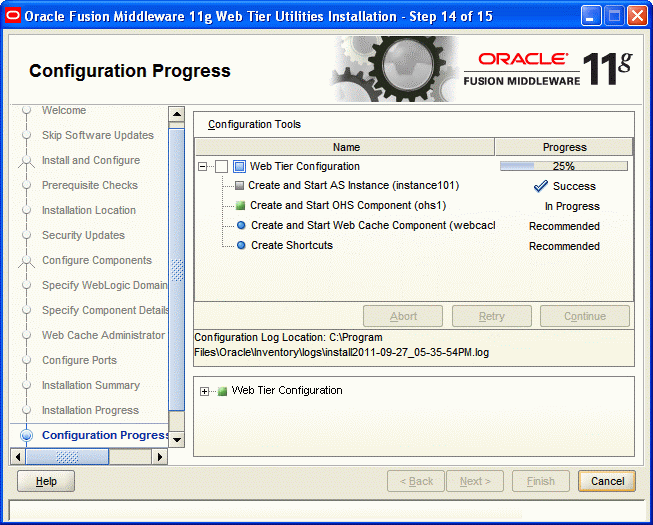
This screen shows you the progress of the component configuration.
If there is a problem, a short error message appears in the bottom portion of the screen. Fix the error and click Retry to try again.
If you want to ignore the error or warning and continue with the configuration, click Continue.
Click Abort to stop prerequisite checking for all components.
If you want to quit before the configuration is completed, click Cancel.
Click Next to continue.
Installation Complete Screen
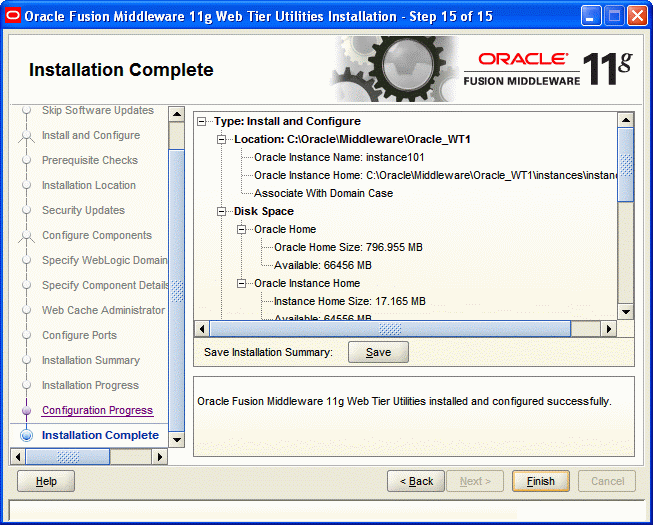
This screen summarizes the installation that was just completed.
At the end of the summary information, there is a section called Accessible URLs which give you the links needed to access the configured Oracle HTTP Server and Oracle Web Cache. You should make a note of these URLs so you can access these pages when you need to.
You can also save this summary information to a file for future reference by clicking Save. You will be prompted to specify a name and location for your summary file.
Click Finish to dismiss the screen.
Verifying the Installation
You can perform any combination of the following tasks to verify that your installation was successful:
- Verifying the Installation Logs: Check for the presence of installation log files in logs directory inside your Oracle Inventory directory. On UNIX systems, if you do not know the location of your Oracle Inventory directory, you can find it in the WebTier_ORACLE_HOME/oraInst.loc file.
- Verifying the Domain Server Logs: Check the domain server logs, which are located in the servers directory inside the domain home directory. For example:
Web_Tier_ORACLE_HOME/user_projects/domains/domain_name/servers/server_name
- Verifying the OPMN Status: Run the opmnctl status command from the INSTANCE_HOME/bin directory on UNIX, in your instance home location. For example: ./opmnctl status
Processes in Instance: instance2
|
ias-component |
process-type |
pid |
status |
|---|---|---|---|
|
webcache1 |
WebCache-admin |
24057 |
Alive |
|
webcache1 |
WebCache |
24056 |
Alive |
|
ohs1 |
OHS |
23890 |
Alive |
This information shows the components configured for this installation. The status Alive means that the component is up and running.
Checking the Browser URLs
Run the opmnctl status -l command from the INSTANCE_HOME/bin directory on UNIX, and INSTANCE_HOME\bin directory on Windows, in your instance home location to obtain a list of ports used by the components. For example: ./opmnctl status -l
|
ias-component |
process-type |
pid |
status |
uid |
memused |
uptime |
ports |
|---|---|---|---|---|---|---|---|
|
webcache1 |
WebCache-admin |
24057 |
Alive |
1067146469 |
43712 |
14:43:29 |
http_admin:7799 |
|
webcache1 |
WebCache |
24056 |
Alive |
1067146468 |
64072 |
14:43:29 |
http_stat:7800,http_invalidation:7801,https_listen:7802,http_listen:7798 |
|
ohs1 |
OHS |
23890 |
Alive |
1067146467 |
50260 |
14:43:39 |
https:9999,https:4447,http:7777 |
Use the port numbers in this display to point your browser to the appropriate pages. Use the format: http://system_name:port_number