OBDX AUTHENTICATOR APPLICATION
This document includes following topics:
- Building Authenticator UI
- Building UI manually
- Authenticator Application Workspace Setup
- Building Authenticator Application
1. Building Authenticator UI (Follow any one step below)
1.1 Using built UI
For Non-OAM - Unzip dist.tar.gz directory from OBDX_Patch_Mobile\authenticator\non-oam For OAM - Unzip dist.tar.gz directory from OBDX_Patch_Mobile\authenticator\oam
1.2 Building UI manually
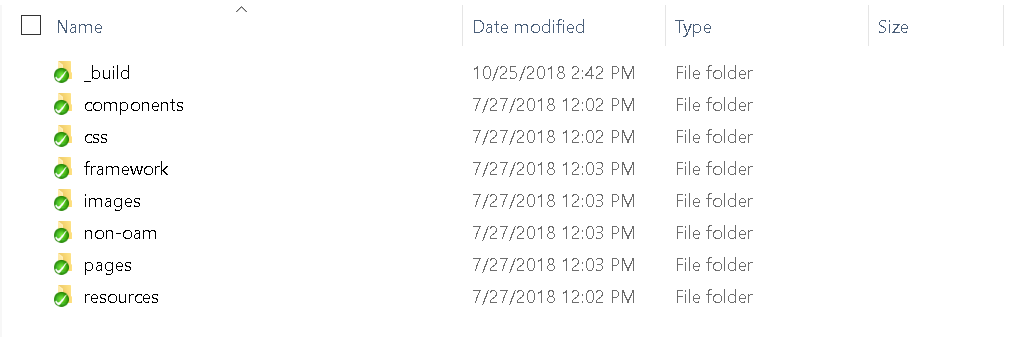
- Extract authenticator_ui.tar.gz from OBDX_Patch_Mobile\authenticator\unbuilt_ui. The folder structure is as shown:
- Build UI based on selected Authentication mechanism.
- OAM based Authentication
- Open command prompt at “_build” level.
- Run following command :
npm install -g grunt-cli
npm install
node render-requirejs/render-requirejs.js
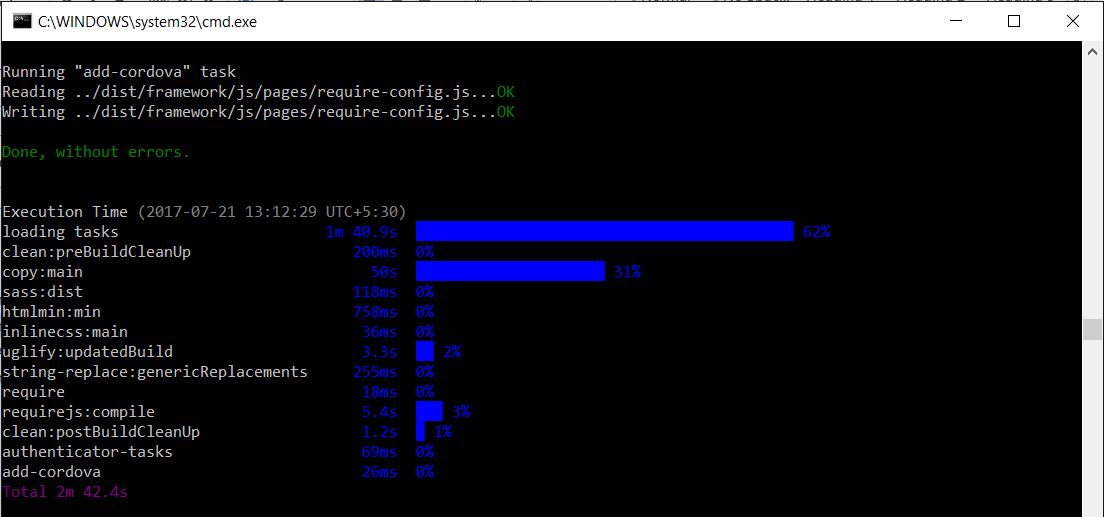
grunt authenticator --verbose
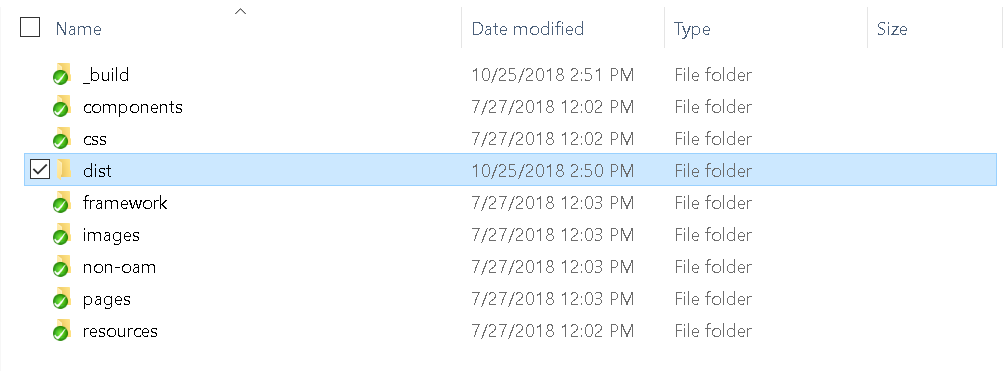
- After running above commands and getting result as “Done, without errors.” a new folder will be created in “ui” with name as “dist”.
- NON-OAM Based Authentication
- Copy “non-oam /login” folder and paste it at location “components/modules” location. This will replace existing “login” folder.
- Open command prompt at “_build” level.
- Run following command :
npm install -g grunt-cli
npm install
node render-requirejs/render-requirejs.js
grunt authenticator --verbose
- After running above commands and getting result as “Done, without errors.” a new folder will be created in “ui” folder with name as “dist”.
2. Authenticator Application Workspace Setup
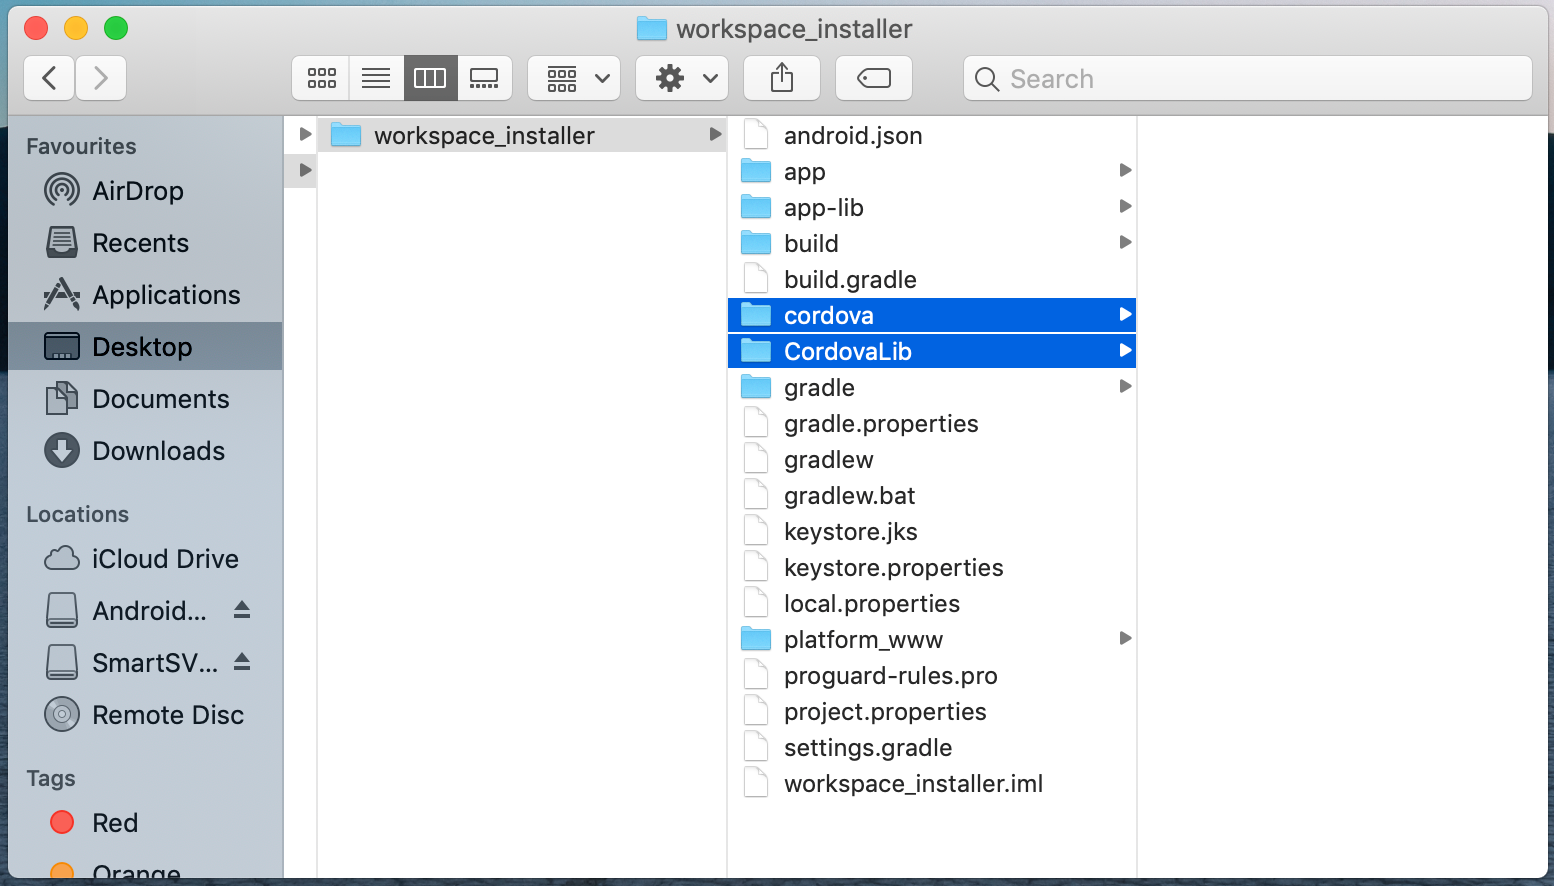
- Navigate to workspace/installer and copy cordova and CordovaLib as in Section 1.2 Create project Step 5
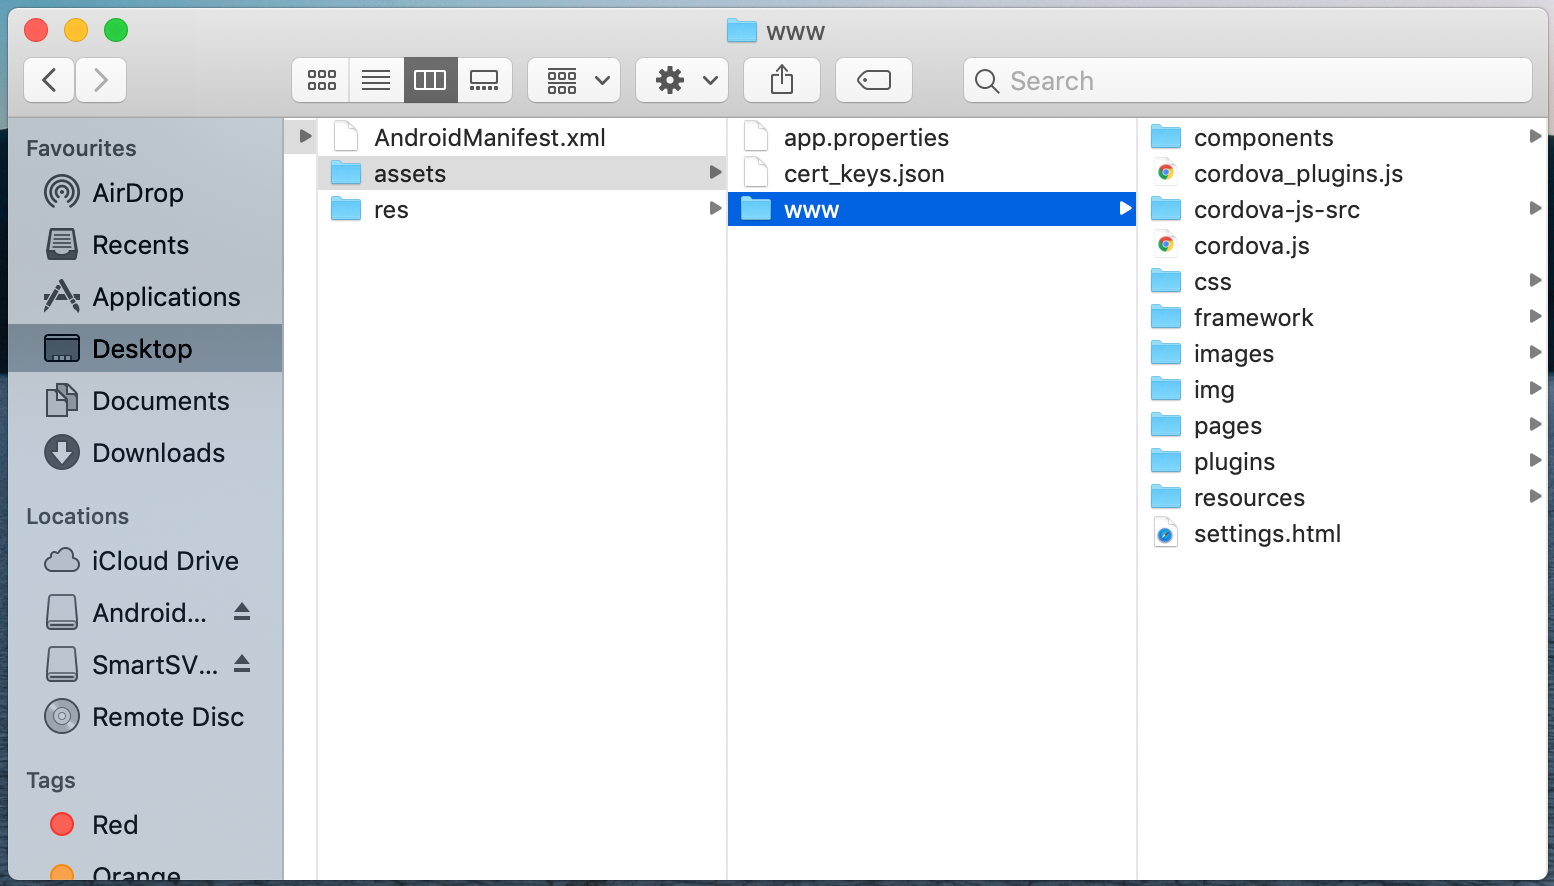
- Copy UI (Directories – components, css, framework, images, pages, resources)from /dist directory to workspace/installer/app/src/main/assets/www/
-
In case any popup appears, click replace
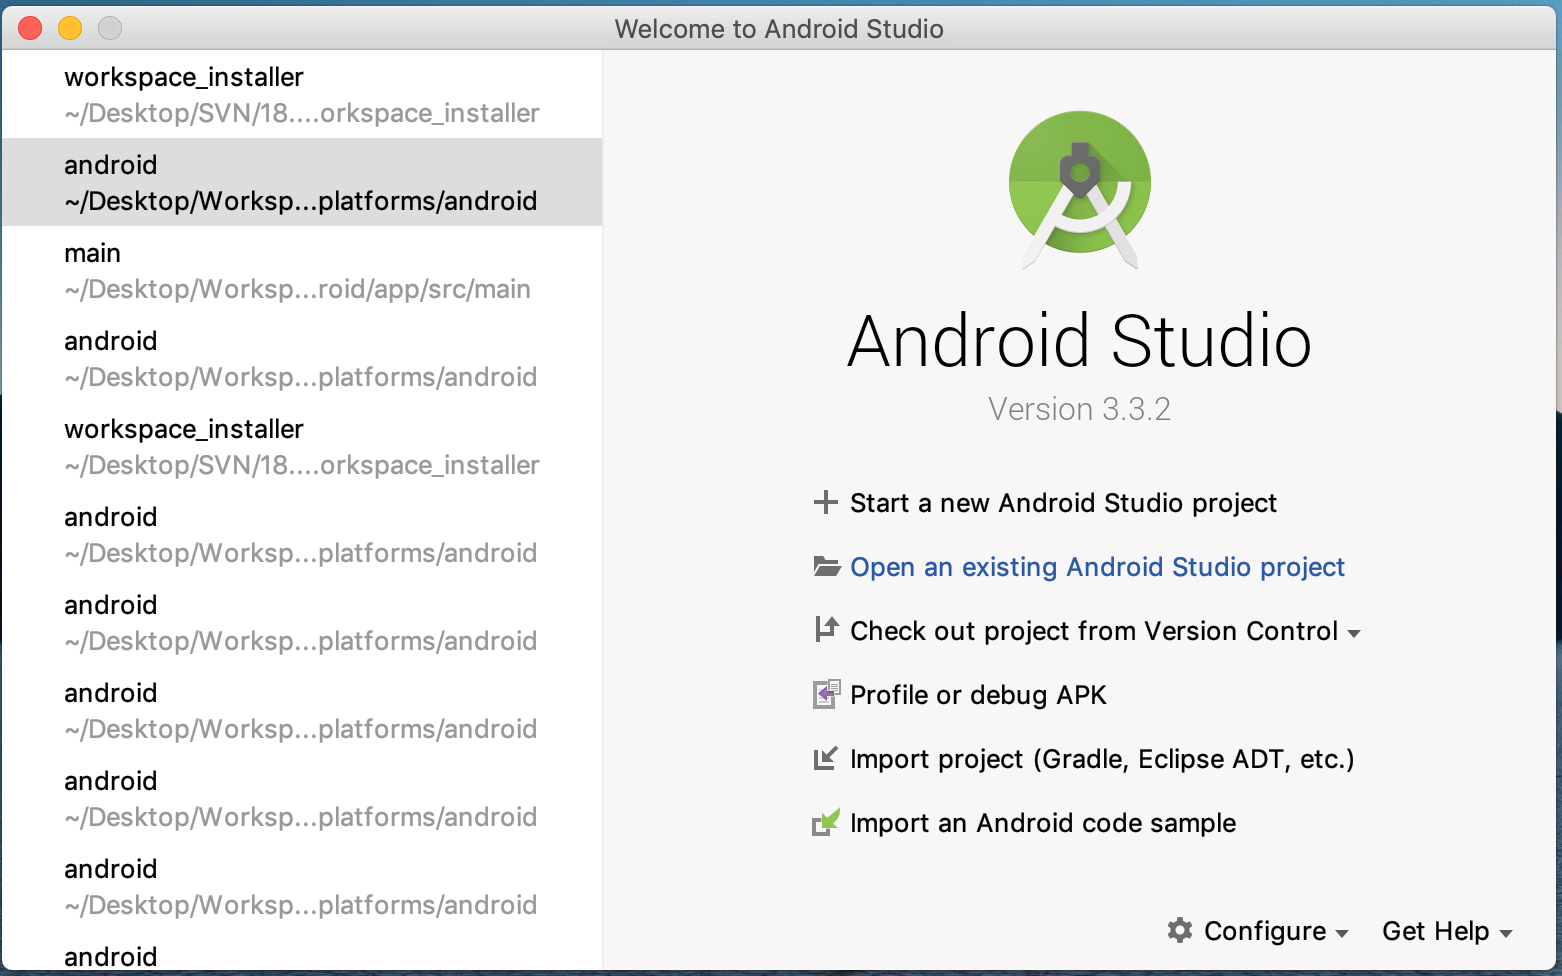
- Launch Android Studio and open existing project
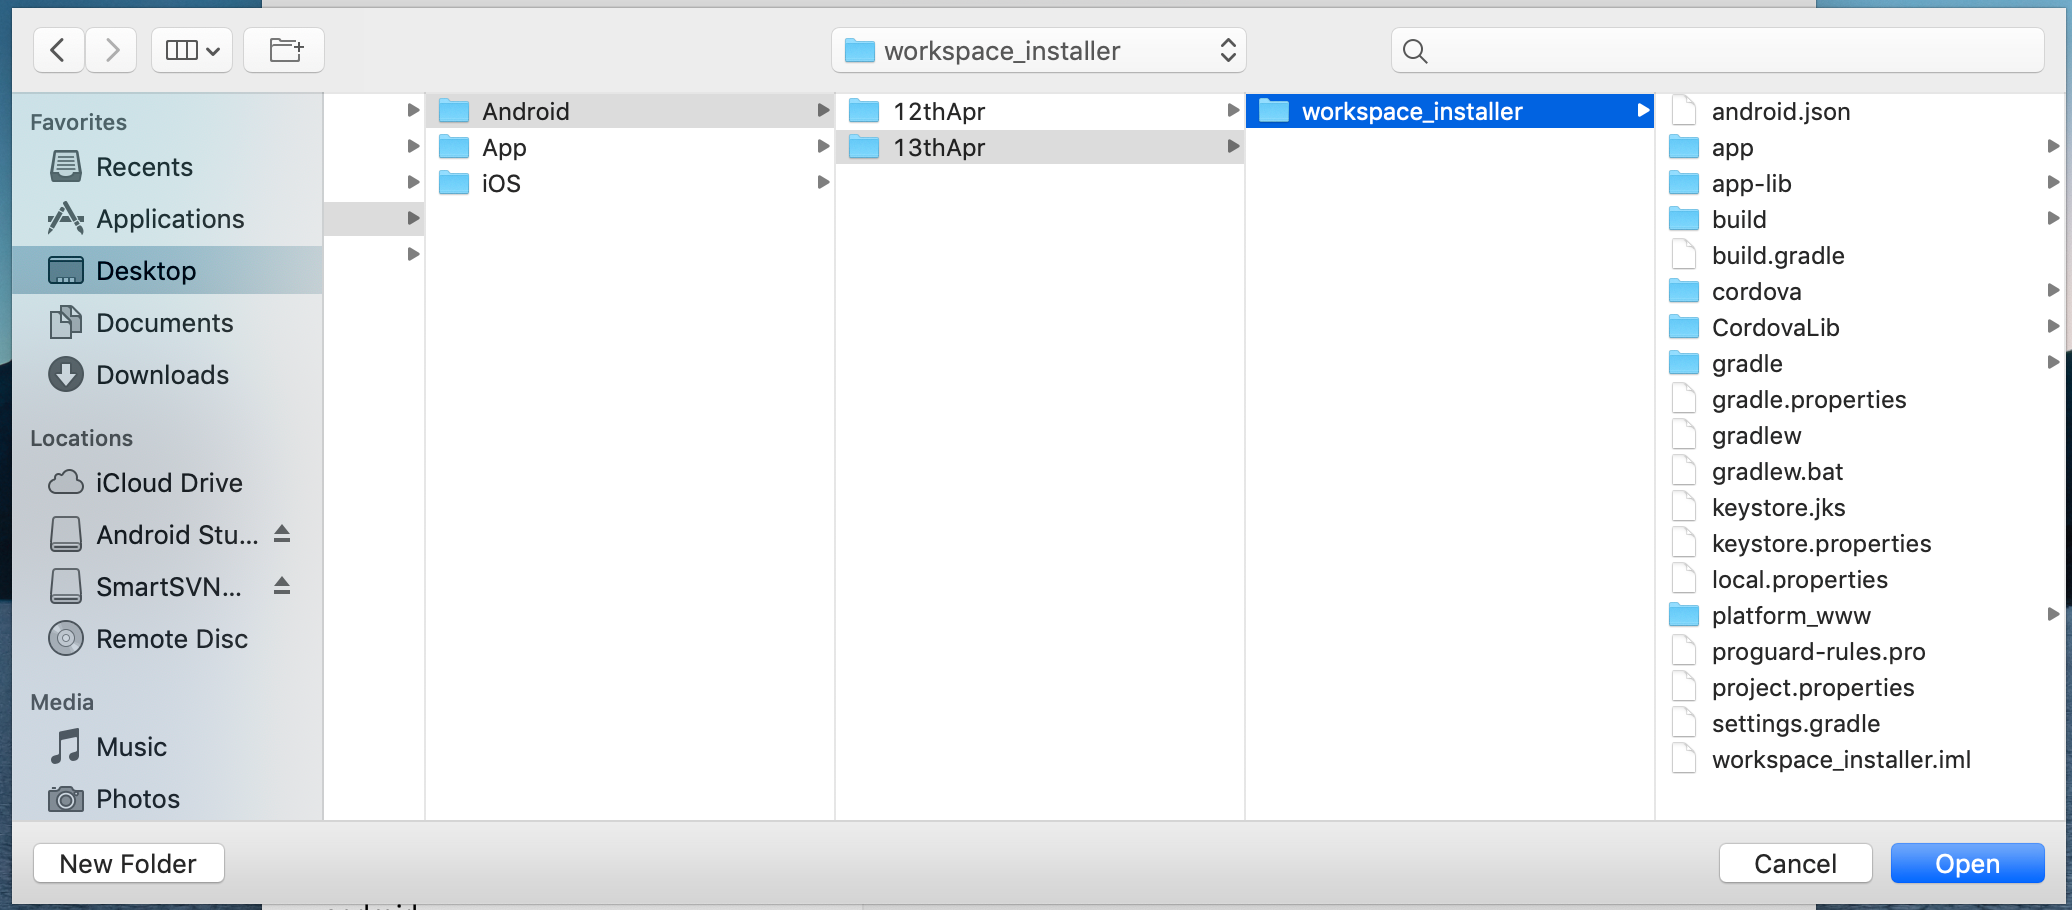
- Open OBDX_Installer/workspace_installer folder in Android Studio.
- Open gradle.properties file and update following properties with relevant proxy address if required
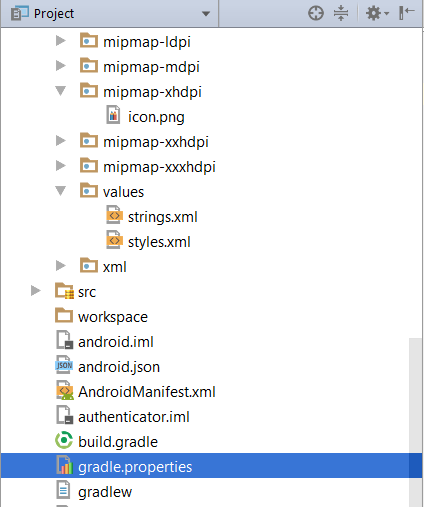
systemProp.http.proxyHost = <proxy_address>
systemProp.https.proxyPort = <port_number>
systemProp.https.proxyHost = <proxy_address>
systemProp.http.proxyPort = <port_number>
- Open “assets\app.properties” file and update following properties as per requirement
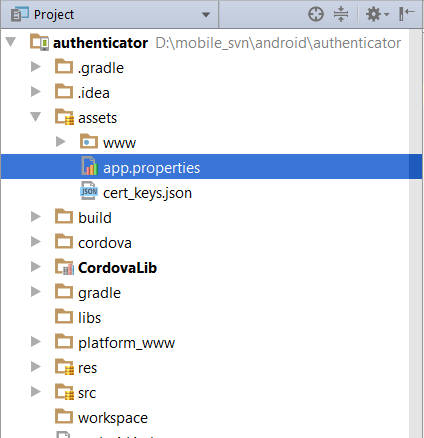
shared_server_url = <server_url>
shared_oam_url = <oam_url>
otp_type = <HOTP or TOTP>
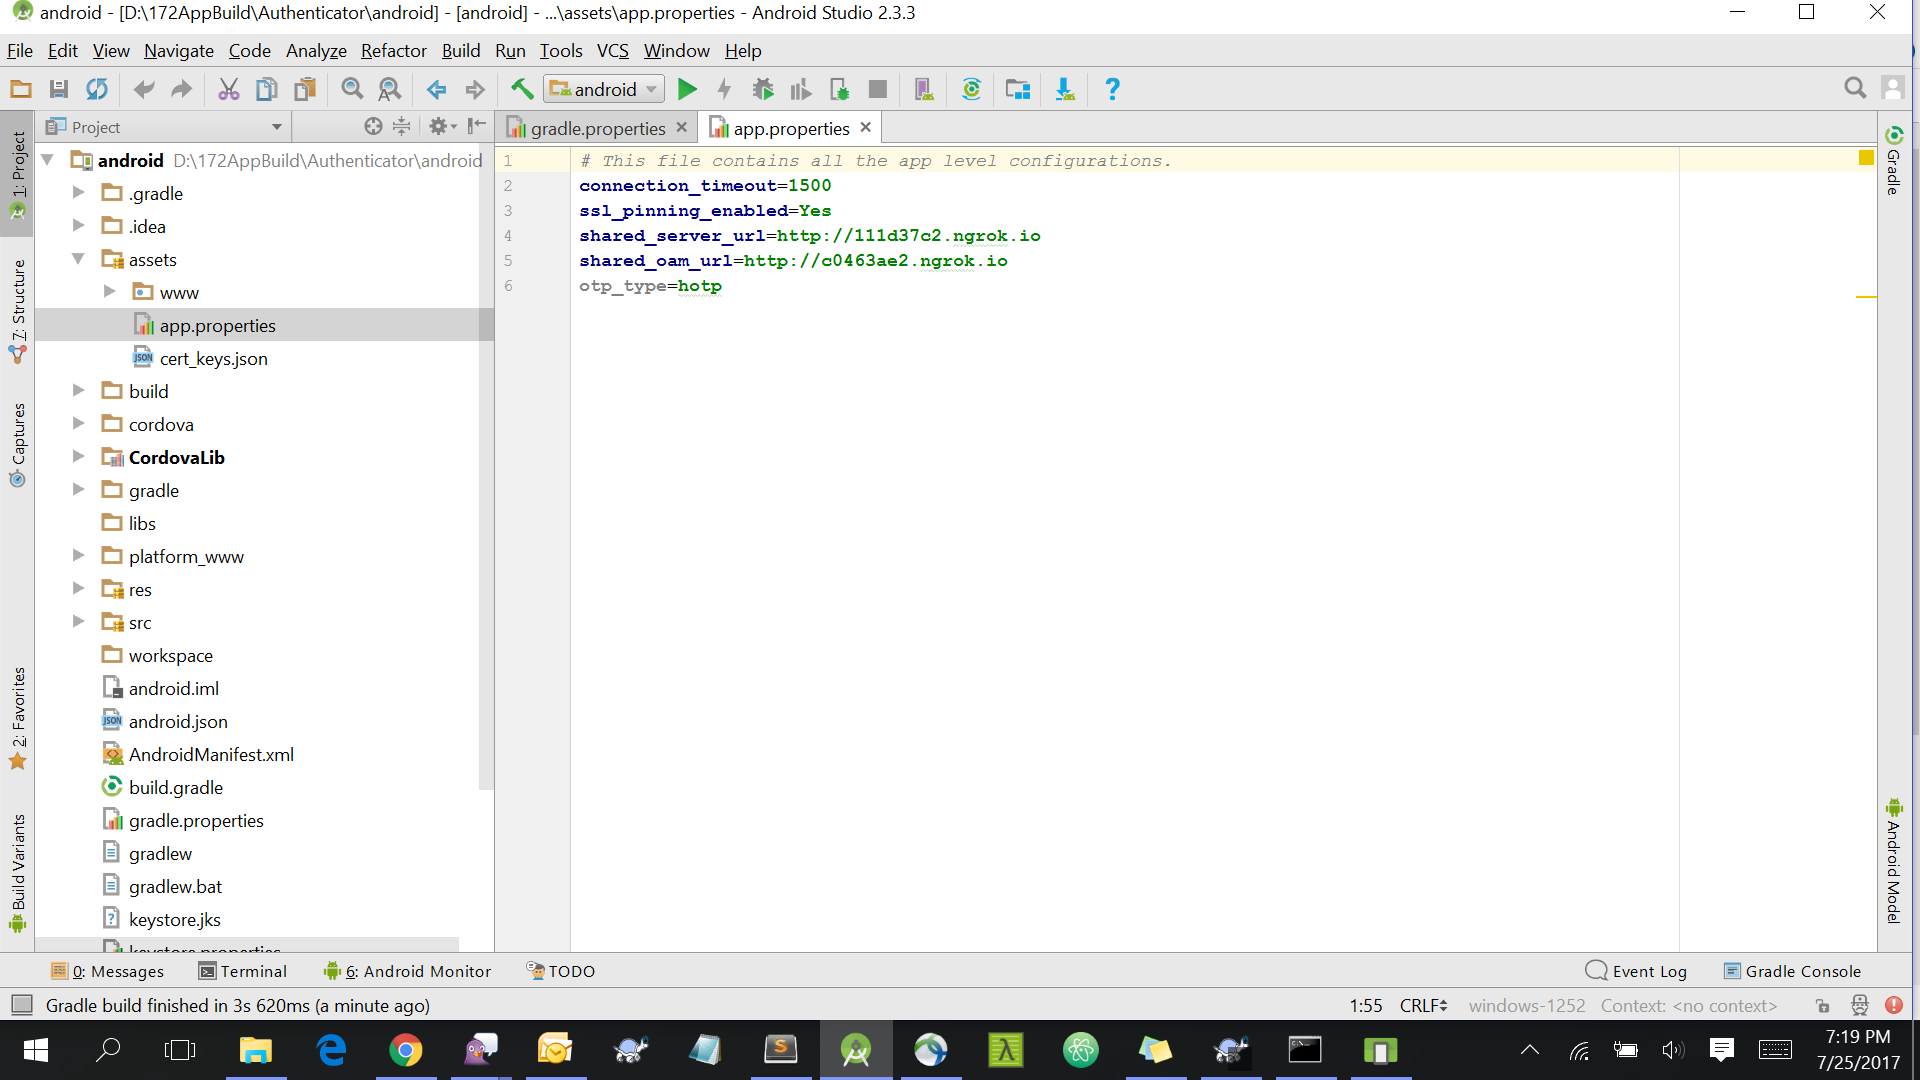
Note: If selected authentication mechanism is not OAM based then remove “shared_oam_url” property.
- Click Build > Clean & Build > Rebuild project in Android Studio.
- Click on Build → Edit Build Type → app → release
Enable minify → true
Add progurard file from workspace_installer/proguard-rules.pro
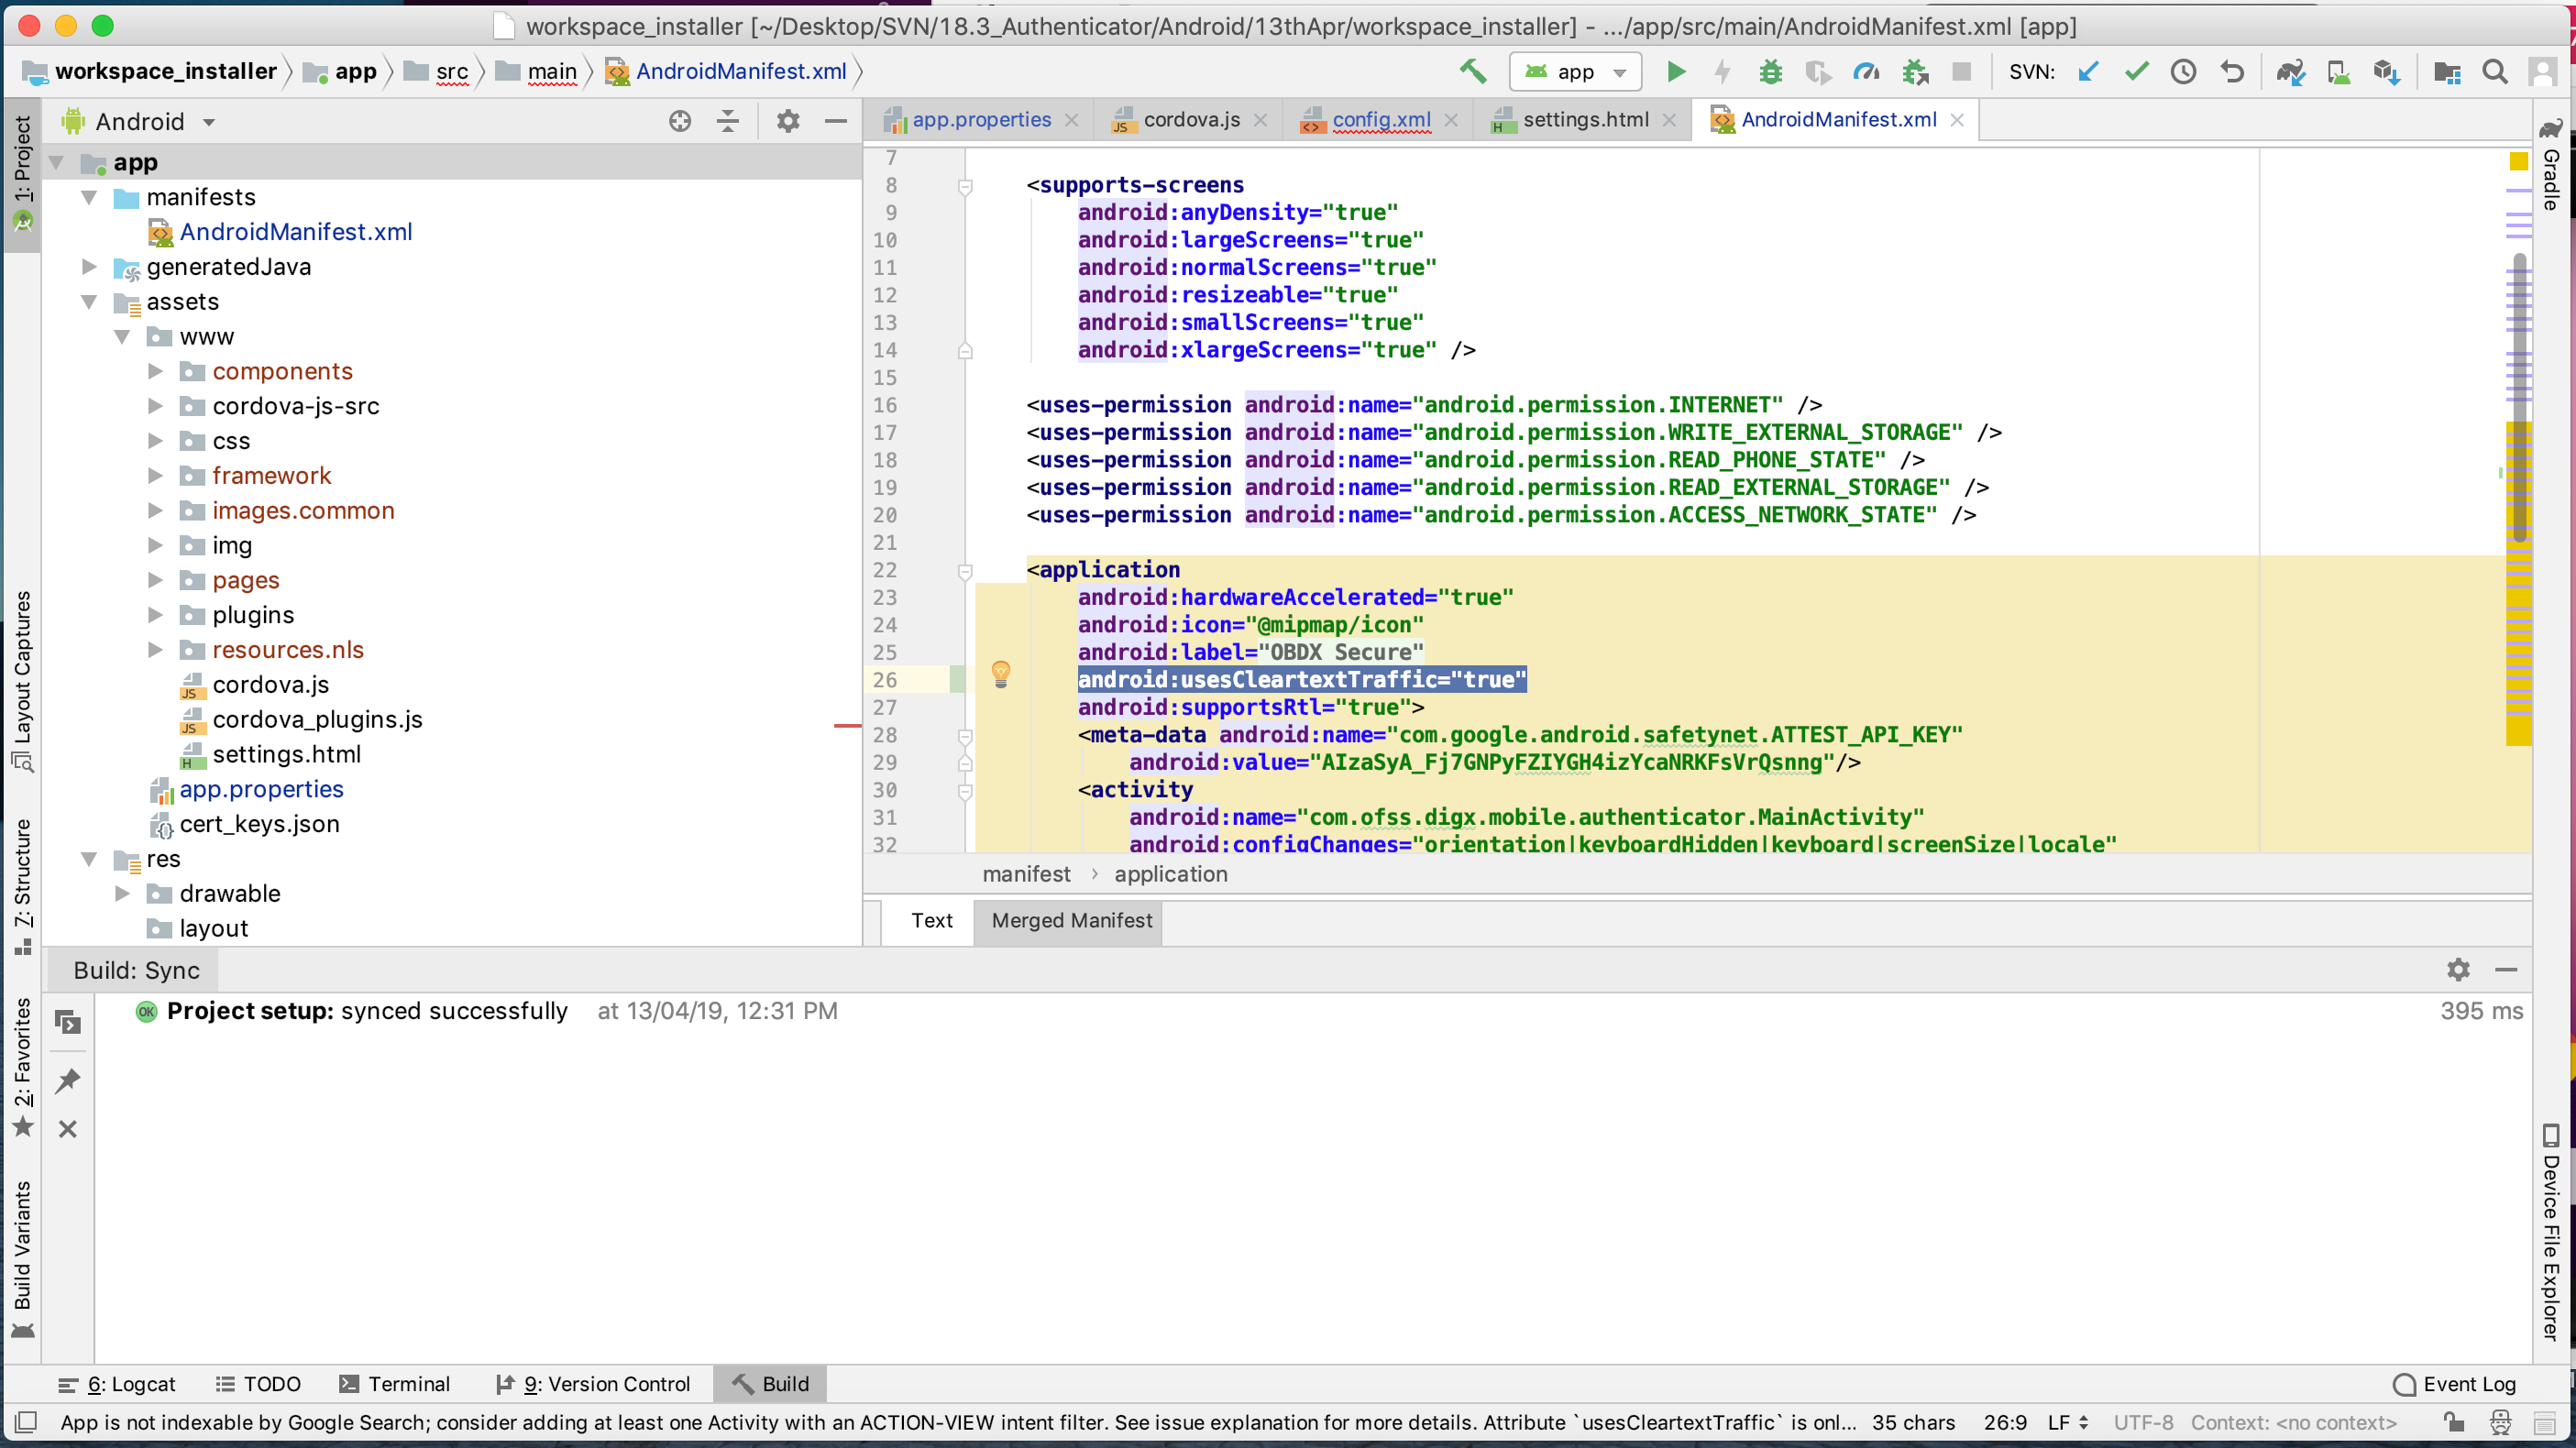
Click OK. - If using http protocol for development add (android:usesCleartextTraffic="true") to application tag of AndroidManifest.xml
- For Generating Signed Apk: To Generate release-signed apk as follows:
On menu bar click on Build -> Generate Signed Apk
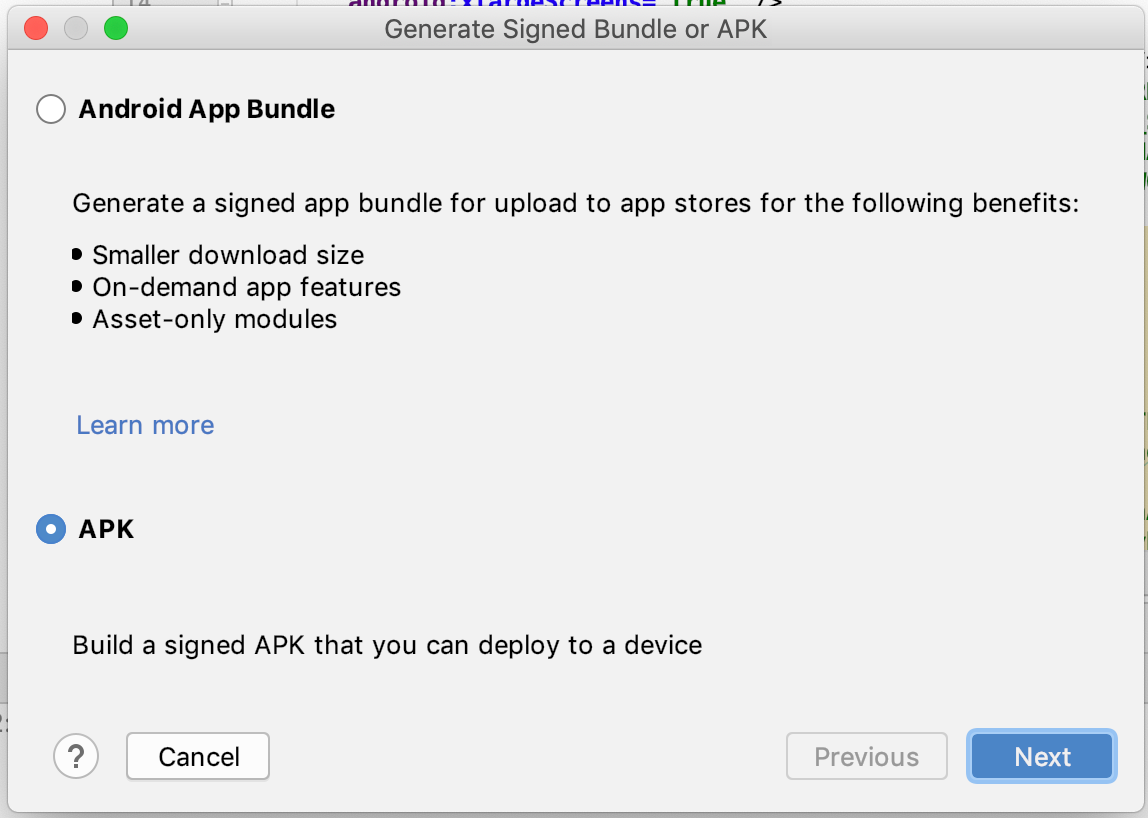
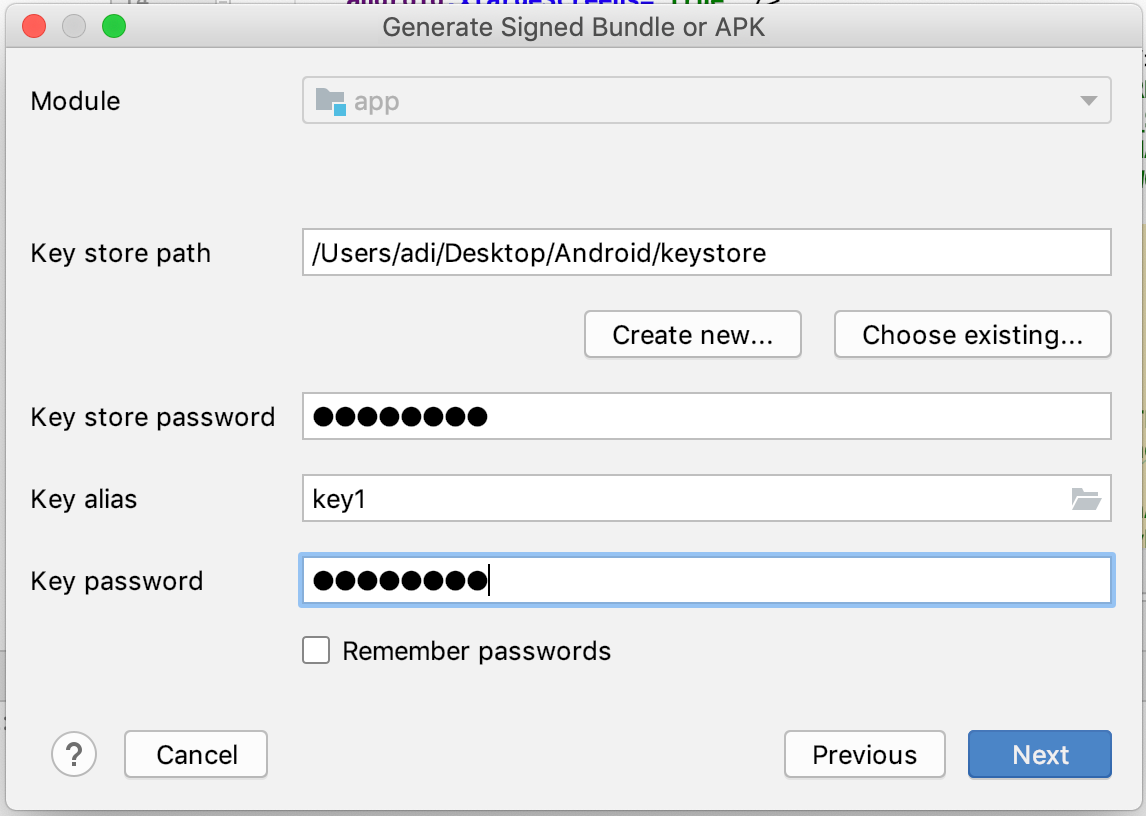
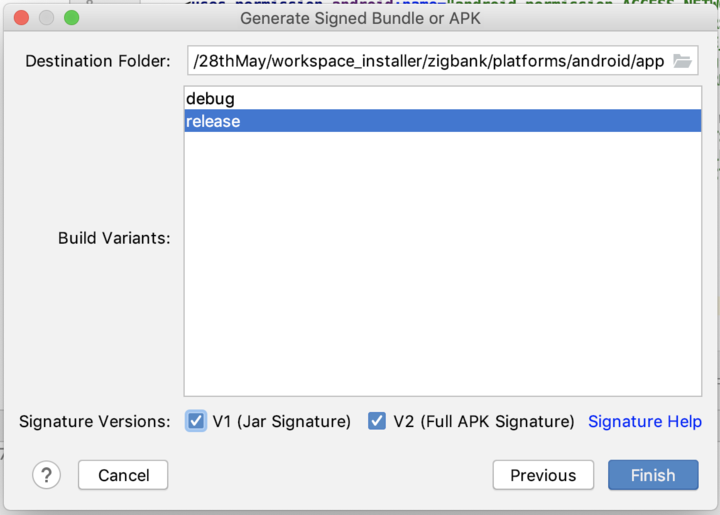
Click Finish to generate .apk
The application has config page to add URL. This is for development purpose only and can be removed using below step. (Update content src tag)
