6. Capturing Additional Details
This chapter contains the following sections:
- Section 6.1, "Additional Details"
- Section 6.2, "Bill Liquidation"
- Section 6.3, "BC Authorize Contract Details"
- Section 6.4, "Customer Address Maintenance"
- Section 6.5, "Bills and Collections Contract Reassign"
- Section 6.5, "Bills and Collections Contract Reassign"
- Section 6.6, "Outstanding Items Report"
- Section 6.7, "Bills and Collections Payment Input Details"
- Section 6.8, "Bills and Collections Document Arrival Notice Input"
6.1 Additional Details
This section contains the following topics:
- Section 6.1.1, "Maintaining Additional Details"
- Section 6.1.2, "Events Button"
- Section 6.1.3, "Advices/FFT Button"
- Section 6.1.4, "Settlement Button"
- Section 6.1.5, "Split Settlement Button"
- Section 6.1.6, "Charges"
- Section 6.1.7, "Loan Preference Button"
- Section 6.1.8, "Effective Interest Rate Button"
- Section 6.1.9, "Interest Dates Button"
- Section 6.1.10, "Finance/Loan Accounts Button"
- Section 6.1.11, "Brokerage Button"
- Section 6.1.12, "Charges Transfer Button"
- Section 6.1.13, "Drawer/Drawee IC Button"
- Section 6.1.14, "Message Preview Button"
- Section 6.1.15, "All Messages Button"
- Section 6.1.16, "Import License Button"
- Section 6.1.17, "OFAC Check Button"
- Section 6.1.18, "Collateral Button"
- Section 6.1.19, "Linkage Details Button"
- Section 6.1.20, "FX Linkage Button"
- Section 6.1.21, "Change Log Button"
- Section 6.1.22, "Remarks"
- Section 6.1.23, "Common Group Message"
- Section 6.1.24, "Substitution Bills"
6.1.1 Maintaining Additional Details
The links on the contract screen enable you to invoke a number of functions vital to the processing of a BC Contract. These buttons have been briefly described below:
Links |
Description |
Events |
Click this link to view details of the events, accounting entries and Messages generated for each event in the lifecycle of a bill. |
Advices / FFT |
In the screen corresponding to this link, you can view, suppress and prioritize the advices that are to be generated for a contract. You can also specify the FFTs and Instructions that should accompany the advices generated for the bill. |
Settlement |
Invokes the Settlement screens. Based on the details that you enter in the settlement screens, the bill will be settled. The details of these screens have been discussed in the Settlements manual. |
Split Settlements |
Click on this link to specify split settlement details of the bill. |
Collateral |
In the screen that corresponds with this button, you can reduce the cash offered as collateral for the LC to which the Bill is associated. |
Interest |
This link invokes the Interest and Charges or Fees (ICCF) service. The Processing Interest manual deals with the application of interest on a bill. |
Charges |
Click this link to invoke the Contract Charge Details screen. The Charges and Fees manual details the entire procedure of applying charges to a bill. |
Tax |
This link invokes the Tax services. On invoking this function you can define a tax scheme, the rule details and the amount details of the contract. The Processing Tax manual details the entire procedure of maintaining tax rules and schemes. It also deals with the linking of a tax scheme to a product and the application of the scheme on a bill’. |
Import License |
Click this link to capture import license details, |
MIS |
Click this button to define MIS details for the bill. |
Loan Preference |
Click on this link to invoke the Loan Preference screen. You can maintain the details of the Loan. |
Drawer/Drawee IC |
Click this link to invoke the ‘Drawer/Drawee Interest and Charges’ screen. You can define the charge and interest components at the time of initiation of contract. |
Brokerage |
Click this link to specify the details of the broker and brokerage. |
Linkages Details |
Clicking this link invokes the Contract Linkages screen. Here, you can link the bill to funds available in an account or deposit. |
FX Linkage |
This link invokes a screen in which you can link a bill involving a specific counterparty with FX deals involving the same counterparty. |
Fields |
Click this link to enter values for custom fields associated with the bill. |
Effective Interest Rate |
Click on this link to specify effective interest rate details. |
Interest Dates |
Click on this link to capture forfeiting interest computation dates. |
Finance/Loan Accounts |
Click on this link to preview the linked loan details. |
Charges Transfer |
Click this link to invoke the ‘Deferred Charge Component’ screen. |
Message Preview |
Click this link to view the messages or advices generated for the contract. |
All Messages |
Click this link to view all messages associated to contract. |
Remarks |
Click this button to view the ‘History of Remarks’ screen |
Common Group Message |
Click this button to open the common group message call form |
Substitution Bills |
Click this button to open the Substitution Bills sub screen. |
6.1.2 Events Button
Click ‘Events’ button in the ‘Bills and Collections - Contract Input - Detailed’ screen and invoke the ‘Event Details’ screen. The details of events, that have already taken place on the contract, will be displayed along with pending events. The date on which the event took place will also be displayed.
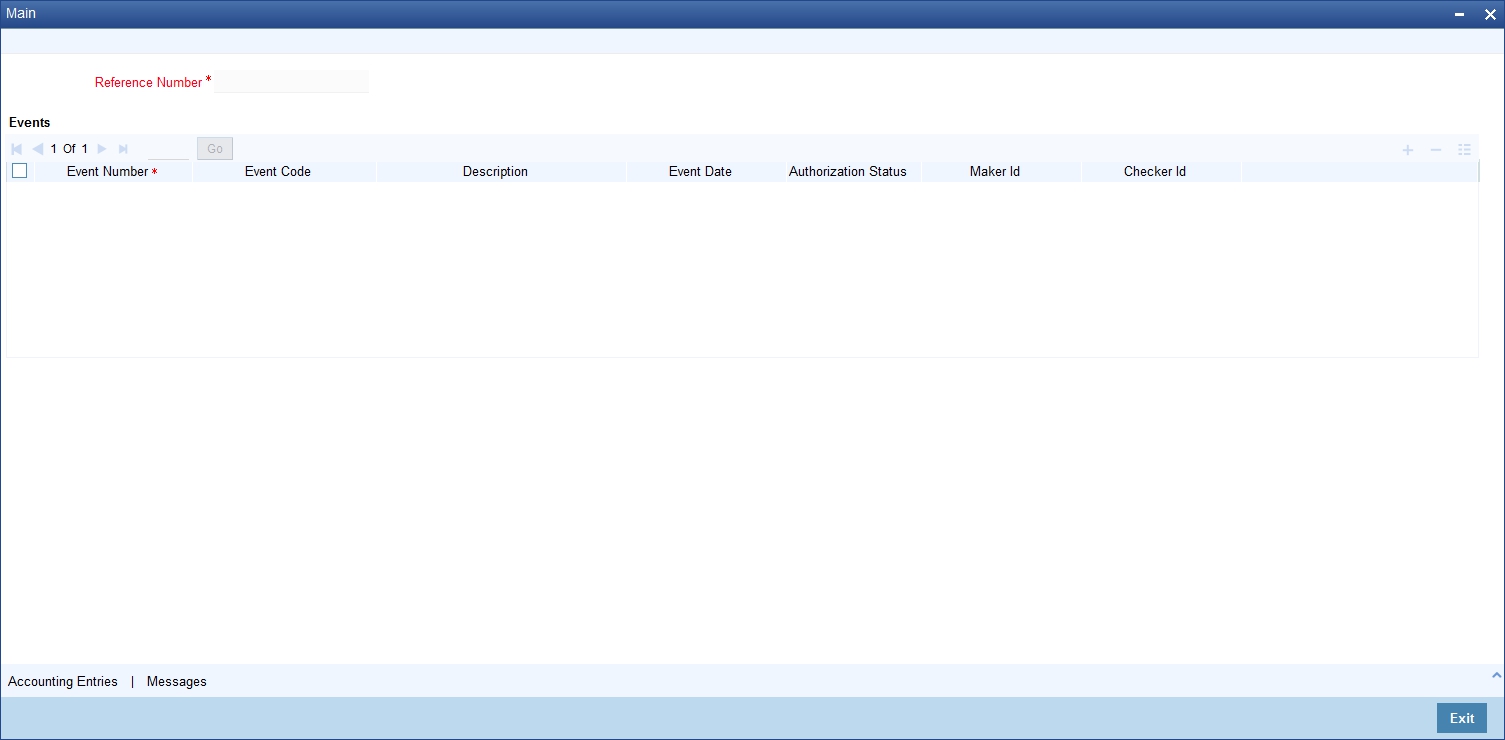
Click ‘Accounting Entries’ button to view the accounting entries for the event. Click ‘Message’ button to view the messages applicable to the event. Click ‘Exit’ or ‘Cancel’ button to return to the Bills Contract Detailed screen.
6.1.2.1 Viewing the Accounting Entries Passed for the Bill
From the ‘Event Details’ screen, click ‘Accounting Entries’ button and view the ‘View Details’ for the event. The details of the accounting entries that were passed for the event can be viewed here. The accounting entries that are passed depend on the type of bill you are processing.
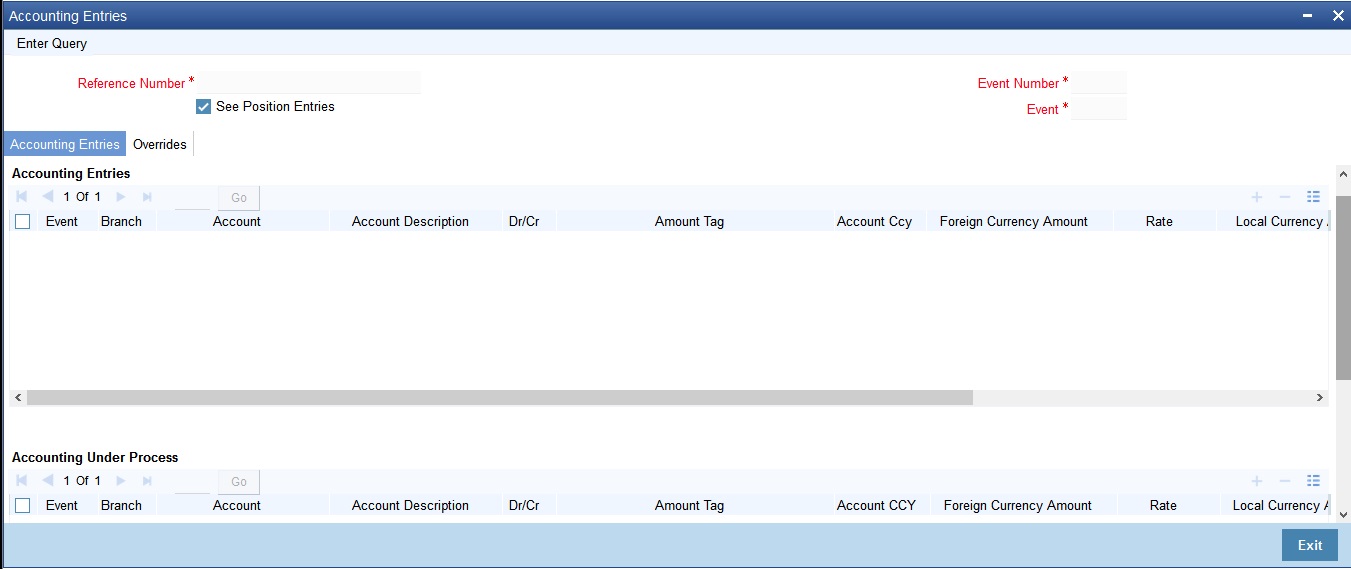
The following information is provided for each event:
- Branch
- Account
- Dr/Cr indicator
- All the overrides that were allowed for an event will also be displayed
6.1.2.2 Viewing Advices
Click ‘Message’ button from the ‘View Events’ screen and view the list of advices applicable to a particular event in the lifecycle of the bill.
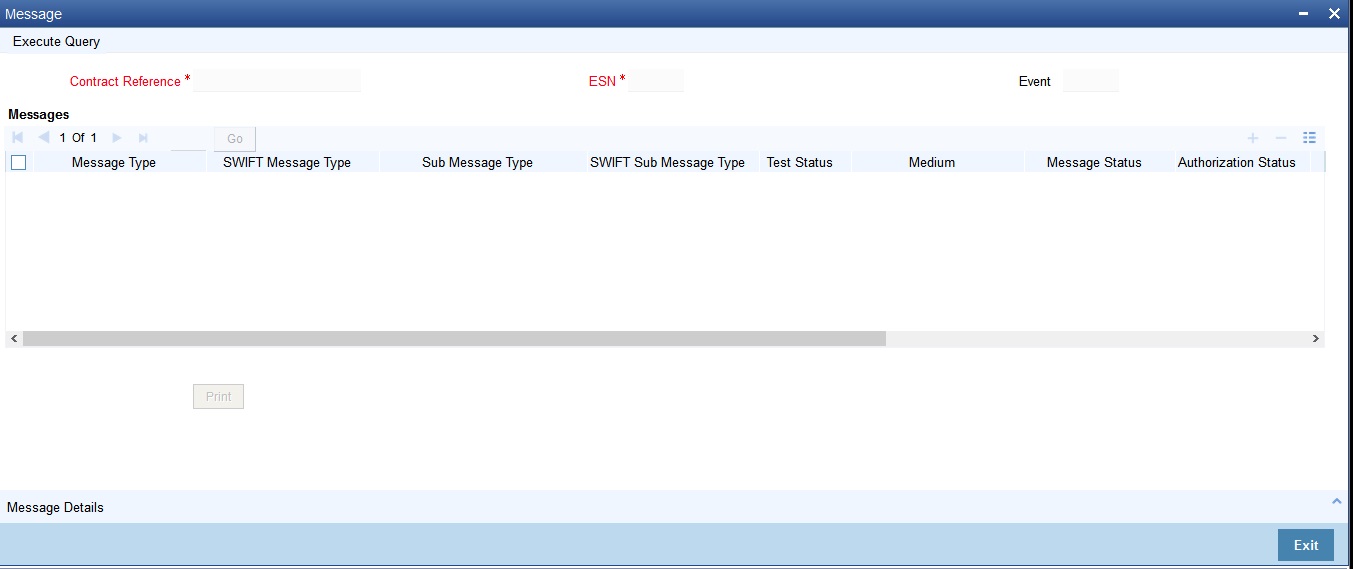
The following details of a message are displayed:
- The message type
- The Name and ID of the recipient of the message and
- The status of the message
To view the text of a message, highlight the message and click ‘Message’ button. Click ‘Exit’ or ‘Cancel’ button to exit the screen.
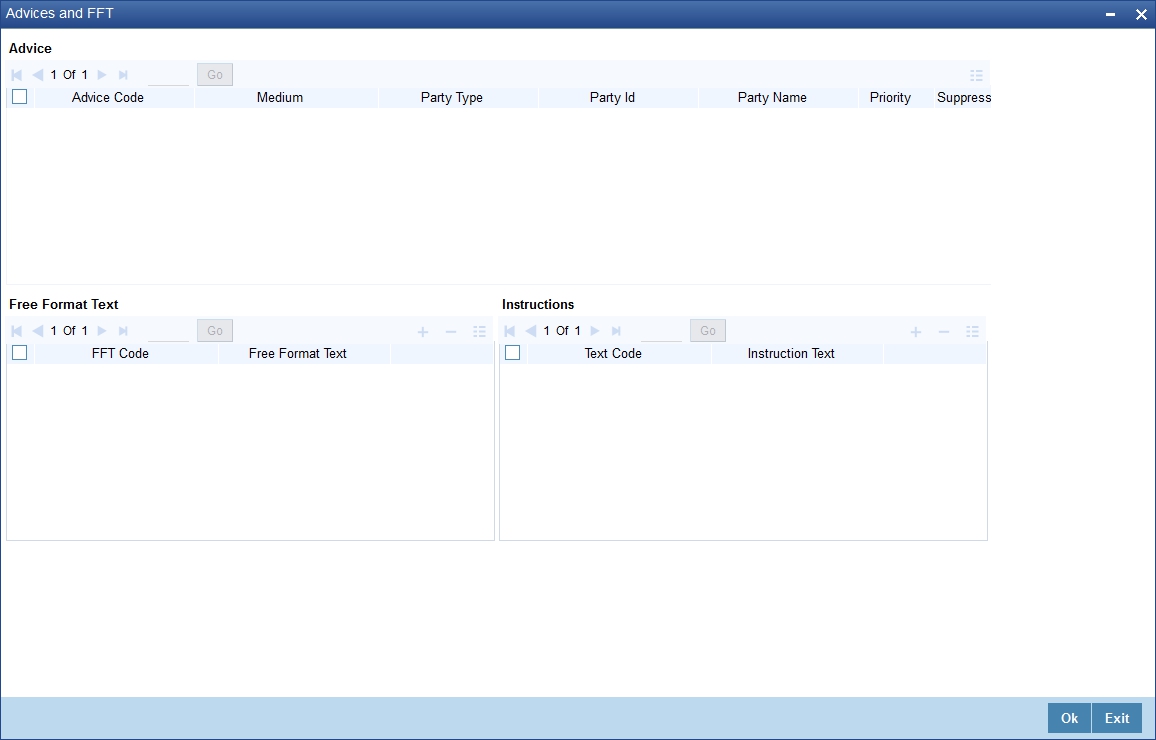
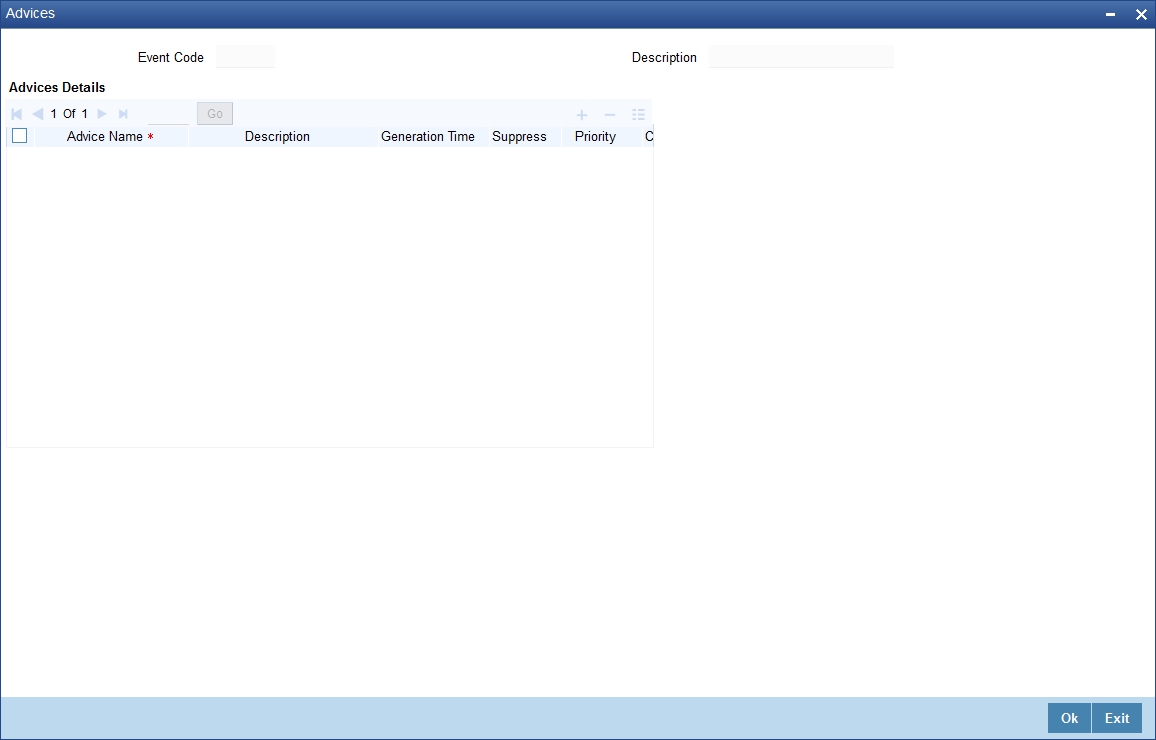
6.1.3 Advices/FFT Button
The advices that have to be generated for an event during the lifecycle of a bill are specified for the Product involved in the bill. While processing a bill, you can:
- Specify the advices that should be generated for the bill
- Suppress the generation of any of the advices not applicable to the bill
- Indicate the priority with which the advice should be generated
- Indicate the Free Format Texts and Instructions that should accompany the advices
From the ‘Bills and Collections - Contract Input - Detailed’ screen, click ‘Advices / FFT’ button. The ‘Advices / Free Format Text’ screen is displayed.
6.1.3.1 Specifying Advice Details
The advices inherited from the product involved in the bill you are processing will be displayed in the Advice Code field.
Suppress
By default, all the advices that have been defined for a product will be generated for the bills involving it. As certain advices may not be applicable to the bill you are processing, you can suppress its generation by indicating the same in this screen.
Priority
For messages sent through media like SWIFT or TELEX, you can specify the priority with which the advice should be generated. By default, the priority of all advices is marked as Normal. You have the option to prioritize advices to one of the following options:
- Normal
- Medium
- High
However, you can change the priority of an advice to Urgent only for Payment Advices.
Medium
If advices are to be generated, for the bill you are processing, it is mandatory for you to also specify the medium through which an advice is to be transmitted. An advice that is generated can be transmitted Mail, TELEX, or SWIFT. You can select the appropriate medium code from the option list.
Advice Code
This is the code that identifies the advice that can be generated for a bill. All the advices specified for the product to which the bill is linked will be displayed in this screen. If the advice is not applicable to the LC you are processing you can suppress its generation in the corresponding fields on this screen.
Party Type and Identification
This is the type of party involved in the bill. For example, drawee, drawer etc. The party type is displayed based on your specifications in the Parties screen.
Party Name
This is the name of the party involved in the bill to whom the advice is to be sent.
6.1.3.2 Specifying FFTs for a Bill
Free Format Texts (FFTs) may be a set of statements that should be printed on the advices generated to the parties, involved in the bill. Additional information that should be a part of the bill instrument can be entered in the form of an FFT.
While defining a product, you also specify the FFTs that should accompany an advice generated for a bill, involving the product. These FFTs will appear when you select an advice code. This indicates that the FFTs that you specify will appear on the advice which is highlighted.
If the Applicable Rule in the ‘LC Product Preferences’ screen is selected as ‘OTHR’, you need to specify a rule narrative for the LC Product. If the Rule Narrative exceeds the limit predefined (35 characters), the same can be defined as a Free Format Text. For BC contracts, FFT codes are associated with advices in the LC contract. The 47A and 47B tags are linked to FFT codes. The message types supported by 47A tag are:
- MT700
- MT710
- MT720
Message Types supported by 47B tag are:
- MT701
- MT711
- MT721
You can add to or delete from the list of FFTs that are defaulted from the product involved in the bill. To add an FFT to the list, click add icon and select the code that identifies the FFT, from the option list. The description of the FFT is automatically picked up and displayed. You can edit the FFT description that is defaulted to suit the requirements of the bill you are processing.
To delete an FFT from the list, highlight the code that identifies the FFT and click delete icon.
Note
For the values of Field 72, Field 75 and Field 76 to be populated in MT 422, it is mandatory that you enter a description for the following FFT codes:
- SND2RECMT422 (FIELD 72)
- ADVFATEPQRY (FIELD 75)
- ADVFATEPANS (FIELD 76)
6.1.3.3 Specifying Instructions for a Bill
You have defined instructions and assigned them codes, in the Instruction Code Maintenance screen. These instructions can be sent, along with the advices that are generated, to the parties involved in the bill.
When you select an advice code, the advice code is displayed in the Instruction section, of the screen. This indicates that the Instructions that you choose will appear on the advice, which is displayed.
The Instruction Codes indicated for the product to which the bill is associated will be defaulted to this screen. You can add or delete instruction codes, from the defaulted list of Instructions that accompanies an advice generated for the bill.
You can add to or delete from the list of Instructions, defaulted from the product involved in the bill.
The list of instructions associated with an advice is displayed. You can add to or delete from the list of defaulted instructions.
To add an Instruction to the list, click add icon and select the code that identifies the instruction from the option list. The description of the instruction is automatically picked up and displayed. You can edit the description that is defaulted.
To delete an instruction from the list, highlight the code that identifies the Instruction and click delete icon.
6.1.4 Settlement Button
You can capture the settlement details of a bill in ‘Settlement Details’ screen. Click ‘Settlement’ button in ‘Bills and Collections - Contract Detailed’ screen to invoke the ‘Settlement Details’ screen.
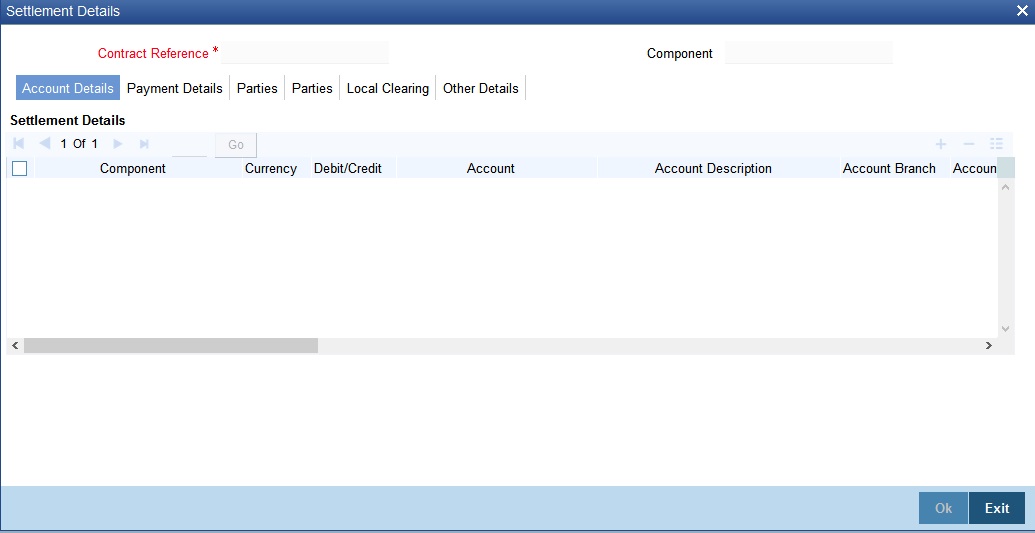
The bill gets settled based on the details specified in the settlement screen.
For more details on this screen, refer the section titled ‘Processing Settlements’ in Settlements user manual.
6.1.5 Split Settlement Button
You can capture split settlement details for the bill using the ‘Split Details’ screen by clicking ‘Split Settlements’ button in the ‘Bills and Collection - Contract Input - Detailed’ screen.
On clicking the Split Settlement button, if you have checked the ‘Settle Available Amount’ box in the ‘Additional’ tab of the Contract screen, then the system will check for the customer balance. If there is no sufficient balance in the Customer account including the OD limit, then the available amount will be adjusted towards the Bill Liquidation Amount.
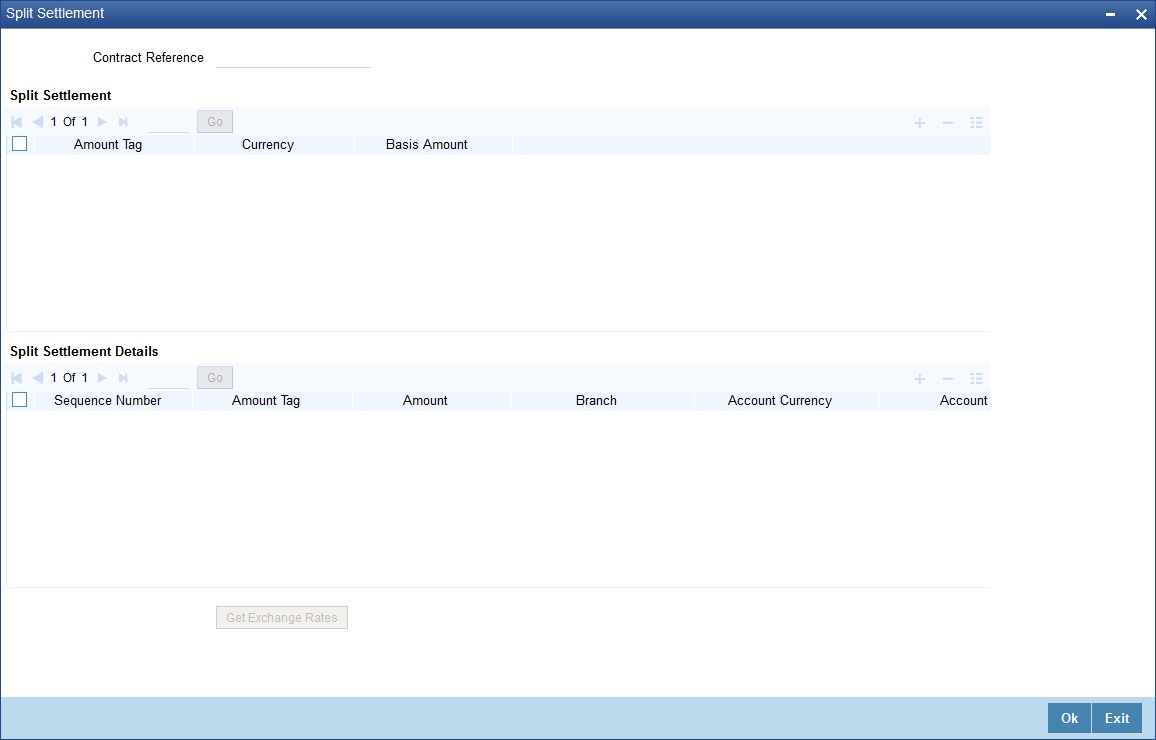
6.1.5.1 Basis Details
Amount Tag
The bill amount tag defined for the current event in the bills contract is displayed here. It is picked up from those defined for the INIT event. You cannot change them.
CCY
The currencies associated with the amount tags (as picked up from the INIT event) are displayed here. You cannot change them.
Amount
The amount for each amount tag (picked up from the INIT event) is displayed here. You cannot change them.
6.1.5.2 Split Details
S. No
The system generates a running sequence number for each split record. You cannot modify it. The system automatically generates the sequence number on introducing a new split.
Amount Tag
The selected amount tag in the basis details section is displayed here in the split details section. If there are no settlement tags for the event being processed, the system will display an error.
Amount
Specify the split amount for the split amount tag. The sum of amount should not be greater than the basis amount. The system calculates the amount on the basis of the split percentage. You cannot leave this field blank.
Percentage of Proceeds
Specify the split percentage of the Bill Amount for each account. The sum of split amounts should be equal to the total amount specified for the corresponding basis amount tag. You cannot leave this field blank.
Customer
Specify the customer to whom the split amount should be assigned. The adjoining option list displays all the customers maintained in the system. You can select the appropriate one.
Branch
The system displays the branch where the settlement account for the split amount tag resides. The adjoining option list displays all the valid branches in the system. You can choose the appropriate one.
Account Currency
The settlement account currency for the split amount tag is defaulted based on the settlement account chosen. You cannot change it.
Account
Select a valid account for the specified settlement account branch, from the option list.
Loan Account
Check this box if you want the split amount to be booked as a loan. The split settlement amount entered as the Loan Amount is used to create the loan contract. You can select more than one Account as Loan account. This is enabled only for settlement tags BILL_LIQ_AMT or BILL_LIQ_AMTEQ.
Exchange Rate
If the basis amount currency is different from the settlement account currency, you need to specify the exchange rate that should be used for conversion.
Negotiated Cost Rate
Specify the negotiated cost rate that should be used for foreign currency transactions between the treasury and the branch. You need to specify the rate only when the currencies involved in the transaction are different. Otherwise, it will be a normal transaction.
The system will display an override message if the negotiated rate is not within the exchange rate variance maintained at the product.
Negotiated Reference Number
Specify the reference number that should be used for negotiation of cost rate, in foreign currency transaction. If you have specified the negotiated cost rate, then you need to specify the negotiated reference number also.
Note
Oracle FLEXCUBE books then online revaluation entries based on the difference in exchange rate between the negotiated cost rate and transaction rate.
6.1.6 Charges
Click on ‘Charges’ link of the ‘Bills and Collections Contract Detailed’ screen to view the charge details.
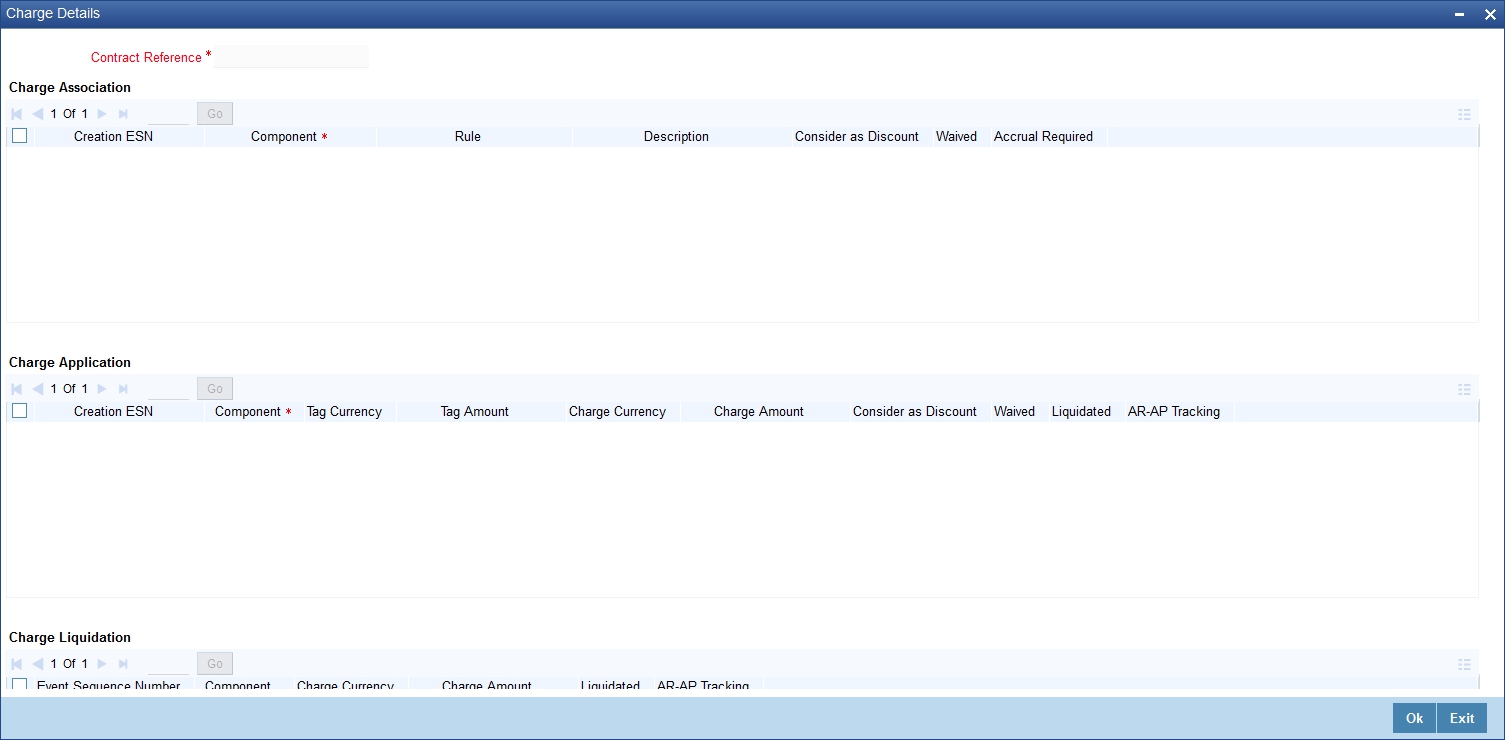
The system displays the charges configured for the event at product definition here.
For more details on the Charges Details screen, refer section ‘Contract Charge Details’ in Charges and Fees User Guide under Modularity.
6.1.7 Loan Preference Button
From the ‘Bills and Collections - Contract Input - Detailed’ screen, click ‘Loan Preference’ button. The ‘Loan Preference’ screen is displayed. In this screen you can maintain the details for the loan.
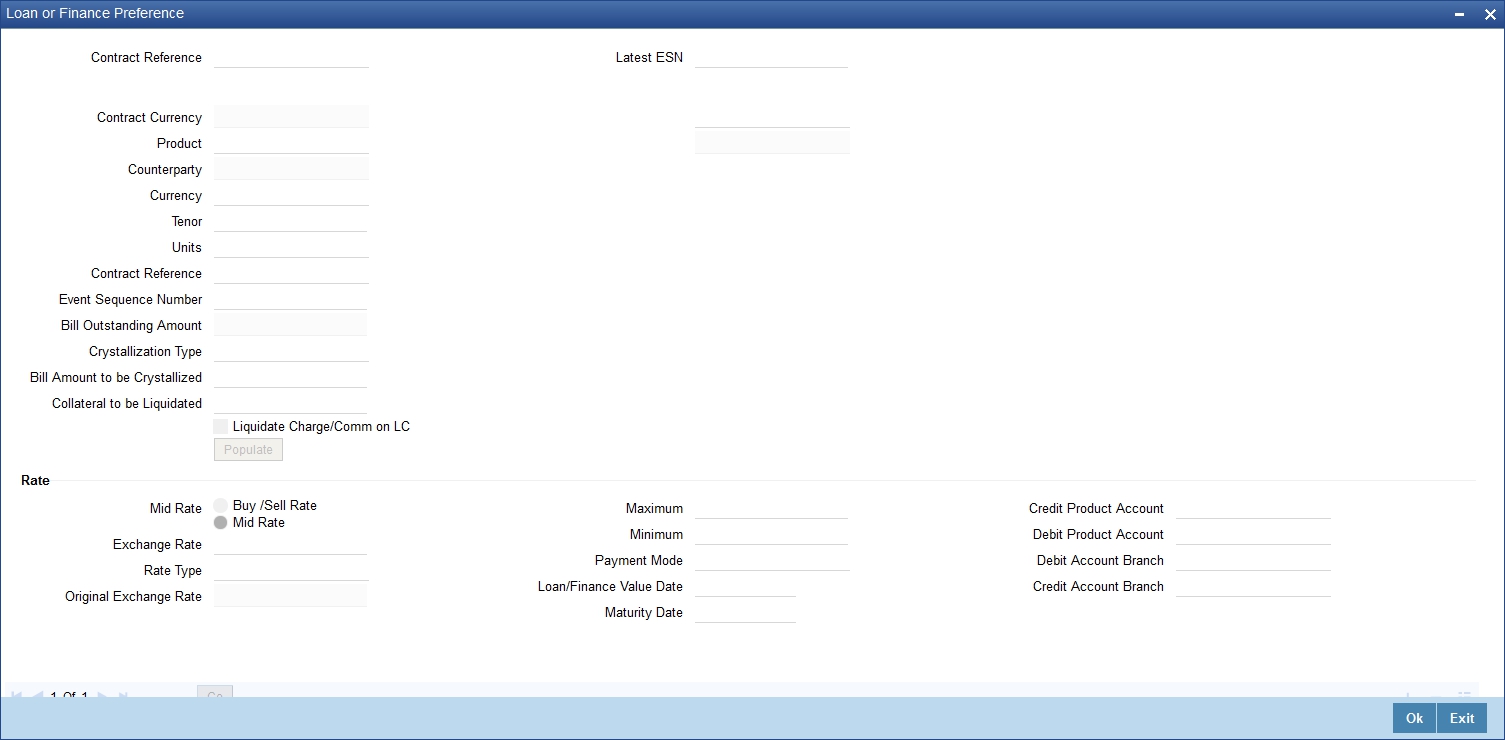
To recall, you have the option to create a loan from bills module. In case you opt for this option, the preferences you maintain in this screen will be used to create a loan during liquidation of bills.
Contract Reference Number
The system displays the contract reference number.
Currency
The system will display the local currency of the Branch in which the loan is initiated. You cannot change this value.
Tenor
Here you need to indicate the tenor for each loan being maintained. The tenor is expressed in days. The minimum/maximum tenor specified in the loan product underlying the contract has to be adhered to.
Exchange Rate
For a customer availing any Relationship Pricing scheme, the customer specific exchange rate derived by adding the original exchange rate and the customer spread maintained for the relationship pricing scheme gets displayed here.
If Relationship Pricing is not applicable, Exchange Rate will be the same as the Original Exchange Rate.
For more details on customer specific exchange rates, refer the section titled ‘Specifying Pricing Benefit Details’ in Relationship Pricing user manual.
Rate Type
The Rate Type indicates whether the rate to be applied for the conversion is the Buy rate, Mid Rate or the Sell Rate. Select the appropriate rate type from the drop down list.
Original Exchange Rate
The base/actual exchange rate between the Contract currency and Collateral currency gets displayed here.
Loan Value Date
The system displays the debit value date. However, you can amend this field.
For tracking the receivable from the current date, the system will create the loan one day prior to the debit value date and liquidate on the debit value date. In such cases, you can specify the loan value date as 1 day prior to the debit value date, so that, the system will create the loan (having 1 day as tenor) as of that date and will mature on the debit value date.
Event Sequence Number
The system displays the event sequence number.
Units
Specify the units in which the tenor is specified.
While creating a loan from the bills module, the system defaults the interest rate and exchange rate specific to the customer. These rates are taken from the section ‘Promotion Maintenance’ of the ‘Customer Maintenance’ screen. In case the default rates are not available, the system defaults the standard mid rate.
The system will calculate the penalty based on the loan creation date. That is, even if the value date is different from the loan creation date, the penalty will be calculated after the expiry of the penal start days counted from the date of creation of the loan. You can manually change the number of penal value days in order to start applying the penalty from a different date. The following example illustrates it.
For instance, consider a bill with the following particulars:
Particulars |
Value |
Bill Amount |
GBP 10000 |
Value Date |
01-Aug-2010 |
Maturity Date |
31-Aug-2010 |
Loan Creation Date/Liquidation Date |
31-Aug-2010 |
Dr. Value Date |
25-Aug-2010 |
Loan Value Date |
25-Aug-2010 |
Penal Start Days |
30 Days |
In this case, the system will calculate the penal interest from 30-Sep-2010. This date is derived by adding 30 penal start days to the loan creation date of 31-Aug-2010.
You can change the penal interest start date by manually changing the number of penal start days. That is, in the above case, you can set the penal start days as 24 and as a result, the effective date for the penalty will be set to 24-Sep-2010.
6.1.7.1 Indicating Preferences for the Interest Components
Component
The component gets defaulted from the BC product level.
Description
The description for the component also gets defaulted from the product level.
Rate Type
You can indicate the interest rate type that is to be picked up and applied to the loan contracts involving the product. The options available for the rate type are:
- Fixed
- Floating
- Special
Choose the appropriate option from the drop down list.
Rate Code
Interest of the contract is computed on the basis of the Rate code associated with it. This field is enabled only if you have opted for ‘Floating’ rate type for the loan.
Basis
The interest basis indicates the method in which the tenor for interest has to be calculated, if their application is tenor based.
It could be one of the following:
- (Euro)/360
- (US)/360
- Actual/360
- (Euro)/365
- (US)/365
- Actual/365
- (Euro)/Actual
- (US)/Actual
- Actual/Actual
The Interest Basis defined for the product involved in the contract will be displayed. You can change it here to suit the bill you are processing.
The minimum/maximum rate specified in the loan product underlying the contract has to be adhered to.
Rate
In case you choose the rate type as Fixed, you can specify the rate that is to be used for computing the interest of the contract.
Usage
The usage indicates the time at which the rate change has to be applied to the loan contract in case the interest is floating rate type. The options available are:
- Auto - rate change is triggered automatically when the rate associated with a rate code changes.
- Periodic – rate change is triggered at pre-defined dates.
Spread
You have to indicate the spread that can be applied on the floating rate.
Amount
In the case of ‘Special’ rate type, the interest component is expressed as an amount and not as a rate. This amount should be specified when the loan is liquidated.
When a new loan contract is created the following accounting entries are passed:
Event Code |
Dr/Cr Indicator |
Accounting Role |
Amount Tag |
DSBR |
DR |
LOAN ASSET GL |
PRINCIPAL |
DSBR |
CR |
BRIDGE GL |
PRINCIPAL |
If a bill contract is booked with ‘Advance by Loan’ option is not checked at the contract level, then the following accounting entries are passed:
Event Code |
Dr/Cr Indicator |
Accounting Role |
Amount Tag |
LIQD |
DR |
BC CUSTOMER |
BILL_AMOUNT (or) BILL_AMT_EQUIV |
LIQD |
CR |
NOSTRO |
BILL_AMOUNT (or) BILL_AMT_EQUIV |
If a bill contract is booked with ‘Advance by Loan’ option is checked at the contract level, then the following accounting entries are passed:
Event Code |
Dr/Cr Indicator |
Accounting Role |
Amount Tag |
LIQD |
DR |
BRIDGE GL |
BILL_LIQ_AMT (or) BILL_LIQ_AMTEQ |
LIQD |
CR |
NOSTRO |
BILL_LIQ_AMT (or) BILL_LIQ_AMTEQ |
When a loan is booked against a bill the event ‘BLNK- Bill Linkage to Loan’ is triggered. There will be no advice or accounting entries passed for this event. If the loan linked with the bill is reversed then the event ‘BLRV- Bill Linkage reversal to Loan’ is triggered. You cannot reverse a bill if there is a Loan linked to the bill that has not been reversed. Once the loan is reversed you will be allowed to reverse the bill.
6.1.8 Effective Interest Rate Button
You can view the effective interest rates applied for the contract through the ‘Effective Interest Rate’ screen. Click ‘Effective Interest Rate’ button to invoke the screen.
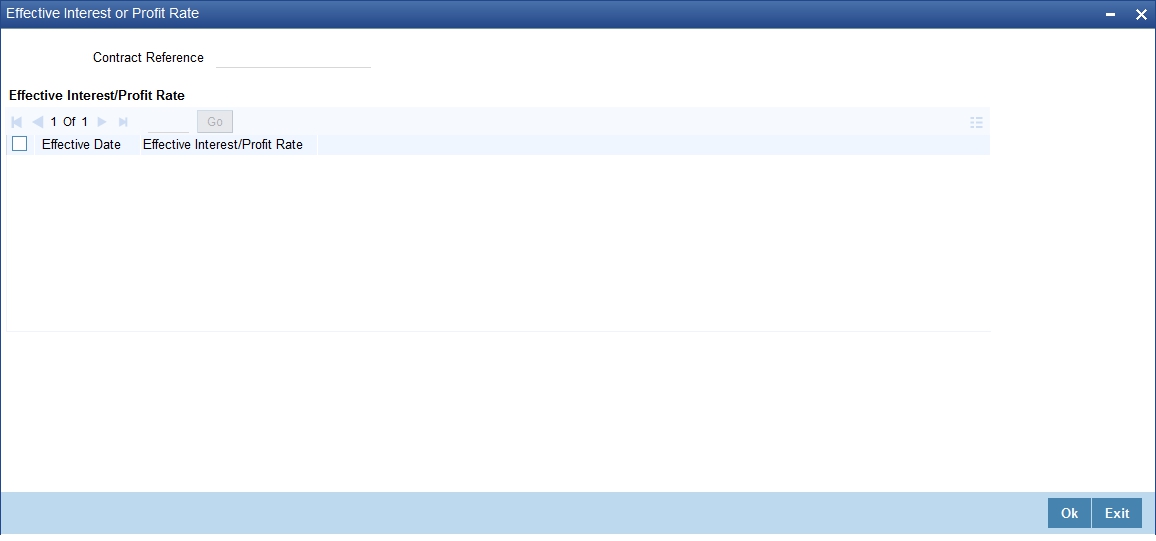
In this screen you will be able to view the Effective Interest Rate and the date from which interest rate is effective.
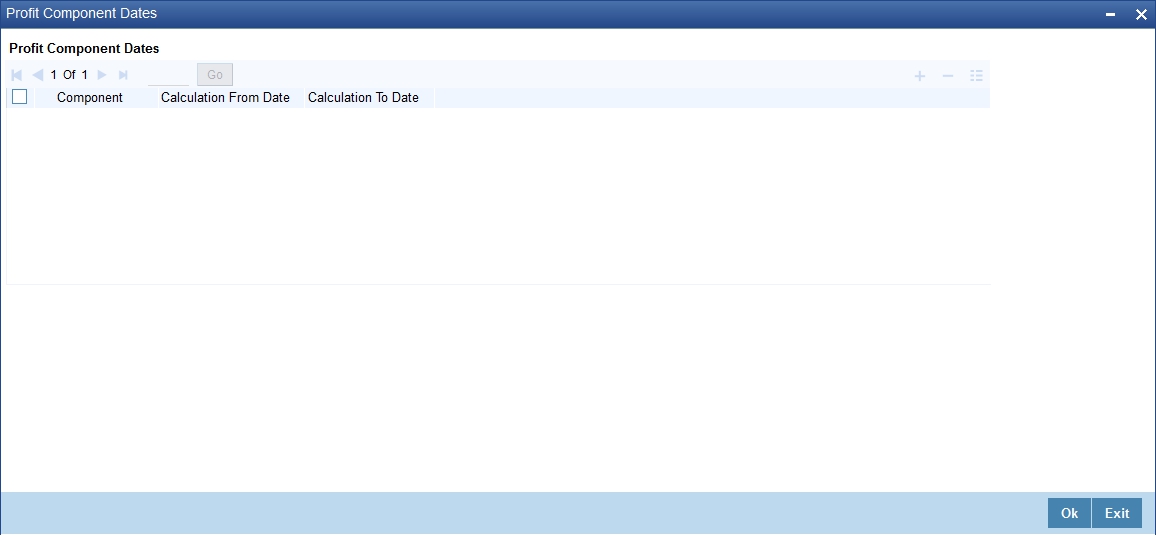
6.1.9 Interest Dates Button
Forfeiting refers to purchasing of an exporter's receivables (the amount importer owes the exporter) at a discount by paying cash.
The purchaser of the receivables (forfeiter) becomes the entity to whom the importer is obliged to pay his/her debt. You bank can process such transactions for export bills under an LC and Usance export bills. As mentioned in the earlier chapters, you can specify the change of operations for such bills at the product level.
While entering a bills contract, you can capture forfeiting interest details in the ‘Interest Computation Dates’ screen. Click ‘Interest Dates’ button in the ‘Bills and Collections – Contract Input - Detailed’ screen and invoke this screen.
Interest Component
Specify the interest components. You can choose the appropriate one from the adjoining option list. The forfaiting and rebate interest components will be displayed in this list only if the bill operation has changed to ‘Forfaiting’.
Calculate From Date
You can specify the start date for interest computation. The start date for the main interest component and acceptance interest components are defaulted from the ‘Bills and Collections - Contract Input - Detailed’ main screen. However, for the main component, you can specify the base date. The start date for forfaiting and rebate interest components is defaulted as the current date. However, you can change this. For components that have already been liquidated, you cannot change this date.
The start date for all interest components can be less than or equal to the current date. You cannot input a date in the future.
Calculate To Date
Specify the end date for interest computation. This date for the main interest component and acceptance interest components are defaulted from ‘Bills and Collections - Contract Input’ main screen. However, for the main component, you can specify the date corresponding to the base date + bill tenor. The system defaults the end date for the forfaiting and rebate interest components as the contract maturity date. However, you can change this. For components that have already been liquidated, you cannot change this date.
The end date for all interest components should be greater than the start date. Oracle FLEXCUBE supports the upload of component-level interest start and end dates.
6.1.10 Finance/Loan Accounts Button
You can preview the details of the loan linked to the bills contract by clicking ‘Finance/Loan Accounts’ button in the Contract Online screen. The details of the loan are displayed in the ‘Finance Account’ screen.
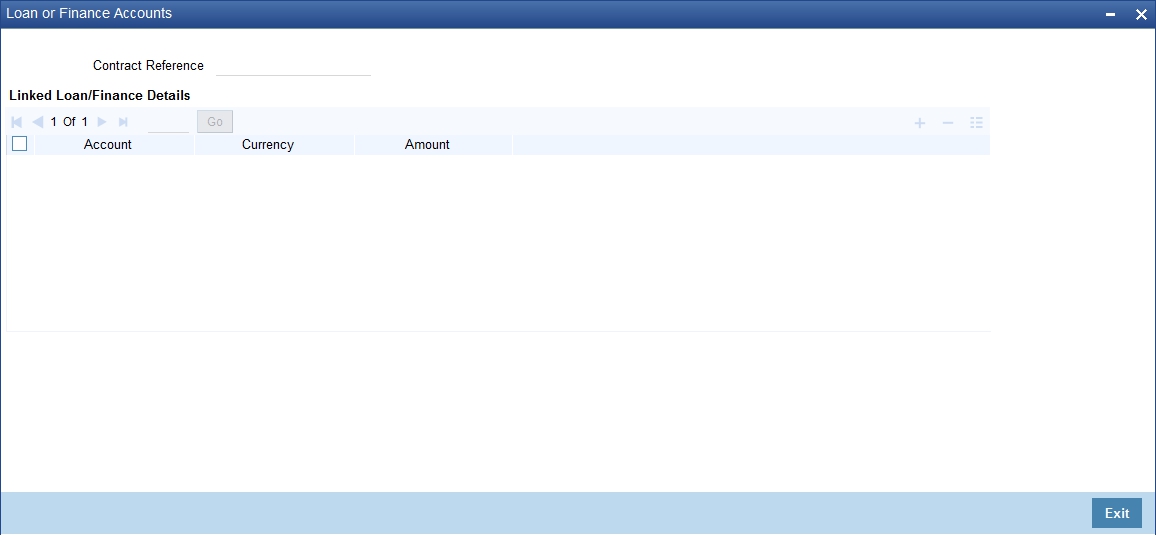
The following details are displayed here:
- All the Loan Account Numbers which are linked to bill
- The Amount Financed for the loan account
- The currency of the loan account
6.1.11 Brokerage Button
You can capture the brokerage details for a BC contract and set your preferences for sharing the brokerage amount among multiple brokers using ‘Brokerage’ screen. To invoke the screen, click ‘Brokerage’ button on ‘Bills and Collections Contract Detailed’ screen.

Contract Reference
The system displays the reference number of the contract.
Contract Currency
The system displays the currency of the bills contract. You cannot modify the contract currency.
Brokerage Percentage
Specify the percentage of the contract amount that should be paid as brokerage. Based on the percentage set here, the system calculates the brokerage amount. The brokerage amount calculation takes place at the Bills contract level.
In case of Bills contracts, you may directly enter the brokerage amount. However, if you specify the brokerage percentage as well as the amount, the system ignores the amount and calculates it afresh based on the percentage specified here.
Brokerage Amount
Specify the brokerage amount to be paid. However, if you have entered the brokerage percentage, the system ignores the amount mentioned here and calculates it afresh based on the brokerage percentage.
You can directly enter the contract amount for Bills contracts only. In case of LC contracts, the system displays the amount based on the brokerage percentage and contract amount. You cannot modify the brokerage amount in that case.
Brokerage Details
You can share the brokerage amount among multiple brokers. Click add button to add more brokers to the list.You can define the percentage of brokerage amount to be paid to each broker selected under this list
Broker
Specify the broker ID. The option list displays all valid broker IDs maintained in the system. Choose the appropriate one.
You can maintain multiple records for the same broker ID.
Broker Name
Based on the broker ID selected, the system displays the name of the broker.
Broker Account
Specify the broker account. The option list displays all valid accounts maintained for the selected broker along with the Nostro accounts and GLs for which posting is allowed. Choose the appropriate one.
Broker Currency
The system displays the currency of the selected broker account.
Percentage
Specify the percentage of total brokerage amount that should be paid to the selected broker. This will make the selected broker eligible for that percentage of the total brokerage amount shown above.
You can allot a specific percentage of the brokerage to each broker selected here. The system will verify whether the percentages allotted for all brokers together equals to 100 or not.
Amount in Account Currency
The system displays the portion of brokerage amount allotted to the selected broker in terms of local currency.
Exchange Rate
The system displays the exchange rate between the local currency and the account currency. This rate is used to convert the brokerage amount into the account currency. You can modify the exchange rate.
Amount in Contract Currency
The system calculates and displays the portion of brokerage amount allotted to the selected broker in terms of contract currency.
Original Exchange Rate
The system displays the actual exchange rate. This rate is inclusive of all available customer spreads.
Negotiated Rate
Specify the rate of exchange agreed upon after the negotiations with the broker.
The system will display an override message if the negotiated rate is not within the exchange rate variance maintained at the product.
Negotiation Reference Number
Specify the negotiation reference number.
Once you have captured the details, save the contract. The system allows modification of brokerage details until its liquidation.
The system will default the brokerage details to the bill contracts associated with this LC. You may modify the brokerage details at the bills contract level.
You can use ‘Exchange Rate’ button to get the exchange rates between the broker account currency and bill currency for all the brokers listed in the screen.
The system defaults the brokerage details in ‘Spilt Settlements’ screen. Those details are then used in settlements. You can enter the routing details for the messages in case the settlement takes place through Nostro account. If you modify the default brokerage details in ‘Split Settlements’ screen, the system displays an error message.
During liquidation of the brokerage, the system generates credit advices for each of the brokers involved.
6.1.12 Charges Transfer Button
Click ‘Charges Transfer’ button to invoke the ‘Charges Transfer’ screen. This screen displays charge components transferred from LC and component wise outstanding charges for the LC against which the Bill is being availed.
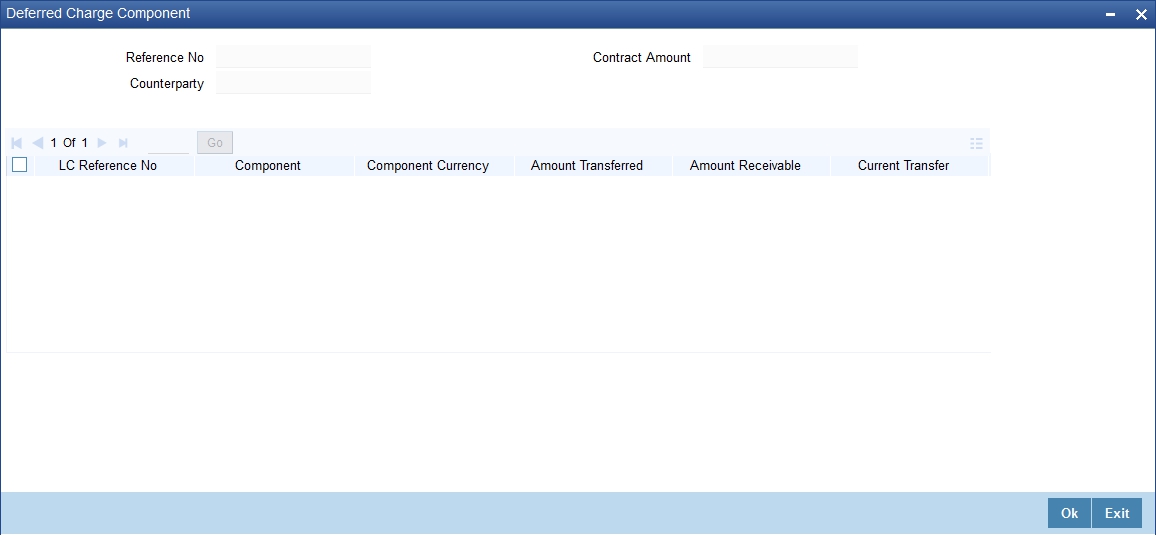
Following details are displayed:
- Reference Number
- Contract Amount
- Counterparty
- Currency
- LC Reference Number
- Component
- Component Currency
- Amount Transferred
- Amount Receivable
- Current Transfer
The total amount transferred onto the Bill for a component is internally allocated amongst the various events of the LC during which the component was charged. System transfers the charge from LC completely and the same gets marked as liquidated.
You have to input the charges transferred as a part of the bill being input and it is mandatory to input the amounts in the current transfer field of this screen if the bill is under an LC and there are charges defined for the LC to be collected as a part of the bill.
Any event which is triggered in LC (where the charges are applicable and charge components is marked as Collect LC Charges in Bills) before the bill booking will be allowed for transfer.
In case of a bill lodged under an LC where partial shipment is allowed and an event occurred in LC for which Collect LC Charges in bills is selected, then during subsequent bill booking these charge components will be available for transfer.
This screen does not display any waived components.
6.1.12.1 Accounting Entries for Charges as a part of Bills
During LC charges transferred from the LC, the following accounting entries will be passed as a part of Bill Liquidation:
Dr/Cr |
Accounting role |
Amount tag propagated from LC |
Dr |
BC_CUSTOMER |
LC_CHG_TFR_LIQD |
Cr |
BC_LC_CHG_RECV |
LC_CHG_TFR_LIQD |
The system will not pass any accounting entries with regards to transfer of charge onto bills if the corresponding account entries are not maintained in the LIQD event of Bill. System settles the charges transferred completely in bills.
6.1.13 Drawer/Drawee IC Button
For inward and outward bills collection, system records and displays the Presenting Bank’s additional charges and interest on advice, as claimed by the drawer. System can record charges and interest with interest rate and other details i.e. interest rate, start date and basis of calculation (360/365) and against this charge component, you have to mention the following in the system:
- whether charges to be collected from the drawer or drawee
- whether charges/interest can be waived or cannot be waived
You can view all these details on the advice and upon the settlement of the bill. System populates and validates all the data.
For instance, in normal scenario drawer’s bank charges are collected from the drawer and drawee bank’s charges are collected by the drawee. However, some time drawer’s bank ask their charges also from the drawee only and additionally, drawer also will like to collect some interest as well along with the invoice value. System records the details of this charges/interest and mentions if these charges can be waived or not.
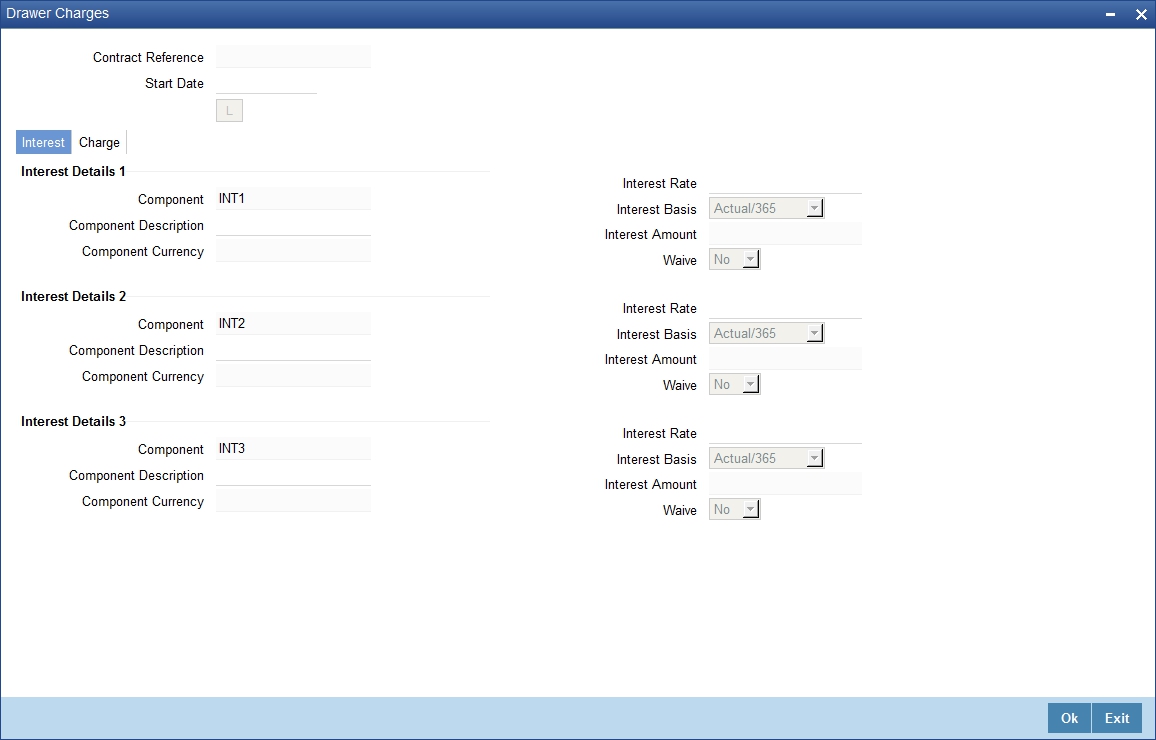
Click ‘Drawer/Drawee IC’ button to invoke the ‘Drawer/Drawee Interest and Charges’ screen. In this screen, you can define the charge and interest components at the time of initiation of contract.
Specify the following details in this screen:
Contract Reference Number
Contract Reference Number is displayed.
Start Date
Specify the Start date for interest details. Start date cannot be less than bill booking date.
6.1.13.1 Interest Tab
Specify the following details pertaining to interest:
Interest Details 1
Specify the following details:
Component
Specify the interest component.
Component Description
Specify the description of the interest component.
Component Currency
Specify the currency of the interest component.
Interest Details 2
Specify the following details:
Component
Specify the interest component.
Component Description
Specify the description of the interest component.
Component Currency
Specify the currency of the interest component.
Interest Details 3
Specify the following details:
Component
Specify the interest component.
Component Description
Specify the description of the interest component.
Component Currency
Specify the currency of the interest component.
Interest Rate
Specify interest rate. Interest rate cannot be greater than 100.
Interest Basis
Select the interest basis from the drop-down list. You have the following options:
- Actual/360
- Actual/365
- Actual/364
- 30(Euro)/360
- 30(US)/360
- 30(Euro)/365
- 30(US)/365
- 30(Euro)/Actual
- 30(US)/Actual
- Actual/Actual
- 30(Euro)/364
- 30(US)/364
Interest Amount
The interest amount is the interest to be levied on drawer.
Waive
Select the waiver from the drop-down list. You have the following options:
- Yes - If you select this option, then there will be no implications of calculated interest amount
- No - If you select this option, then you can modify the calculated interest amount
System considers the period between the start date and the date of liquidation for calculating interest amount.
During liquidation, system calculates and displays the amount for each of the defined component.
6.1.13.2 Charge Tab
In the ‘Drawer/Drawee Interest and Charges’ screen click ‘Charge’ tab to maintain the charge details.
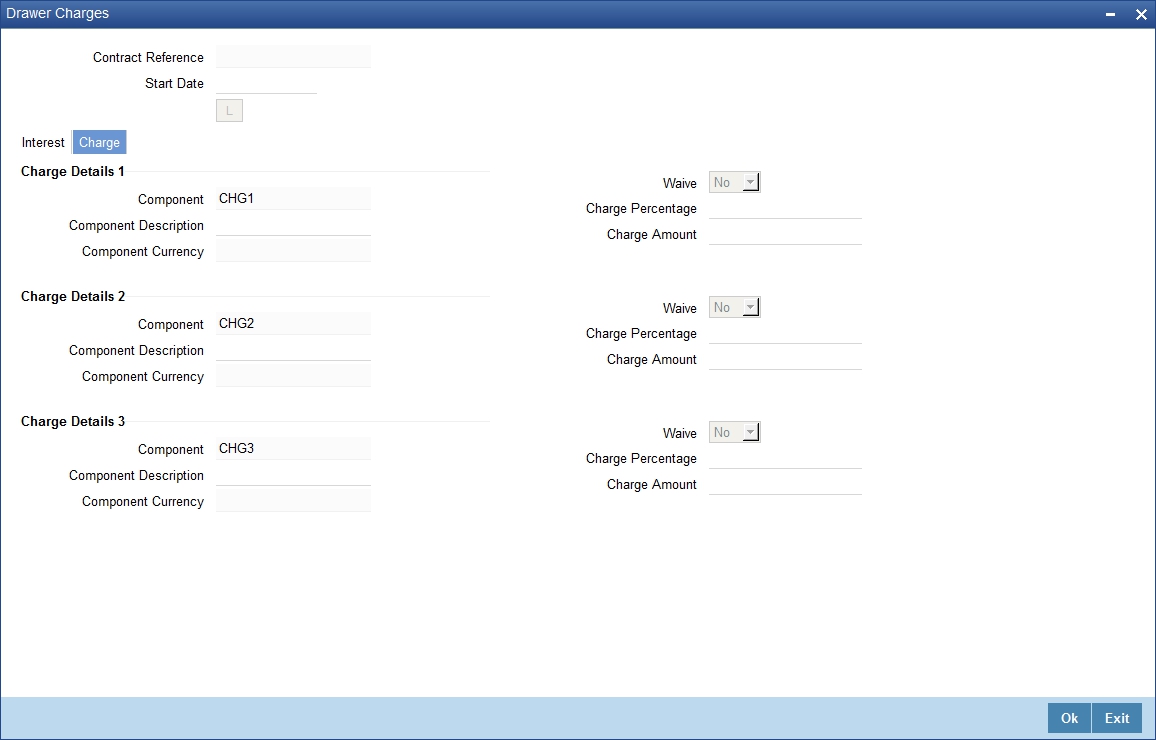
Specify the following details pertaining to the charges:
Charge Details 1
Specify the following details:
Component
Specify the charge component.
Component Description
Specify the description of the charge component.
Component Currency
Specify the currency of the charge component.
Charge Details 2
Specify the following details:
Component
Specify the charge component.
Component Description
Specify the description of the charge component.
Component Currency
Specify the currency of the charge component.
Charge Details 3
Specify the following details:
Component
Specify the charge component.
Component Description
Specify the description of the charge component.
Component Currency
Specify the currency of the charge component.
Waive
Select the waiver from the drop-down list. You have the following options:
- Yes - If you select this option, then there will be no implications of calculated charge amount
- No - If you select this option, then you can modify the calculated charge amount
Charge Percentage
Specify charge percentage. It cannot be greater than 100.
System calculates the final charge based on this value.
Charge Amount
The charge amount is the charge to be levied on drawer.
In case of Partial Liquidation, system calculates the drawer’s/drawee’s Interest and Charges in full and recovers during the first liquidation. Interest is calculated till maturity date of bill. During liquidation the remaining Bill amount, the drawer’s/drawee’s Interest and Charges are not applicable. During liquidation, system calculates and displays the amount for each of the defined component.
In the BC module the initial operations include Purchase, Discount and Negotiation (BPUR, BDIS and INIT) events are shown below:
Dr/ Cr |
Account role code |
Amount tag |
FCY Amount |
Exch. Rate |
LCY Amount |
Date |
Dr |
BILLS PURCHASED |
LOAN_LIQD_AMT |
200 USD |
50 |
10000 |
7-SEP-09 |
Cr |
BRIDGE GL |
LOAN_LIQD_AMT |
200 USD |
50 |
10000 |
7-SEP-09 |
Dr |
BILLS PURCHASED |
AMT_PURCHASED |
100 USD |
50 |
5000 |
7-SEP-09 |
Cr |
CUSTOMER |
AMT_PURCHASED |
100 USD |
50 |
5000 |
7-SEP-09 |
The corresponding events in CL would trigger the LIQD event in the CL module, whose appropriate accounting entries are as seen under:
Dr/ Cr |
Account role code |
Amount tag |
LCY Amount |
Date |
Dr |
BRIDGE GL |
PRINCIPAL_LCRY |
9000 |
7-SEP-09 |
Cr |
ASSET GL |
PRINCIPAL_LCRY |
9000 |
7-SEP-09 |
Dr |
BRIDGE GL |
<INTEREST>_LCRY |
1000 |
7-SEP-09 |
Cr |
INTERESTREC |
<INTEREST>_LCRY |
1000 |
7-SEP-09 |
In addition to the above events, the system maintains normal LIQD accounting tags for any further Manual Liquidations in the CL module.
For example, let us illustrate accounting entries for the additional events using conditions bulleted below:
- Funds received in NOSTRO = USD 600
- Bill Amount = USD 600
- Loan Outstanding in LCY(Principal and Interest) = INR 10,000
- Bills Purchased = USD300
- Effective LCY Exchange Rate USD/INR =50
The table below shows LPUR/LDIS/LIQD events in the BC module:
Dr/ Cr |
Account role code |
Amount tag |
FCY Amount |
Exch. Rate |
LCY Amount |
Date |
Dr |
NOSTRO |
LOAN_LIQD_AMT |
200 USD |
50 |
10000 |
10-SEP-02 |
Cr |
BRIDGE GL |
LOAN_LIQD_AMT |
200 USD |
50 |
10000 |
10-SEP-02 |
Dr |
NOSTRO |
AMT_PURCHASED |
300 USD |
50 |
15000 |
10-SEP-02 |
Cr |
BILLS PURCHASED |
AMT_PURCHASED |
300 USD |
50 |
15000 |
10-SEP-02 |
Dr |
NOSTRO |
COLL_LIQ_AMT |
100 USD |
50 |
5000 |
10-SEP-02 |
Cr |
CUSTOMER |
COLL_LIQ_AMTEQ |
100USD |
50 |
5000 |
10-SEP-02 |
In case of the event LIQD you need not maintain accounting entries pertaining to Purchase. In case of Normal Liquidation without any Purchase or Loan linkages, you need to maintain the existing tags ‘BILL_LIQ_AMT’ and ‘BILL_LIQ_AMTEQ’. Finally in case or Loan or Purchase Liquidation, the excess funds are linked to the ‘COLL_LIQ_AMT ‘tag. The order for Liquidation Proceeds is Loan Asset, Bills Purchased Asset and then Customer.The corresponding event in the CL module triggers a Loan LIQD event shown in the table below:
Dr/ Cr |
Acc-role |
Amount tag |
LCY |
Date |
Dr |
BRIDGE GL |
PRINCIPAL_LCRY |
9000 |
10-SEP-02 |
Cr |
ASSET GL |
PRINCIPAL_LCRY |
9000 |
10-SEP-02 |
Dr |
BRIDGE GL |
<INTEREST>_LCRY |
1000 |
10-SEP-02 |
Cr |
INTERESTREC |
<INTEREST>_LCRY |
1000 |
10-SEP-02 |
Again more then the above the system maintains normal LIQD accounting tags for any further manual liquidations in the CL module.
6.1.14 Message Preview Button
You can preview the messages or advices that will be generated for the contract using ‘Message Preview’ screen. To invoke this screen, click ‘Message Preview’ button.
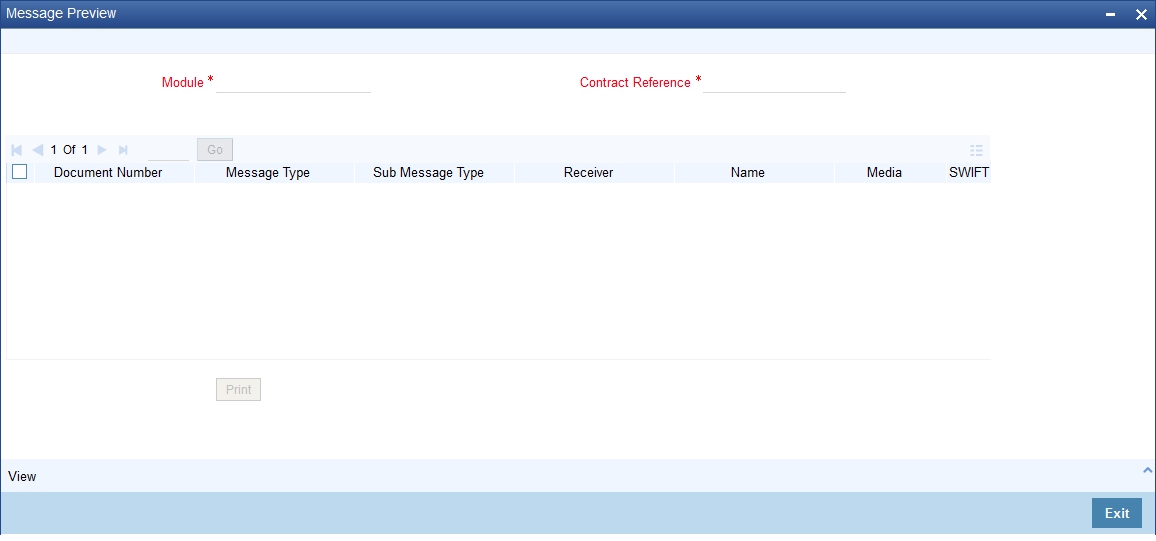
For the contract, you can view the following details of the messages:
- The document number generated for the message/advice
- Type of message generated for the event
- Customer ID of the receiver of the message/advice
- Name of the receiver of the message/advice
- Media of transmitting the message/advice (Mail/SWIFT)
- SWIFT message type of the message
- Status of the message/advice
If the contract is authorized. you cannot use the message preview feature. The ‘Message Preview’ button will be disabled in that case.
Message preview functionality is available on save for all the BC transactions. Along with the preview option, you will be allowed to print the required message/advice from the preview screen.
6.1.14.1 Viewing Message/Advice
Select a message/ advice and click ‘View’ button to view the complete message/advice. The system will display the following details in a new window.
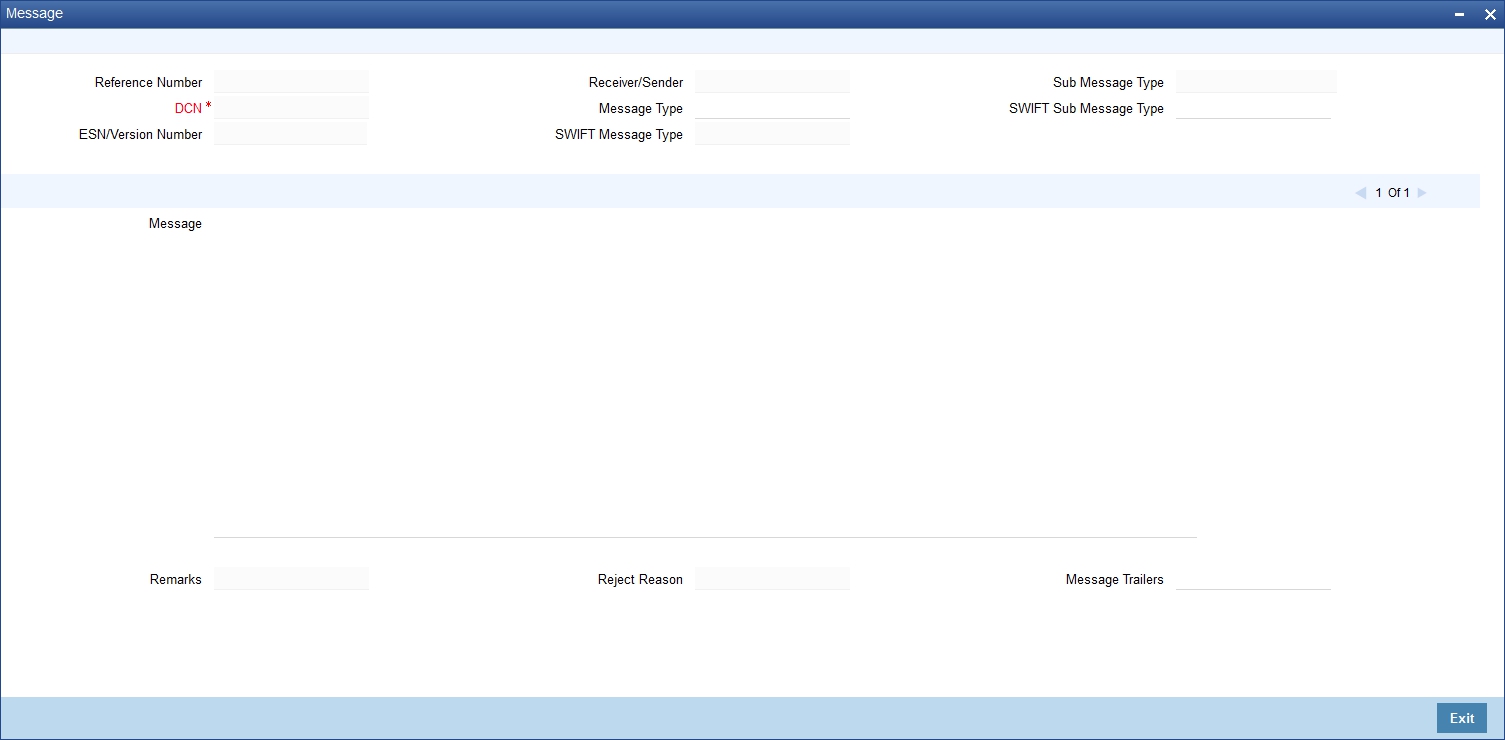
You can view the following details:
- Reference number of the message/advice
- Document number generated for the message/advice
- Version number of the message/advice
- Receiver/sender of the message
- Type of the message
- Type of the SWIFT message
- Complete text of the message/advice
- Remarks, if any
- Reject reason, if any
- Message trailer
6.1.14.2 Printing Message/Advices
From the ‘Message Preview’ screen, you can print or spool a message/advice using ‘Report Options’ screen. Select the message/advice and click ‘Print’ button to print the message/advice.
6.1.15 All Messages Button
Click ‘All Messages’ button to invoke the ‘View Message’ screen. This screen displays all the incoming and outgoing messages associated to the contract.
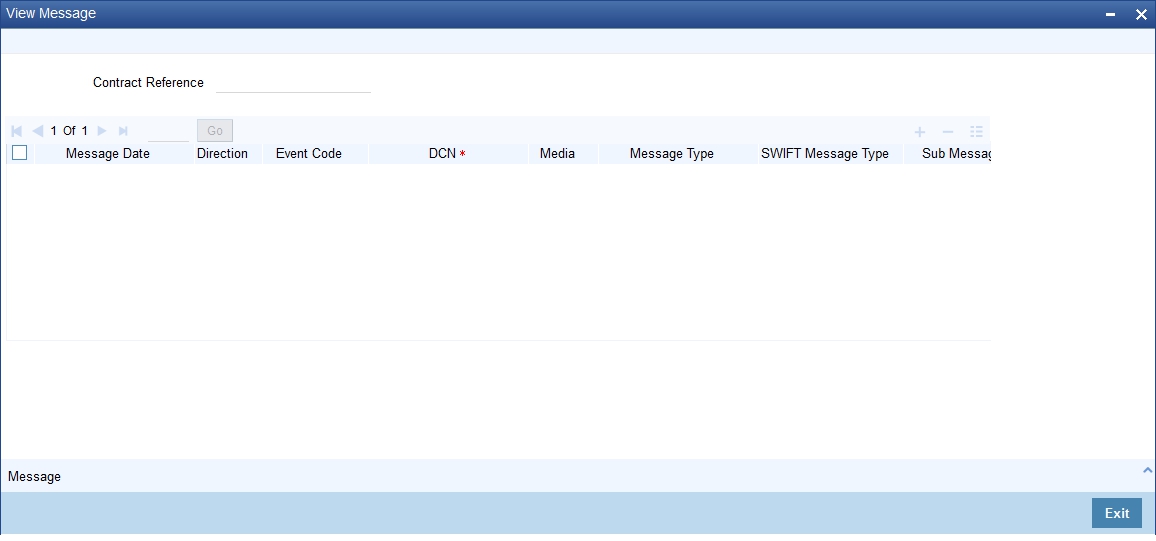
The following details are displayed:
Contract reference number
Displays Reference number of the contract, for which messages are generated.
Message Date
Displays the message generation date or received date
Direction
Displays whether the message is an incoming or outgoing message
DCN
Displays document reference number of a contract.
Media
Displays whether the message is a swift message or mail message
Message Type
Displays the type of message
Swift Message Type
Displays the Swift MT number of the message sent or received
Receiver/Sender
Displays Receiver or Sender ID.
Name
Displays the name of the Sender or Receiver
Message Status
Displays current status of message
Test Status
Displays the test status
Authorized
System displays whether the status is authorized or unauthorized.
Acknowledgement Status
Displays the Ack/Nack status of a message
PDE Flag
Displays the PDE flag
Select a message and click on Message button to view details of the message.
6.1.16 Import License Button
You can link the import license to an import BC contract and update the utilization amount or quantity for the linked import licenses. Click on ‘Import License’ to view the import license details.
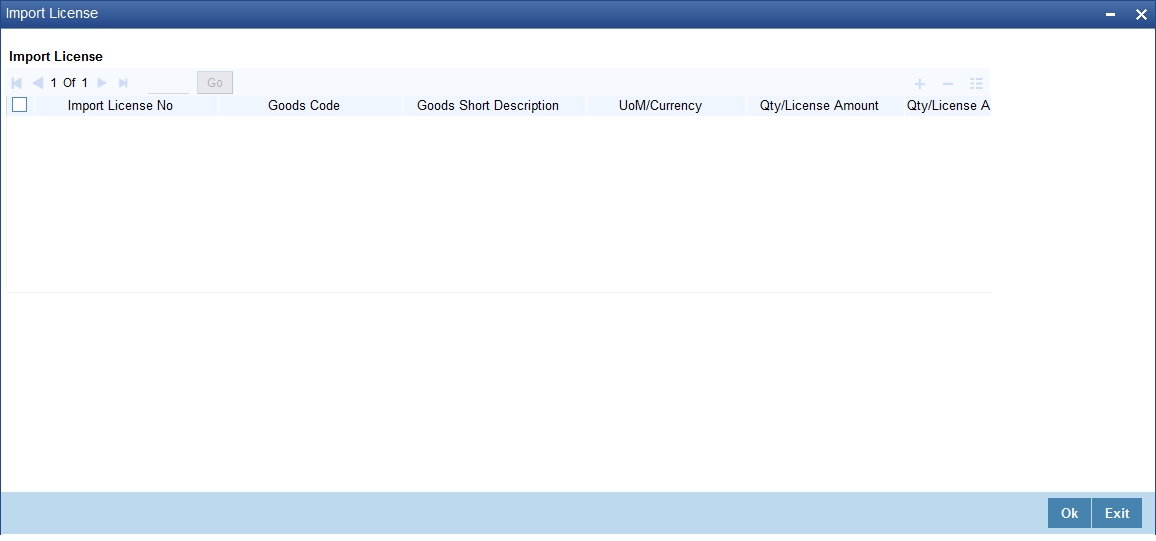
Import License No
Select the import license number from the adjoining option list.The import licenses maintained for the party type ‘Applicant’ in the Import License Maintenance screen is displayed in the option list.
Goods Code
Select the goods code from the adjoining option list.
Goods Short Description
The system displays the goods code description maintained in the ‘Bills and Collections Commodity Code Maintenance’ screen.
UoM/Currency
The system displays the unit of measurement or currency captured for the goods code of import license.
Note
If the basis is ‘Quantity’, then the system displays the UoM maintained for the goods code.
If the basis is ‘Amount’, then the system displays the currency maintained for the import license.
Qty/License Amount
The system displays the Quantity or License Amount captured for the goods code of import license.
Qty/License Amt Already Utilized
The system displays the sum total of Quantity or License Amount already utilized for the goods code.
Qty/License Amt Already Reinstated
The system displays the sum total of Quantity or License Amount already reinstated for the goods code.
Available Qty/License Amt
The system displays either the Available Quantity or Available License Amount for the goods code.
Qty/License Amt Utilized
Specify the quantity or the license amount utilized.
Note
If the license utilization basis is Quantity, then the system defaults the License Amount Utilized as Quantity Utilized * Rate/Unit.
Qty/License Amt Reinstated
Specify the quantity or the license amount reinstated.
Note
- If the License Amount Utilized is maintained for an goods code of an import license, then the system allows reinstatement of the license amount.
- The ‘Qty/License Amt Reinstated’ should be less than or equal to the sum total of Qty/License Amount Utilized - Qty/License Amt Reinstated.
- You can enter either Qty/License Amount Utilized or Qty/License Amt Reinstated for a goods code.
If a goods code is classified as licensed or prohibited and is captured for an import LC or BC contract and if the import license details are not specified, then on save the system displays an override message as 'Import License Details are not entered for the contract'.
After authorization, you cannot modify or delete import licenses linked to a BC contract.
Note
If the good is classified either as Licensed or as Prohibited and the import licence details are not entered in the LC or BC contract screens, then the system displays an override message as ‘Import license details are not entered for the contract’.
6.1.17 OFAC Check Button
OFAC check enables the application to call an external web service to perform black list check for customer and customer accounts and give warnings appropriately while transacting with black listed customers. You can also capture your remarks before overriding the black list warning.
Click ‘OFAC Check’ button in ‘Bills and Collections - Contract Input - Detailed’ screen to view the OFAC check response in the ‘External System Detail’ screen On clicking ’OFAC Check’ button, system will build the request XML and call the web service. The ‘External System details’ screen displays the response is received from the external system and you will be also allowed to enter your remarks in this screen. The response received will also be sent to Oracle FLEXCUBE Database layer for any further interpretations of the same. This button can be made visible while carrying out the actual customization. Request building response interpretation in the database layer needs to be done as part of customization to enable this.
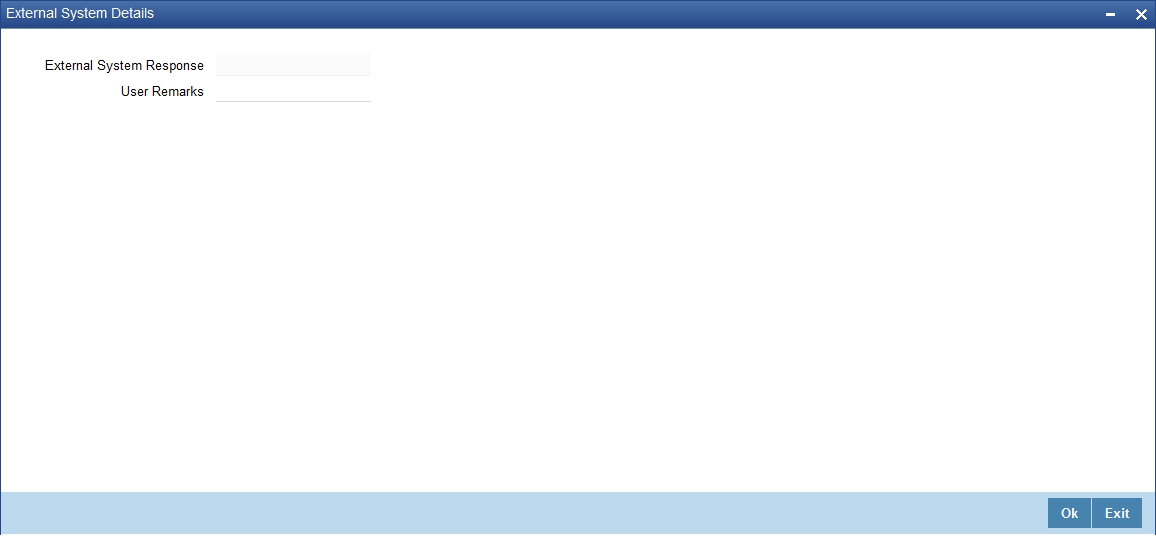
Here, you can view /capture the following details:
External System Response
The response from the external system regarding the black listed customer is displayed here.
User Remarks
Specify your remarks regarding the black listed customer here.
6.1.18 Collateral Button
While processing a bill against an LC, you can reduce the cash offered as collateral for the LC.
In the ‘Bills and Collections - Contract Input - Detailed’ screen, you need to click ‘Collateral’ button. The ‘LC Cash Collateral’ screen is displayed.
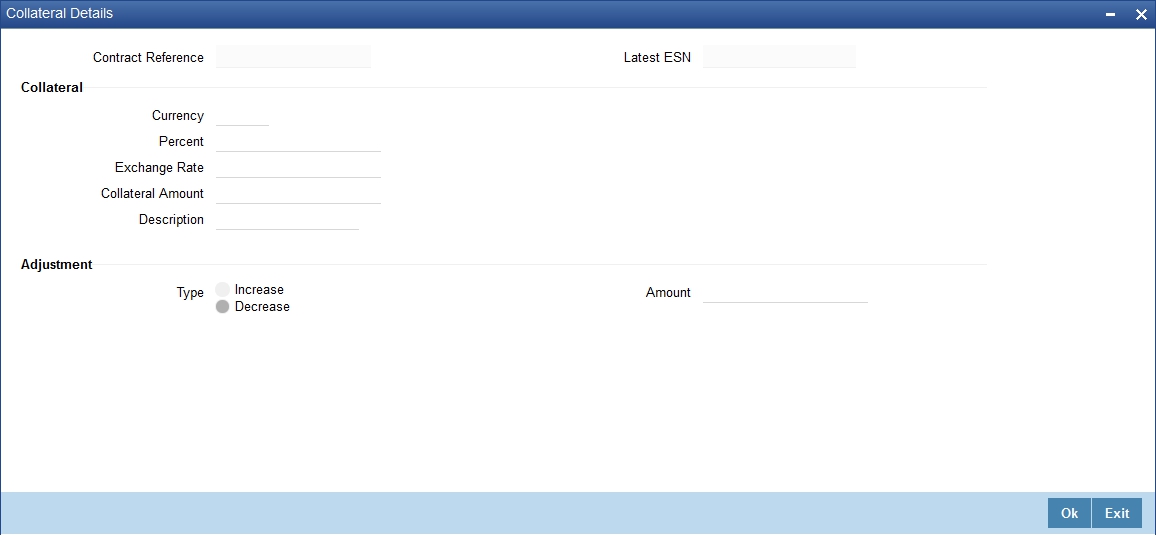
You can reduce the cash collateral amount by the amount being availed through the bill. If you make an availment against an LC and do not reduce the cash collateral, an override message is displayed. Oracle FLEXCUBE will not automatically reverse the cash collateral when an availment is made against an LC.
6.1.18.1 Linking Contracts to Accounts and Deposits
You can ‘link’ a deposit or an account to a bill contract. Linking a deposit or account to a bill means:
Type of Linkage |
It Implies |
Linking a deposit |
The entire bill amount, or a portion of it, can be linked to a deposit. The outstanding amount in the deposit should always be greater than or equal to the outstanding bill amount. A deposit can be linked to more than one contract provided funds are available in the deposit. |
Linking an account |
You can link the entire contract amount, or a portion of it, to a savings or current account that is maintained with you. The available balance in the account should always be equal to or greater than the contract amount that is outstanding. An account can be linked to any number of contracts provided a balance greater than or equal to the total amount outstanding in the linked contracts is available. |
Please note that the entire contract amount, or a portion of it, can be linked to any number of deposits and accounts, or both. From the ‘Bills and Collections - Contract Input - Detailed’ screen you can invoke the ‘Contract Linkages’ screen by choosing the ‘Linkages’ button. In this screen, you can specify any account maintained with you and indicate the funds that you would like to block.
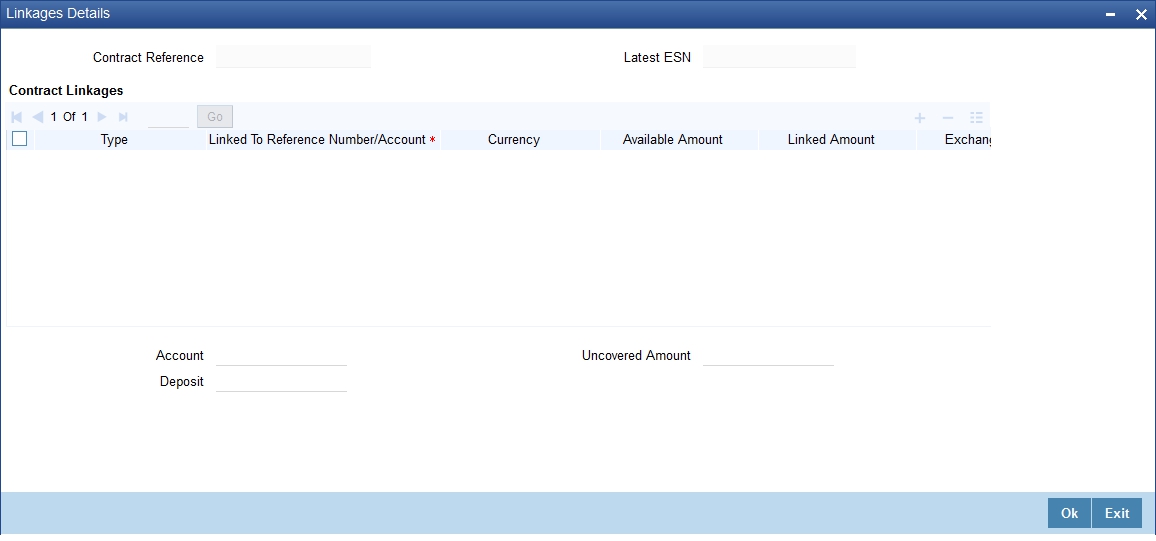
6.1.19 Linkage Details Button
In the Contract Details screen, you can specify the type of linkage. The bill can be linked to a:
- Deposit
- Customer account
- Shipping Guarantee
- Export LC
For export LC, note the following:
- ‘Export type of LC’ is the only option displayed in the option-list.
- System allows Export LC for linkage only for bills under reimbursement type of LC.
- An override message is displayed if any outstanding advising charges are to be collected at the time of bill lodgement or liquidation. This override message is only for Import Bills under LC. You can link the export LC from the ‘Linkages Details’ screen and perform the charges transfer
Note
For shipping guarantee, if bill amount is less than the shipping guarantee amount, an error will be displayed. In case bill amount is more than the shipping guarantee amount, an override message will be displayed.
Specifying the Details of the Linkage
If the bill you are processing is linked to a deposit, you should enter the Reference Number of the deposit. The deposit should be a valid contract in Oracle FLEXCUBE, with a Value Date that is earlier than, or the same as the Value Date of the bill, and a Maturity Date that is the same as, or later than that of the bill.
If you link the bill to an account, you must specify the account number. The account has to be a Current or Savings Bank account.
Version Number
The version number of the bill on which you are working is displayed in this field.
Currency
The currency of the linkage type to which the bill is linked is displayed once the linkage details are specified.
Exchange Rate
If the currency of the bill is different from the currency of the deposit or account to which it is linked, the mid-rate for the day will be picked from the Exchange Rate table, and displayed in the screen.
Linked Amount
In this screen, you should also indicate the contract amount that has to be linked to the deposit or account. This amount can be the entire bill amount, or a portion of it. The ‘amount available for linkage’, in the specified deposit or account, is arrived at taking into account the other linkages and uncollected funds, and the unauthorized balance (in case an account).
The system will display the following amounts, once you specify the Linked Amount:
- Amount linked to each contract or account
- The contract amount that has not been linked, in the case of a partial linkage
This is the type or nature of the document that you have specified in the Document code field. This field is defaulted based on the document code you have selected.
The documents required under a bill can be of the following types:
- Transport documents
- Insurance documents
- Invoices
- Other documents (including packaging list, certificates of origin, etc.)
Linked to Reference Number Account
Specify the contract/account to which you wish to link the bill.
Converted Linked Amount
If the linked contract is in a different currency (than that of the bill), the system will convert the account/contract amount into the bill currency and display it here.
Available Amount
The system displays the amount available in the linked contract/amount.
6.1.20 FX Linkage Button
Oracle FLEXCUBE allows you to link a bill involving a specific counterparty with FX deals involving the counterparty. This feature guards you against exchange rate fluctuations. For instance, in case cross currency settlements are made for a bill, you would, typically, enter into a forward deal with the counterparty (or ask the counterparty to enter into a forward deal).
Click ‘FX Linkage’ button from the Contract screen. The ‘FX Linkage’ screen is displayed.
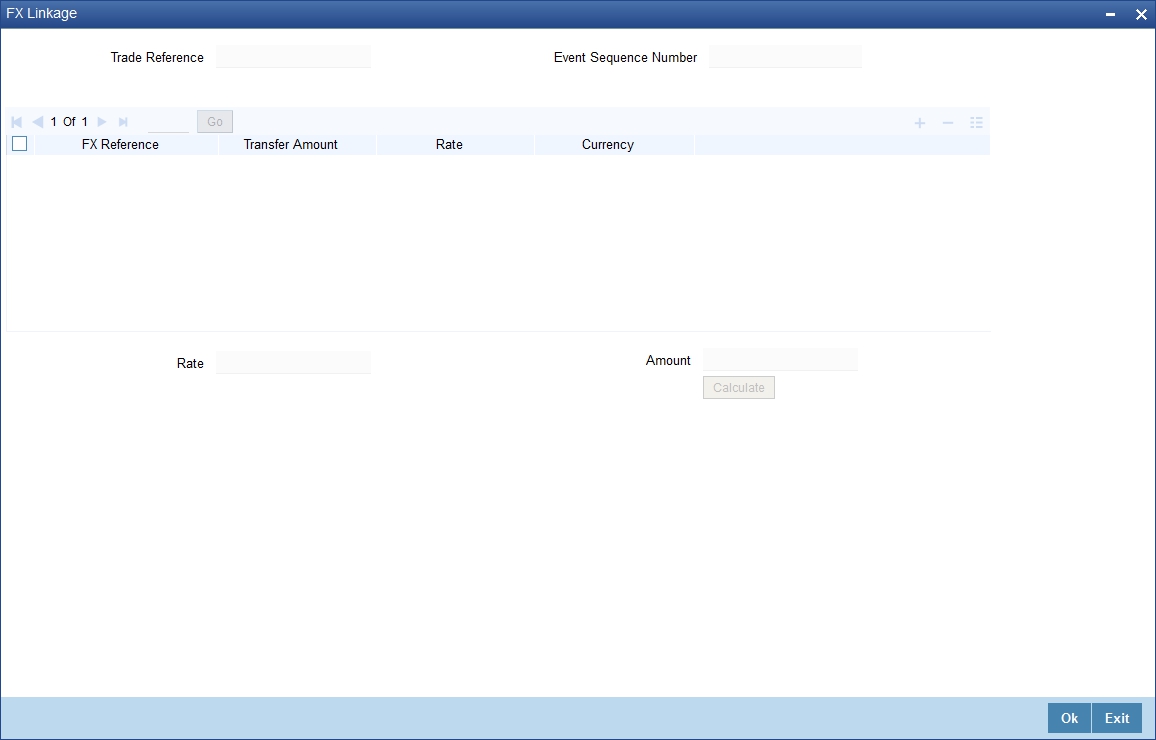
You can link one or more FX deals to a bill. The value of an FX deal should not exceed the value of the bill it hedges. If you link several FX deals to a bill, the total value of all the deals should not exceed the bill amount.
6.1.21 Change Log Button
You can view the values that were modified in a specific version of a bills contract. In the Contract Details screen, click ‘Change Log’ button to see the changes made at a specific version. The values that changed in the version will be displayed in a screen, as follows:
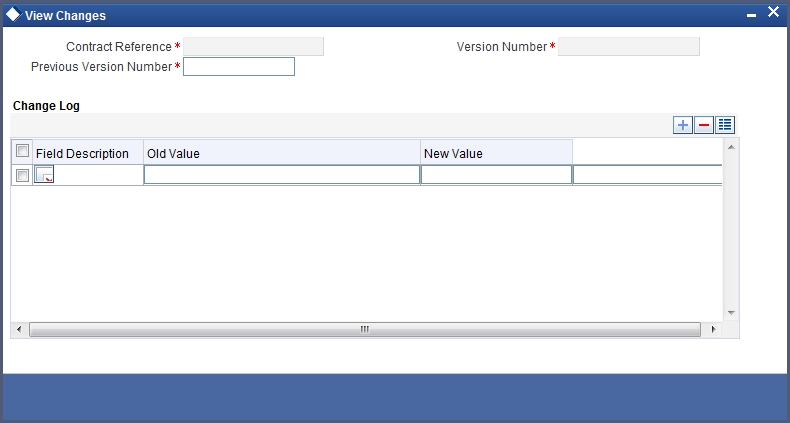
6.1.21.1 Viewing Different Versions of a Bill
When you enter a bills contract, it is allotted the version number 1. From then on, each amendment that you make to the contract results in the next version of the contract being created. In Detailed View screen of a contract the latest version will be displayed. To navigate between the various versions, use the arrow buttons to view the previous and next versions.
6.1.21.2 Indicating Advice Processing Charge Collection Preference
Oracle FLEXCUBE provides you with the facility to automatically debit customers of the charges you incur in sending them advices over different media types. When creating a product, you can set up these charges. However, when processing a contract, you can opt to waive these charges.
At the time of saving a contract, the system displays the ‘Product Event Advices Maintenance’ screen wherein you will be allowed to:
- Suppress an advice from being sent
- Change the Priority of the advice
- Indicate that charges have to be collected from the receiving party
If you indicate that the customer is the receiver of charges, the system automatically locates the relevant Receiver, Media and Country combination from the available Charge Maintenance Details records, and deducts the charge amount associated with the particular combination. The Charge amount is deducted from the customer account in the specified currency. If you have not maintained a Charge Maintenance Details record for the particular customer, the system uses the wildcard entry type record to deduct the charge amount.
6.1.22 Remarks
Click Remarks button to view all the instructions captured on every transaction of the contract in ‘History of Remarks’ screen.
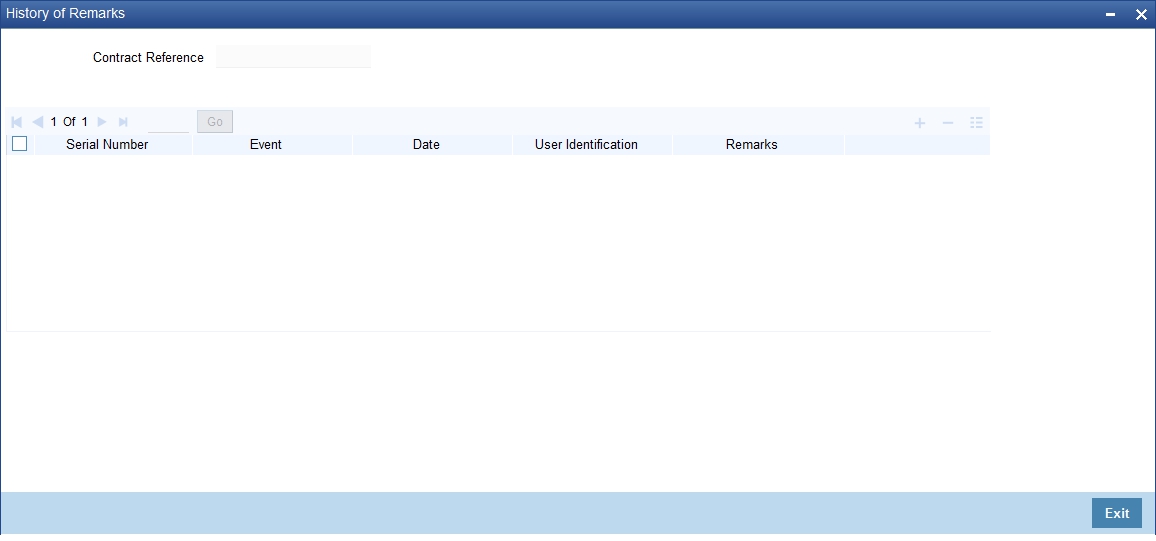
The system displays the following:
Contract Reference Number
The sytem displays the contract reference number
Serial Number
The system displays the serial number.
Event
The system displays the event code of the event.
Date
The system displays the date on which the instructions were captured
User Identification
The sytem displays the user id of the user who created the notes
Remarks
The sytem displays the instructions that the user captures
6.1.23 Common Group Message
You can enter details of common group messages using the Common Group Message screen. Click on ‘Common Group Message’ to open this screen. .
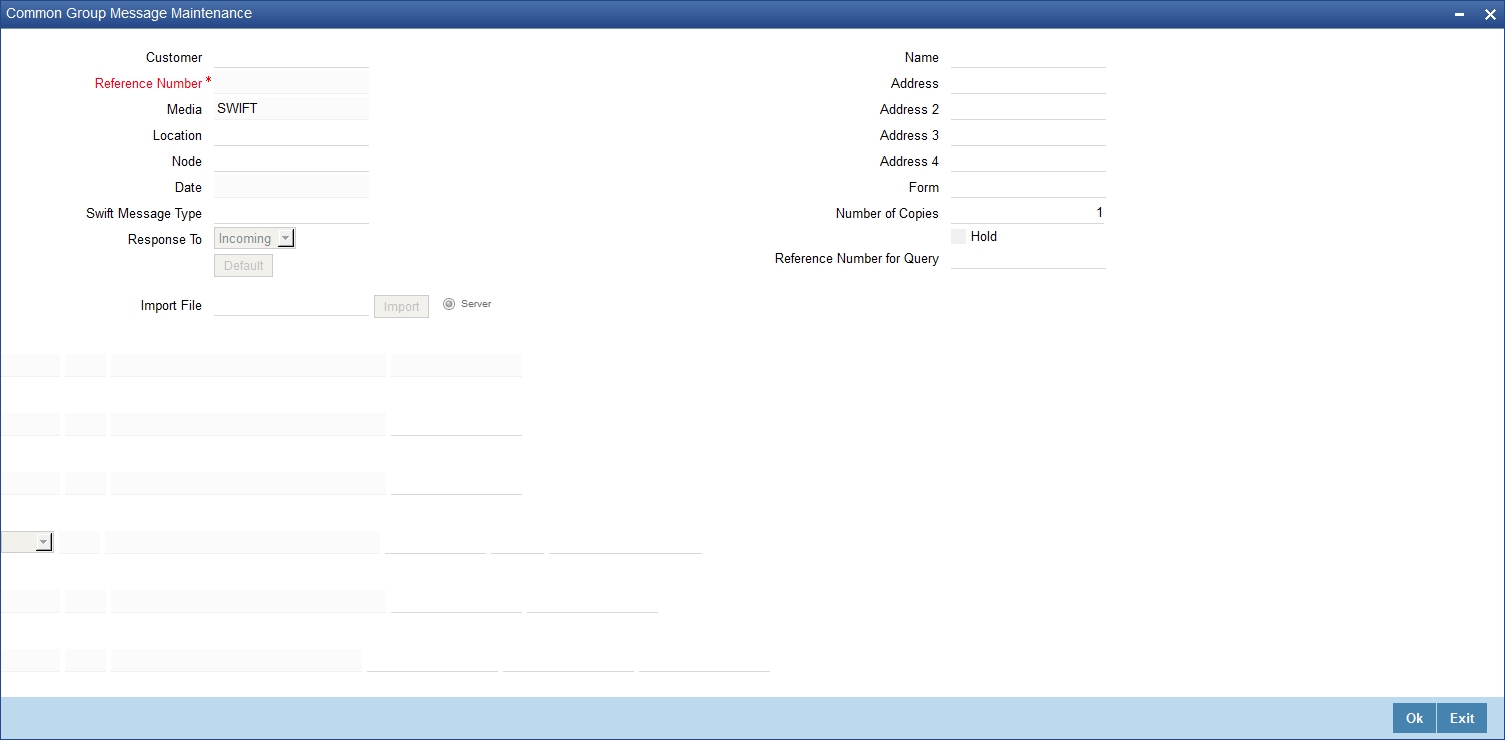
For field descriptions of the above screen refer the section ‘Common Group Message Maintenance’ in chapter titled ‘Defining Free Format Messages’ in ‘Messaging System User Guide’.
You can enter the details of the message and the message is saved when the contract is saved.. The saved messages can be viewed in the message preview subsystem before authorization. On authorization of the contract, the message is generated. After authorization, the messages can be viewed from ‘All Messages’ subsystem and ‘Events’ subsystem.
The common group messages which are supported are listed below:
MT |
MT Name |
n90 |
Advice of Charges, Interest and OtherAdjustments |
n91 |
Request for Payment of Charges, Interest and Other Expenses |
n92 |
Request for Cancellation |
n95 |
Queries |
n96 |
Answers |
n98 |
Proprietary Message |
n99 |
Free Format |
6.1.24 Substitution Bills
You can capture the import bill reference details in the Substitution Bills sub screen. You can invoke this screen by clicking ‘Substitution Bills’ button in the BC Contract screen.
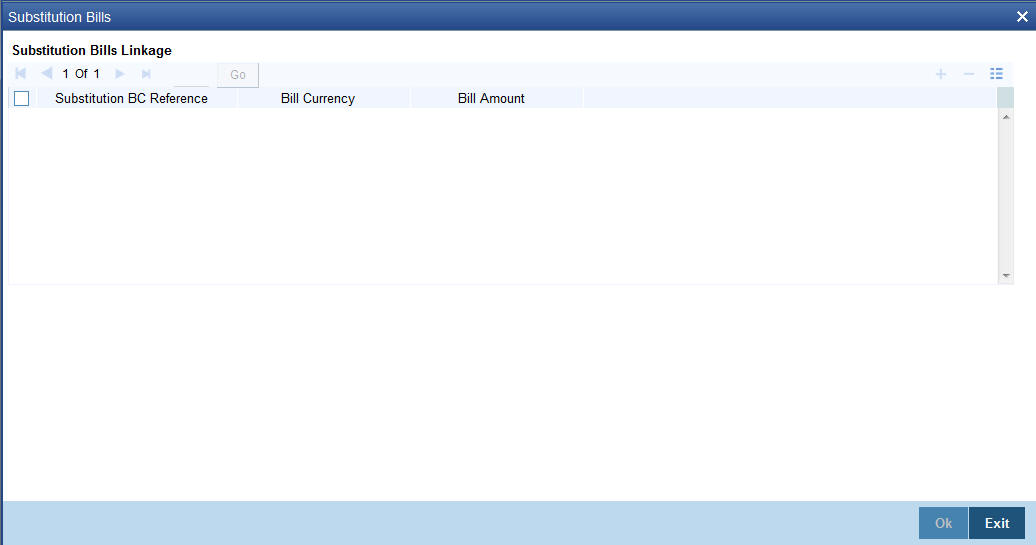
You can specify the following here:
Substitution BC Reference
Specify the substitution bill reference number. Alternatively, you can select the reference from the option list. The list displays all the bills which are created under the product category 'Bill under transferred LC' and are linked to LC contract which are created on transfer of the parent LC contract to which the export bill is linked.
You cannot link an import bill which is already linked to another export bill.
Bill Currency
The system displays the bill currency.
Bill Amount
The system displays the bill amount.
6.2 Bill Liquidation
This section contains the following topics:
- Section 6.2.1, "Liquidating Receivable Components of a Bill"
- Section 6.2.2, "Reversing Liquidation Entries"
- Section 6.2.3, "Partial Payment of Discounted Bills"
6.2.1 Liquidating Receivable Components of a Bill
The components of a bill can be liquidated either automatically or manually. The receivable components of a bill, however, will have to be liquidated manually. This is because when a component is due from a customer, and the customer is unable to pay, you debit your interest receivable account and credited the income account.
When the customer pays you can liquidate the receivable outstanding components of the bill from the Bills and Collections Contract screen either by selecting ‘Liquidate’ from the Application toolbar or clicking liquidate icon. Enter the liquidation amount and save the liquidation. The contract will be liquidated.
6.2.2 Reversing Liquidation Entries
You can reverse the authorized accounting entries that were passed when you liquidated an outstanding receivable component of a bill. You can reverse the accounting entries passed for the liquidation of an outstanding component of a bill through the Receivable Liquidation screen. Specify the Contract Reference Number of the bill. All the outstanding components of the bill that were paid from a receivable account will be displayed.
Query the component whose liquidation entries you want to reverse. Choose Reverse form the Processing sub-menu of the Application toolbar. The system will prompt you to indicate whether you want to reverse the liquidation entries passed for the outstanding component or make the component outstanding again.
If you indicate that the entries should be reversed, the accounting entries that were passed earlier will be reversed. However, you will not be able to pass further entries for the payment of that component at a future date. If you indicate that the component should be made outstanding, the accounting entries that were passed earlier will be reversed and the component will become outstanding again.
The reversal of the liquidation of a component may sometimes entail a change in the status of the bill. If the contract is set for automatic status change, this change will be made by the system automatically.
For further details on generic attributes that you can define for liquidation of a BC contract, please refer the ‘Liquidation’ User Manual under Modularity.
6.2.3 Partial Payment of Discounted Bills
For discounted export bills you can partially liquidate the principal before the maturity date of the bill. In this case, correction entries will be passed for the:
- Interest that has been collected in advance and
- Interest receivable in the future along with the respective accruals/amortization as the case may be
For example, you have entered a bill worth USD 20000 in Oracle FLEXCUBE on 1 February 2001. The bill expires on 31 March 2001. Original Interest calculation period: 01 Feb to 31 March 2001 On 08 Feb you partially liquidate USD 8000 of the Original Bill Amount. The excess interest that should be refunded to the customer is derived as follows:
- Interest collected in advance on USD 20000 = X
- Interest on 20000 between 1 Feb to 7 Feb 01 = Y
- Interest on 12000 between 1 Feb to 7 Feb 01 = Z
- Excess interest refunded to the customer = X - (Y+Z)
Accrual adjustment entries as on 11 Feb 2001 (the liquidation date)
- Accruals already done on interest between 1 Feb to 10 Feb 2001 = A
- Interest calculated on 20000 between 1 Feb 01 to 7 Feb 01 = B
- Interest calculated on 12000 between 8 Feb 01 to 11 Feb 01 = C
- Accrued interest after partial liquidation = (B + C) – A
6.3 BC Authorize Contract Details
This section contains the following topics:
6.3.1 Authorizing BC Contracts
You can use the ‘BC Authorize Contract’ screen to authorize BC contract registration, input, amendment and payment operations. You can invoke this screen by typing ‘BCDTRAUT’ in the field at the top right corner of the Application tool bar and clicking on the adjoining arrow button. The screen is displayed below:
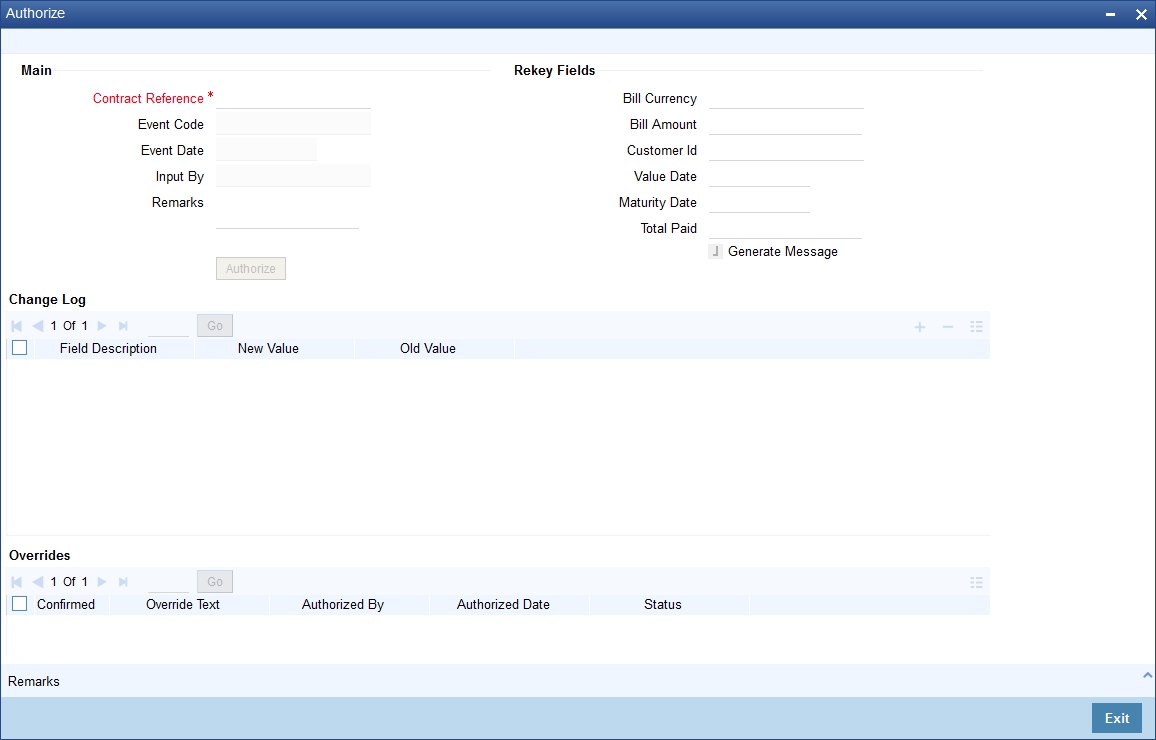
Specify the following details:
Contract Reference
Specify the contract number which you are authorizing.
Generate Message
Check this option to generate the messages.
Remarks
Specify remarks if any.
Rekey Fields
Rekey the following details for authorizing a contract.
- Bill Currency
- Bill Amount
- Customer ID
- Value Date
- Maturity Date
- Total Paid
Change Log Details
If there are any values changed in the contract, then the following details are displayed here:
- Field Description
- Old Value
- New Value
Overrides
The following override details of the contract for all operations is displayed here:
- Confirmed
- Override text
- Authorized By
- Authorized Date
- Status
Note
- If the contract has multilevel of authorization pending
- if the level of authorization is greater than or equal to ‘N’ and if the authorisation limit of the authoriser is less than the difference of contract value and sum of authorisation limit of authorisers (if multiple users are authorizing the contract) involved in authorization.
- If the transaction amount is greater than the authoriser limit in case of single authoriser.
6.3.2 Multilevel Authorization of a Contract
OLE_LINK4OLE_LINK3High value transactions may require multilevel of authorization. The levels of authorizations are defined in the ‘Product Transaction Limits’ screen. You can use the ‘Multilevel Authorization Detailed’ screen for authoring a contract n-1 times. However, final authorization can take place only in the contract screen.
For more details, refer the ‘Multilevel Authorization of Contract/Loan Account’ section in the ‘Procedures’ User Manual.
6.3.3 Remarks
Click Remarks button to view all the intructions captured on every transaction of the contract in ‘History of Remarks’ screen.
For more details on this screen refer Section 6.1.22, "Remarks" in this user manual.
6.4 Customer Address Maintenance
This section contains the following topic:
6.4.1 Viewing the Media Addresses of a Customer
When you specify the CIF ID of the counterparty involved in a bills contract, the Media Address details that you have maintained for the customer will be displayed. These details are displayed in the ‘Customer Address Maintenance’ screen. You can invoke this screen by typing ‘MSDCUSAD’ in the field at the top right corner of the Application tool bar and clicking on the adjoining arrow button.
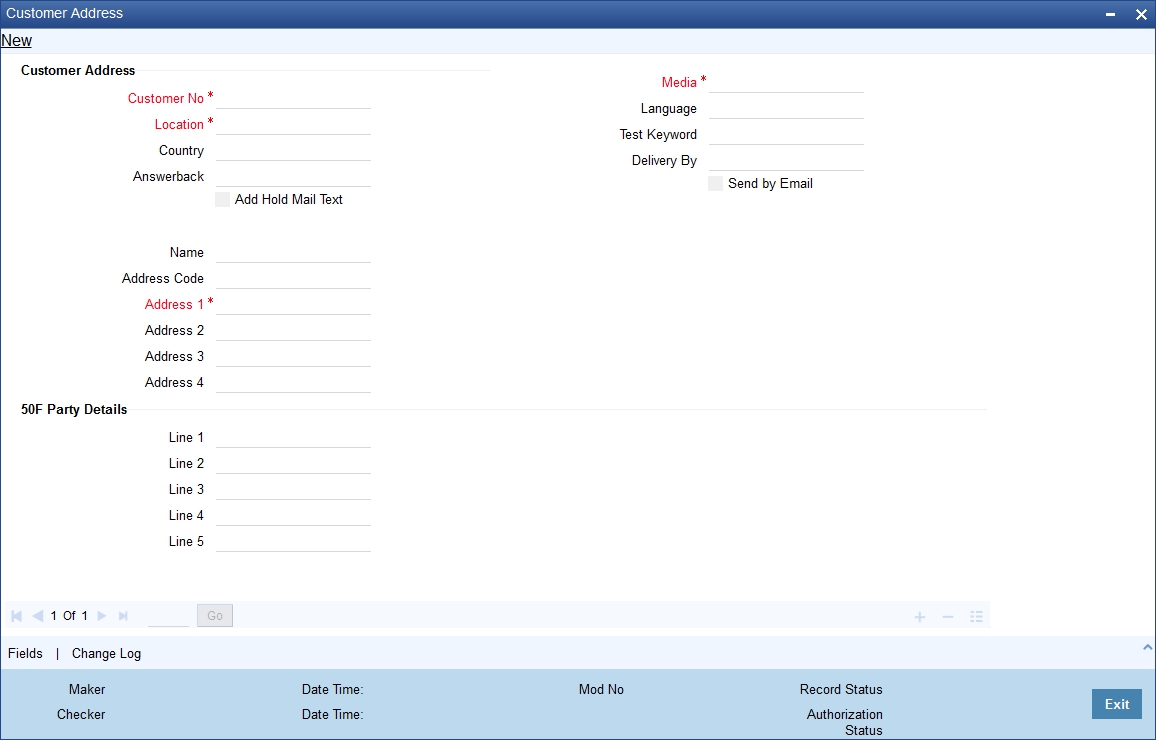
When you specify the CIF ID, the system checks whether you have maintained multiple media addresses for the customer. If you have maintained multiple media addresses, a list of all the media addresses will be displayed in a separate window.
6.5 Bills and Collections Contract Reassign
This section contains the following topic:
6.5.1 Reassigning a Contract to another User
A contract can be deleted only by the user who entered it. If a contract has to be deleted and the user who input the same is not available to do it, you can reassign the contract to another user so that the other user can delete it. Typically, this situation may arise during EOD operations, when a contract that is not authorized has to be deleted and the user who input it has left office for the day.
You can invoke the ‘Bills & Collections Contract Reassign’ screen by typing ‘BCDTREAS’ in the field at the top right corner of the Application tool bar and clicking on the adjoining arrow button.
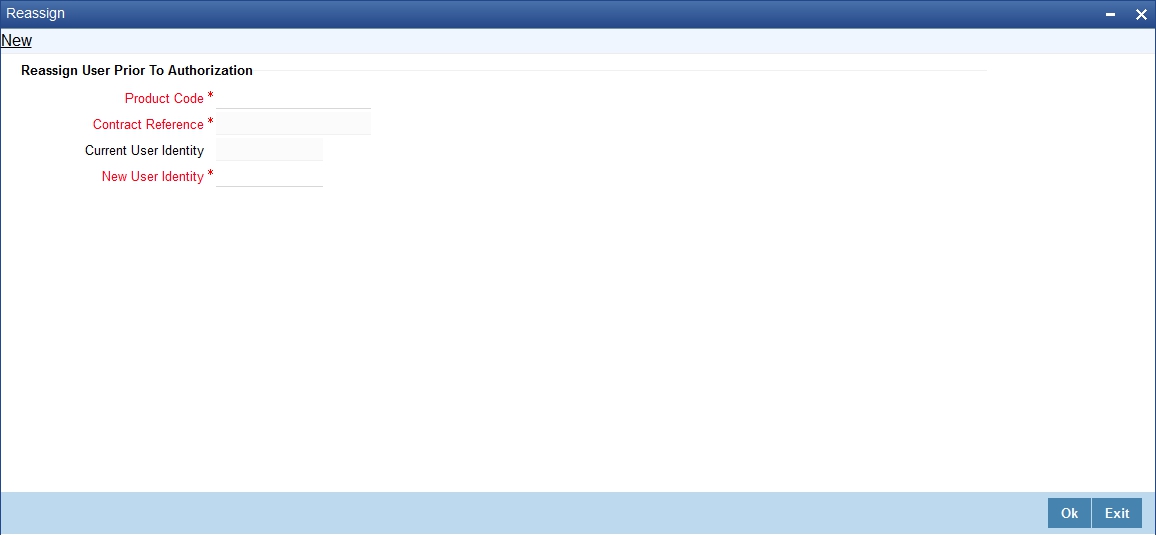
To reassign a contract to another user, the following steps are required:
- Step 1 - Indicate the product associated with the bill. You can select a product code from the option list, which contains a list of the authorized products that you have created.
- Step 2 - Indicate the contract reference number of the bill you wish to reassign, to another user. You can select a reference number from the option list, which contains a list of all the active bills.
- Step 3 -Select the User ID of the user to whom you, are assigning the contract.
Note
This user to whom you reassign a contract should have access rights to enter bill contracts.
Your User ID will be defaulted from the login screen. Select ‘Save’ from the Application toolbar or click save icon to save the specifications you have made. Click ‘Exit’ or ‘Cancel’ button if you do not want to save the details that you entered.
6.6 Outstanding Items Report
This section contains the following topics:
- Section 6.6.1, "Generating Outstanding Items Report"
- Section 6.6.2, "Selection Options"
- Section 6.6.3, "Contents of the Report"
6.6.1 Generating Outstanding Items Report
This report lists all the outstanding items (including commissions and charges), which have been debited to a GL account, which is normally the accounts receivable ledger. The items are marked as outstanding. This report is available in the Application Browser under LQ (indicating liquidation).
6.6.2 Selection Options
The report is sorted on the basis of currency. It is listed in the serial order of the Accounts receivable account under the currency type. Ap11s the sequence of this report is by the Accounts Receivable account, a bill may be reported in more than one place i.e., different charges and interest items were booked to different GLs. This report highlights the necessary details for collection or payment of the outstanding amount, so that the required action may be taken.
6.6.3 Contents of the Report
The report contains the following information:
Field |
Description |
Party CIF ID |
This is the ID assigned to the customer in the Customer Information File (CIF) of the Core Services module of Oracle FLEXCUBE. |
Party Name |
The short name of the Customer maintained in bill will be printed. For all credits which have been opened at your branch, the name of the applicant is printed here. For those credits which have been advised or confirmed (i.e., the original operation was advise, advise & confirm or confirm) the name of the beneficiary bank is printed in this field. |
Party Type |
This is the party type assigned to the customer in the Parties screen. |
Ac CCY |
This is the currency of the outstanding amount. |
Module |
This is the module to which the outstanding receivable component belongs. |
Contract Ref No |
This is the reference number of the contract whose outstanding receivable components are overdue. |
Event Code |
This is the event under which the Outstanding component should have been paid. |
Booking Date |
This is the date on which the original entry was passed. |
Receivable Ac Code |
This is the account that is to be credited when the customer pays the outstanding component. |
Ac Branch |
This is the branch to which the account belongs. |
Amount |
This is the amount of the outstanding component that is to be received from the customer. |
Amount Tag |
This is the amount tag of the component. |
Description |
This is a description of the amount tag. |
6.7 Bills and Collections Payment Input Details
This section contains the following topics:
6.7.1 Liquidating Overdue Components
You can liquidate the overdue components i.e. Normal and Penal components partially or fully through the ‘Payment Input’ screen.
You can invoke the ‘Bills & Collections Payment Input’ screen by typing ‘BCDTRPAY’ in the field at the top right corner of the Application tool bar and clicking on the adjoining arrow button.
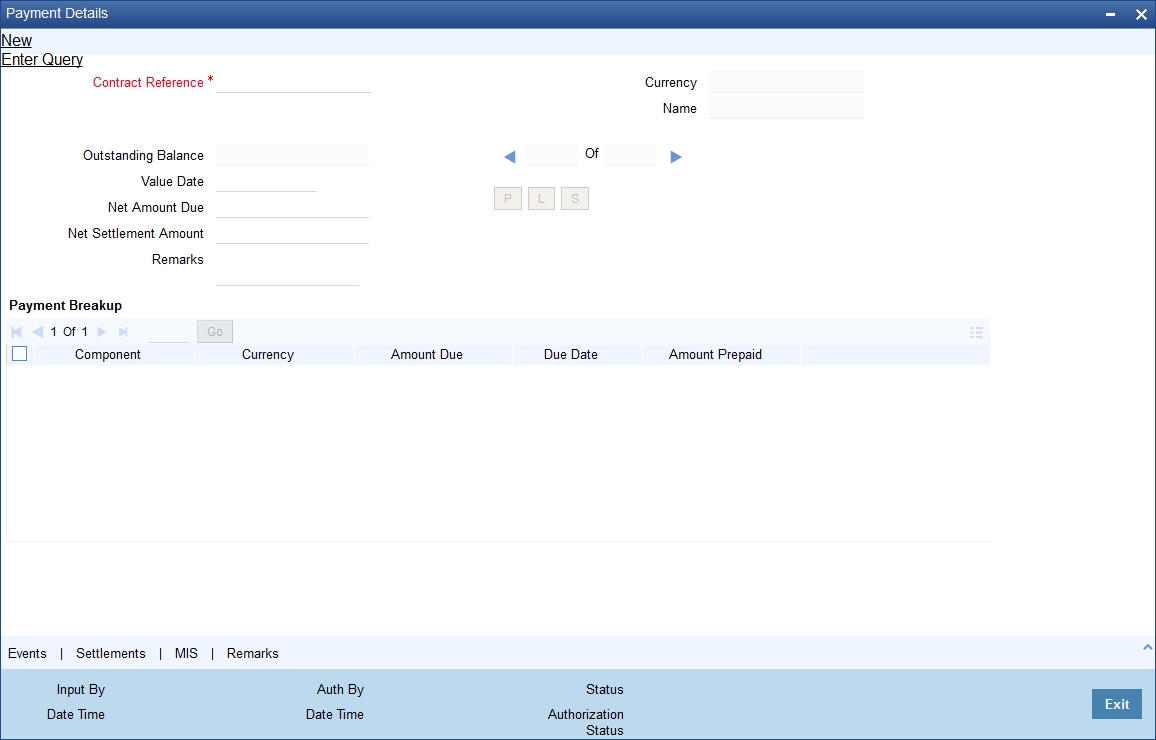
Specify the following in this screen:
Contract Reference
Specify the contract you want to liquidate. You can also select the contract from the adjoining option list. The list displays all the active contracts with bill amount ‘zero’.
Net Amount Due
Net amount due of all the sub-components of a multi tenor contract is displayed here. However, for a non-multi-tenor contract, the system displays the total amount due for all the components.
Click ‘P’ button to display the outstanding amount. This screen also displays all the overdue interest and penalty interest on Principal.
On clicking ‘L’ button, the system will allocate the payment amount towards each component. On clicking ‘S’ button, the system displays the total amount paid and this total amount will be displayed in the ‘Net Settlement Amount’ field.
The following details are displayed in ‘Payment Breakup’ section of the screen:
- Component
- Currency
- Amount Due
- Due Date
- Amount Prepaid
Note
- You can choose to liquidate the overdue components only if the interest component is specified as Arrears
- For a multi tenor contract, sub-components are populated as components
- You can pay negative interest due amount for fully liquidated bills with interest liquidation mode as deferred.
- Positive interest will be displayed against <Comp>_LIQD tag and negative Interest will be displayed against <Comp>_N_LIQD tag.
Remarks
Specify remarks if any.
This provision is applicable for incoming advance bills where interest is collected in arrears and outgoing discounted/purchased bills (penalty interest is always collected in arrears). In case the components are liquidated, the screen amends the status of the contract as liquidated. You can also reverse the interest component that is liquidated.
On saving the transaction, the bill amount is validated against the product transaction limit and the user input limit maintained in the system. The system displays an appropriate override/error message if the amount exceeds the allowed input limit. It also indicates the level of authorisation required if the transaction the amount is in excess of the transaction limit maintained.
The system converts the bill amount using the standard mid rate to the transaction limit currency and check against the transaction limit amount maintained for the product if the bill currency is different from the transaction limit currency.
Click Remarks button to view all the instructions captured on every transaction of the contract in ‘History of Remarks’ screen.For more details on the screen refer Section 6.1.22, "Remarks" in this user manual.
Example for Negative Interest Settlement through BCDTRPAY
For a contract with negative interest component BCNEGINT and penalty component BCPENLINT, if the total positive interest due is 13 (including penalty) and the negative interest is 5, then on click of Populate (P) button system will populate the dues for each component against the corresponding tags and the settlement through BCDTRPAY can be done in two ways as below:
Scenario 1:Net settlement amount is entered and user clicks on L button (Allocate)
In this case since the sum of negative interest is less than the sum of positive interest, on click of allocate the amount due against the negative component is completely settled first and the amount dues against the positive component is allocated in proportion to the net settlement amount provided.
Net Amount Due |
8 |
Net Settlement Amount |
7 |
Component |
Currency |
Amount Due |
Amount Prepaid |
BCNEGINT_LIQD |
GBP |
10 |
10 |
BCNEGINT_N_LIQD |
GBP |
5 |
5 |
BCPENLINT_LIQD |
GBP |
3 |
2 |
Scenario 2: Amount prepaid is entered against each component and user clicks on S button (Sum), the system will populate the Net settlement amount.
Net Amount Due |
8 |
Net Settlement Amount |
5 |
Component |
Currency |
Amount Due |
Amount Prepaid |
BCNEGINT_LIQD |
GBP |
10 |
10 |
BCNEGINT_N_LIQD |
GBP |
5 |
5 |
BCPENLINT_LIQD |
GBP |
3 |
0 |
Alternatively, for the case where the negative interest is more than the sum of all positive interests the settlement will be done as below:
Scenario 3: Net Settlement Amount is provided and user clicks on L button (Allocate)
In this case since the sum of negative interest is more than the sum of positive interest, on click of allocate the amount dues against the positive component is completely settled first and the amount due against the negative component is allocated in proportion to the net settlement amount provided.
Net Amount Due |
8 |
Net Settlement Amount |
5 |
Component |
Currency |
Amount Due |
Amount Prepaid |
On BCNEGINT_LIQD |
GBP |
5 |
5 |
BCNEGINT_N_LIQD |
GBP |
15 |
12 |
BCPENLINT_LIQD |
GBP |
2 |
2 |
On save, system passes the accounting against each component based on the amount prepaid value.
6.8 Bills and Collections Document Arrival Notice Input
This section contains the following topics:
- Section 6.8.1, "Maintaining Document Arrival Details"
- Section 6.8.2, "Document Details Tab"
- Section 6.8.3, "Goods Tab"
6.8.1 Maintaining Document Arrival Details
Document arrival notice message is generated whenever the documents arrive after the payment is made for a Bill under LC. Oracle FLEXCUBE does not allow you to capture the document details of a contract after making a payment in contract online screen. Hence, whenever the documents arrive after the payment, the same details are captured in the ‘Bills & Collections Document Arrival Notice Input’ screen. You can invoke this screen by typing ‘BCDTRDOC’ in the field at the top right corner of the Application tool bar and clicking on the adjoining arrow button. The screen is displayed below:
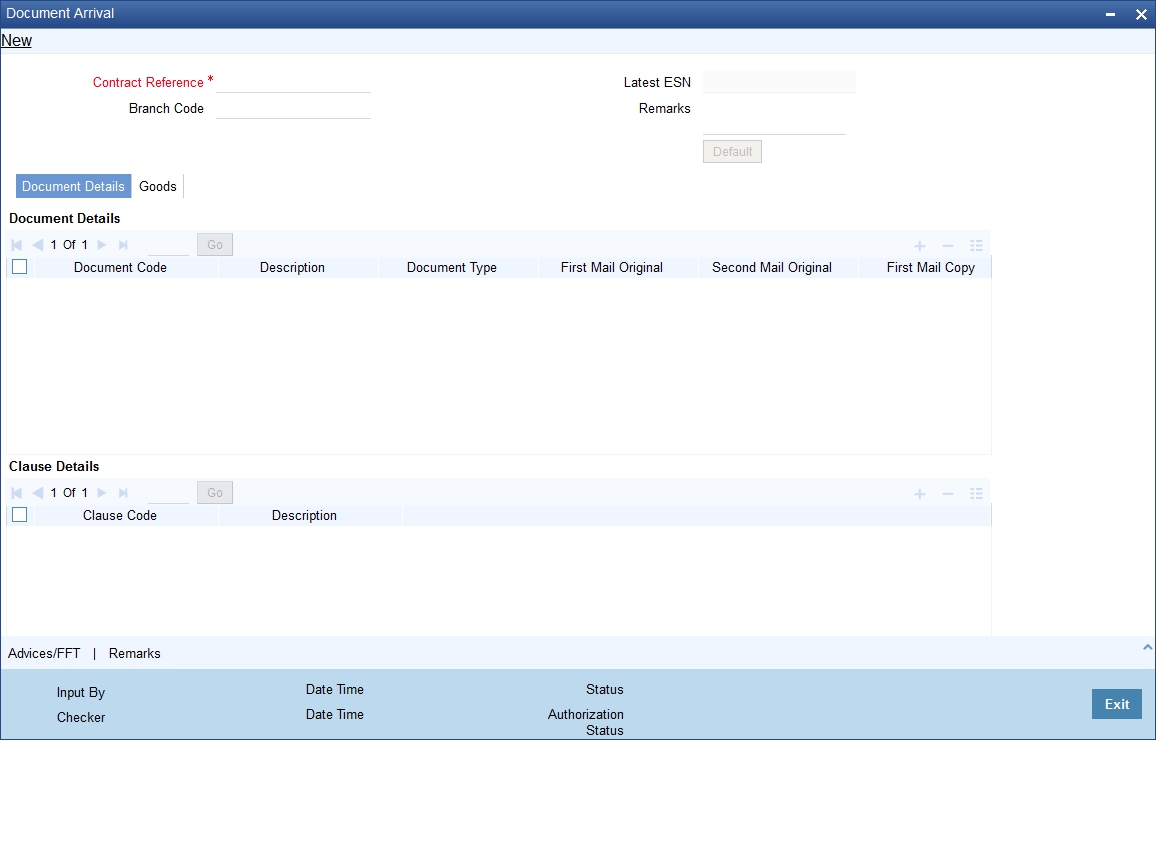
Specify the following details:
Contract Reference
Specify the contract number for which you are maintaining the document details. You can also select the contract details from the adjoining option list. The list displays all the authorised contracts maintained in the system.
Latest Event Sequence Number
The system displays the latest event number.
Click the ‘Default’ button to display the documents details maintained for the contract.
Branch Code
Specify the branch code.
Remarks
Specify remarks if any.
6.8.2 Document Details Tab
Specify the following details:
Document Details
Specify the following document details:
- Document Code – the document code
- Description – the description of the document code
- Document Type – the type of document
- First Mail Original – the first original mail
- Second Mail Original – the second original mail
- First Mail Copy – the first mail copy
- Second Mail Copy – the second mail copy
- Reimbursing Bank Copy – the reimbursing bank copy
- Document Reference – the document reference number
- Document Date – the document date
- Covering Letter Reference – the covering letter reference
- Covering Letter Date – the covering letter date
Clause Details
There are some standard clauses, which should appear on the documents that are required under a documentary bill. In this screen you can indicate the clauses that should accompany a document.
6.8.3 Goods Tab
You can maintain the goods details by clicking the ‘Goods’ tab.
6.8.4 Remarks
Click Remarks button to view all the intructions captured on every transaction of the contract in ‘History of Remarks’ screen.
For more details on this screen refer Section 6.1.22, "Remarks" in this user manual.