Section - 5 : Installing the Docupresentment Client
You can install the Docupresentment Client on Windows by downloading it from the Internet. To download shared objects from the Internet, go to the Oracle Software Delivery Cloud site at:
After you download and save the Docupresentment Client installation to the proper location, start the Docupresentment Client setup wizard
ODDC12.6.2.####W32.exe (where #### represents the build number) as that is the name of the installer.
-
Once the setup routine starts, follow the instructions which appear on your screen.
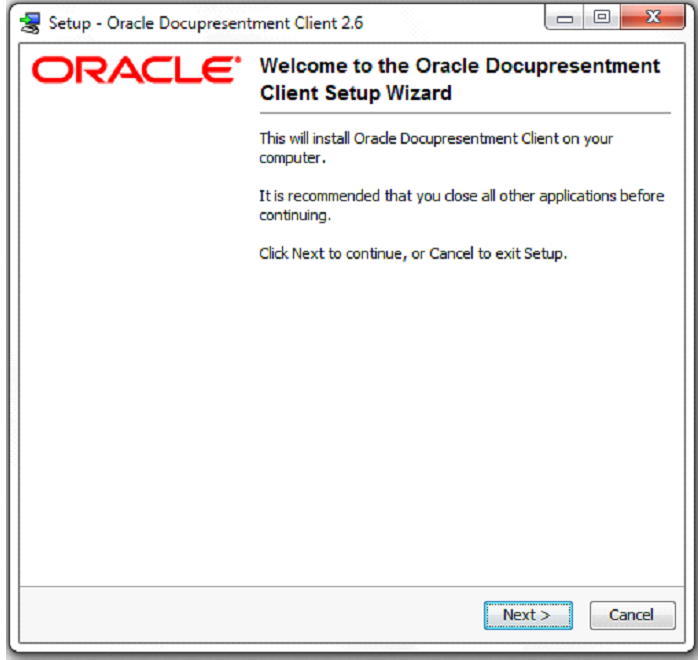
Figure 2.5.1 - Welcome Screen -
Close all open applications then click Next to continue. The Select Destination Directory window appears.
-
Click Browse to select the directory into which you want to install the Docupresentment Client and click Next to continue.
The Select Components window appears.
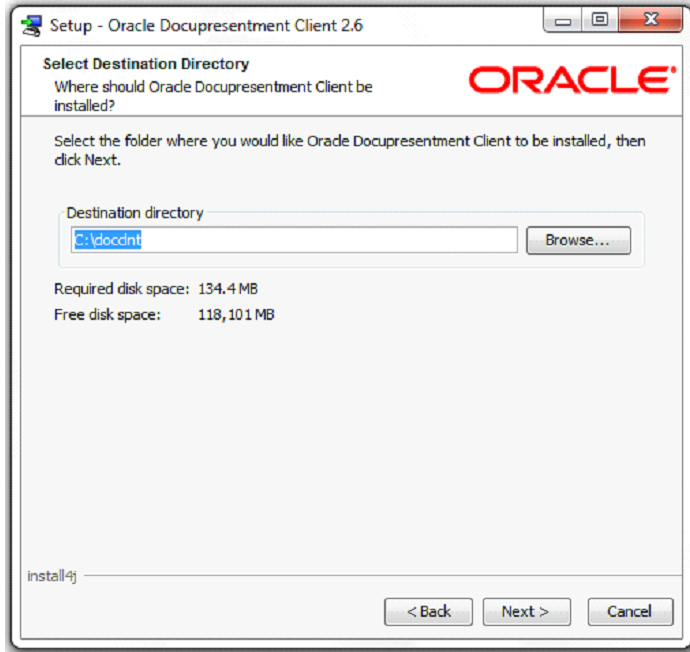
Figure 2.5.2 - Selecting Destination Directory -
Choose the components you want to install and click Next to continue.
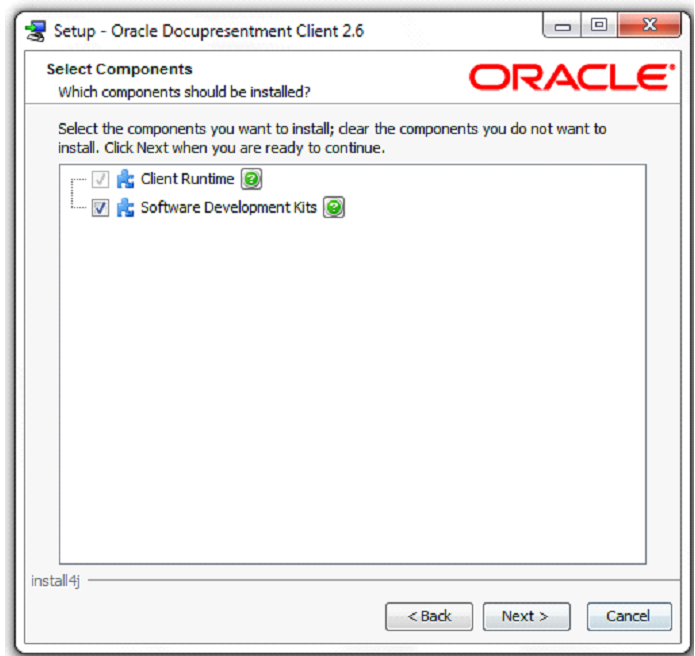
Figure 2.5.3 - Selecting Components
The installation routine installs the Docupresentment Client, then shows the Select queuing System window. See Selecting a queuing Method for more information.
Selecting a queuing Method
Use the Select a queuing System window to optionally configure your Docupresentment Client queuing method. The wizard modifies the Docupresentment Client to communicate with one of these queuing systems:
- HTTP
- ActiveMQ
- IBM MQ or WebSphere MQ or
- MSMQ
Note: You can also choose to set up a queuing system other than the ones pre-defined in the installer. Be aware that if you choose this option, you must make sure the queuing system is accessible by the Docupresentment Client.
Choose the queuing method you want to use on the Select a queuing System window:
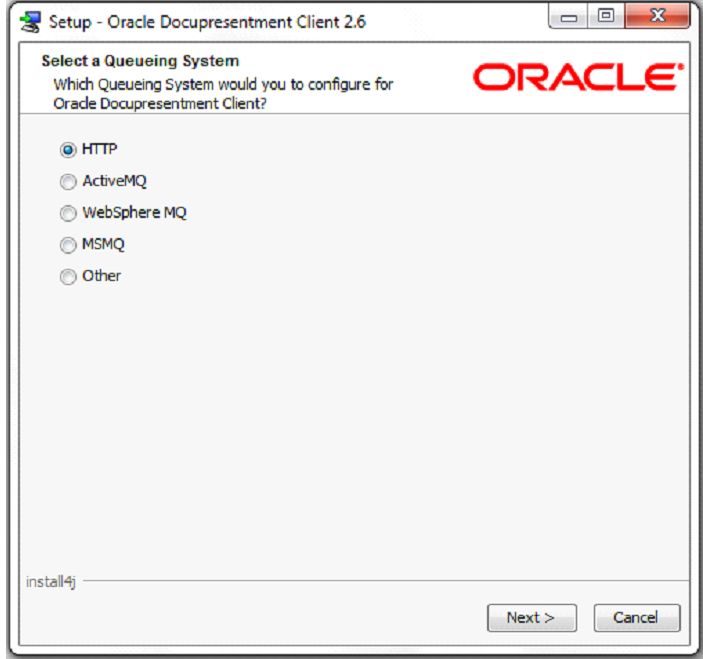
Click Next.
A configuration wizard lets you enter queue-specific information for each queuingqueuing method. The default queue is HTTP.
Using HTTP
If chose HTTP queues, the Configure the HTTP queuing System window appears:
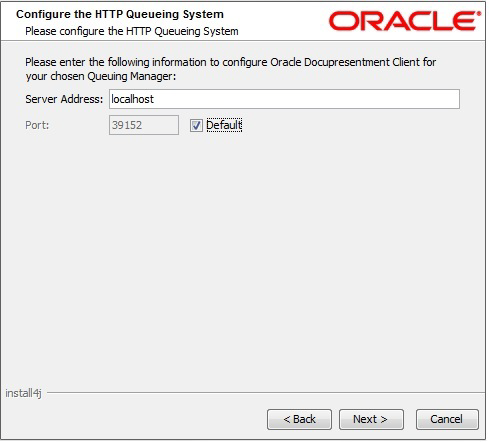
For HTTP queues, enter the Server Address and Port Number of the Docupresentment Server and click Next.
Using ActiveMQ
If you chose ActiveMQ, the Configure the ActiveMQ queuing System window appears:
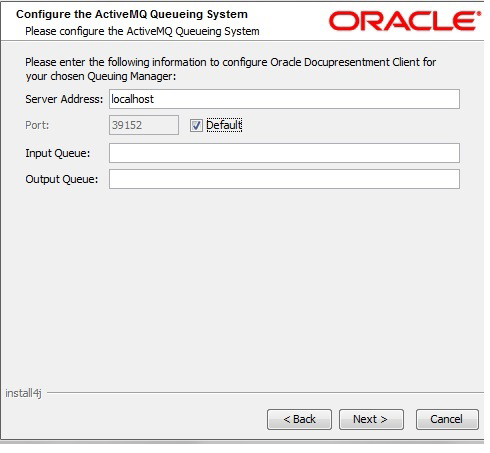
For ActiveMQ queues, enter the Input Queue and Output Queue for the ActiveMQ Server and click Next.
Using WebSphere MQ
If you chose WebSphere MQ, the Configure the WebSphere MQ queuing System window appears:
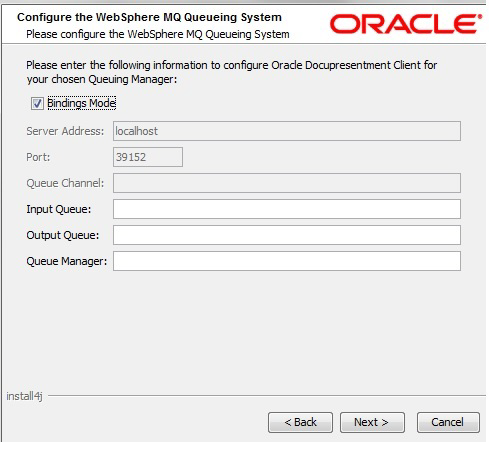
For WebSphere MQ queues, you can choose to use Bindings Mode.
| To | Then |
|---|---|
| Use Bindings Mode | Make sure the Bindings Mode field is checked, then specify the Input Queue, Output Queue, and the Queue Manager for the WebSphere MQ Server. |
| Not use Bindings Mode | Uncheck the Bindings Mode field and specify the Server Address, Port, Queue Channel, Input Queue, Output Queue, and the Queue Manager for the WebSphere MQ Server. |
When finished entering the necessary fields, click Next.
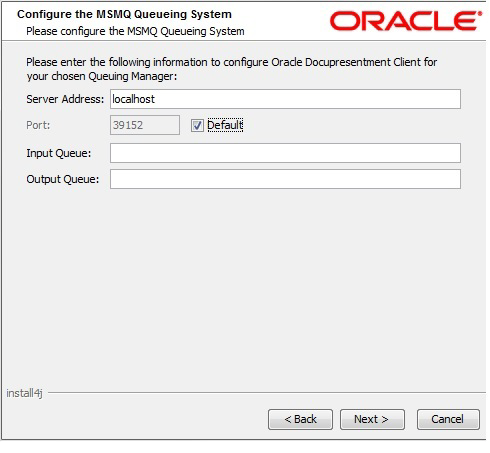
Using MSMQ
If you chose MSMQ, the Configure the MSMQ queuing System window appears:
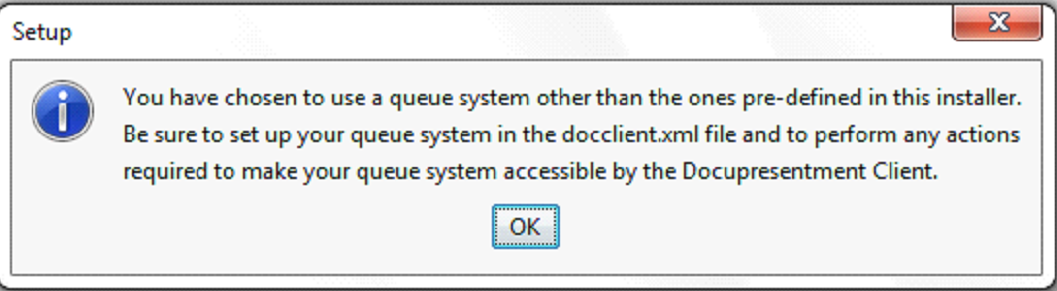
Setting up another queue
If you choose to set up another queuing system, the following message appears to remind you to take the steps necessary to make your queuing system accessible by the Docupresentment Client.
Testing Your Connection
To make sure the Docupresentment Client can connect to the Docupresentment Server, click the Test Connection button.
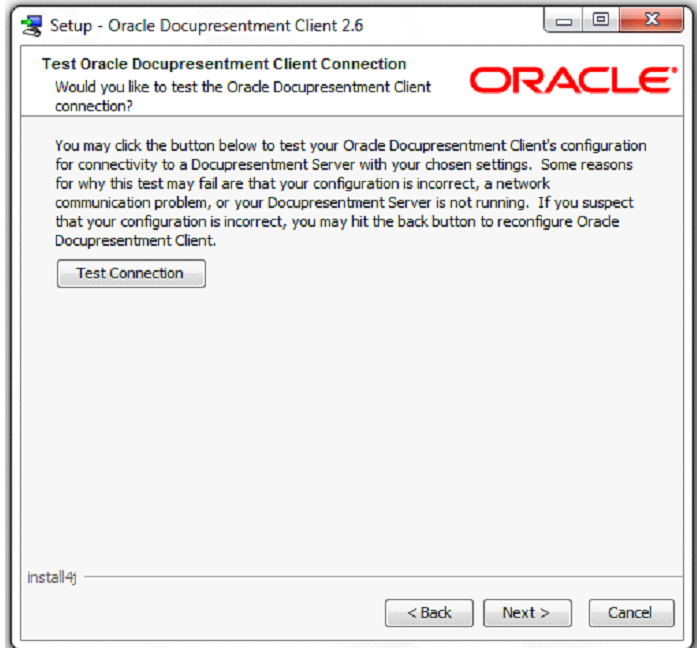
Note: Docupresentment Server and the queuing system you chose have to be running to test the Docupresentment Client.
If the test is successful, the below message appears “connection to Docupresentment Server Successful”.
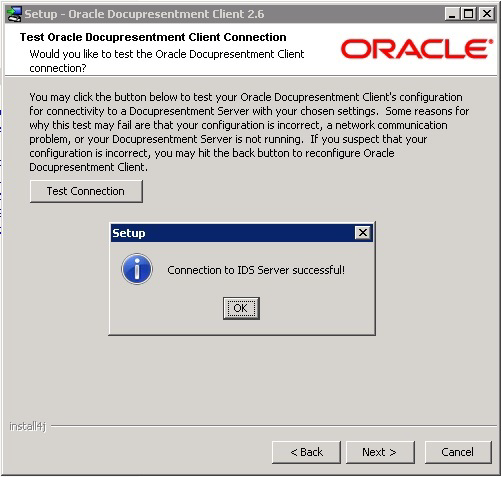
This window indicates that the Docupresentment Client is configured correctly and is successfully communicating with the Docupresentment Server. Click Ok, then click Next.
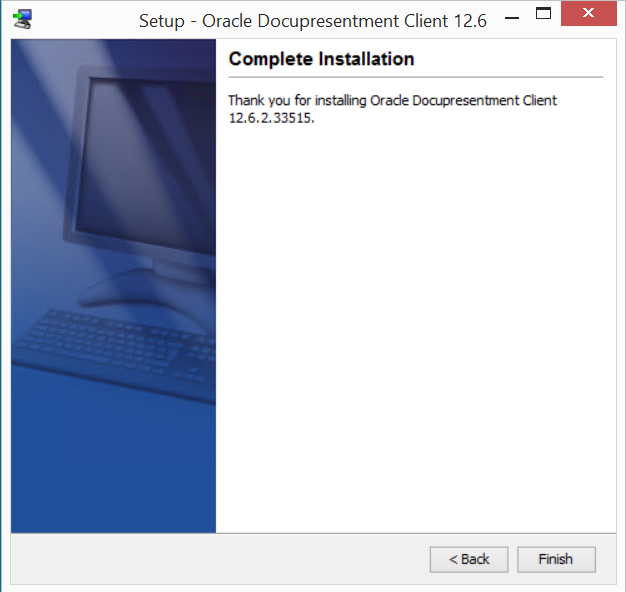
The Complete Installation window appears. Click Finish to complete the installation.
Congratulations, you have installed the Docupresentment Server, Shared Objects, and Docupresentment Client Now proceed to the next topic, Testing Your Installation.