Section - 5 : Configuring Mobile for Oracle Documaker Standard Edition
To configure the Oracle Documaker Mobile within ODSE, you should first do the following:
Install Oracle Documaker Mobile on the Oracle Documaker Standard Edition application according to the steps within the Oracle Documaker Mobile Installation Guide.
- Create an mrolib directory in your workspace, for example:
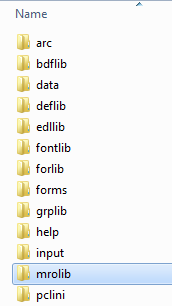
Figure 4.5.1 - Creating mrolib directory - Copy the files and resources folder from Oracle\odee_1\mobile_install\mstrres\mobile to the mrolib folder in your workspace. Make sure that the default and custom snippet files along with the needed mobile supporting files - adapts, javascripts, etc. - should be located in the mrolib location defined in your system.
- Open the workspaces fsisys.ini file using any text editor.
Add PrtType = MRO to the <Printers>group, for example:< Printers >
PrtType = PCL
PrtType = MRO - Add
<PrtType: MRO>group and settings:< PrtType:MRO >
Class = MRO
Device = mrolib\default.xml
Module = MROW32
PrintFunc = MROPrint
TermFunc = MROTerm
SnippetExt = .xml - Save your fsisys.ini file.
- Ensure that the mobile supporting files - jpgs, javascripts, etc. - are located wherever they may be referenced based on the selected delivery methods to be used in your implementation.
Validating Documaker Mobile Installation
Perform the following steps to validate an Oracle Documaker Standard Edition and Oracle Documaker Mobile installation:
-
Open the workspace in Studio, then open Test Manager
Note: If you do not already have a test profile, you will be prompted to create one. Run the test profile.
- Click Run button to start the test run.
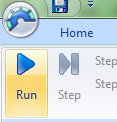
Figure 4.5.2 - Run button - Click Step button several times to process further until Gendata Process Complete status appears in the output area.
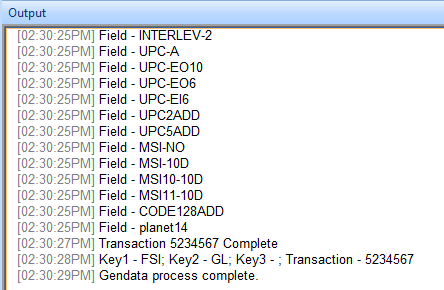
Figure 4.5.3 - Gendata process complete -
When the transaction completes, select File, Print, Document View.
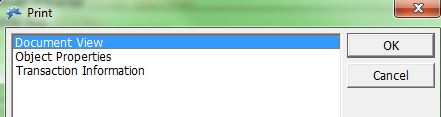
Figure 4.5.4 - Print dialog -
Set the Print type MRO and click Ok to generate the output file.
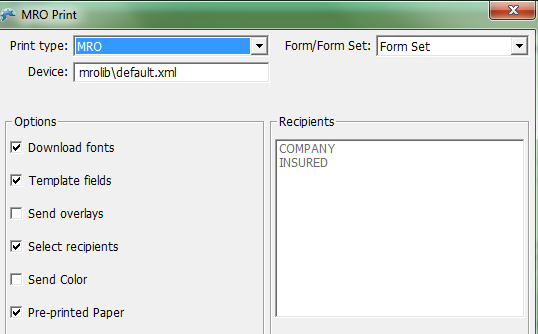
Figure 4.5.5 - Setting print type
To validate the Documaker Mobile Installation
Go to mrolib folder of your MRL and open the default.xml file to view the MRO.