| Oracle® Retail Enterprise Inventory Cloud Service Administration Guide Release 17.0 E97808-03 |
|

 Previous |
 Next |
| Oracle® Retail Enterprise Inventory Cloud Service Administration Guide Release 17.0 E97808-03 |
|
Previous |
Next |
If you prefer import and load in separate processes, follow these steps:
EICS Disable Data Seed
Login Oracle Enterprise Inventory Cloud Service page as ECIS System Ops user
On Main Menu, Navigate to Admin/Configuration/System Administration
Search for data seed on option field, change value and save the change.
Enabled Seed Foundation: set value to false
Enable Seed Store Data: set value to false
Start BDI Data Seeding Process Flow
Review process status.
Start EICS Data Seeding Importer Job
Once the BDI process flow is completed, you can load data from EICS inbound stage tables into the application tables.
To Load stage data to application tables:
Login EICS as system ops user.
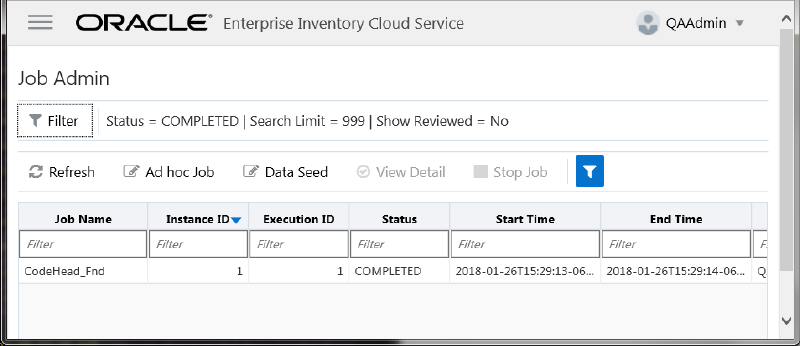
From Main Menu, navigate to Admin/Technical Maintenance/Job Admin
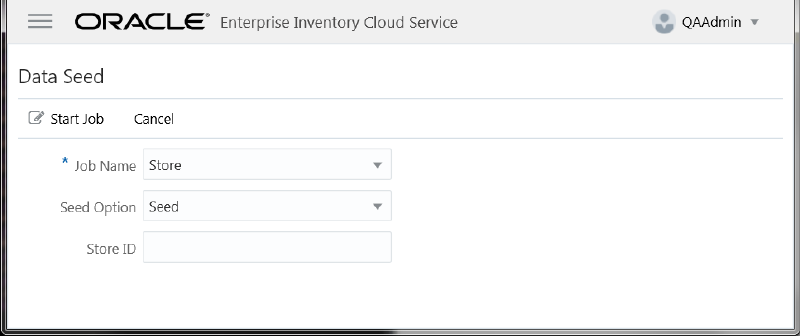
On Job Admin Screen, click Data Seed button. This will bring you to the Data Seed screen.
Select Job Name (for example Store). From Seed Option drop-down list, select Seed. Next, click Start Job button.
|
Note: The store id input filed is applicable to modules which contain store data.To load all stores data, leave the store id as blank. To load data for a specific store, please enter the store id into the store Id field. |
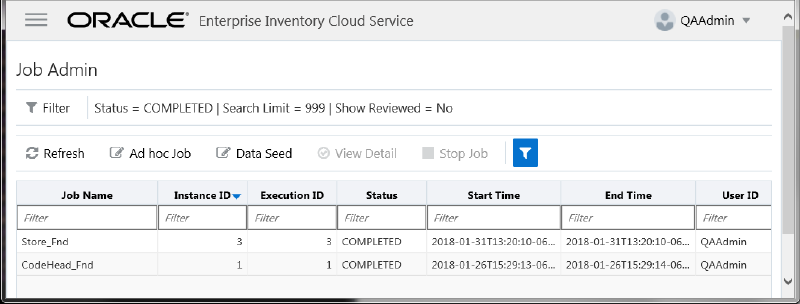
Review importer status in EICS Job Admin console.