JMS STEP 2 : HOW TO CREATE A SIMPLE JMS QUEUE IN WEBLOGIC SERVER
Introduction and Definitions
A JMS queue in Weblogic Server is associated with a number of additional resources:
JMS Server
A JMS server acts as a management container for resources within JMS modules. Some of its responsibilities include the maintenance of persistence and state of messages and subscribers. A JMS server is required in order to create a JMS module.
JMS Module
A JMS module is a definition which contains JMS resources such as queues and topics. A JMS module is required in order to create a JMS queue.
Subdeployment
JMS modules are targeted to one or more WLS instances or a cluster. Resources within a JMS module, such as queues and topics are also targeted to a JMS server or WLS server instances. A subdeployment is a grouping of targets. It is also known as advanced targeting.
Connection Factory
A connection factory is a resource that enables JMS clients to create connections to JMS destinations.
JMS Queue
A JMS queue (as opposed to a JMS topic) is a point-to-point destination type. A message is written to a specific queue or received from a specific queue.
The objects used in this example are:
|
Object Name |
Type |
JNDI Name |
|---|---|---|
|
ExtXfaceJMSServer |
JMS Server |
|
|
extXfaceJMSModule |
JMS Module |
|
|
extXfaceSubdeployment |
Subdeployment |
|
|
ReceiverQCF |
Connection Factory |
|
|
ReceiverQueue |
JMS Queue |
|
Configuration Steps
The following steps are done in the WebLogic Server Console, beginning with the left-hand navigation menu.
2.1 Create Persistent store-
- Here you have to Create a new persistent store (Once the persistent store is created that can be used for both sender and receiver server. Hence there is no need to create a different persistent store for two different servers.) Hence Before creating a JMS server you need to create the Persistent store if its not already created. Follow the steps shown below for creating a persistent store.
- Select Services > Persistent Stores.

- First Select Lock & Edit as shown-

- Select new and the select create FileStore from the list as shown below-

- Give the name of the filestore. Example- EndPointFS and the Directory location, example /scratch/obdx/wls.
- Click .

2.2 Create a JMS Server-
- Services > Messaging > JMS Servers

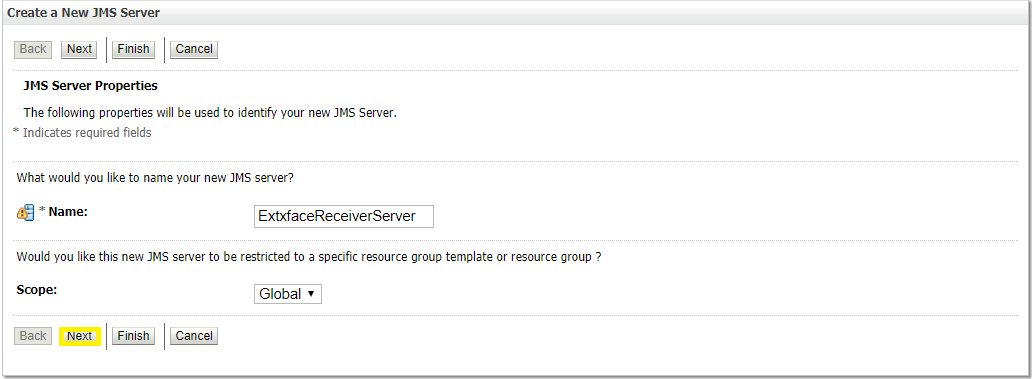
- Select .

- Name: Give name as for example-ExtxfaceReceiverServer .
- After naming the server Click next as shown in following example screenshot.
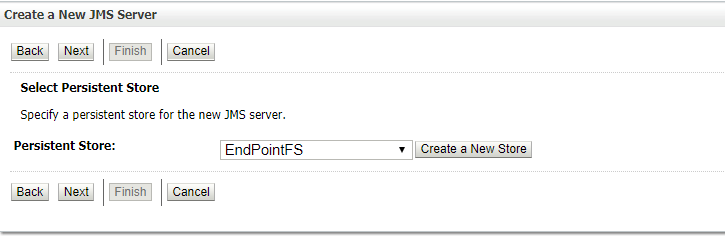
- Persistent Store: Select the name Persistent store from the dropdown list which was created in the previous step. Example-EndPointFS.
- Click .
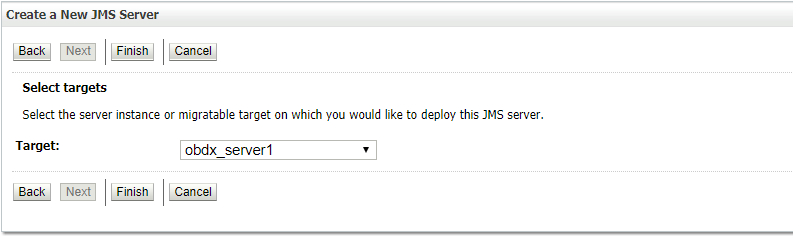
- • Target: Target should Point to the Weblogic server cluster as in this case target is set to obdx_server1 cluster. (Or any other available cluster).
- • Click .
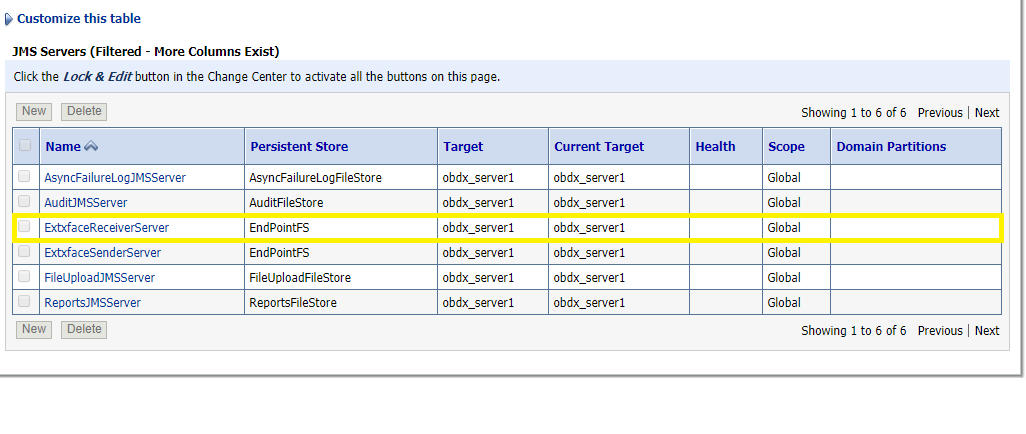
The JMS server should now be visible in the list.
2.3 Create a JMS Module
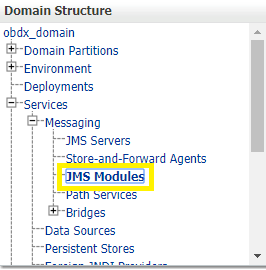
- Services > Messaging > JMS Modules.
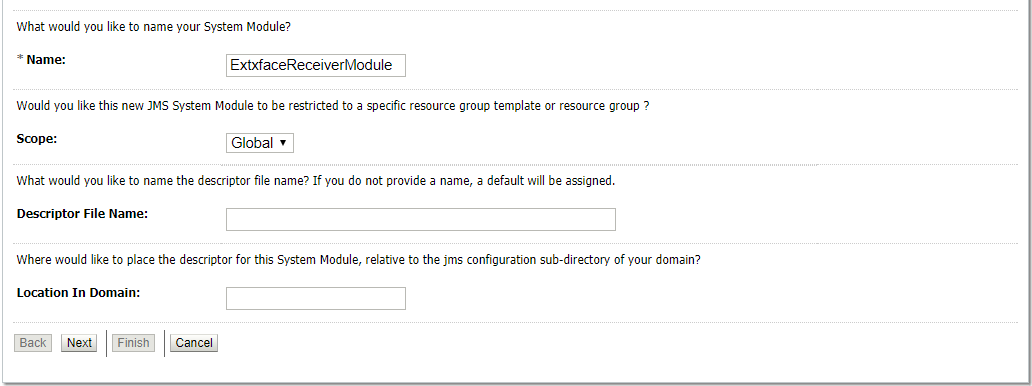
- Select .

- Name: Provide name for JMS Module.
- Leave the other options empty.
- Click .
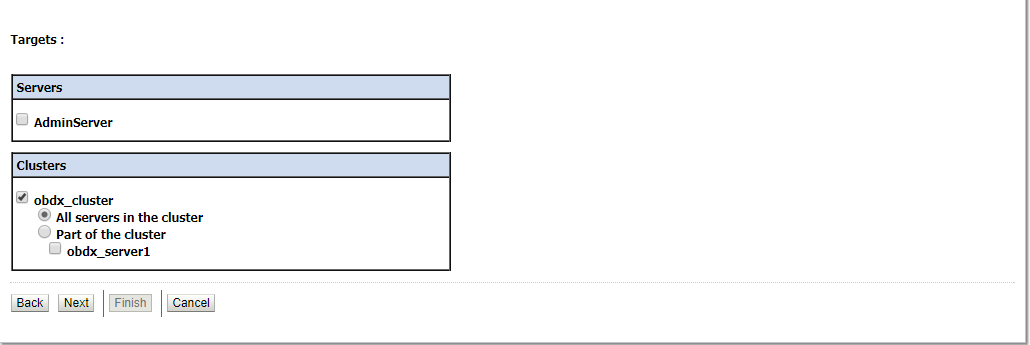
- Targets: Obdx_Cluster (or choose any other clusters available).
- Press .
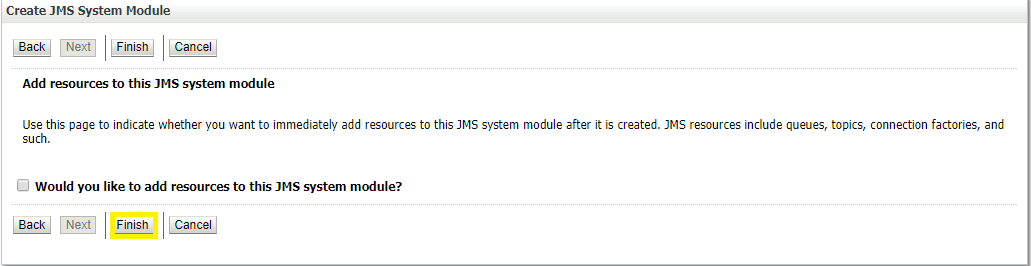
Leave “Would you like to add resources to this JMS system module” unchecked and press .

2.4 Create a SubDeployment
A subdeployment is not necessary for the JMS queue to work, but it allows you to easily target subcomponents of the JMS module to a single target or group of targets. We will use the subdeployment in this example to target the following connection factory and JMS queue to the JMS server we created earlier.
- Services > Messaging > JMS Modules.
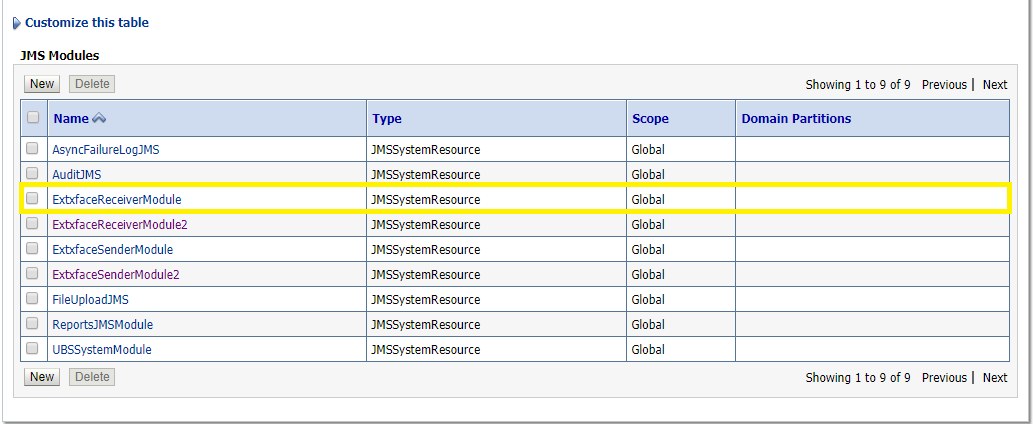
- Select ExtxfaceReceiverModule.

- Select the Subdeployments tab and click .

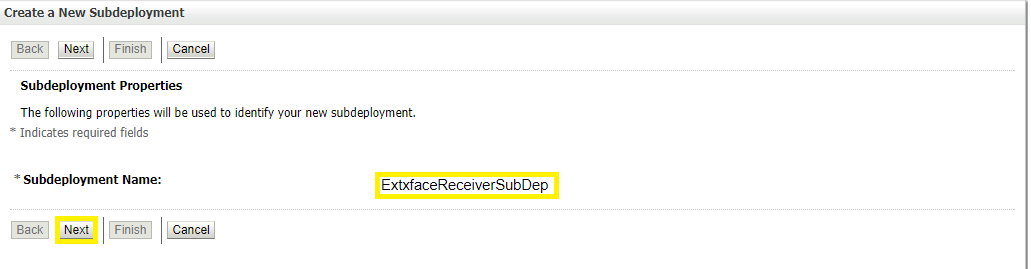
- Subdeployment Name: give subdeployment name. example- ExtxfaceReceiverSubDep
- • Press .
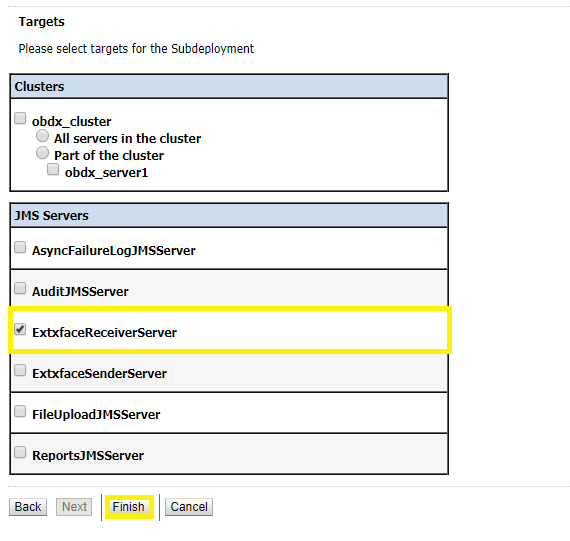
- Here you can select the target(s) for the subdeployment. You can choose either Servers (i.e. WebLogic managed servers, such as the obdx_server) or JMS Servers such as the JMS Server created earlier. As the purpose of our subdeployment in this example is to target a specific JMS server, we will choose the JMS Server option.
Select the ExtxfaceReceiverServer created earlier. - Press .
2.5 Create a Connection Factory
- Services > Messaging > JMS Modules
- Select ExtxfaceReceiverModule and press .


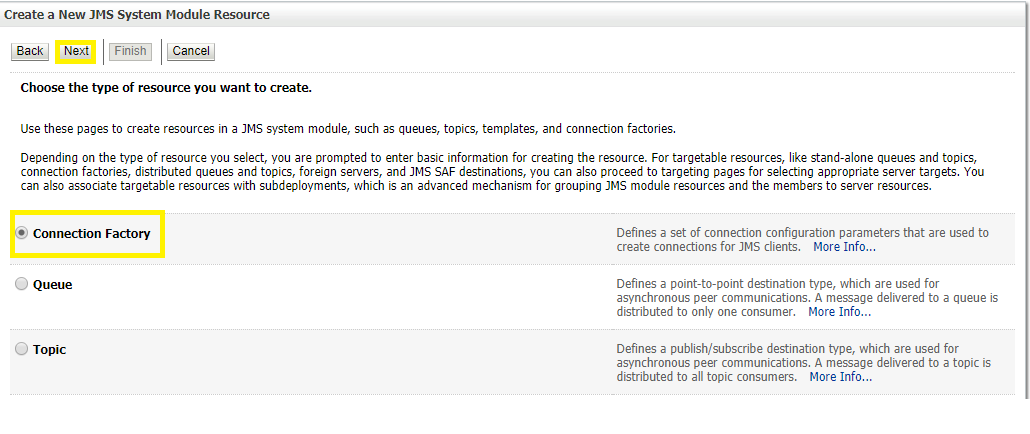
- Select Connection Factory and click .
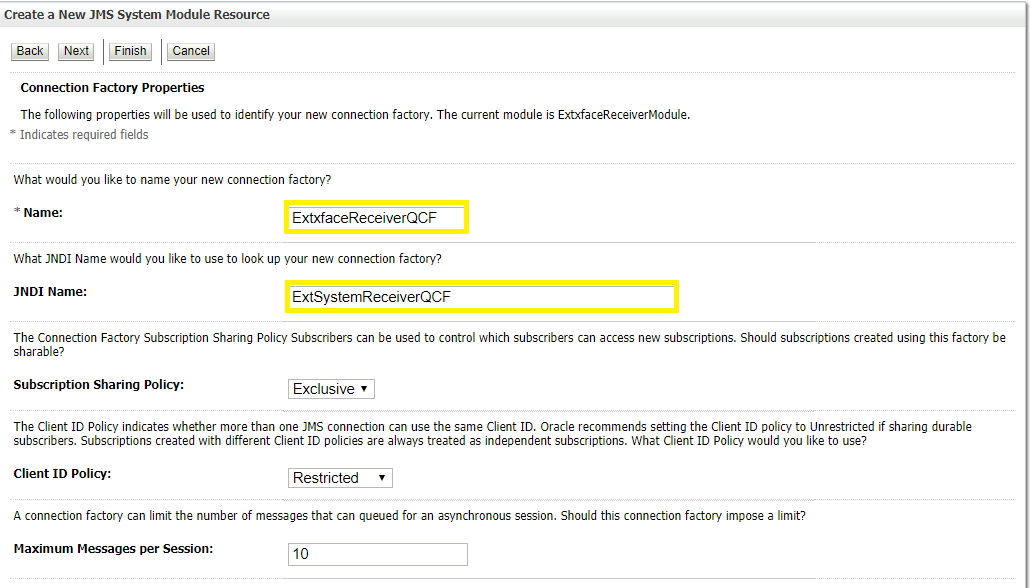
- Name: Give name of the connection factory example- ExtxfaceReceiverQCF.
- JNDI Name: ExtSystemReceiverQCF.
- Click .
- Select Default Targeting Enabled and Press .
- The connection factory should be listed on the following page with Default Targeting as Subdeployment and WebLogic cluster as the target.
2.6 Create a JMS Queue
- Services > Messaging > JMS Modules
- Select ExtxfaceReceiverModule and Click New.
- Select Queue and Click .
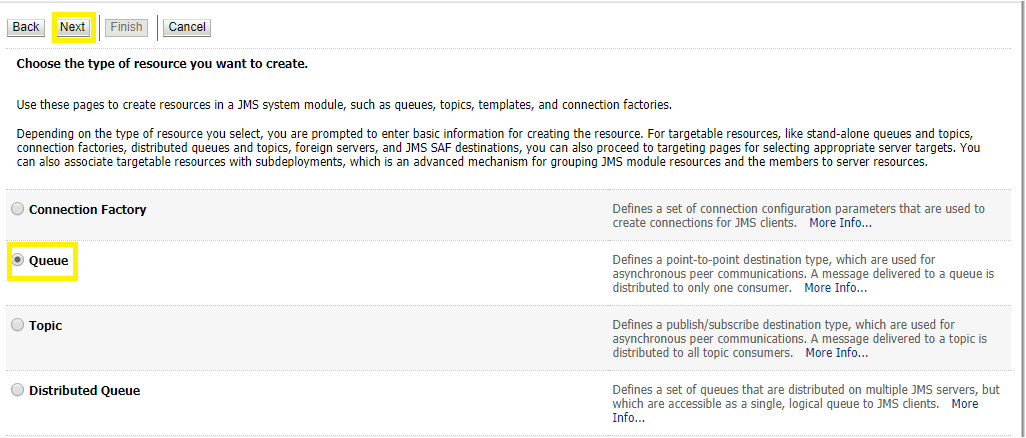
- Name: Provide name of the message queue . example- ExtxfaceReceiverQueue.
- JNDI Name: Provide JNDI name. example- ExtSystemReceiverQueue.
- Template: None.
- Press .

- Subdeployments: Give the name of the sub-deployment name in which Queue is supposed to be added. Example- ExtxfaceReceiverSubDep.
- Select the Target as ExtxfaceReceiverServer
- Click .
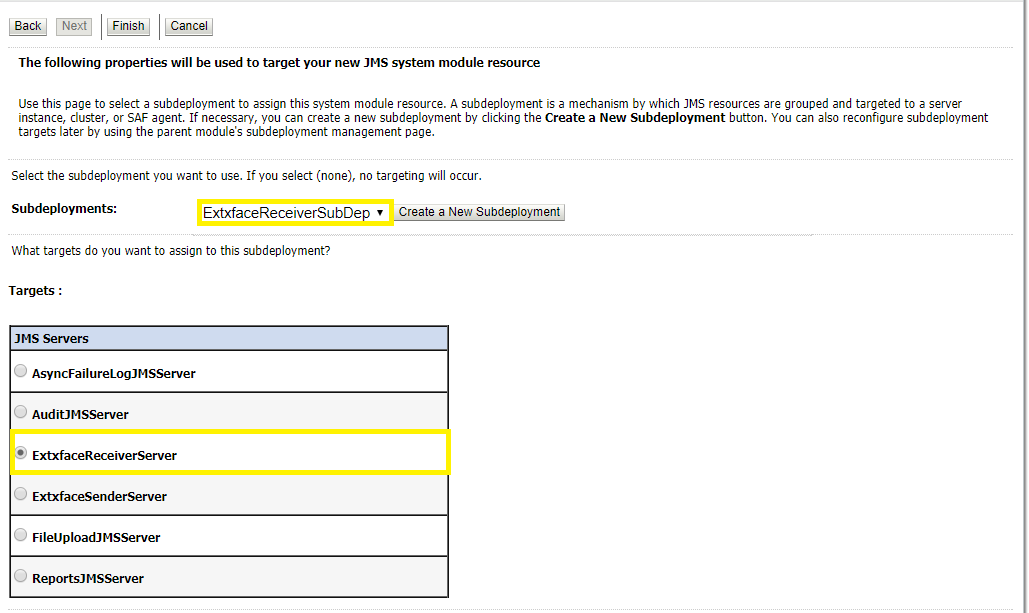
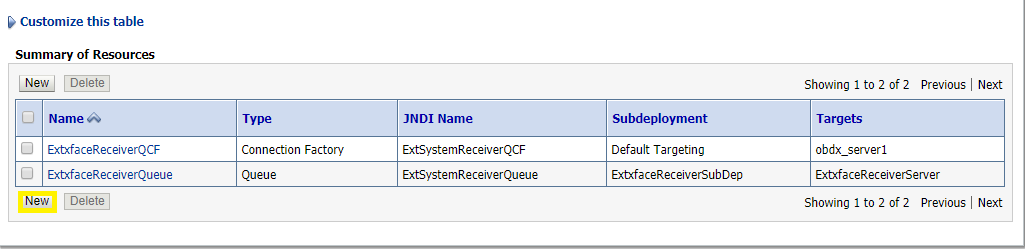
The ReceiverQueue should be listed on the following page with Sub-deployment as ExtxfaceReceiverSubDep and target as ExtxfaceReceiverServer.
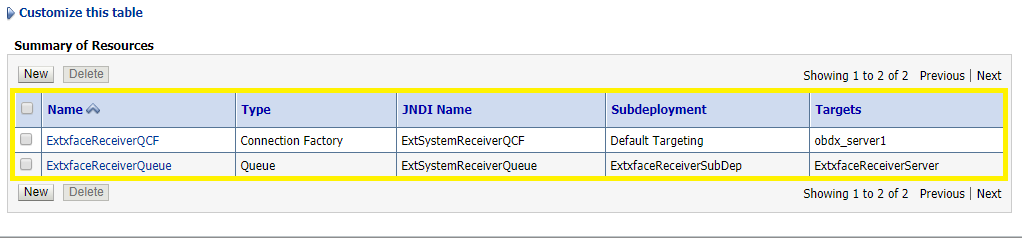
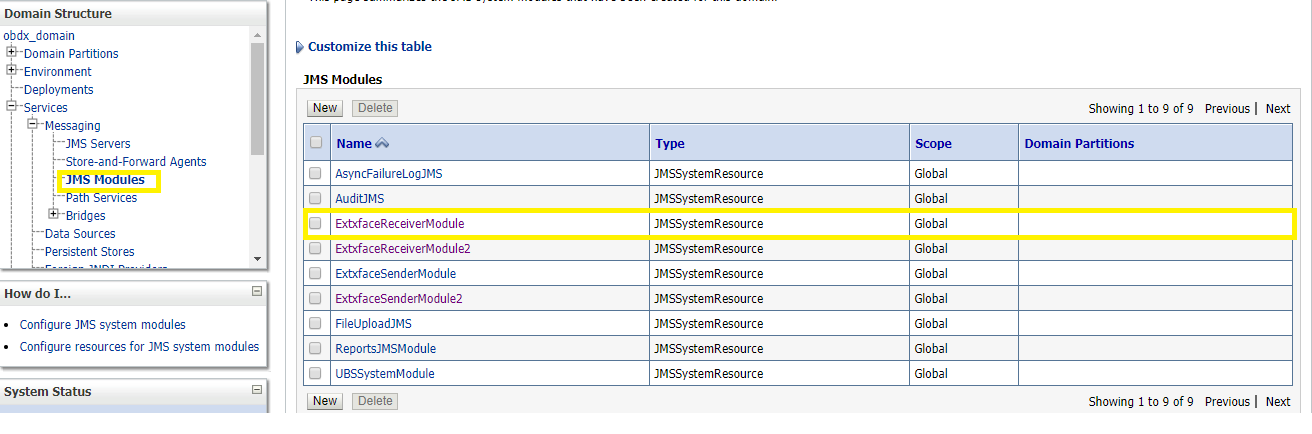
Confirm the resources for the ExtxfaceReceiverModule . Using the Domain Structure tree, navigate to Services > Messaging > JMS Modules then select ExtxfaceReceiverModule.
 You should see the following resources-
The JMS queue is now complete and can be accessed using the JNDI names
ExtSystemReceiverQCF And ExtSystemReceiverQueue.
Note: Repeat the above process from the step Create JMS Server to create the JMS Configuration for Sender. Separate JMS Server , Module and Queues would get created for Sender.
After Creating the JMS configuration for both the Receiver and sender you have to manually deploy the ExtxfaceSimulatorMDB.ear on weblogic server.
Note: Whenever a new Entity is created within a setup the following mentioned steps should be followed in order to enable support for MultiEntity.
In order to enable the support for newly created Entity, Sender/ Receiver Connection Factories and Queues are needed to be created within a new Sender/ Receiver JMS Modules. These modules can be hosted on the same Sender/ Receiver JMS server created as per the steps defined in section (Create JMS Server) for the earlier Entity.
- Create a new JMS Module by repeating steps given in section (Creating JMS Module) , on the same JMS server with new names as follows-
|
|
JMS Module Name |
|---|---|
|
Sender JMS Module |
ExtxfaceSenderModule2 |
|
Receiver JMS Module |
ExtxfaceReceiverModule2 |
- Create a new SubDeployment within both Sender/Receive module created with above step by repeating the procedure given in section (Create JMS Subdeployment) with the new name as follows-
|
|
JMS Module Name |
SubDeployment Name |
|---|---|---|
|
Sender JMS Module |
ExtxfaceSenderModule2 |
ExtxfaceReceiverSubDep2 |
|
Receiver JMS Module |
ExtxfaceReceiverModule2 |
ExtxfaceSenderSubDep2 |
• Create Sender/Receiver connection factories within newly created module by following the steps defined in the section(Creating Connection Factories), with different names as follows-
|
|
Connection Factory Name |
Connection Factory JNDI Name |
|---|---|---|
|
Sender Connection Factory |
ExtxfaceSenderQCF2 |
ExtSystemSenderQCF2 |
|
Receiver Connection Factory |
ExtxfaceReceiverQCF2 |
ExtSystemReceiverQCF2 |
- Create Sender/Receiver JMS queues within newly created JMS module by repeating the steps given in section (Creating JMS Queues), with the new names to the sender/receiver queues as follows-
|
|
JMS Queue Name |
JMS Queue JNDI Name |
|---|---|---|
|
Sender JMS Queue |
ExtxfaceSenderQueue2 |
ExtSystemSenderQueue2 |
|
Receiver JMS Queue |
ExtxfaceReceiverQueue2 |
ExtSystemReceiverQueue2 |
After creating the new JMS sender/receiver modules, connection factories and queues by following the above defined steps. Further Redeploy the ExtxfaceSimulatorMDB.ear with the following changes -
- Add new <message-driven> tag in ejb-jar.xml (Path-ExtxfaceSimulatorMDB.ear\com.ofss.digx.extxface.mdb.jar\META-INF\ ejb-jar.xml) as shown below –
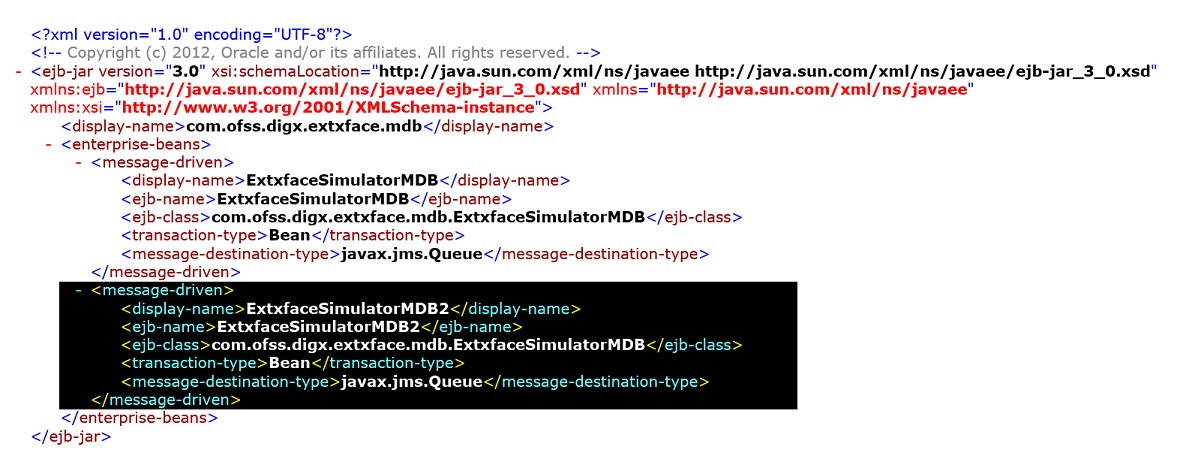
Fig.1 ExtxfaceSimulatorMDB.ear\com.ofss.digx.extxface.mdb.jar\META-INF\ejb-jar.xml
<message-driven>
<display-name>ExtxfaceSimulatorMDB2</display-name>
<ejb-name>ExtxfaceSimulatorMDB2</ejb-name>
<ejb-class>com.ofss.digx.extxface.mdb.ExtxfaceSimulatorMDB</ejb-class>
<transaction-type>Bean</transaction-type>
<message-destination-type>javax.jms.Queue</message-destination-type>
</message-driven>
Note: As Shown in above example the value of the <ejb-class> sub-tag in <message-driven> tag should be same for all the Entities.
- Add new <weblogic-enterprise-bean> configuration tag in weblogic-ejb-jar (Path- ExtxfaceSimulatorMDB.ear\com.ofss.digx.extxface.mdb.jar\META-INF\ weblogic-ejb-jar) as shown below-
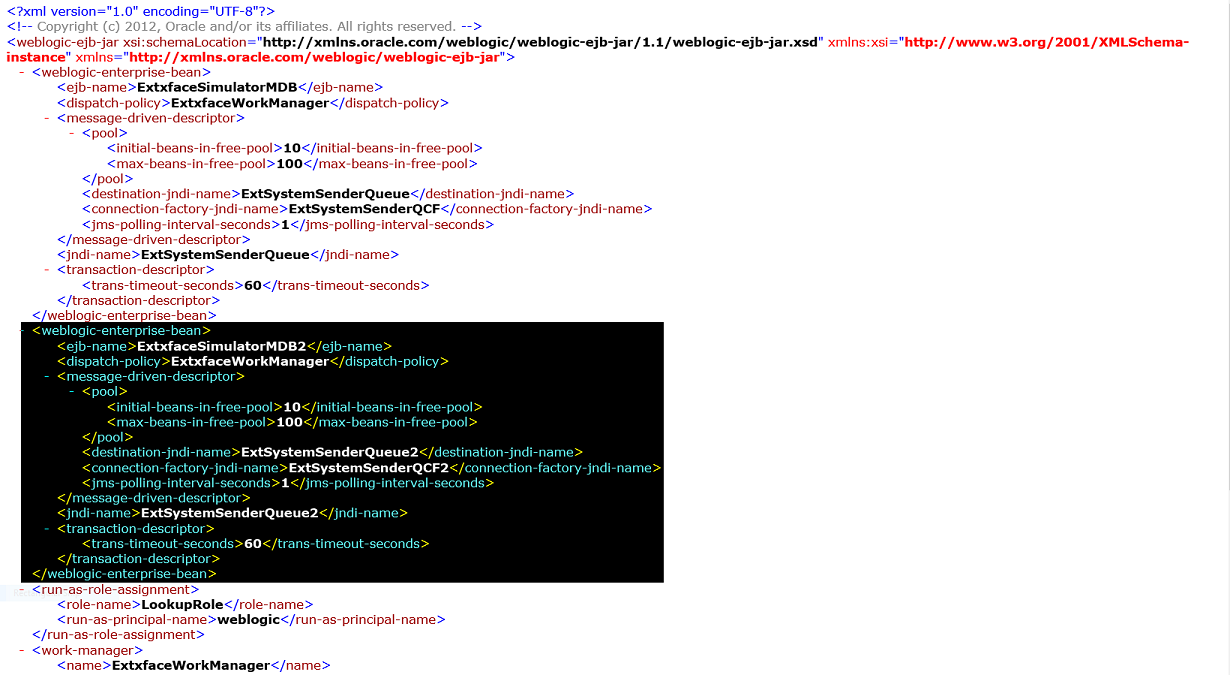
Fig.2 ExtxfaceSimulatorMDB.ear\com.ofss.digx.extxface.mdb.jar\META-INF\weblogic-ejb-jar.xml
<weblogic-enterprise-bean>
<ejb-name>ExtxfaceSimulatorMDB2</ejb-name>
<dispatch-policy>ExtxfaceWorkManager</dispatch-policy>
<message-driven-descriptor>
<pool>
<initial-beans-in-free-pool>10</initial-beans-in-free-pool>
<max-beans-in-free-pool>100</max-beans-in-free-pool>
</pool>
<destination-jndi-name>ExtSystemSenderQueue2</destination-jndi-name>
<connection-factory-jndi-name>ExtSystemSenderQCF2</connection-factory-jndi-name>
<jms-polling-interval-seconds>1</jms-polling-interval-seconds>
</message-driven-descriptor>
<jndi-name>ExtSystemSenderQueue2</jndi-name>
<transaction-descriptor>
<trans-timeout-seconds>60</trans-timeout-seconds>
</transaction-descriptor>
</weblogic-enterprise-bean>
Note: <destination-jndi-name> i.e. JNDI name of the JMS sender queue should be same as given while creating the queue. In above example it is- ExtSystemSenderQueue2.
<connection-facory-jndi-name> i.e. connection factory JNDI name should be same as given while creating the new connection factory. In the above example it is- ExtSystemSenderQCF2.
<dispatch-policy> value should be same for all the Entities. i.e., ExtxfaceWorkManager
After Redeploying the ExtxfaceSimulatorMDB and restarting the server, check the state of the application by going in Deployments wizard on the weblogic server console. If it is not in “Active” state, it needs to be started manually, to do so, follow the steps mentioned below by keeping server in ‘Running’ state-
- Go into the Control tab.
- From the List of applications select the checkbox before ExtxfaceSimulatorMDB ear.
- Select the ‘Start’ dropdown list and from that select option-“Servicing all requests”.