OBDX AUTHENTICATOR APPLICATION
This document includes following topics:
- Building Authenticator UI
- Building UI manually
- Authenticator Application Workspace Setup
- Building Authenticator Application
1. Building Authenticator UI
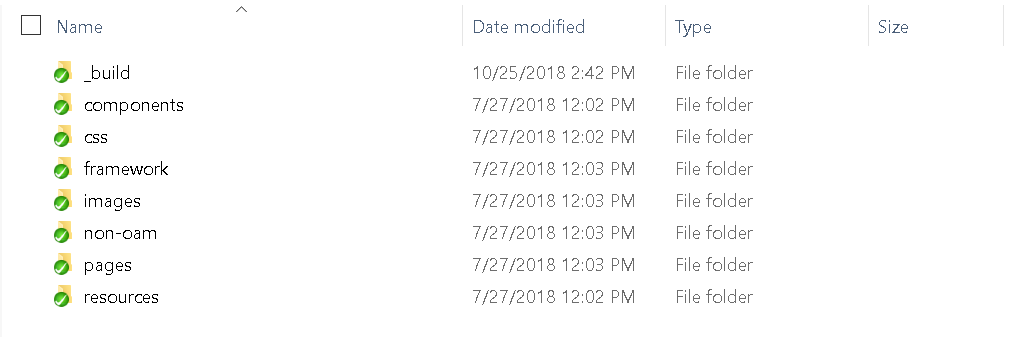
- Extract OBDX_Installer.zip and go to OBDX_Installer/installables/mobile/authenticator/ui. The folder structure is as shown:
- Build UI based on selected Authentication mechanism.
- OAM based Authentication
- Open command prompt at “OBDX_Installer/installables/mobile/authenticator/ui /_build” level.
- Run following command :
npm install -g grunt-cli
npm install
node render-requirejs/render-requirejs.js
grunt authenticator --verbose
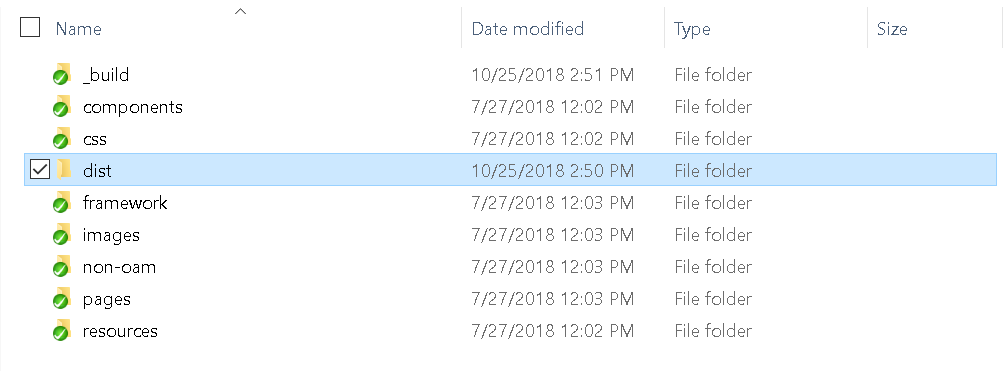
- After running above commands and getting result as “Done, without errors.” a new folder will be created in “ui” with name as “dist”.
- NON-OAM Based Authentication
- Copy “non-oam /login” folder and paste it at location “components/modules” location. This will replace existing “login” folder.
- Open command prompt at “_build” level.
- Run following command :
npm install -g grunt-cli
npm install
node render-requirejs/render-requirejs.js
grunt authenticator --verbose
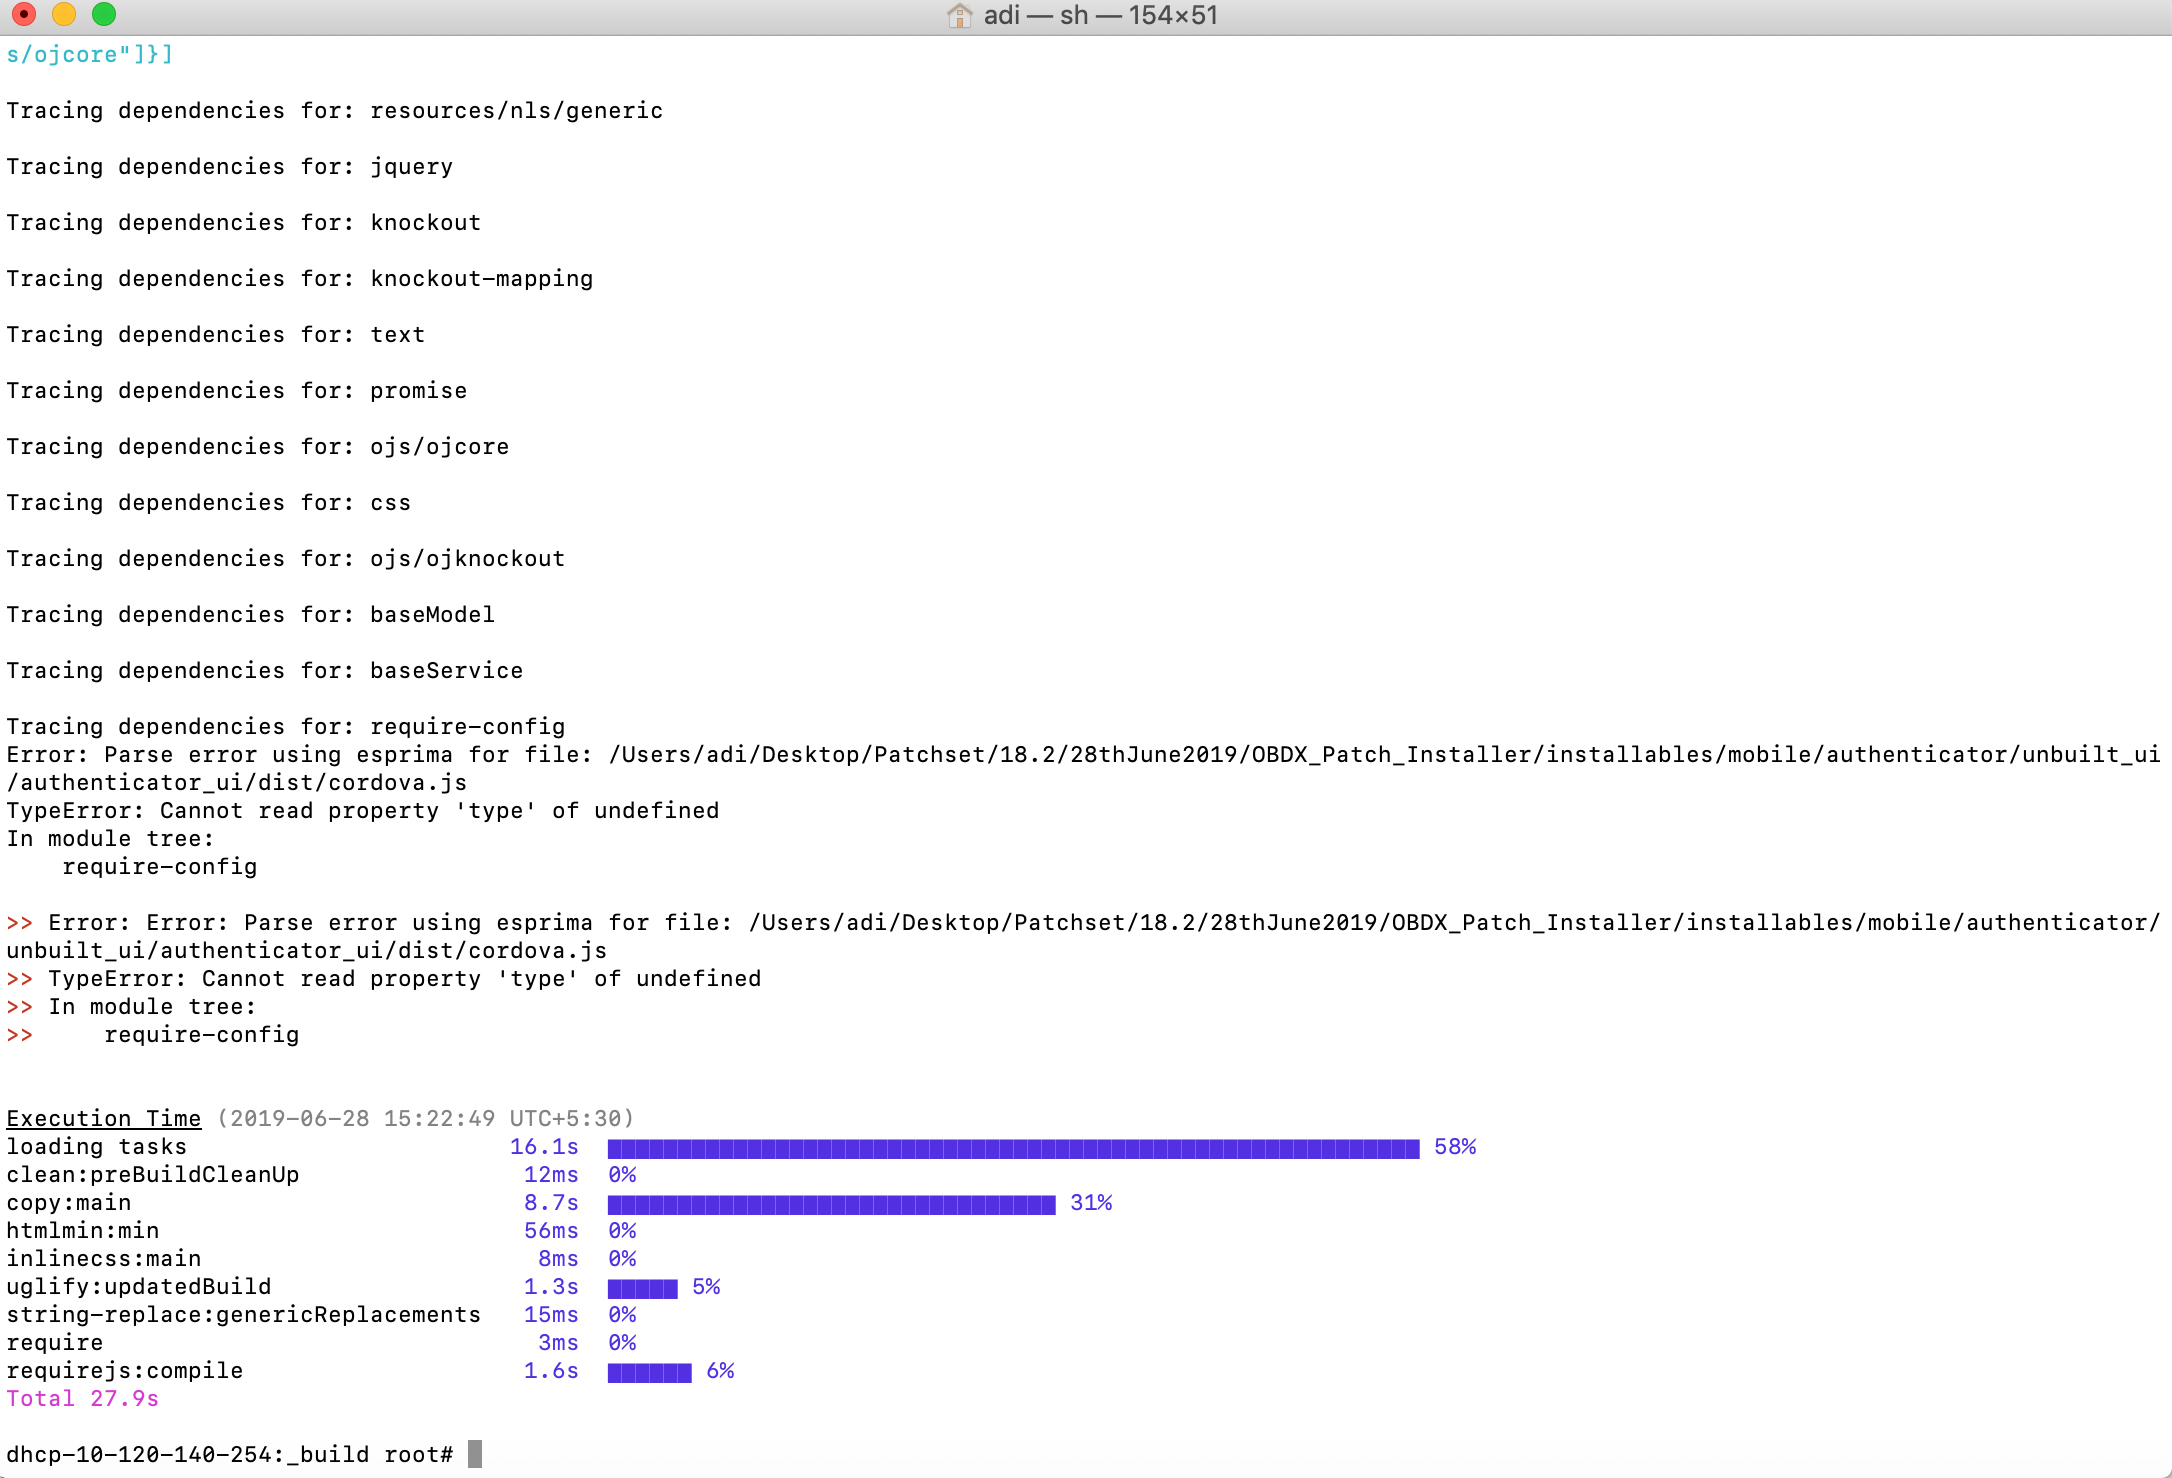
- After running above commands and getting below result. This error can be ignored and a new folder will be created in “ui” folder with name as “dist”.
2. Authenticator Application Workspace Setup
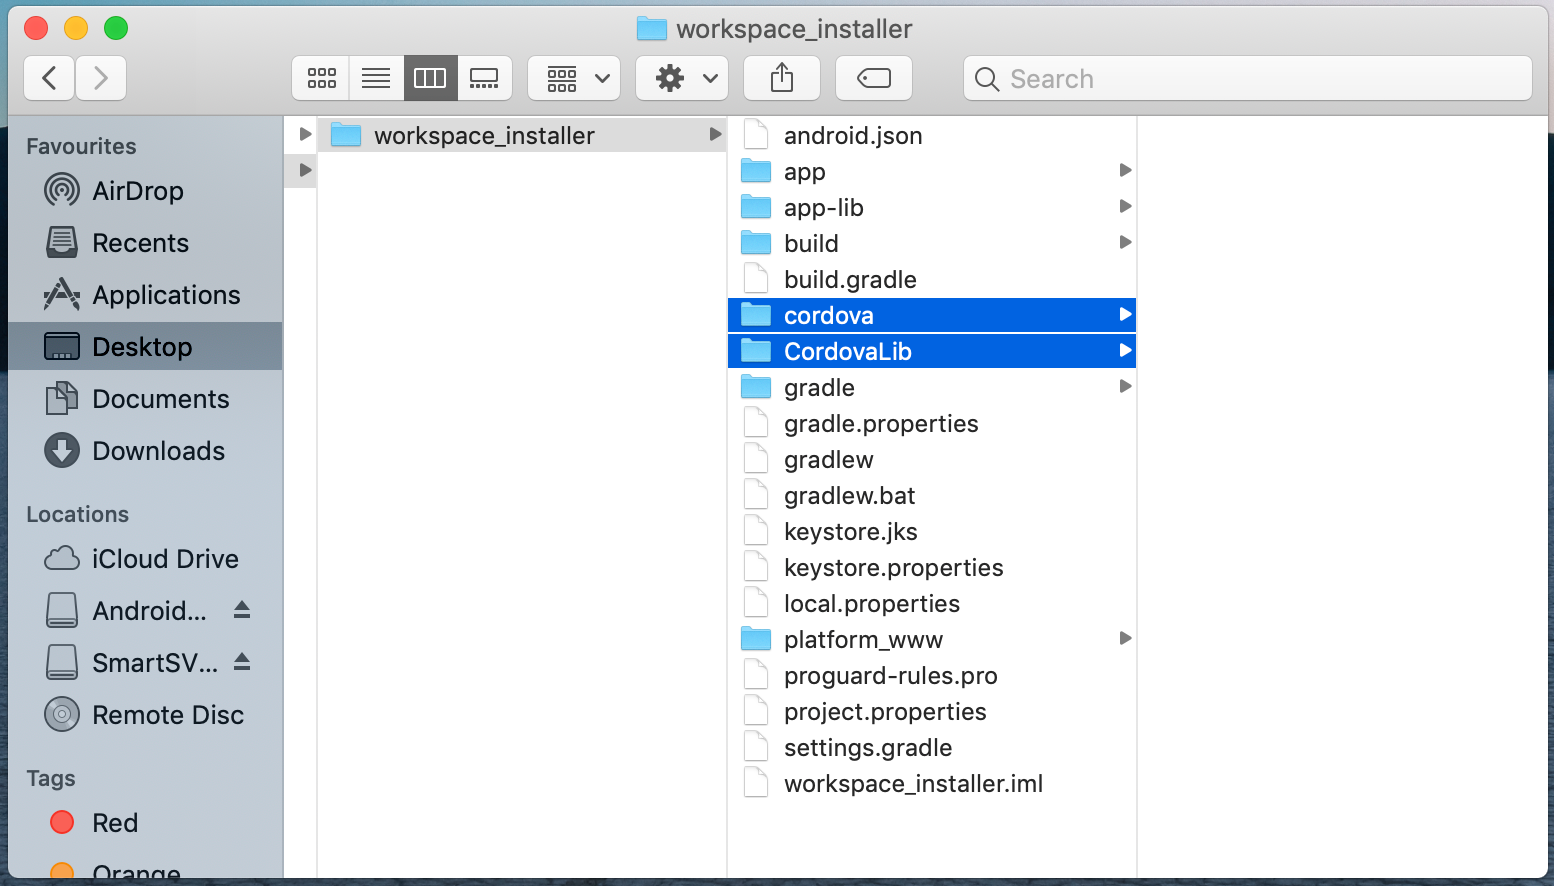
- Navigate to workspace/installer and copy cordova and CordovaLib as in Section 1.2 Create project Step 5
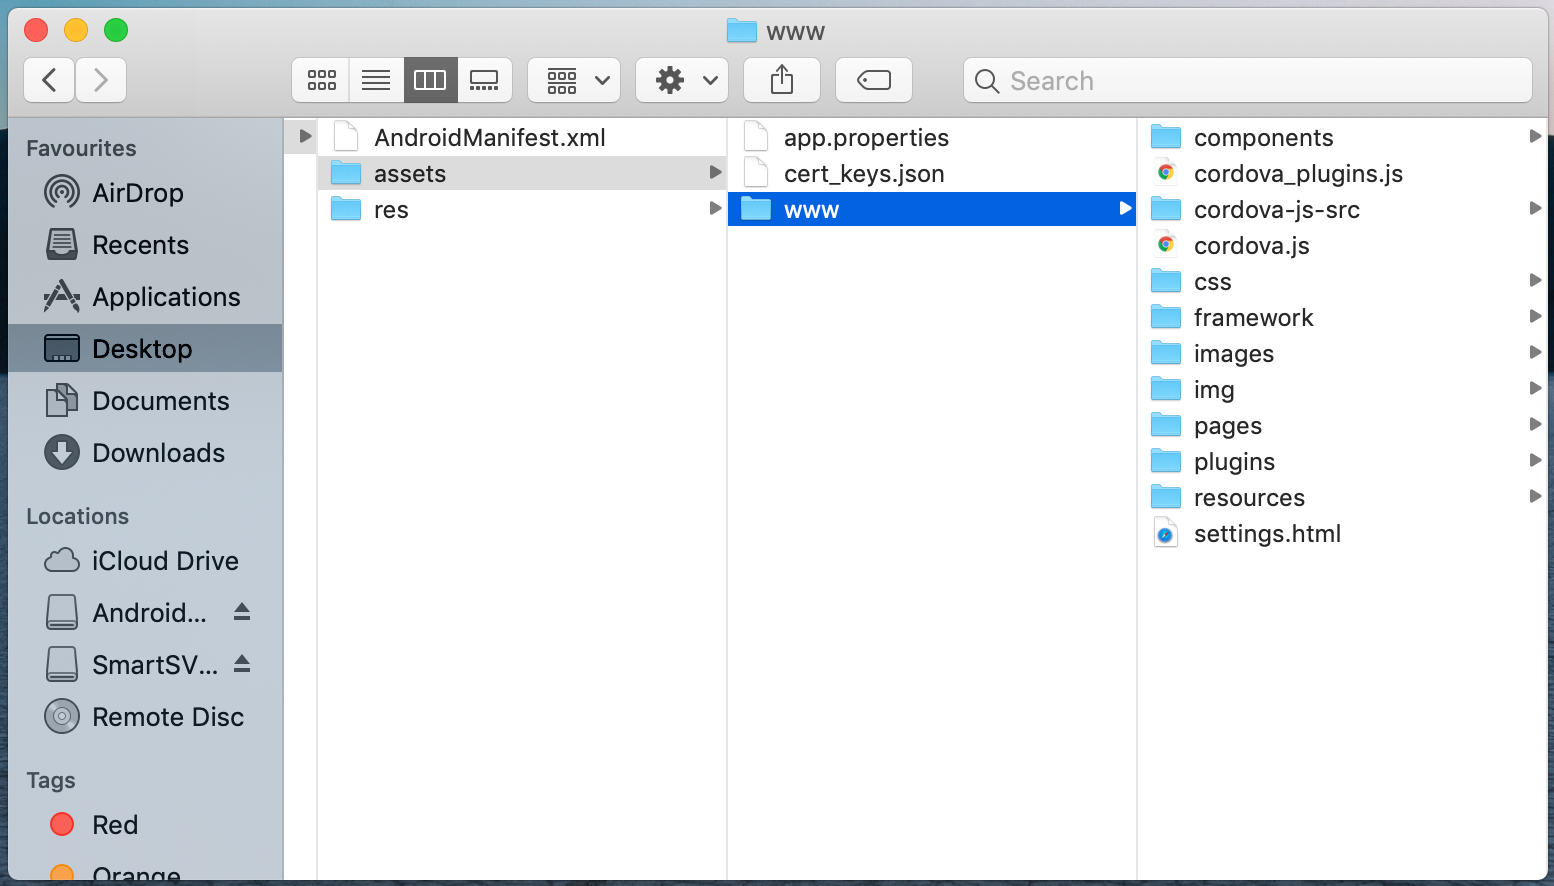
- Copy UI (Directories – components, css, framework, images, pages, resources)from /dist directory to workspace/installer/app/src/main/assets/www/
-
In case any popup appears, click replace
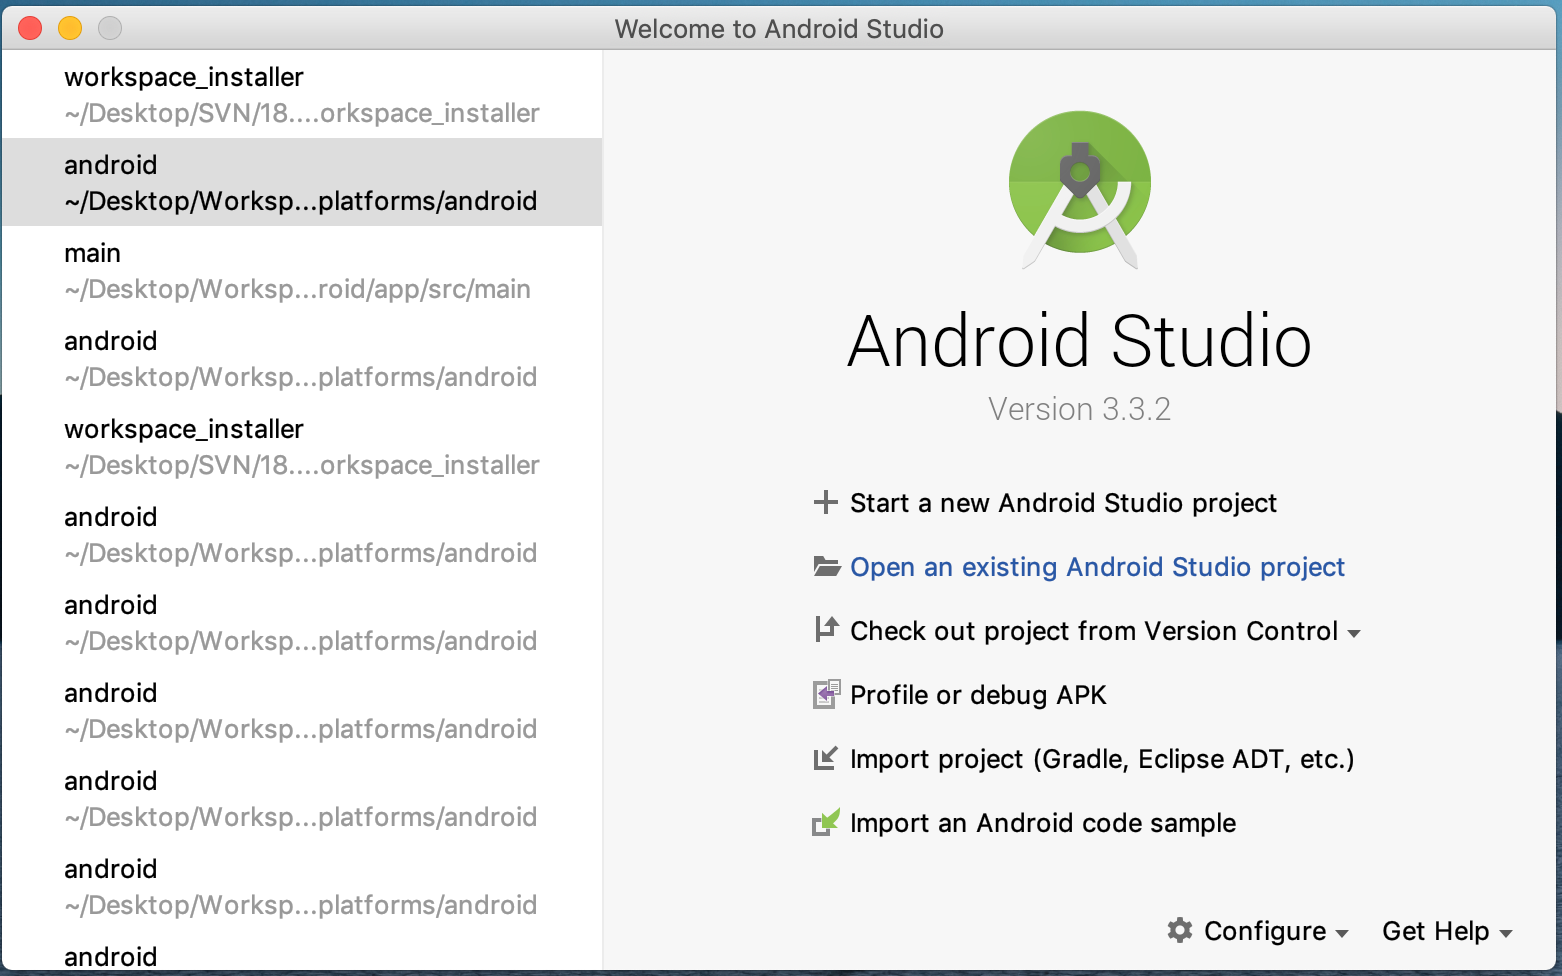
- Launch Android Studio and open existing project
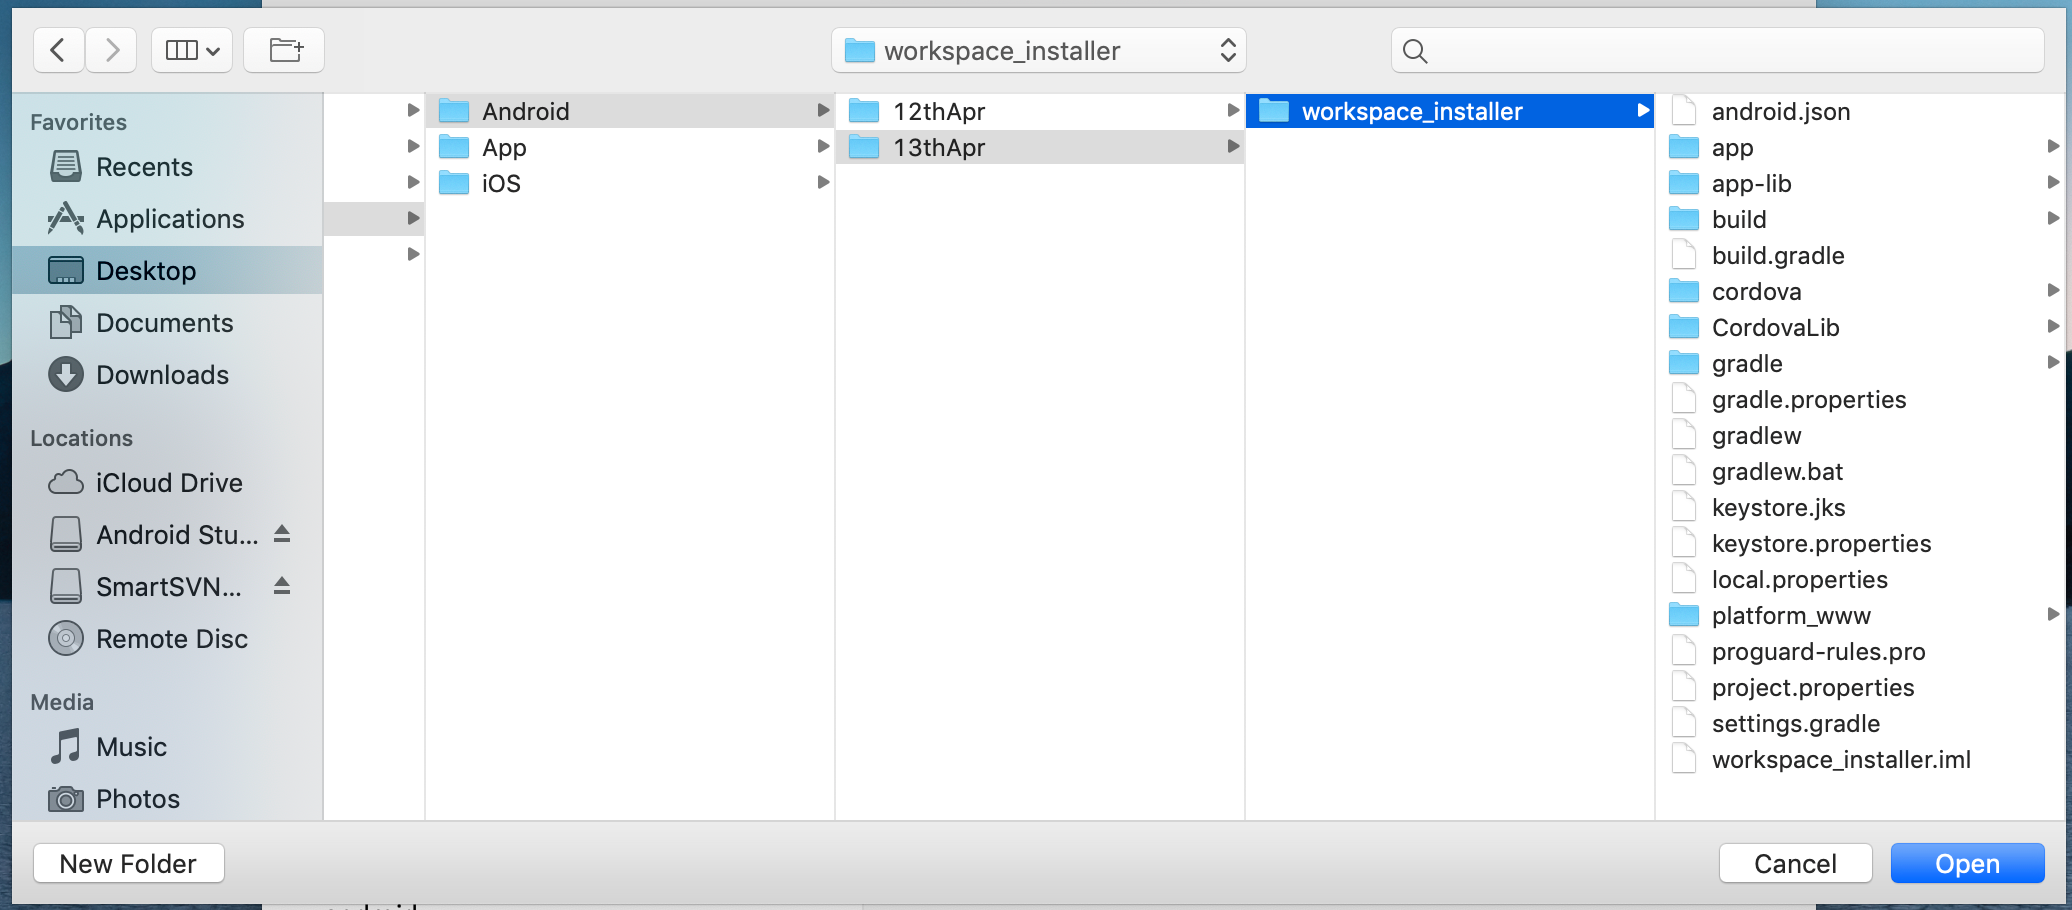
- Open OBDX_Installer/workspace_installer folder in Android Studio.
- Open gradle.properties file and update following properties with relevant proxy address if required
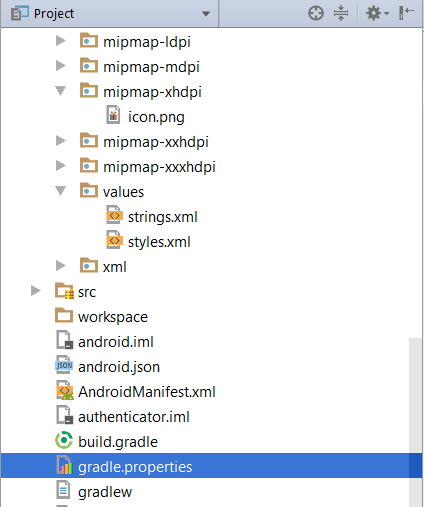
systemProp.http.proxyHost = <proxy_address>
systemProp.https.proxyPort = <port_number>
systemProp.https.proxyHost = <proxy_address>
systemProp.http.proxyPort = <port_number>
- Open “assets\app.properties” file and update following properties as per requirement
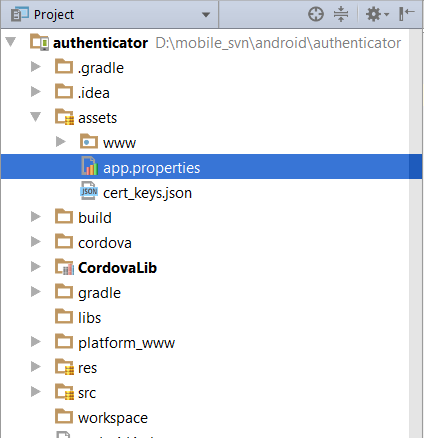
connection_timeout = <timeout_in_milliseconds>
ssl_pinning_enabled = <YES or NO>
shared_server_url = <server_url>
shared_oam_url = <oam_url>
otp_type = <HOTP or TOTP>
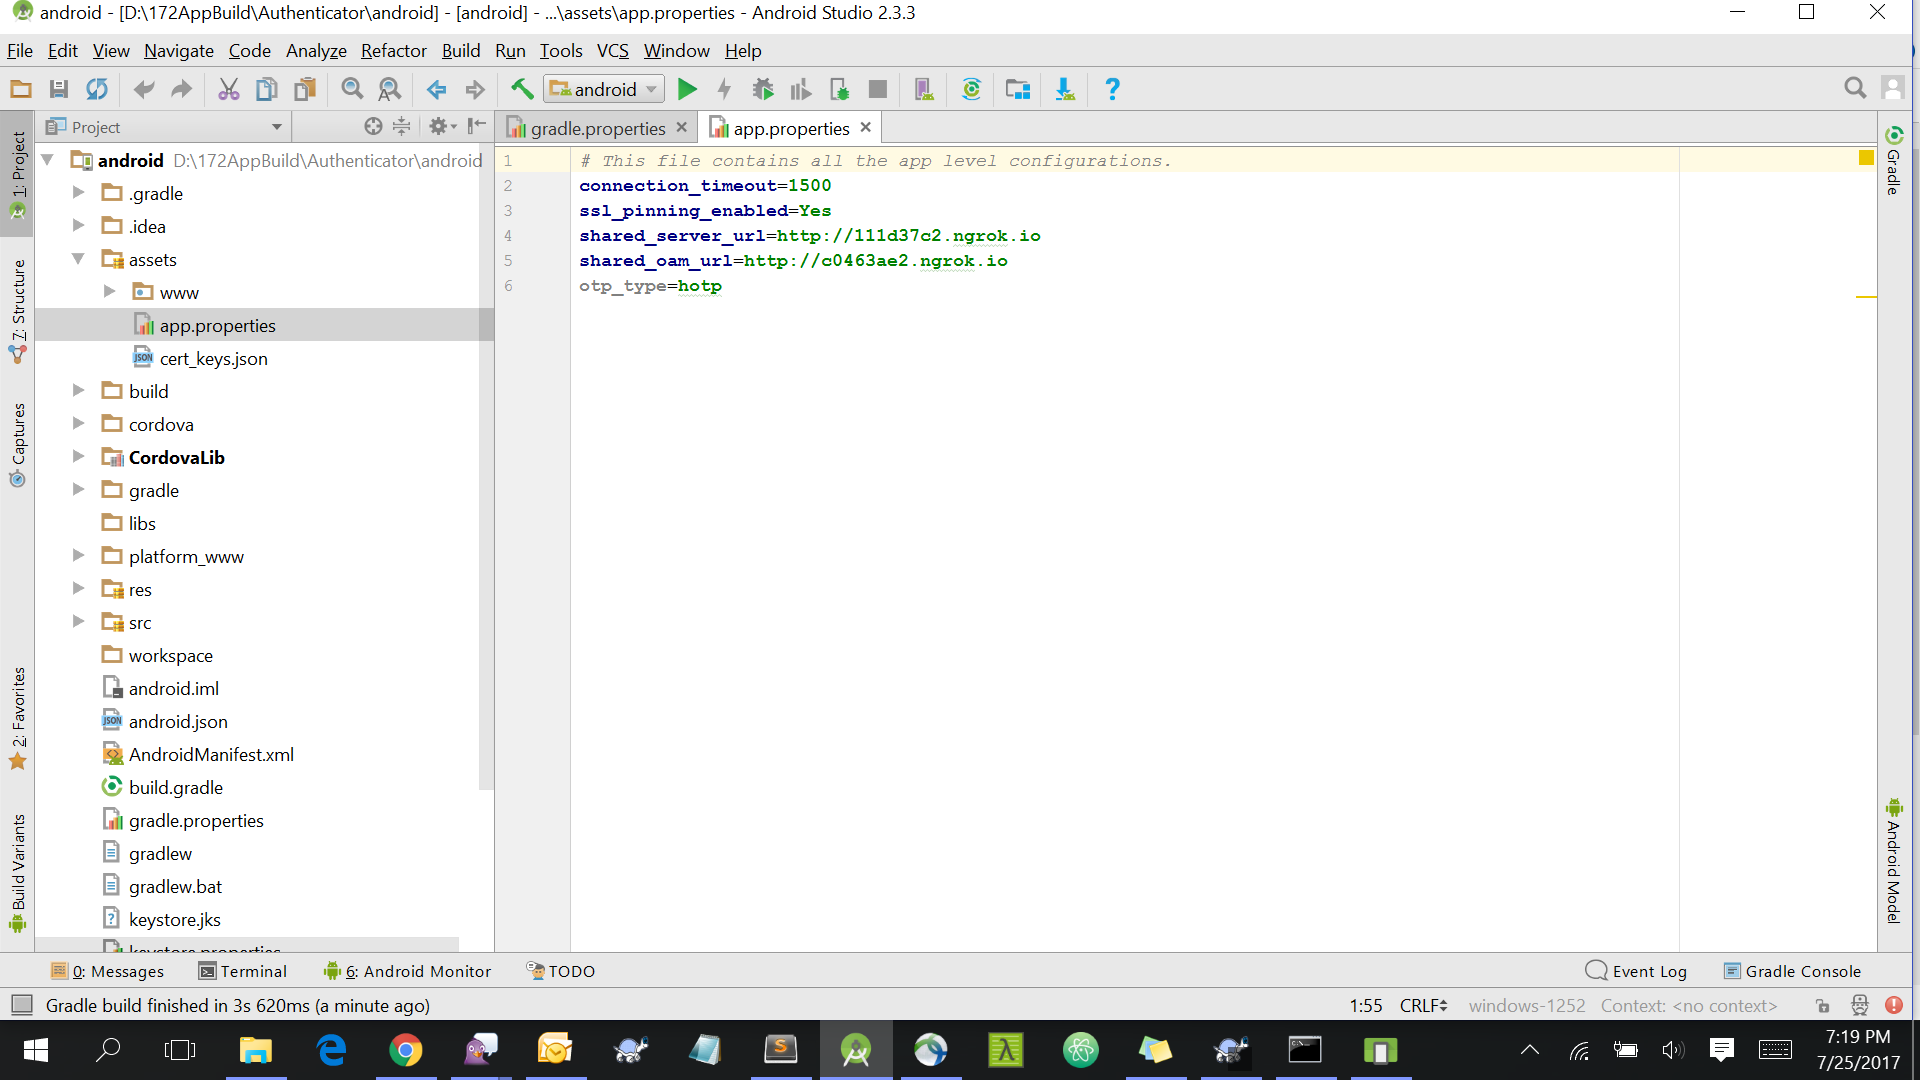
Note: If selected authentication mechanism is not OAM based then remove “shared_oam_url” property.
- Click Build > Clean & Build > Rebuild project in Android Studio.
- Click on Build → Edit Build Type → app → release
Enable minify → true
Add progurard file from workspace_installer/proguard-rules.pro
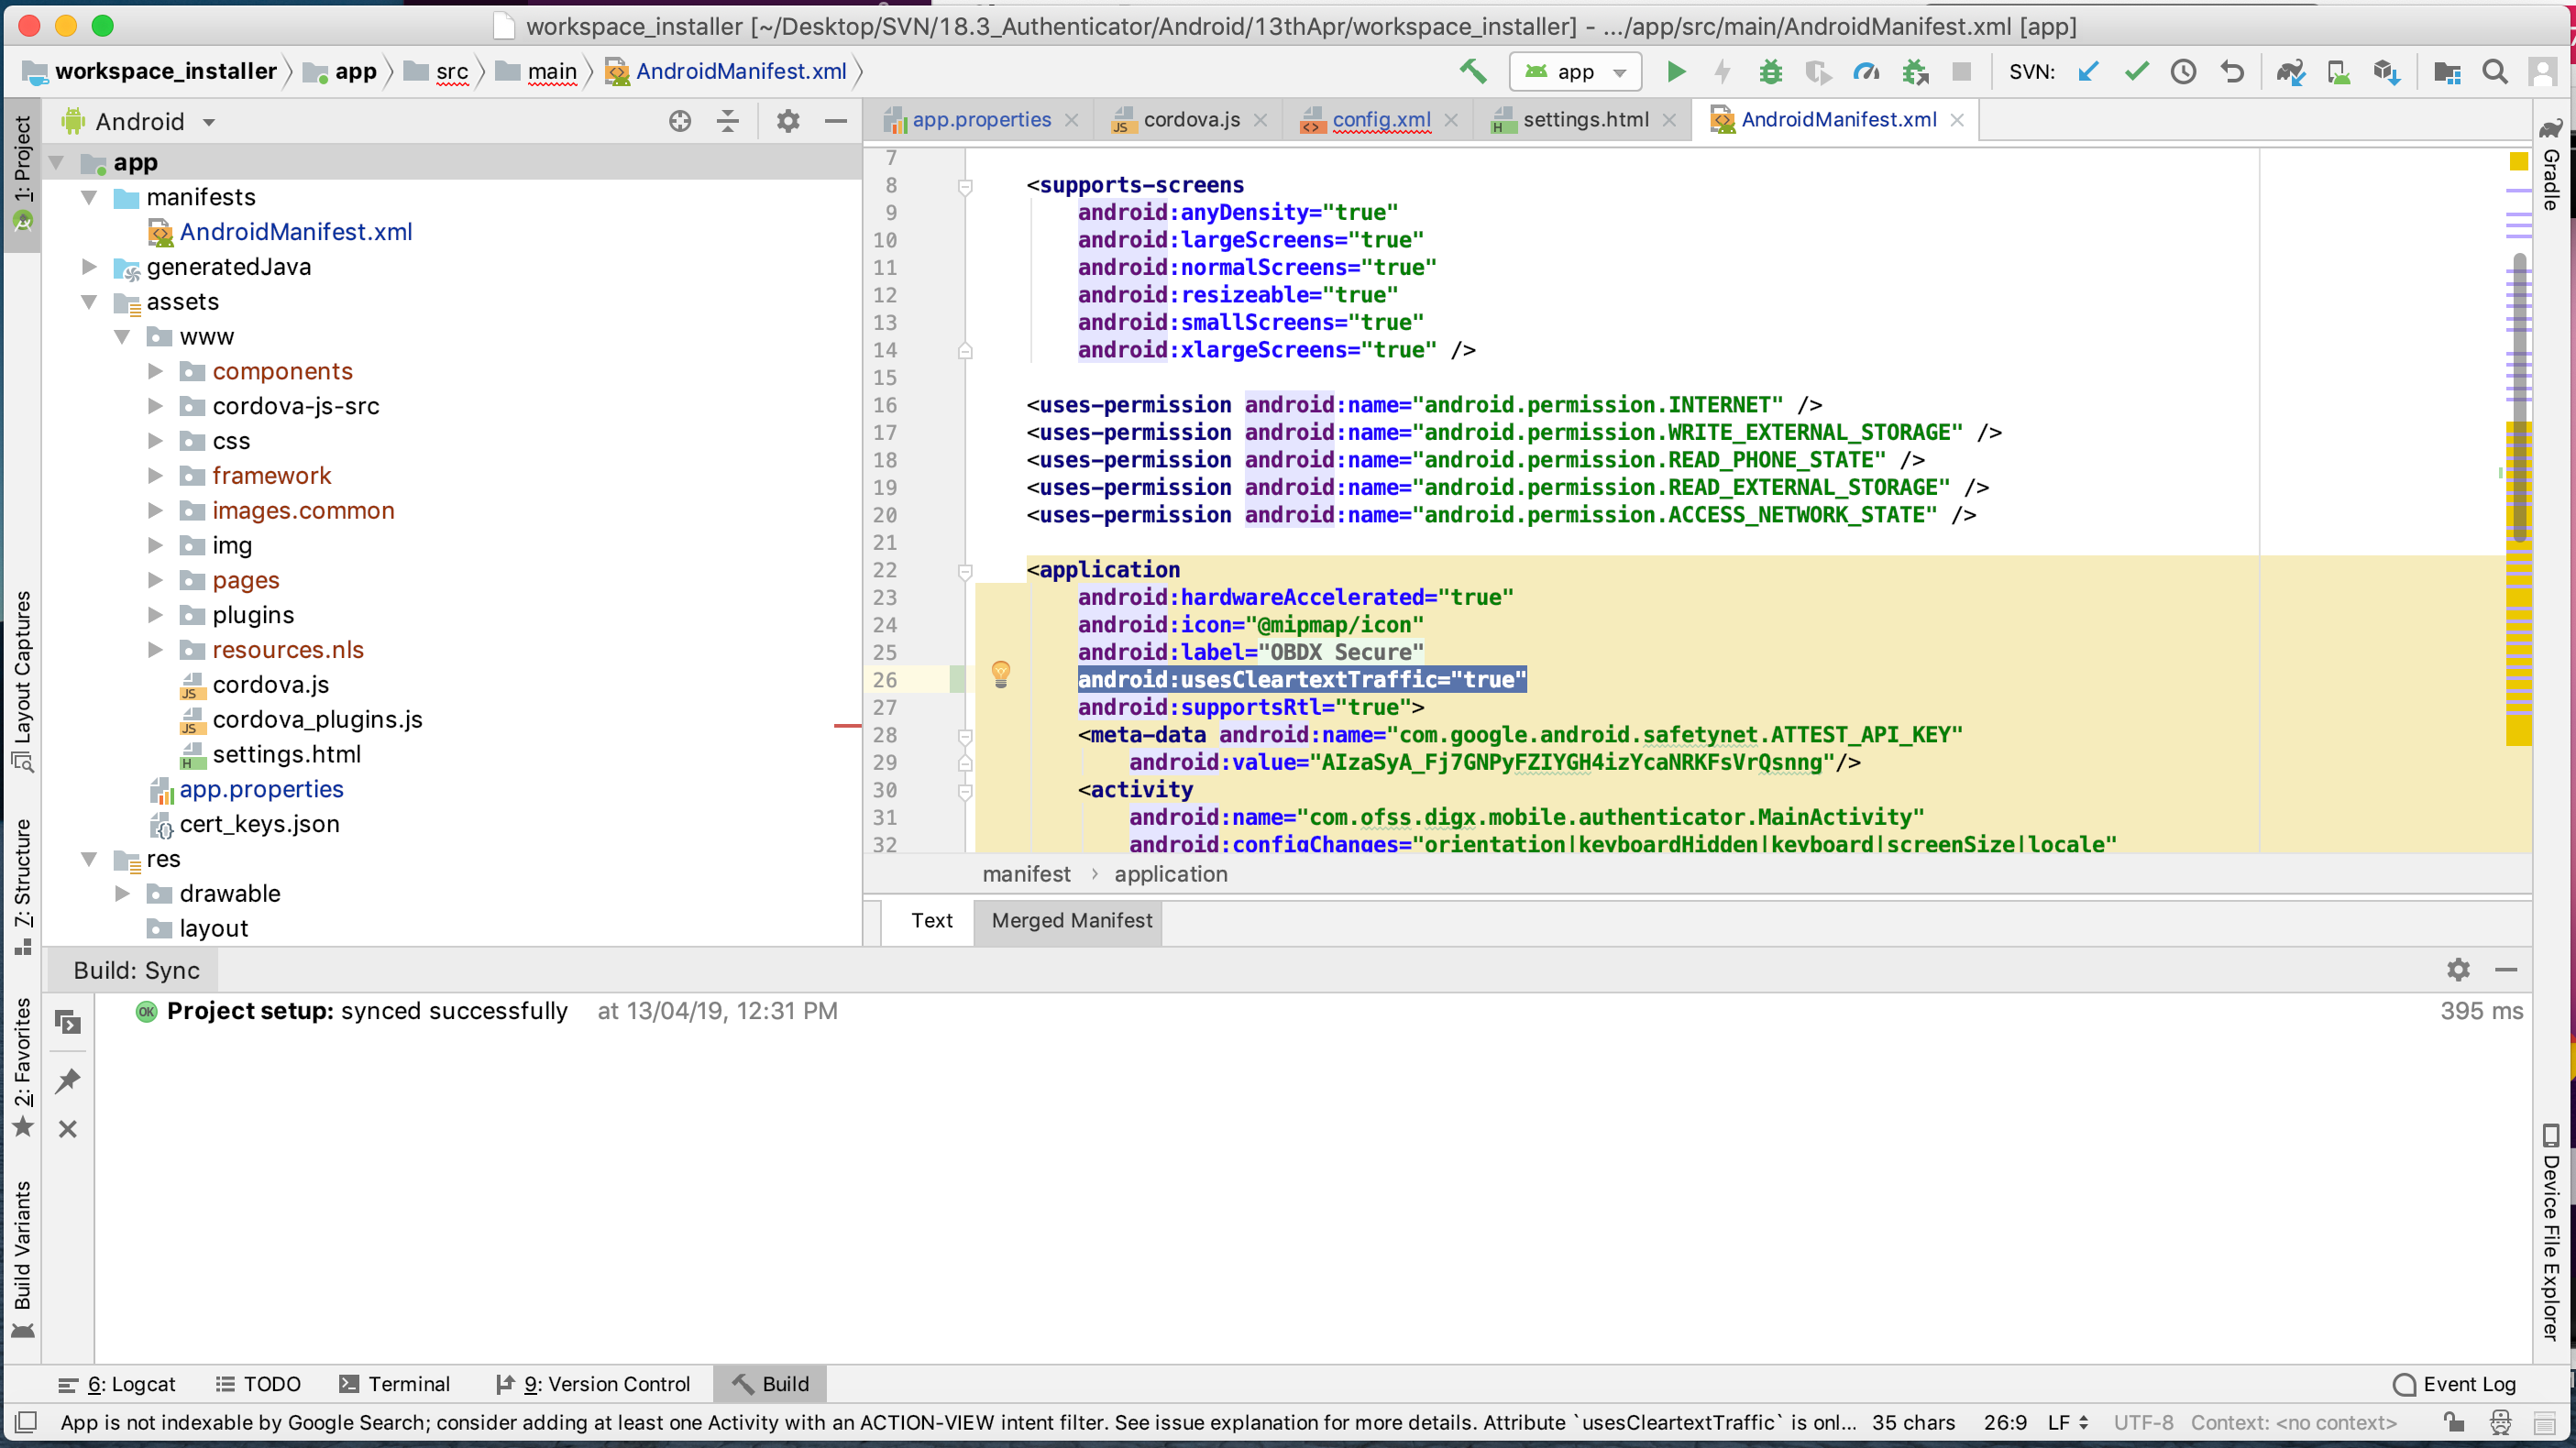
Click OK. - If using http protocol for development add (android:usesCleartextTraffic="true") to application tag of AndroidManifest.xml
- For Generating Signed Apk: To Generate release-signed apk as follows:
On menu bar click on Build -> Generate Signed Apk
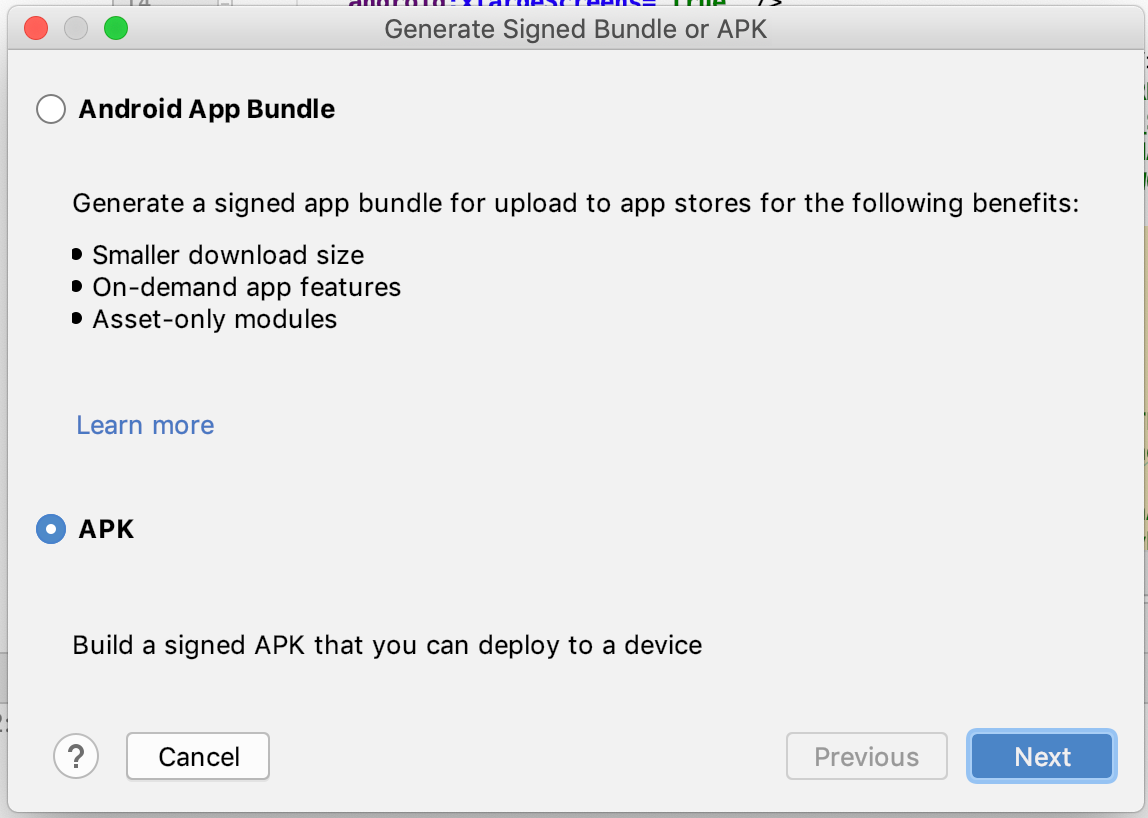
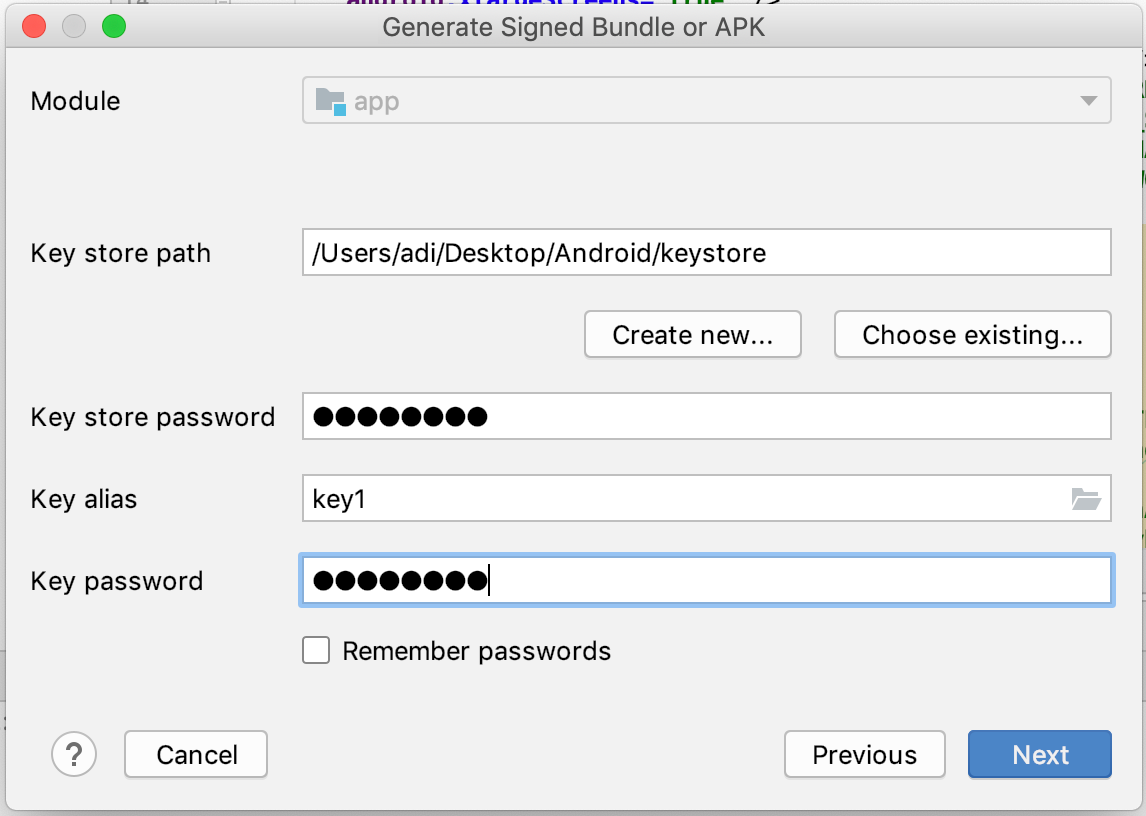
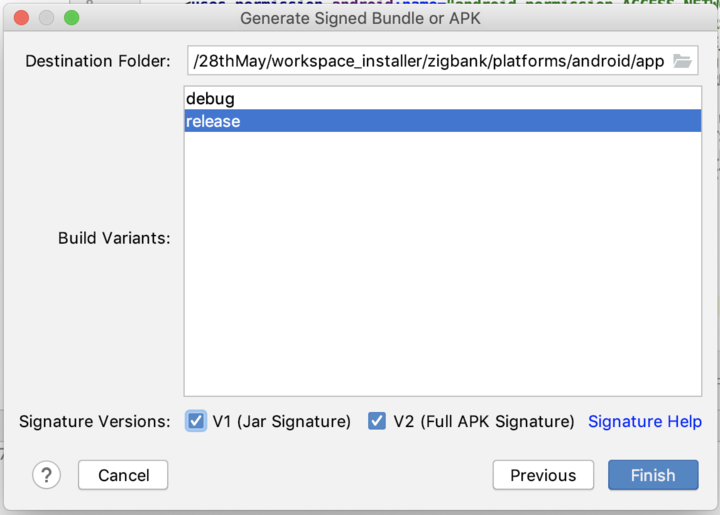
Click Finish to generate .apk
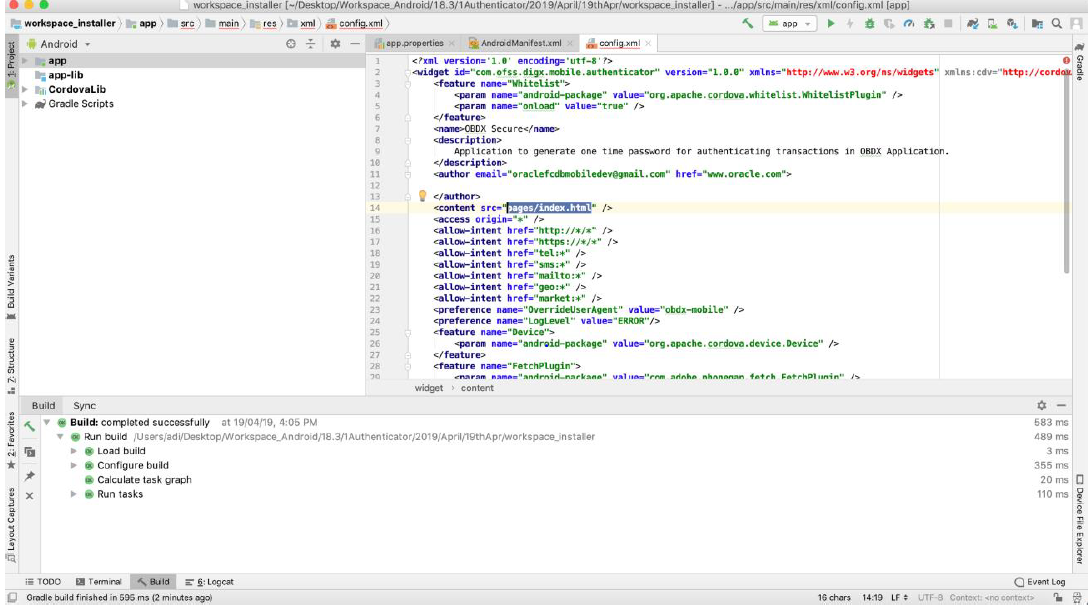
Note: The application has config page to add URL. This is for development purpose only and can be removed using below step. (Update content src tag)
