7. BIP Reports in Oracle FLEXCUBE
During the day, or at the end of the day, you may want to retrieve information on any of the several operations that were performed during the day in your bank. You can generate this information in the form of reports for microfinance in Oracle FLEXCUBE.
For microfinance you can generate reports, which give you data about the various events in the life of a specific contract, or across contracts, at a specific point in time. You can have analysis reports, daily reports, exception reports (reports on events that ought to have taken place on the contract but have not, due to various reasons), history reports and so on. A set of report formats is pre-defined.
This chapter contains the following sections:
- "Example 7.1" on page 1
- "Example 7.2" on page 1
- "Example 7.3" on page 5
- "Example 7.4" on page 6
- "Example 7.5" on page 7
- "Example 7.6" on page 9
- "Example 7.7" on page 10
- "Example 7.8" on page 11
- "Example 7.9" on page 12
- "Example 7.10" on page 13
- "Example 7.11" on page 14
7.1 Generating reports
From the Application Browser, select the Reports option. The system displays a list of all the reports to which you have access rights. Select the report that you want to generate. The system displays a screen where you can set the filters for the reports to be generated.
Set the filters and click ‘OK’ button to generate the report. To cancel the operation, click on ’Exit’ button.
7.2 Generating Client Summary and History Report
You can set your preferences as to the output of a report using ‘Client Summary and History Report’ screen. You can invoke this screen by typing ‘MFRACCNT’ in the field at the top right corner of the Application tool bar and clicking on the adjoining arrow button.
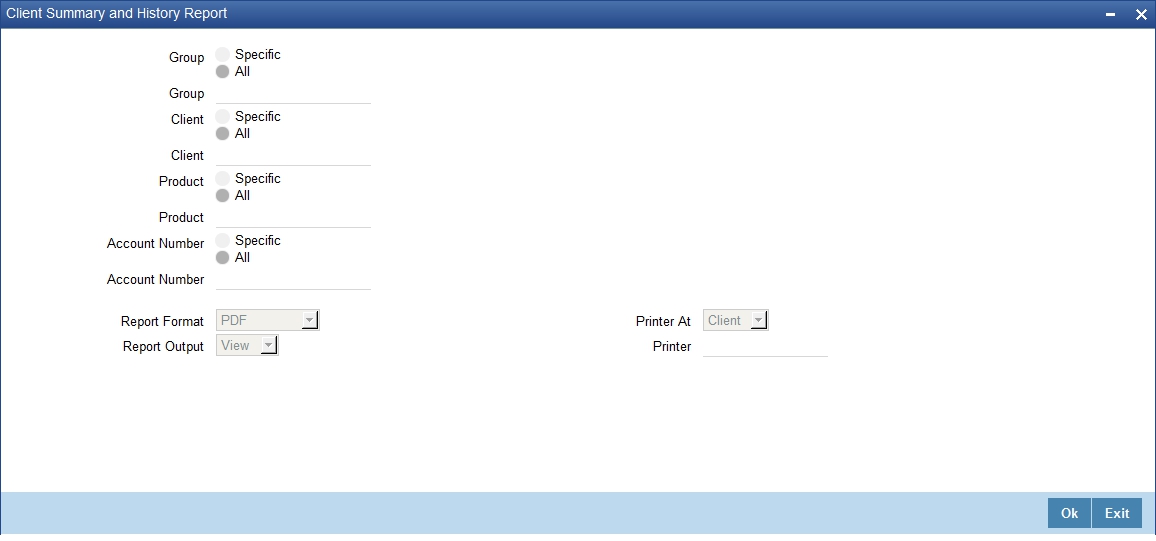
In this screen, you can enter the following details:
Group
You have to indicate the group type. The options available are:
- Specific – If you choose this option, you are allowed select value from the option list
- All - If you choose this option, all the values get selected
Note
In case of ‘Specific’ option, if you do not select any value from the option list and in case of ‘All’ option, if you select any of the value from the option list. In both the cases the system will through an error once you click ‘OK’ button.
Group
Specify the group. The option list displays all valid groups maintained in the system. Choose the appropriate one.
Client
You have to indicate the client type. The available options are:
- Specific – If you choose this option, you are allowed select value from the option list
- All - If you choose this option, all the values gets selected
Note
In case of ‘Specific’ option, if you do not select any value from the option list and in case of ‘All’ option, if you select any of the value from the option list. In both the cases the system will through an error once you click ‘OK’ button.
Client
Specify the client. The option list displays all valid clients maintained in the system. Choose the appropriate one.
Product
You have to indicate the product type. The available options are:
- Specific – If you choose this option, you are allowed select value from the option list
- All - If you choose this option, all the values get selected l
Note
In case of ‘Specific’ option, if you do not select any value from the option list and in case of ‘All’ option, if you select any of the value from the option list. In both the cases the system will through an error once you click ‘OK’ button.
Product
Specify the product code. The option list displays all valid product codes maintained in the system. Choose the appropriate one.
Account Number
You have to indicate the account number type. The available options are:
- Specific – If you choose this option, you are allowed select value from the option list
- All - If you choose this option, all the values gets selected
Note
In case of ‘Specific’ option, if you do not select any value from the option list and in case of ‘All’ option, if you select any of the value from the option list. In both the cases the system will through an error once you click ‘OK’ button.
Account Number
Specify the account number. The option list displays all valid MF account numbers maintained in the system. Choose the appropriate one.
Set the filters and click ‘OK’ button to generate the report. To cancel the operation, click on ’Exit’ button.
The following details get displayed when you generate reports
- Account Number
- Branch Code
- Product Code
- Customer ID
- Currency
- Loan Amount
- Value Date
- Maturity Date
- Account Status
7.2.1 Generating Client Fees, Charges and Penalties Report
You can set your preferences as to the output of a report using ’Client Fees, Charges and Penalties Report’ screen. You can invoke this screen by typing ‘MFRCFPNT’ in the field at the top right corner of the Application tool bar and clicking on the adjoining arrow button.
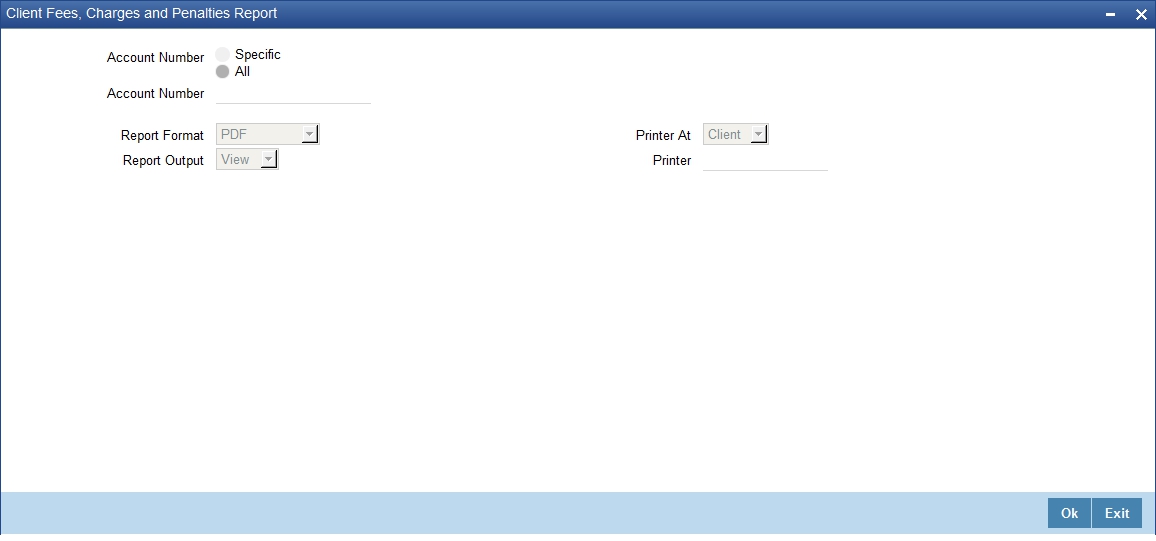
You can enter the following details in this screen:
Account Number
You have to indicate the account number type. The available options are:
- Specific – If you choose this option, you are allowed select value from the option list
- All - If you choose this option, all the values get selected
Note
In case of ‘Specific’ option, if you do not select any value from the option list and in case of ‘All’ option, if you select any of the value from the option list. In both the cases the system will through an error once you click ‘OK’ button.
Account Number
Specify the account number. The option list displays all valid account numbers maintained in the system. Choose the appropriate one.
Set the filters and click ‘OK’ button to generate the report. To cancel the operation, click on ’Exit’ button.
The following details get displayed when you generate reports:
- Account Number
- Branch Code
- Currency
- Loan Status
- Fees/Charge/Penalty
- Payment received
- Amount Waived
7.3 Generating Clients Settlement info Report
You can set your preferences as to the output of a report using ‘Clients Settlement info Report’ screen. You can invoke this screen by typing ‘MFRCSINT’ in the field at the top right corner of the Application tool bar and clicking on the adjoining arrow button.
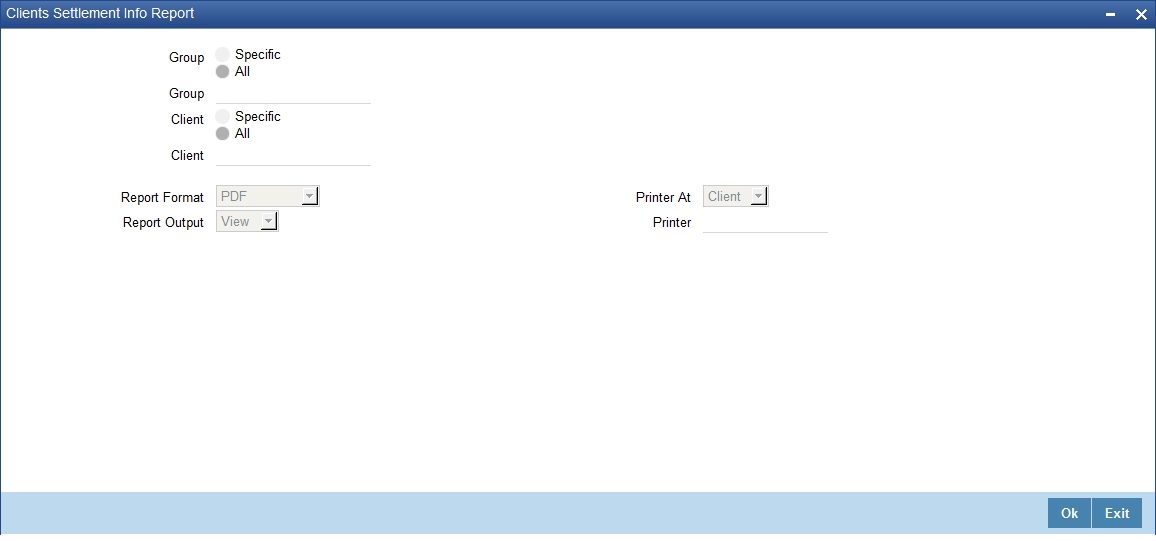
Yon can enter the following details in this screen:
Group
You have to indicate the group type. The available options are:
- Specific – If you choose this option, you are allowed select value from the option list
- All - If you choose this option, all the values gets selected
Note
In case of ‘Specific’ option, if you do not select any value from the option list and in case of ‘All’ option, if you select any of the value from the option list. In both the cases the system will through an error once you click ‘OK’ button.
Group
Specify the group. The option list displays all valid groups maintained in the system. Choose the appropriate one.
Client
You have to indicate the client type. The available options are:
- Specific – If you choose this option, you are allowed select value from the option list
- All - If you choose this option, all the values get selected
Note
In case of ‘Specific’ option, if you do not select any value from the option list and in case of ‘All’ option, if you select any of the value from the option list. In both the cases the system will through an error once you click ‘OK’ button.
Client
Specify the client. The option list displays all valid clients maintained in the system. Choose the appropriate one.
Set the filters and click ‘OK’ button to generate the report. To cancel the operation, click on ’Exit’ button.
The following details get displayed when you generate reports:
- Account Number
- Branch Code
- Reversed (Yes/No)
- Currency
- Settlement Currency
- Settlement Amount
- Settlement Branch
- Settlement Account
- Settlement Reference Number
7.4 Generating Client Loan Repayment Schedule Report
You can set your preferences as to the output of a report using ‘Client Loan Repayment Schedule Report’ screen. You can invoke this screen by typing ‘MFRSCHNT’ in the field at the top right corner of the Application tool bar and clicking on the adjoining arrow button.
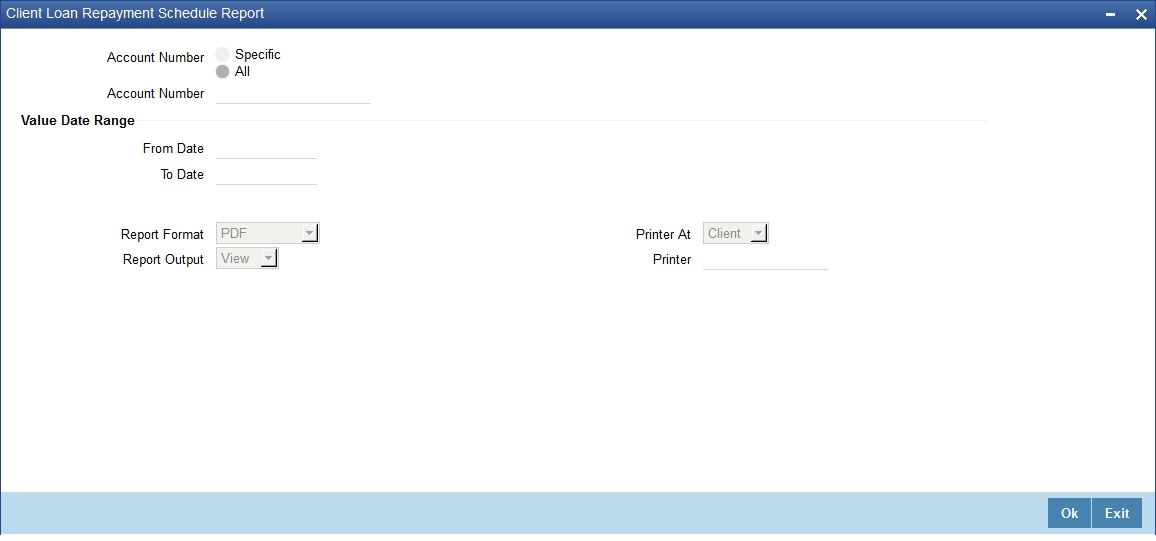
You can enter the following details in this screen:
Account Number
You have to indicate the account number type. The available options are:
- Specific – If you choose this option, you are allowed select value from the option list
- All - If you choose this option, all the values get selected
Note
In case of ‘Specific’ option, if you do not select any value from the option list and in case of ‘All’ option, if you select any of the value from the option list. In both the cases the system will through an error once you click ‘OK’ button.
Account Number
Specify the account number. The option list displays all valid account numbers maintained in the system. Choose the appropriate one.
7.4.1 Specifying Value Date Range Details
From Date
Specify from date.
To Date
Specify to date.
Set the filters and click ‘OK’ button to generate the report. To cancel the operation, click on ’Exit’ button.
The following details get displayed when you generate reports
- Account Number
- Branch Code
- Loan Amount
- Currency
- Grace Days
- Schedule Due Date
- Schedule Settlement Date
- Frequency
- Number of Installments
- Amount Settled
- Amount Due
7.5 Generating Branch Due Disbursement Report
You can set your preferences as to the output of a report using ‘Branch Due Disbursement Report’ screen. You can invoke this screen by typing ‘MFRBRDNT in the field at the top right corner of the Application tool bar and clicking on the adjoining arrow button
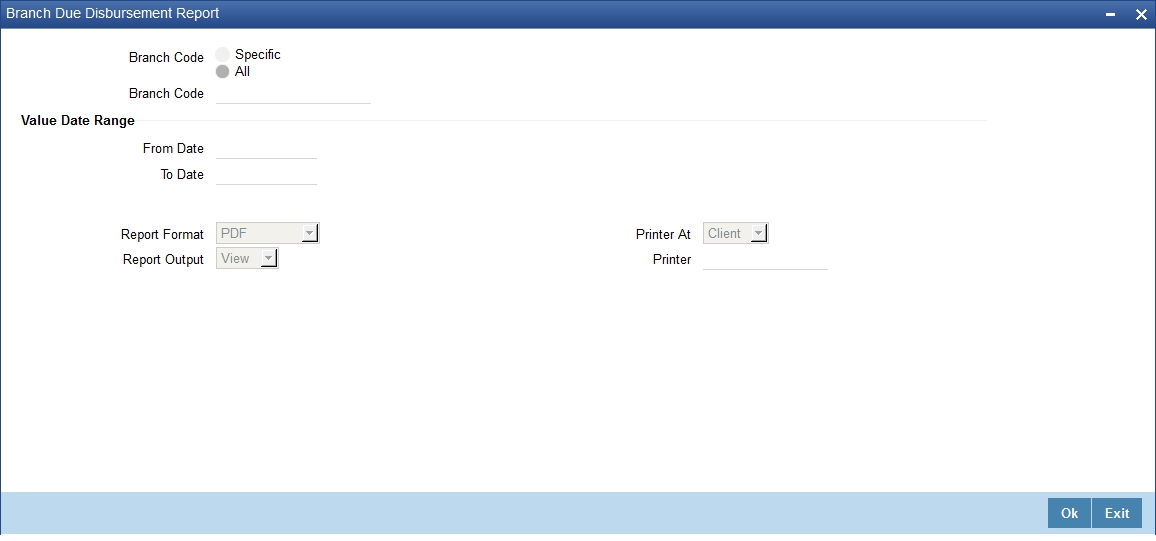
You can enter the following details in this screen:
Branch Code
You have to indicate the branch code type. The available options are:
- Specific – If you choose this option, you are allowed select value from the option list
- All - If you choose this option, all the values get selected
Note
In case of ‘Specific’ option, if you do not select any value from the option list and in case of ‘All’ option, if you select any of the value from the option list. In both the cases the system will through an error once you click ‘OK’ button.
Branch Code
Specify the branch code. The option list displays all valid branch codes maintained in the system. Choose the appropriate one.
7.5.1 Specifying Value Date Range Details
From Date
Specify from date.
To Date
Specify to date.
Set the filters and click ‘OK’ button to generate the report. To cancel the operation, click on ’Exit’ button.
The following details get displayed when you generate reports:
- Account Number
- Branch Code
- Settlement Mode
- Currency
- Settlement Currency
- Settlement Amount
- Settlement branch
- Settlement Account
- Internal Ref No
7.6 Generating Loan Arrears Report
You can set your preferences as to the output of a report using ‘Loan Arrears Report’ screen. You can invoke this screen by typing ‘MFRARRNT’ in the field at the top right corner of the Application tool bar and clicking on the adjoining arrow button.
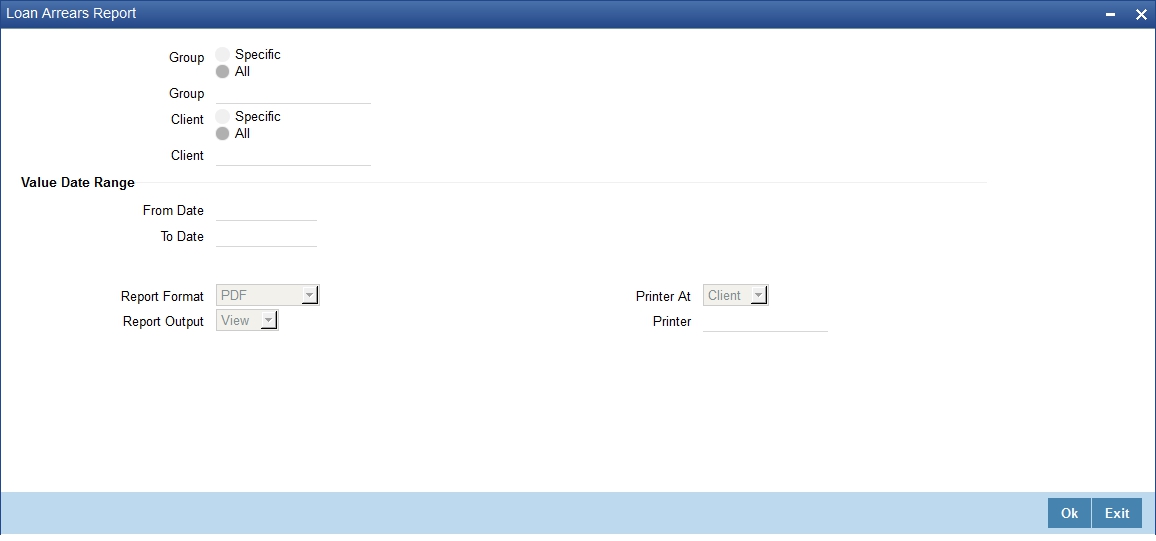
You can enter the following details in this screen:
Group
You have to indicate the group type. The available options are:
- Specific – If you choose this option, you are allowed select value from the option list
- All - If you choose this option, all the values get selected
Note
In case of ‘Specific’ option, if you do not select any value from the option list and in case of ‘All’ option, if you select any of the value from the option list. In both the cases the system will through an error once you click ‘OK’ button.
Client
You have to indicate the client type. The available options are:
- Specific – If you choose this option, you are allowed select value from the option list
- All - If you choose this option, all the values get selected
Note
In case of ‘Specific’ option, if you do not select any value from the option list and in case of ‘All’ option, if you select any of the value from the option list. In both the cases the system will through an error once you click ‘OK’ button.
Group
Specify the group. The option list displays all valid groups maintained in the system. Choose the appropriate one.
Client
Specify the client. The option list displays all valid clients maintained in the system. Choose the appropriate one.
7.6.1 Specifying Value Date Range Details
From Date
Specify from date.
To Date
Specify to date.
Set the filters and click ‘OK’ button to generate the report. To cancel the operation, click on ’Exit’ button.
The following details get displayed when you generate reports:
- Loan Account Number
- Branch Code
- Amount Financed
- Currency
- Grace Days
- Schedule Due Date
- Schedule Settlement Date
- Overdue Amount
7.7 Generating Group Performance Report
You can set your preferences as to the output of a report using ‘Group Performance Report’ screen. You can invoke this screen by typing ‘MFRGRPRM’ in the field at the top right corner of the Application tool bar and clicking on the adjoining arrow button.
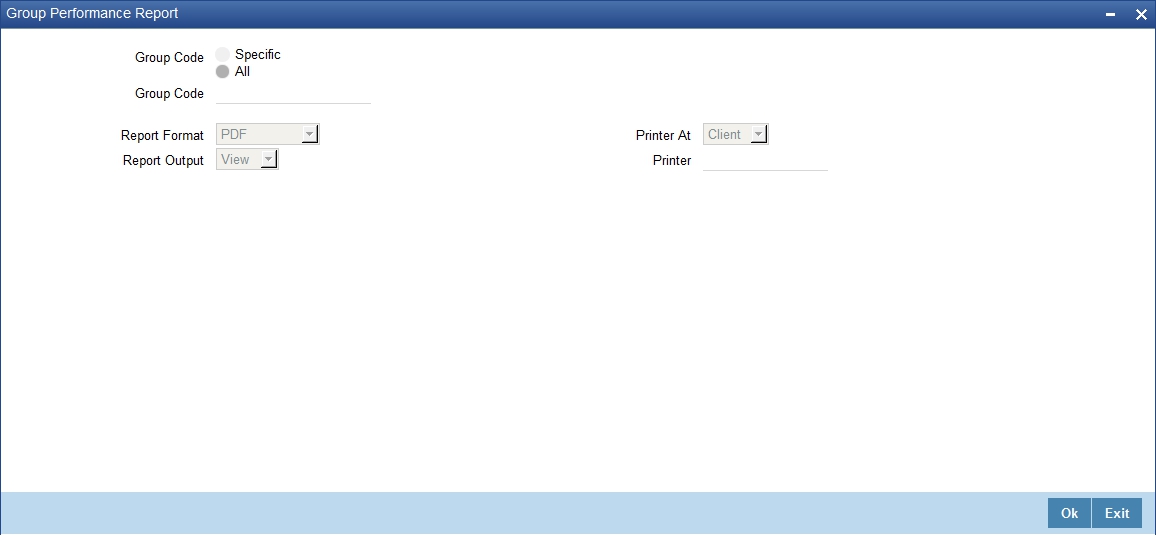
You can enter the following details in this screen:
Group Code
You have to indicate the group code type. The available options are:
- Specific – If you choose this option, you are allowed select value from the option list
- All - If you choose this option, all the values get selected
Note
In case of ‘Specific’ option, if you do not select any value from the option list and in case of ‘All’ option, if you select any of the value from the option list. In both the cases the system will through an error once you click ‘OK’ button.
Group Code
Specify the group code. The option list displays all valid group codes maintained in the system. Choose the appropriate one.
Set the filters and click ‘OK’ button to generate the report. To cancel the operation, click on ’Exit’ button.
The following details get displayed when you generate reports
- Group Code
- Amount of Last Group Loan
- Total Active Loans
- Total Savings
- Total Outstanding Loan Portfolio
- Average Loan Size for Member
- Portfolio at Risk
7.8 Generating Center Performance Report
You can set your preferences as to the output of a report using ‘Center Performance Report’ screen. You can invoke this screen by typing ‘MFRCNPFM’ in the field at the top right corner of the Application tool bar and clicking on the adjoining arrow button.
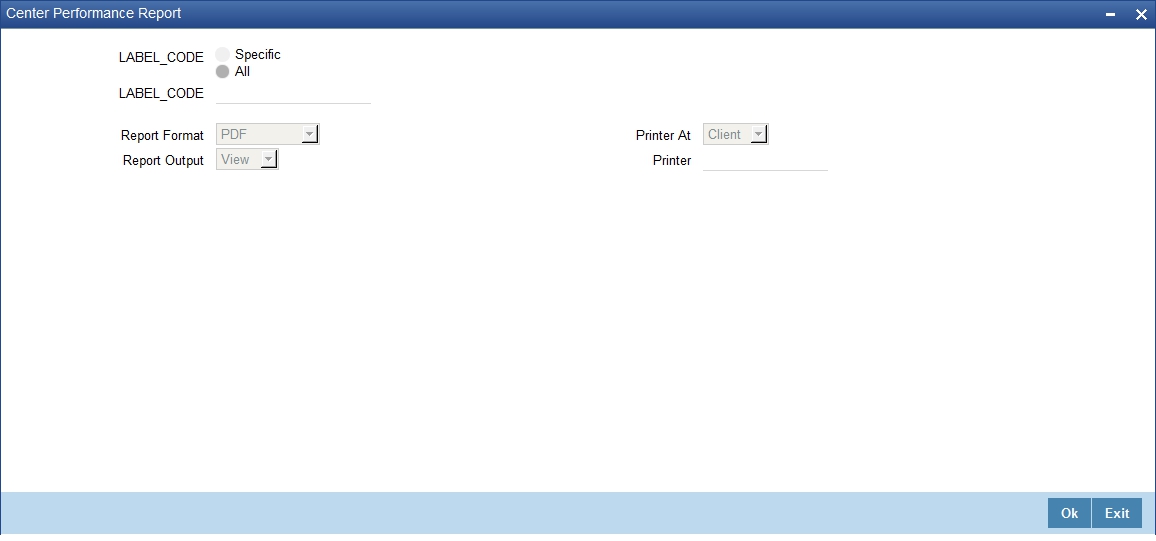
You can enter the following details in this screen:
Centre Code
You have to indicate the centre type. The available options are:
- Specific – If you choose this option, you are allowed select value from the option list
- All - If you choose this option, all the values get selected
Note
In case of ‘Specific’ option, if you do not select any value from the option list and in case of ‘All’ option, if you select any of the value from the option list. In both the cases the system will through an error once you click ‘OK’ button.
Centre Code
Specify the centre code. The option list displays all valid centre codes maintained in the system. Choose the appropriate one.
Set the filters and click ‘OK’ button to generate the report. To cancel the operation, click on ’Exit’ button.
The following details get displayed when you generate reports:
- Center Code
- Number of Active Groups
- Number of Active Clients
- Total Outstanding Loan Portfolio
- Portfolio at Risk
- Total Savings
7.9 Generating MFI Customer Related Information Report
You can set your preferences as to the output of a report using ‘MFi Customer Related Information Report’ screen. You can invoke this screen by typing ‘MFRCRINF’ in the field at the top right corner of the Application tool bar and clicking on the adjoining arrow button.
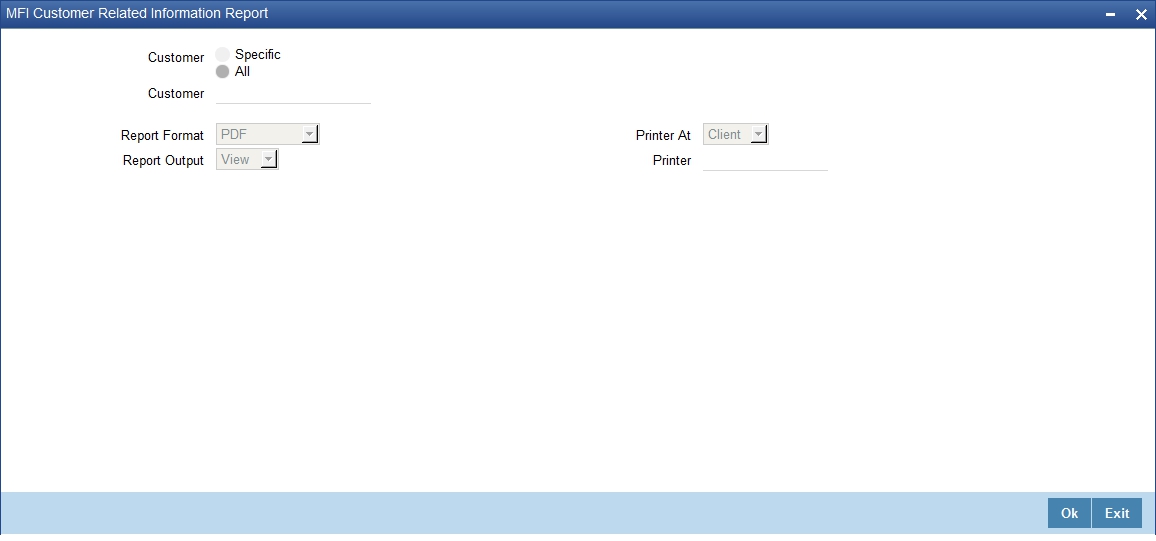
You can enter the following details in this screen:
Customer
You have to indicate the customer type. The available options are:
- Specific – If you choose this option, you are allowed select value from the option list
- All - If you choose this option, all the values get selected
Note
In case of ‘Specific’ option, if you do not select any value from the option list and in case of ‘All’ option, if you select any of the value from the option list. In both the cases the system will through an error once you click ‘OK’ button.
Customer
Specify the customer. The option list displays all valid customers maintained in the system. Choose the appropriate one.
Set the filters and click ‘OK’ button to generate the report. To cancel the operation, click on ’Exit’ button.
The following details get displayed when you generate reports:
- Customer ID
- Insurance Number
- Account Officer
- MFI Customer Type
- Current Group
- Current Center
- Current Accounts
- Closed Accounts
- Total Savings
- Total Active Loans
- Amount of Last Loan
7.10 Generating Account Officer Linkage Report
You can set your preferences as to the output of a report using ‘Account Officer Linkage Report’ screen. You can invoke this screen by typing ’ MFRAOFLR’ in the field at the top right corner of the Application tool bar and clicking on the adjoining arrow button.
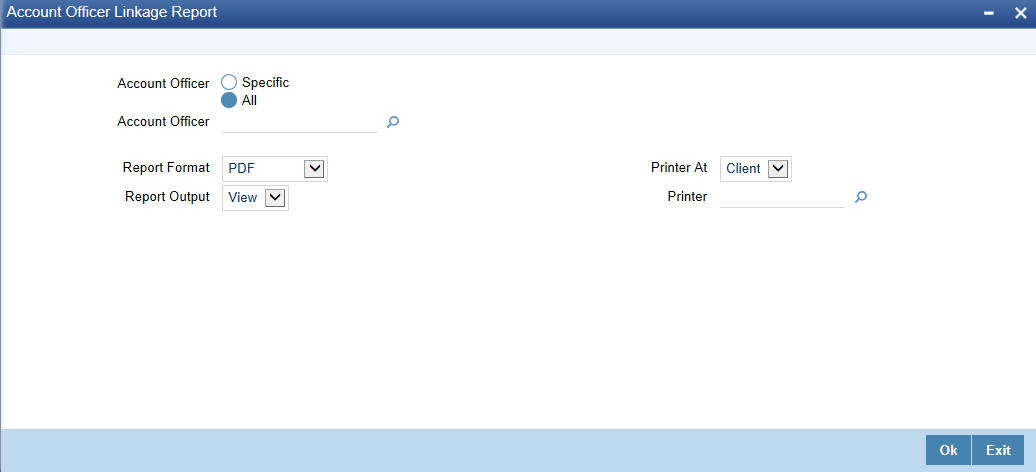
You can enter the following details in this screen:
Account Officer
You have to indicate the account officer type. The available options are:
- Specific – If you choose this option, you are allowed select value from the option list
- All - If you choose this option, all the values get selected
Note
In case of ‘Specific’ option, if you do not select any value from the option list and in case of ‘All’ option, if you select any of the value from the option list. In both the cases the system will through an error once you click ‘OK’ button.
Account Officer
Specify the account officer. The option list displays all valid account officers maintained in the system. Choose the appropriate one.
Set the filters and click ‘OK’ button to generate the report. To cancel the operation, click on ’Exit’ button.
The following details get displayed when you generate reports:
- Account Officer
- No of Customers linked
7.11 Generating MFI Collection Sheet
You can set your preferences as to the output of a report using ‘Collection Sheet’ screen. You can invoke this screen by typing ‘MFRCOLRP’ in the field at the top right corner of the Application tool bar and clicking on the adjoining arrow button.
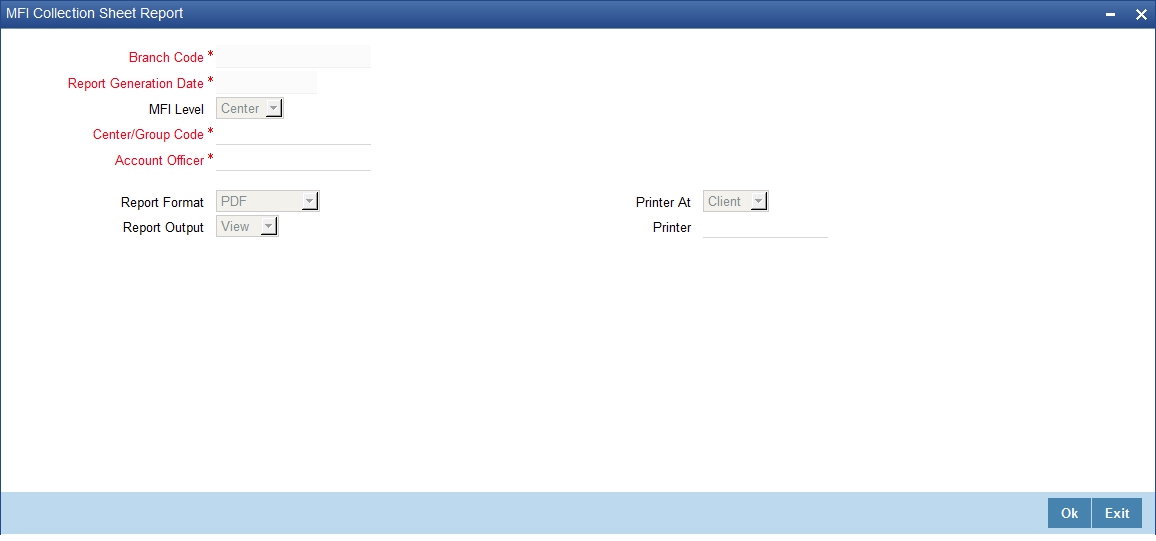
You can enter the following details in this screen:
Branch Code
The system displays the branch code.
Report Generation Date
The system displays the report generation date.
MFI Level
Select the microfinance level for which you wish to generate a collection sheet from the adjoining drop-down list. The available options are:
- Center
- Group
Center/Group Code
Specify the center/group code. The option list displays all valid center/group codes maintained in the system. Choose the appropriate one.
Account Officer
Specify the account officer. The option list displays all valid account officers maintained in the system. Choose the appropriate one.
Set the filters and click ‘OK’ button to generate the report. To cancel the operation, click on ’Exit’ button.
The following details get displayed when you generate reports:
7.11.1 Loan Details:
- Group Code
- Customer ID
- Customer Name
- Account Number
- Account Currency
- Amount Financed
- Total number of Instalments
- Current Instalment No
7.11.2 Amount Due Details:
- Component Name
- Amount Due
- Amount Over Due
7.11.3 Saving Account Details:
- Customer ID
- Account Number
- Account Balance
- Account Currency
- Account Balance in LCY
7.11.4 RD Account Details
- Customer ID
- Account Number
- Account Currency
- Total Amount Due in LCY
- Total Amount Over Due in LCY
- Amount Due
- Amount Overdue