| Oracle® Retail Pricing Cloud Service Oracle Retail Pricing Cloud Service User Guide 16.0.029 E99964-01 |
|

 Previous |
 Next |
| Oracle® Retail Pricing Cloud Service Oracle Retail Pricing Cloud Service User Guide 16.0.029 E99964-01 |
|
Previous |
Next |
The following information describes the foundation data within Oracle Retail Pricing Cloud Service.
Price zones are used to group locations for the purposes of pricing. Price zones are grouped together in Price Zone Groups. The Zone Structure allows the client to define groupings of locations for the purpose of pricing. Zone Groups can be used for either price changes or clearances.
A Zone Group identifies a particular way of grouping locations for pricing purposes.
Perform the following procedure to create a price zone group:
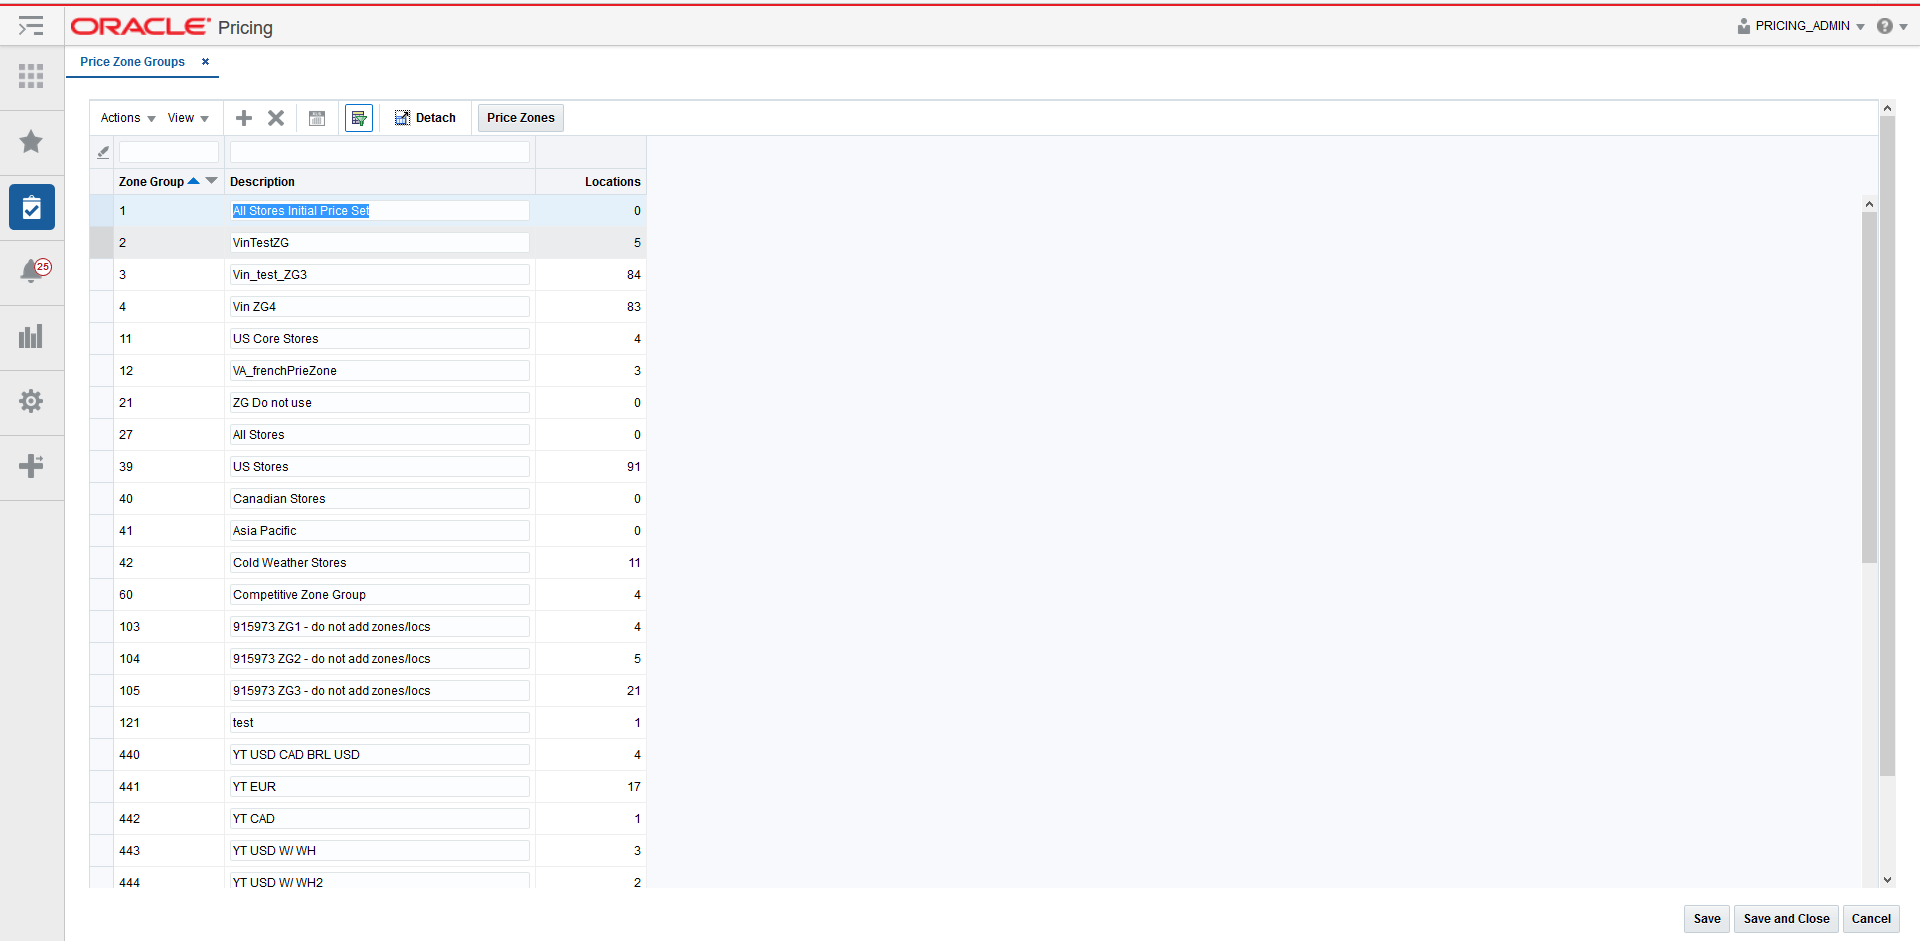
From the Tasks menu, select Price Zone Groups under Foundation Data. The Price Zone Groups tab appears.
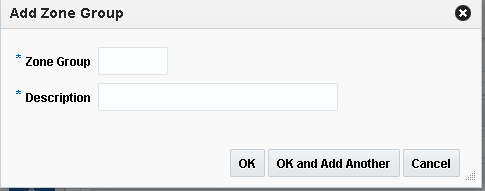
Select Add Zone Group from the Action menu. The Add Zone Group dialog appears.
Enter the zone group details for the following fields:
Zone Group – This field is a unique price zone group identifier.
Description – The description of the zone group.
Click OK to add the new price zone group. You are returned to the Price Zone Groups tab.
Click OK and Add Another to add the current price zone group to the table and add another without leaving the Add Zone Group dialog.
Perform the following procedure to edit a price zone group:
From the Tasks menu, select Price Zone Groups under Foundation Data. The Price Zone Groups tab appears.
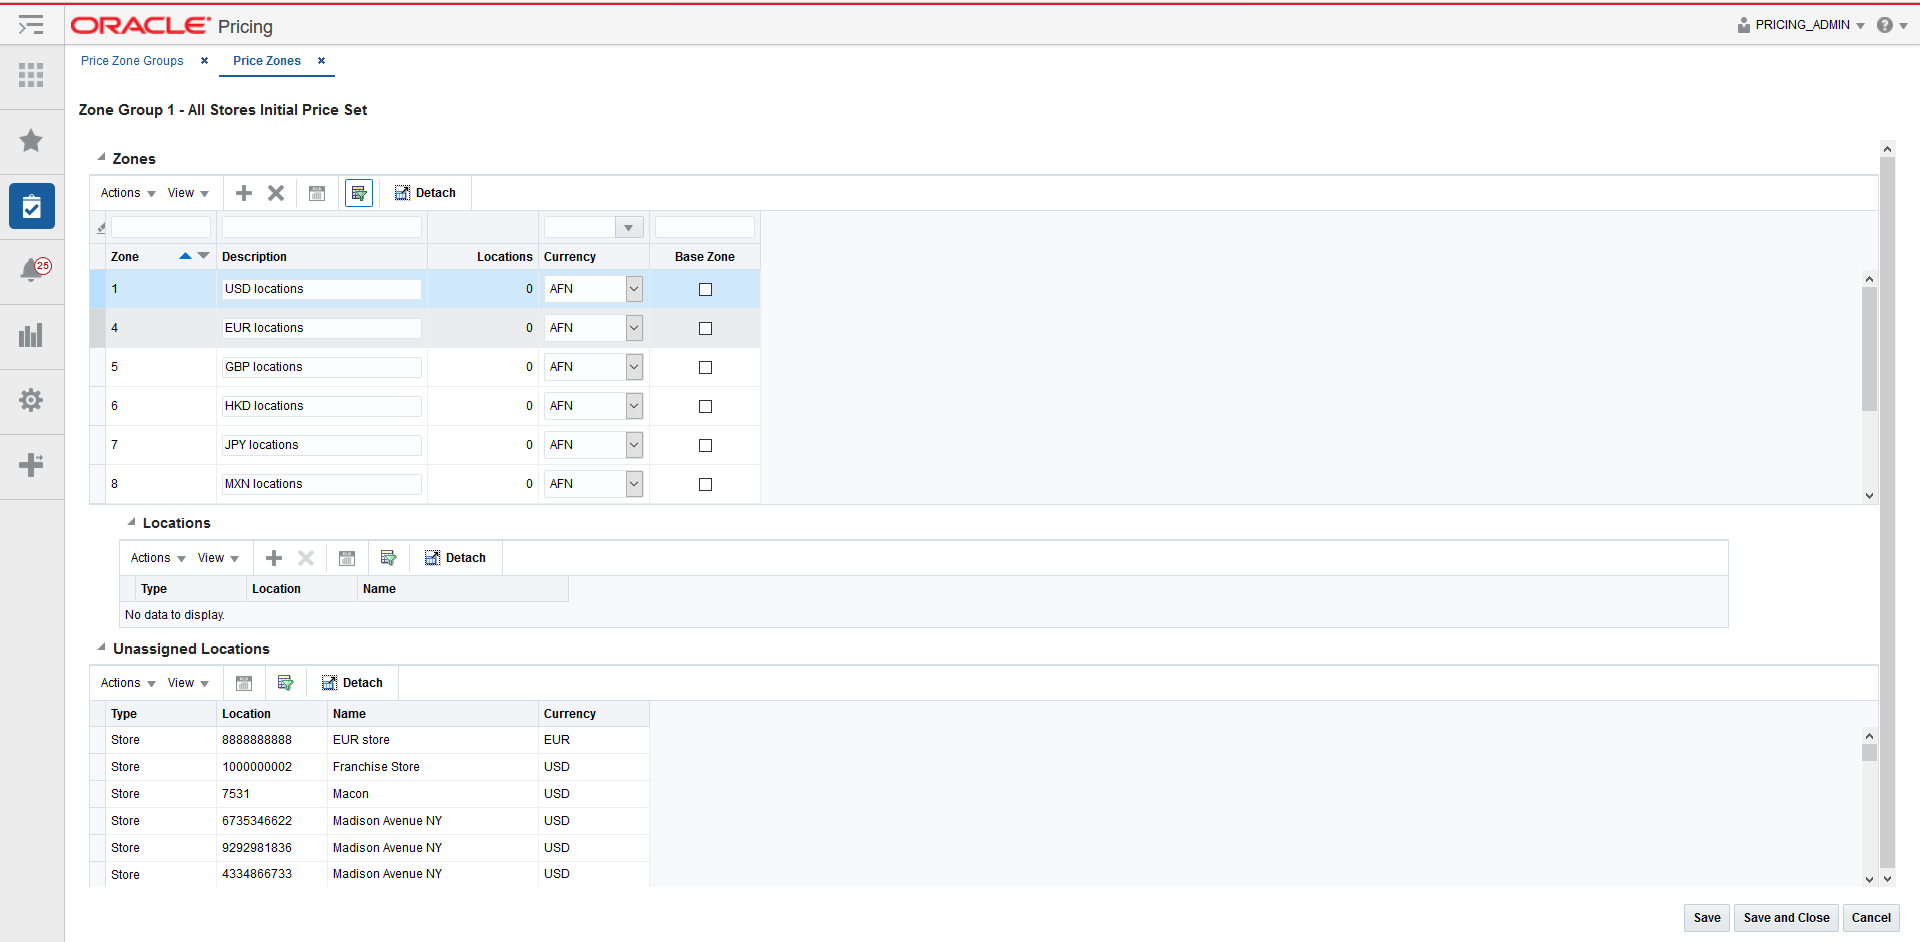
From the Zone Group table, highlight the zone group you want to edit and select Price Zones from the Actions menu. Alternatively, highlight the zone group and click the Price Zones button. The Price Zones tab appears.
From the Zones tab, you can perform the following actions:
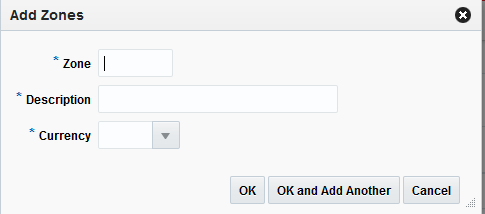
From the Zones table, select Add Zone from the Actions menu. The Add Zones dialog appears.
In the Zones field, enter a unique price zone identifier.
In the Description field, enter a description for the zone.
In the Currency field, select the currency for the price zone from the drop-down list.
Click OK to add the new zone. You are returned to the Zones tab.
Click OK and Add Another to add the current zone to the table and add another without leaving the Add Zones dialog.
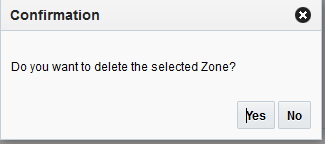
From the Zones table, highlight the zone you want to delete and select Delete from the Action menu. The delete zone confirmation dialog appears.
Click Yes to confirm the deletion. You are returned to the Zones tab.
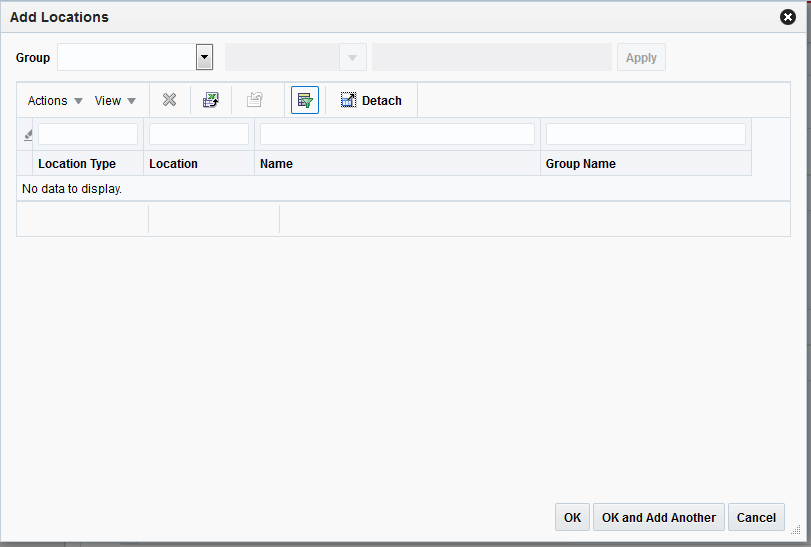
The Add Locations dialog allows users to assign locations to an existing zone.
|
Note: If a location is already in the Locations table, it will not be added a second time. |
From the Locations table, select Add Locations from the Actions menu. The Add Locations dialog appears.
From the Group field, select the group type for the location. Options are:
Location List
Chain
Area
Region
District
Store
Warehouse
|
Note: Warehouse is only shown as an option for group type if the Recognize Warehouses as Locations system option is enabled. |
Unassigned Locations
Once a Group is selected, select or enter a Group Value.
Click Apply to add the new location to the Location table.
When all locations are added, click OK to add the new locations. You are returned to the Zones tab.
Click OK and Add Another to add the current location to the table and add another without leaving the Add Locations dialog.
The Delete function allows a location to be removed from a zone.
From the Zones table, highlight the zone you want to delete and select Delete from the Action menu. The delete location confirmation dialog appears.
Click Yes to confirm the deletion. You are returned to the Zones tab.
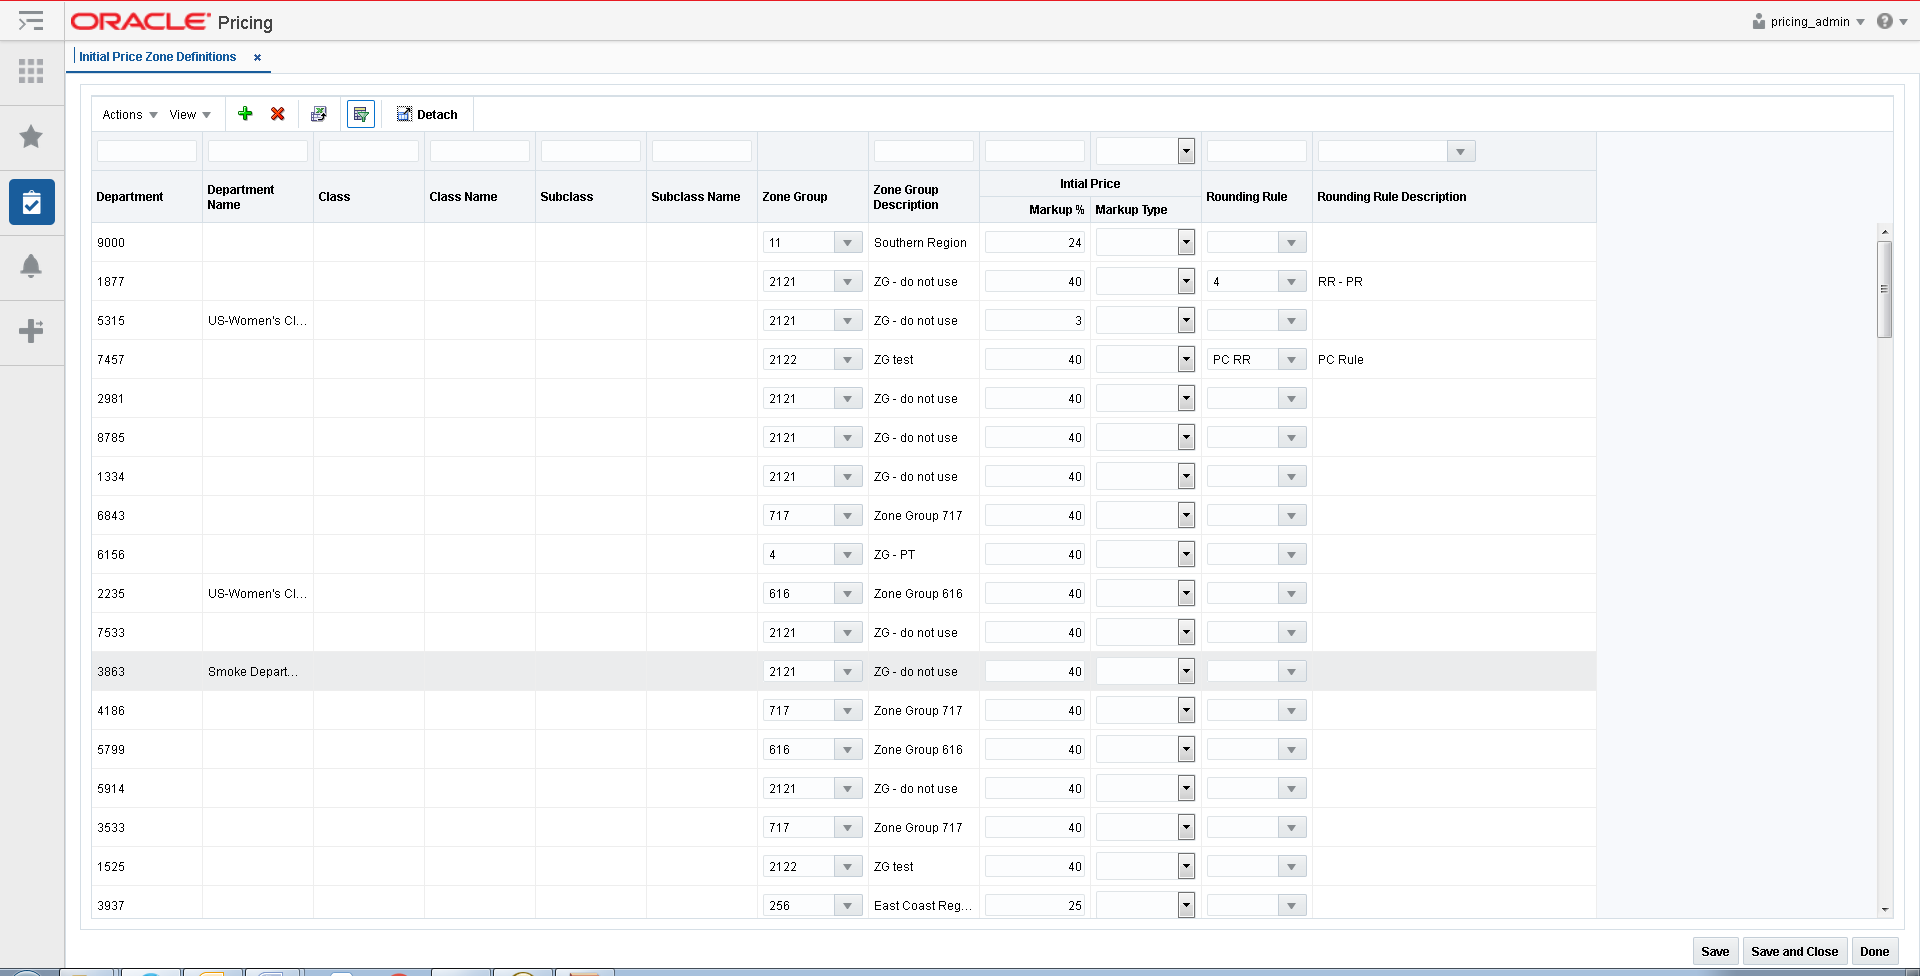
The Initial Price Zone definition enables the user to tie various levels of the merchandise hierarchy to a Zone Group and the markup information necessary to determine the initial retail price of an item. The ability to assign rounding rules by currency to the setting of the initial retail price is also included.
The Initial Price Zone Definitions screen provides a place to map the Merchandise Hierarchy to the Price Zone Groups. The zone group will be mapped to either a Department, Class or Subclass. When new items are added, the initial price zone definition will be used to set the initial retail price of the item.
Perform the following procedure to set up initial price zone definitions:
From the Tasks menu, select Initial Price Zone Definitions under Foundation Data. The Initial Price Zone Definitions tab appears.
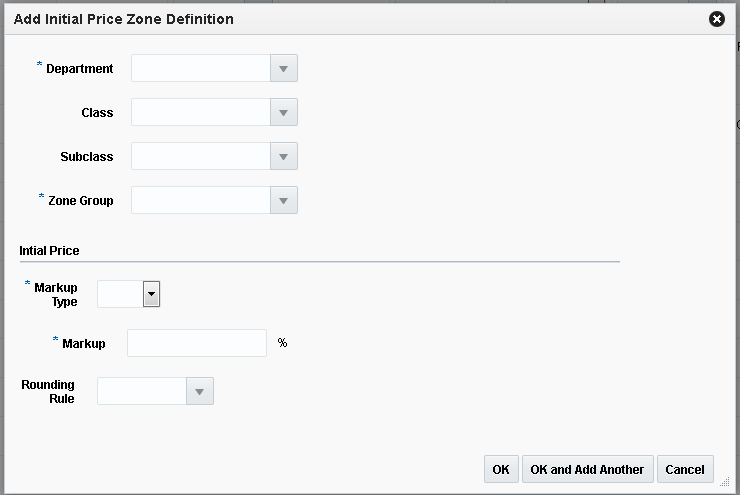
Select Add from the Action menu. The Add Initial Price Zone Definition dialog appears.
Enter the initial price zone definition details for the following fields:
Department – Enter or select a single department.
|
Note: The Department, Class, and Subclass fields have a cascading relationship. You can enter or select values for the three fields in any order but the values will vary depending on selections. |
Class – Enter or select a single class.
Subclass – Enter or select a single subclass.
Zone Group – The Zone Group specified here is used as the structure for the initial price setting for new items added to the defined level of the Merchandise Hierarchy.
Markup Type – The value entered in this field determines how markup is calculated for items existing in the defined hierarchy.
Markup – This percentage field is used to calculate the initial retail based on the item's cost.
Rounding Rule – This field allows you to assign a rounding rule to the initial price zone definition. The rounding rule is used to adjust final price used for the initial price of new items to meet the retailer pricing strategy.
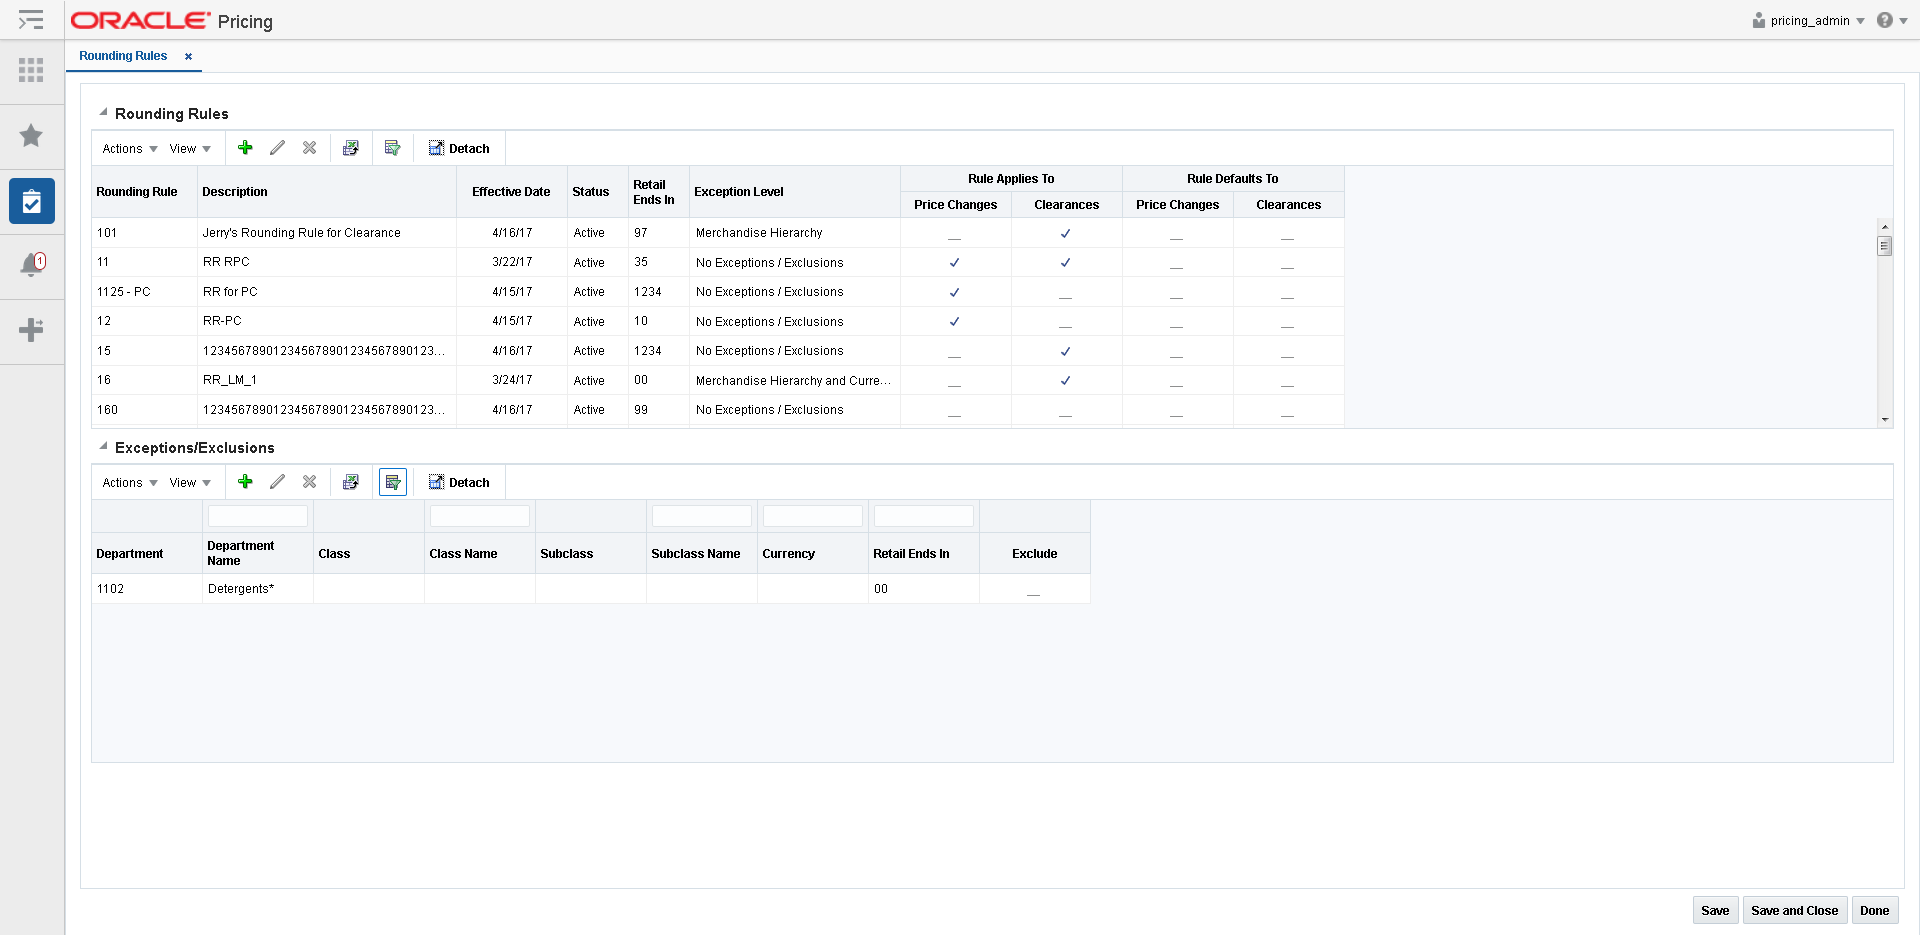
Rounding rules are created to help users setup and manage a uniform pricing strategy. The rules are optional and may be used by retailers to meet their specific needs.
The benefit of rounding rules is that they provide the retailer the ability to smooth proposed retails allowing for a consistent set of price points. This is accomplished by assigning an overall 'ends in' logic to the rounding rule. The user can then define specific exceptions or exclusions to the rule by merchandise hierarchy, currency, or both.
Rounding rules are set up at the Corporate level. If a particular department has rounding rules different than the corporate rule, the department rule is set up as an exception to the corporate rule using the 'merchandise hierarchy' exception feature. Exceptions to (or exclusions from) the corporate rule can be set up at the class or subclass level as well. In addition, exceptions (or exclusions) can also be done for specific currencies. Finally, exceptions or exclusions can be done for a combination of merchandise hierarchy and currency. In other words, exceptions or exclusions to the corporate rounding rule are allowed at the merchandise hierarchy level, the currency level, or the combination of merchandise hierarchy and currency.
Perform the following procedure to create rounding rules:
From the Tasks menu, select Rounding Rules under Foundation Data. The Rounding Rules tab appears.
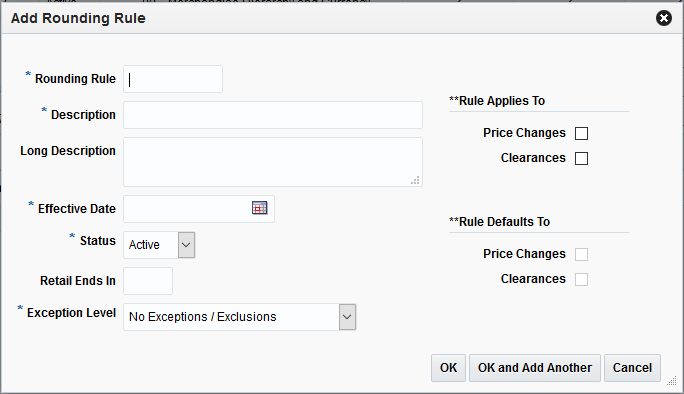
Select Add from the Action menu. The Add Rounding Rule dialog appears.
Enter the rounding rule details for the following fields:
Rounding Rule – The identification number of the rounding rule.
Description – The description of the rounding rule.
Effective Date – The date when the Rounding Rule will become available.
New Retail Ends In – Used for adjusting the decimal value. This field supports 1 to 4 positions. The Ends In value assumes to start in the right most decimal position. For example, if the Retail Ends In is 9 and the currency uses two decimal positions, the value is treated as x9.
Exception Level – The Exception/Exclusion Level of the rounding rule. This field allows the user to decide what type or exceptions or exclusions (if any) are allowed for the rounding rule. This value drives what fields are available in the Exceptions/Exclusions table.
Rule Applies To – The check boxes indicating if this rounding rule applies to Clearances or Price Changes.
Rule Defaults To – The check boxes indicating if this rounding rule is the default for Clearances or Price Changes.
Click OK to add the new rounding rule. You are returned to the Rounding Rule tab.
Click OK and Add Another to add the current rounding rule and create another.
The Exception or Exclusion table will show exceptions and exclusions related to the highlighted row in the Rounding Rules table. Actions taken in the Exception or Exclusion table are related to the highlighted rounding rule. For instance, when the Add action is taken on the Exception/Exclusion table, it means the Exception or Exclusion row being added is for the highlighted rounding rule.
Perform the following procedure to create exceptions or exclusions to rounding rules:
From the Tasks menu, select Rounding Rules under Foundation Data. The Rounding Rules tab appears.
From the Rounding Rules table, select the rounding rule to which you want to add an exception or exclusion.
|
Note: The rounding rule selected must have had the Exception Level specified when it was initially added. |
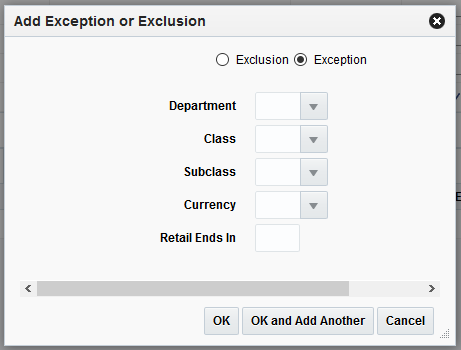
From the Exceptions/Exclusions table, select Add from the Action menu. The Add Exception or Exclusion dialog appears.
|
Note: Fields on the Add Exceptions and Exclusions are enabled or disabled based on the 'Exception Level selected on the Rounding Rule. For instance, when Merchandise Hierarchy is specified as the exception level, the Currency field is disabled. When Currency is specified as the exception level, the Department, Class, and Subclass fields are disabled. |
Enter the Exceptions/Exclusions details for the following fields:
Exclusion/Exception – The radio button for Exceptions and Exclusions defaults to Exceptions. When Exclusion is selected, the Retail Ends In field is cleared and disabled.
Department – The single department to use as an exception or exclusion to the rounding rule.
Class – The single class to use as an exception or exclusion to the rounding rule.
Subclass – The single subclass to use as an exception or exclusion to the rounding rule.
Currency – The currency to use as an exception or exclusion to the rounding rule.
Retail Ends In – Used for adjusting the decimal value. This field supports 1 to 4 positions. The Ends In value assumes to start in the right most decimal position. For example, if the Retail Ends In is 9 and the currency uses two decimal positions, the value is treated as x9.
|
Note: This field is enabled for exceptions but disabled for exclusions. |
Click OK to add the exception or exclusion. You are returned to the Rounding Rule tab.
Click OK and Add Another to add the current exception or exclusion and create another.