3. Associated Functions
This chapter contains the following sections:
- Section 3.1, "Clearing a User ID"
- Section 3.2, "System Time Level"
- Section 3.3, "Language Codes"
- Section 3.4, "Branch of Operation"
- Section 3.5, "User Password"
- Section 3.6, "SSO Parameters"
- Section 3.7, "Transaction Status Control"
- Section 3.8, "Customized Hot Keys"
- Section 3.9, "Viewing User Activities"
3.1 Clearing a User ID
This section contains the following topics:
3.1.1 Invoking the Clear User Screen
When a User logs into the system, the system maintains a record of the user with the date and time of login. On a successful, normal log out this record gets deleted.
Occasionally, you may come across a situation when a user who is logged into the system is forced out. However, the ID of the user still continues to have a status of Currently Logged In. In such a situation, the user will not be allowed to log in to the system again.
Such User IDs can be cleared through the ‘Clear User Profile’ screen.You can invoke this screen by typing ‘CLRU’ in the field at the top right corner of the Application tool bar and clicking on the adjoining arrow button.

You can search for the users based on the following parameters:
- User Id
- Branch Code
Once you have specified the parameters click ‘Fetch’ button. The system lists the following details of the users who have logged into the application:
- Branch Code
- User ID
- User Name
To force log out a user, check the box against the relevant user record and click ‘Clear’ button. The system will display a message to confirm the clear operation. To force log out all the users in a page, check the box against the header row, which will select all the users in the page. Further click the ‘Clear’ button. The selected users are logged off from the application.
Select the check boxes next to the User IDs which you want to clear and then click ‘Clear’ button.
3.2 System Time Level
This section contains the following topics:
3.2.1 Changing the System Time Level
The time level is allotted at two levels — at the system (branch) level and at the user level. For a user to be able to login, the time level for the user profile should be greater than or equal to that of the system. The time level can be between zero and nine.
You can change time level of the branch by using the ‘Change Time Level’ screen. You can invoke this screen by typing ‘ ‘SMDCHNTL’ in the field at the top right corner of the Application tool bar and clicking on the adjoining arrow button. Click ‘Users’ button for a display of the details of users who are currently logged in.
This screen shows a list of all users who are currently logged in and their respective Time Levels. When the Time Level of the branch is changed the system validates and displays a message if the Time Level of any of the Users is lesser than that of the newly changed value. These users can continue to log onto and work on the system till they log off. When they try to log in back the system validates and only allows such users access whose time levels are greater than that of the system.

3.3 Language Codes
This section contains the following topics:
3.3.1 Defining Language Codes
Every language that is supported by the system is identified by a Language Code. In Oracle FLEXCUBE, this code is a three character alphanumeric code.
Invoke the ‘Language Code Maintenance’ screen by typing SMDLNGCE’ in the field at the top right corner of the Application tool bar and clicking on the adjoining arrow button.

For example, for English language, the code you could enter in Oracle FLEXCUBE could be ENG.
3.4 Branch of Operation
This section contains the following topics:
3.4.1 Changing the Branch of Operation
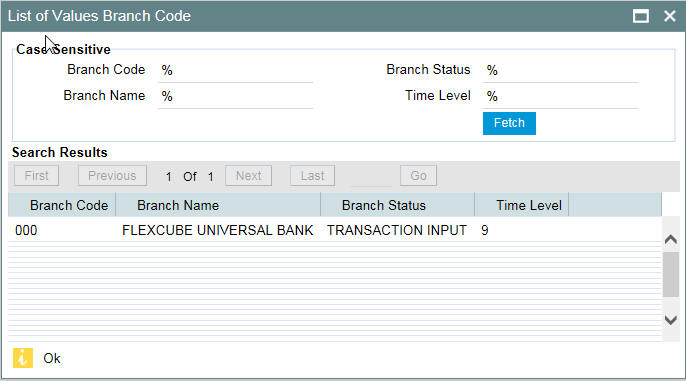
Through this function, you can change the branch of operation to a branch other than the one you are signed on to. The branches to which you can change into will be defined in your user profile. You can change your branch of operation only when a function that has been initiated by you in the current branch has been completed.
The screen is as shown below:
3.5 User Password
This section contains the following topics:
3.5.1 Changing the User Password
The Password of a User can be changed either when it expires or at the will of the user using the ‘Change Password‘ screen.

The following details are captured here:
Enter Old password
Specify the old password which has to be changed.
Enter new password
Specify the new password.
Confirm new password
Specify the new password.
Click ‘Save’ to save the new password. Click ‘Cancel’ to exit the screen.
3.6 SSO Parameters
This section contains the following topics:
3.6.1 Maintaining SSO Parameters
LDAP is an external directory system which stores the details regarding user ids and password.
Once SSO has been enabled for your bank, the SSO parameters need to be maintained. This can be done using the ‘Single Sign On Maintenance’ screen. You can invoke this screen by typing ‘SMDSOPRM’ in the field at the top right corner of the Application tool bar and clicking on the adjoining arrow button.
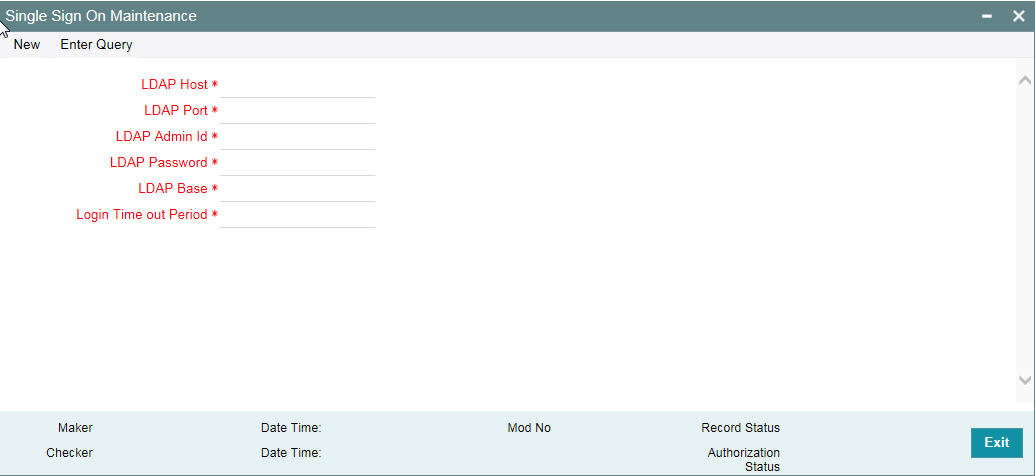
The following details can be maintained in this screen:
LDAP Host
Indicate the machine or server name where LDAP (Oracle Internet Directory) is installed.
LDAP Port
Specify the network Port number where the LDAP (Oracle Internet Directory) listen to the Server.
LDAP Admin id
Specify the admin user id of the LDAP (Oracle Internet Directory).
LDAP Password
Specify the Password for the LDAP Admin User which is provided during installation.
LDAP Base
Specify the directory information tree (DIT) structure under which the data is to be stored, which is provided during installation. This is used while validating the user present in the LDAP (Oracle Internet Directory).
Time Out Duration (Sec)
You can stipulate the allowable idle time (in seconds) that a user can spend without performing any activity, after logging in to the system.
3.7 Transaction Status Control
This section contains the following topics:
3.7.1 Maintaining Transaction Status Control
The ‘Transaction Status Control Maintenance’ screen allows the user to define the various action buttons depending on the status of the contract. You can invoke this screen by typing ‘SMSTXNST’ in the field at the top right corner of the Application tool bar and clicking on the adjoining arrow button. For each Transaction Status, the record status ‘Authorized’ or ‘Unauthorized’, could also affect the Action buttons.
Some of the statuses that a Contract could have are:
- Y-Irrevocable
- A-Authorized
- U-Unauthorized
- V-Reversed
- L-Liquidated
- S-Closed
- H-Hold
- K-Cancelled
- N-NON-CUMULATIVE
- T-TIME
- O-OUR
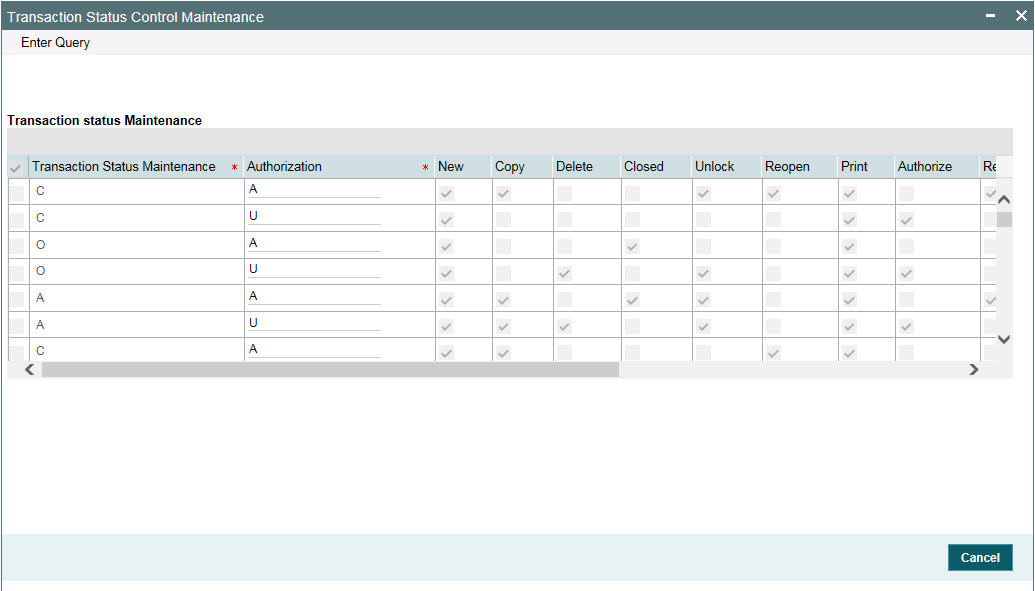
Check the box against a transaction record to select the actions allowed for that transaction. Following are the actions that are allowed on a record:
- New
- Copy
- Delete
- Close
- Unlock
- Reopen
- Auth
- Reverse
3.8 Customized Hot Keys
This section contains the following topics:
3.8.1 Configuring Customized Hot Keys
Oracle FLEXCUBE allows you to configure Hot keys or Shortcut keys for function ids, using which you can launch the function id screens without typing the function ids. For this you need to map each function id to a hot key using the ‘Hot Key Maintenance’ screen. To invoke the ‘Hot Keys Maintenance’ screen click the option ‘Hot Keys’ under ‘Options’ menu. You invoke this screen by typing ‘SMDHOTKY’ in the field at the top right corner of the Application tool bar and clicking on the adjoining arrow button.
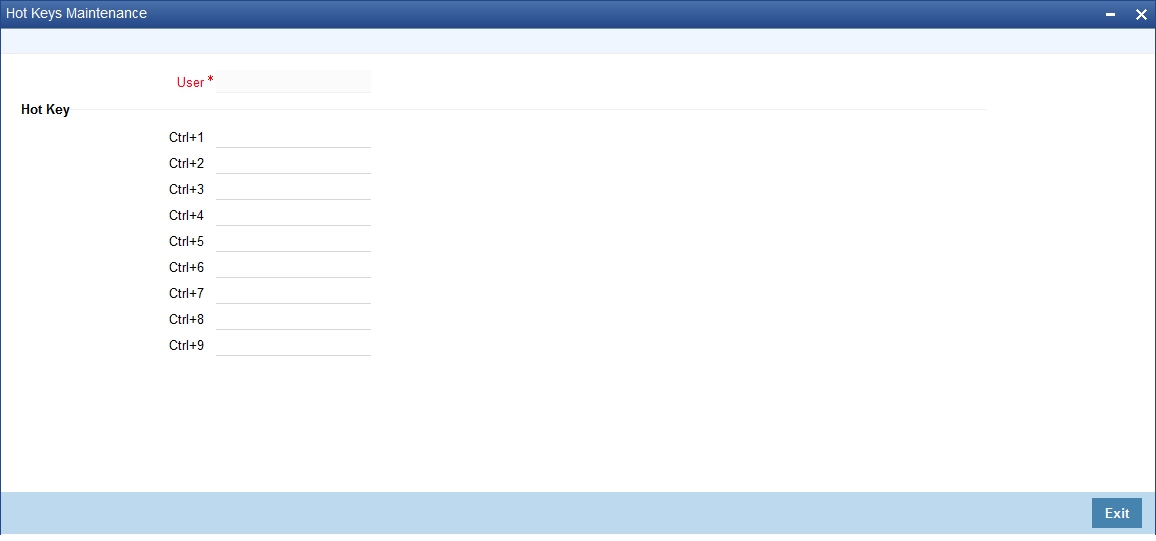
The following details are captured in this screen:
User Id
The id of the user who has logged in is displayed here.
Hot Key Details
Here, you can map a function id against each hot key. You can select the function id to be mapped against the hot key from the adjoining option list.
3.9 Viewing User Activities
This section contains the following topics:
3.9.1 Viewing User Activities
You can view a log of activities of Oracle FLEXCUBE users through the ‘User Activity’ screen. You can view user activities only through Oracle FLEXCUBE host system. This screen is not available for viewing in the branch installations. You can invoke this screen by typing ‘SMSUSRAC’ in the field at the top right corner of the Application tool bar and clicking on the adjoining arrow button.
The screen is displayed as below:
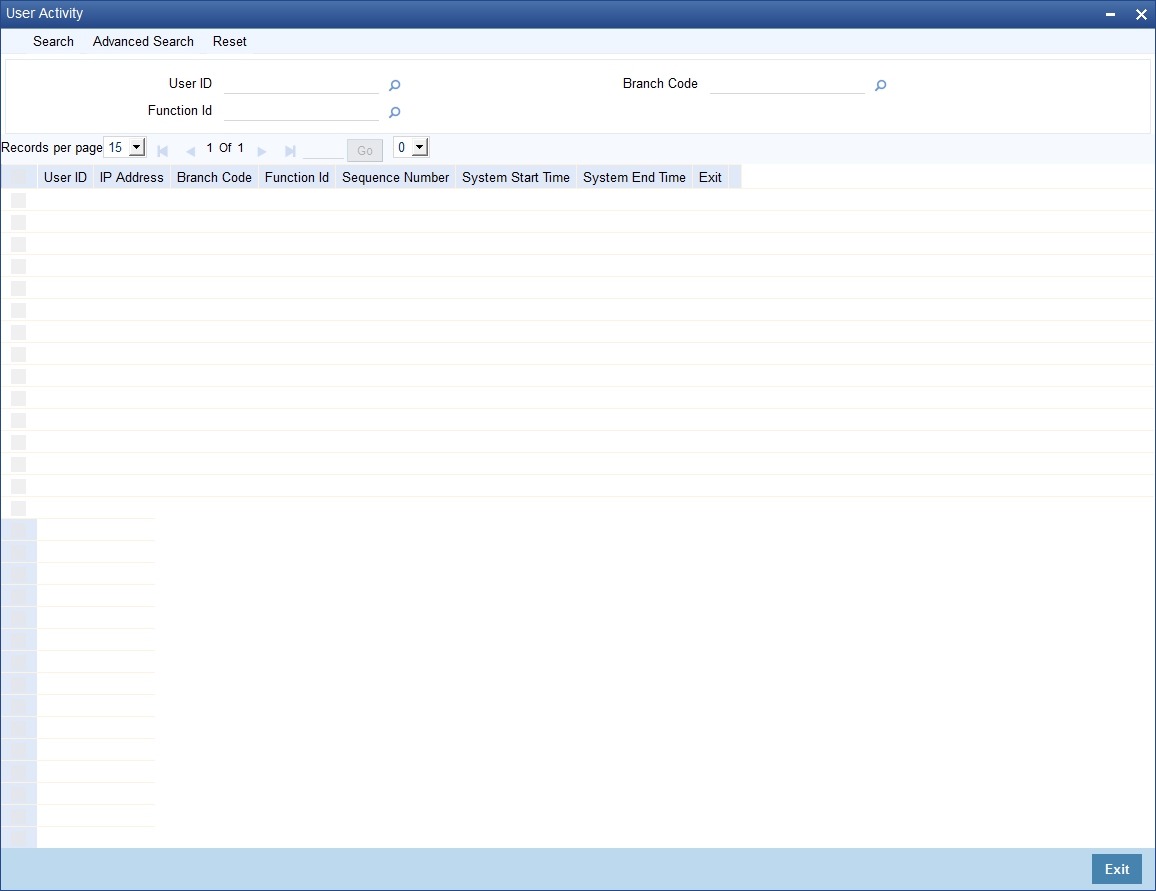
You can query for records based on the following criteria:
- User ID
- Branch Code
- Function ID
Click ‘Search’ button. Based on your preferences, the system identifies all records satisfying the criteria and displays the following details for every record:
- User ID
- IP Address
- Branch Code
- Function ID
- Sequence No
- System Start Time
- System End Time
- Exit Flag