Chapter - 5 : OIDG Installation Manual Steps
This chapter includes following topics:
- Defining JNDI Providers
- Creating Security Policies
Defining JNDI Providers
JNDI Provider resources are required by OSB components to locate and communicate with Enterprise Java Beans (EJB) components.
- Log on to the Service Bus console (http://hostname:port/sbconsole), where “hostname:port” are the host name and port of your administration server.
- In the project explorer, navigate to All Projects → System → JNDI Providers.
Verify that DataServices_JNDIProvider is defined.
If it is defined, skip steps 3-7. If not, continue with the rest of the steps. - In the upper left corner of the page, click Create to begin a new update session.
- Right-click the JNDI Providers folder to display the context menu, then click Create → Create JNDI Provider.

Figure 5.1 - Create JNDI Provider - In the Create JNDI dialog, enter “DataServices_JNDIProvider” for Resource Name. Click Create.
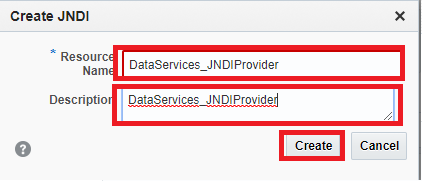
Figure 5.2 - Create JNDI Dialog - On the JNDI Definition page, fill in the following fields:
- Provider URL – the host name or IP and port of the managed server to which OIDX_POC_DSL is targeted (Example: “t3://hostname:port”) i.e. ‘AML Server’.
- Initial Context Factory – select “weblogic.jndi.WLInitialContextFactory”
- User Name, New Password, and Confirm Password – the login credentials for the server. Usually credentials are the same as administration server login credentials.
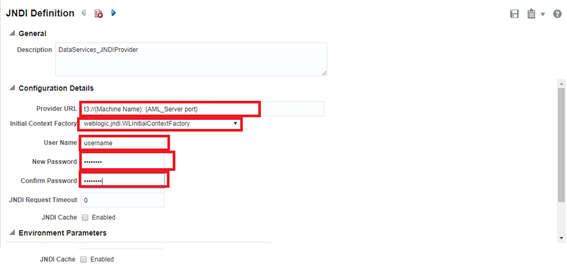
Figure 5.3 - JNDI Definition
- Click Save located on the upper-right corner of the page.
Figure 5.4 - Save Icon
Creating Security Policies
- Log in to the WebLogic Enterprise Manager (<hostname>:> :< Admin Server Port Number>/em) with WebLogic credentials.
- WebLogic Domain → Security → System Policies.
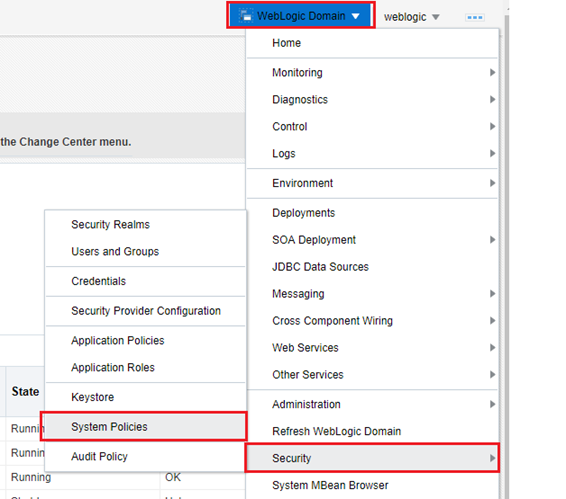
Figure 5.5 - WebLogic Enterprise - Under Search section, select Name as Includes.
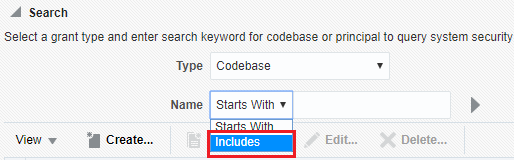
Figure 5.6 - Search Section - Type “OIDX_POC_DSL” in the search box, and click the arrow icon.
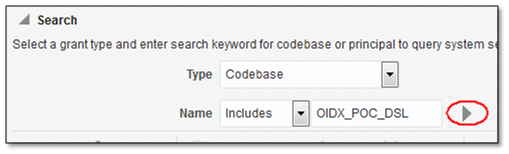
Figure 5.7 - Search Box - Check to see if the search results include a row as shown below.
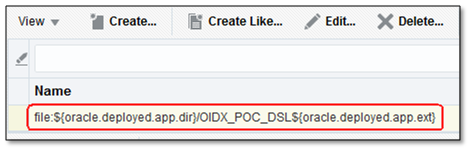
Figure 5.8 - Search Result Area - If this policy does not exist, create it by following these steps:
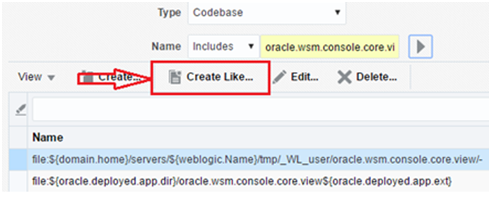
Figure 5.9 - Create Like - Select the row that includes the text oracle.wsm.console.core.view, and then click Create Like.
- On the Create System Grant Like page, change the text in the Codebase box to the following: file:${oracle.deployed.app.dir}/OIDX_POC_DSL${oracle.deployed.app.ext}
- Select the CredentialAccessPermission row in the Permission Class table and click Edit.
- In the Edit Permission dialog change Permission Actions from read,write,delete,update to just read. Click Ok.
- Click Ok again.