APPENDIX A
Gradle Installation:
Gradle is what the user needs to install for the purpose of running this tool. The steps to installation is divided into two section one for windows user and another for linux and MacOS user.
Next are the instructions to be followed with respective screenshots:
Go to https://gradle.org/releases/ -> From the latest version click on Binary only, this will download the zip file. Extract all the downloaded zip files.
Gradle runs on all major operating systems and requires only a Java JDK version 7 or higher to be installed. To check, run : java –version

Microsoft Windows users :
- Create a new directory for example C:\Gradle with File Explorer.
- Copy all the extracted files in this newly created folder
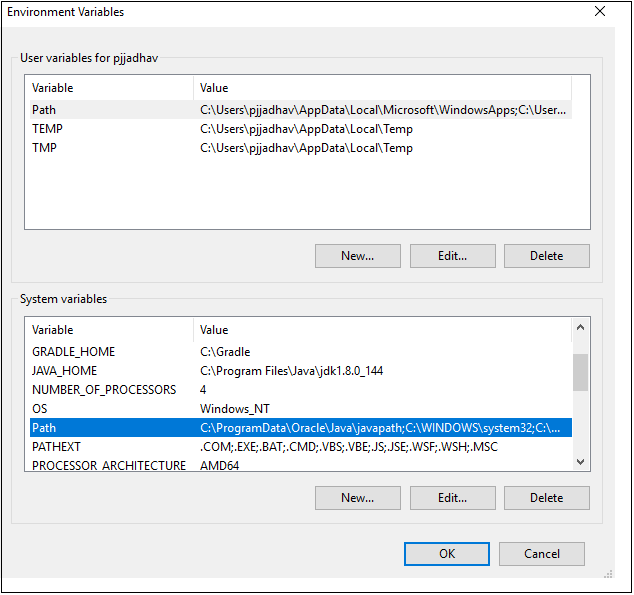
- Right click on THIS PC and click → Properties→ Advanced System Settings → Environmental Variables.
- Under System Variables select Path, then click Edit. Add an entry for C:\Gradle\gradle-4.7-bin\gradle-4.7\bin which represents the path where Gradle is located ,give path till bin folder . Click OK to save.

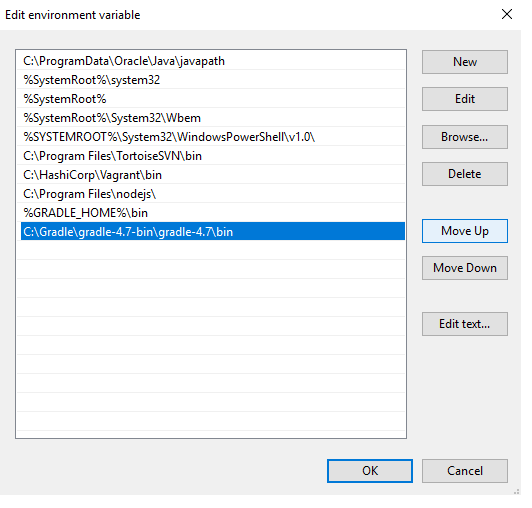
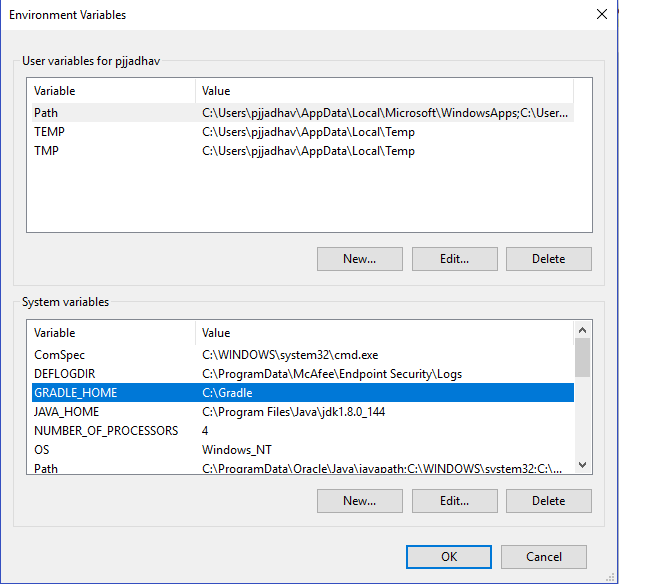
- Now to set GRADLE_HOME under System Variables select click on new and add new system variable: Variable name= “GRADLE_HOME” and Variable value=<”path where gradle is located”> for example = < C:\Gradle >

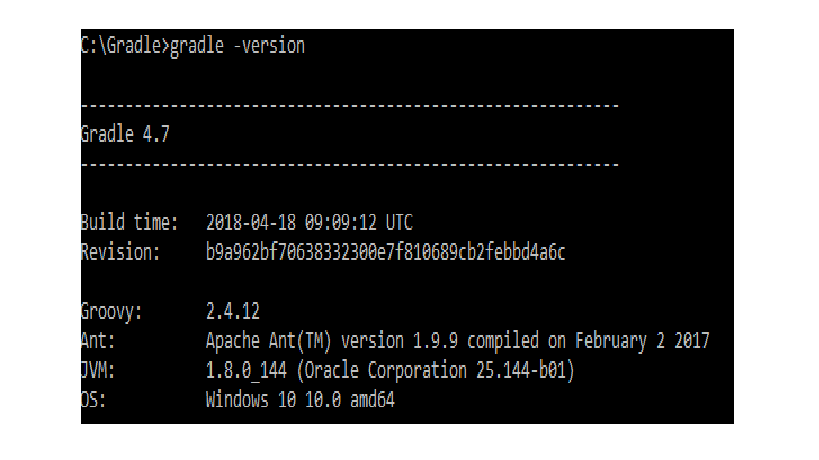
- In command prompt at the created path run the following command: gradle –version. With this Gradle is successfully installed.
Linux and MacOS users:
- • Having the binary downloaded zip file
- • Unzip the distribution zip file in the directory of your choosing, e.g.:
$ mkdir /opt/gradle
$ unzip -d /opt/gradle gradle-4.7-bin.zip
To configure your PATH environment variable to include the bin directory of the unzipped distribution set,
e.g.:
export GRADLE_HOME= /opt/gradle
export PATH=$PATH:/opt/gradle/gradle-4.7/bin
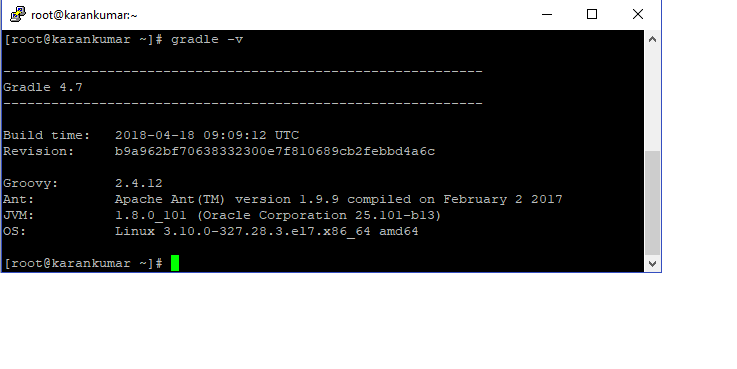
- Open a console (or a Windows command prompt) and run gradle -v to run gradle and display the version, with this Gradle is successfully installed in linux.
For example:
