Configuration for OUD/OAM
In-case installation needs to be done using OUD/ OAM provider, below steps needs to be performed manually.
Weblogic configuration / deployment
REST EAR deployment:
Undeploy obdx.app.rest.idm from deployments.
Deploy obdx.app.rest from Installer zip (<OBDX INSTALLER DIR> \installables\app\components\obdx\deploy\obdx.app.rest.ear)
Refer to manual deployment steps provided for obdx.externalsystem.ubs.notification.mdb.ear application
Security Realms
To configure your own LDAP to use instead of the default embedded LDAP, which comes with Oracle Weblogic Server.
- To do this, ensure that the Admin Server is running. Login to the Weblogic Console for OBDX domain (created by Installer) using the following URL:
http://<hostname>:<admin_port>/console
- Now, go to Security Realms > myrealm > Providers
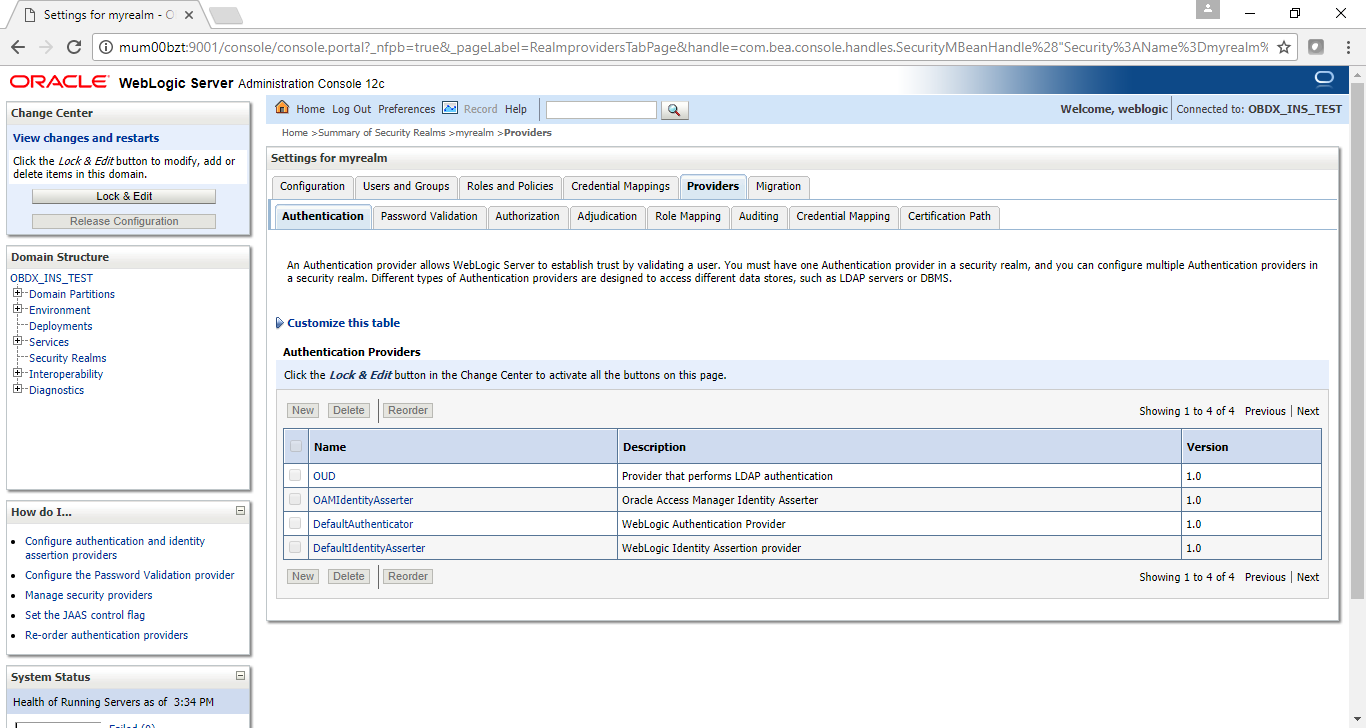
- Now click on “Lock & Edit” in order to edit the details.
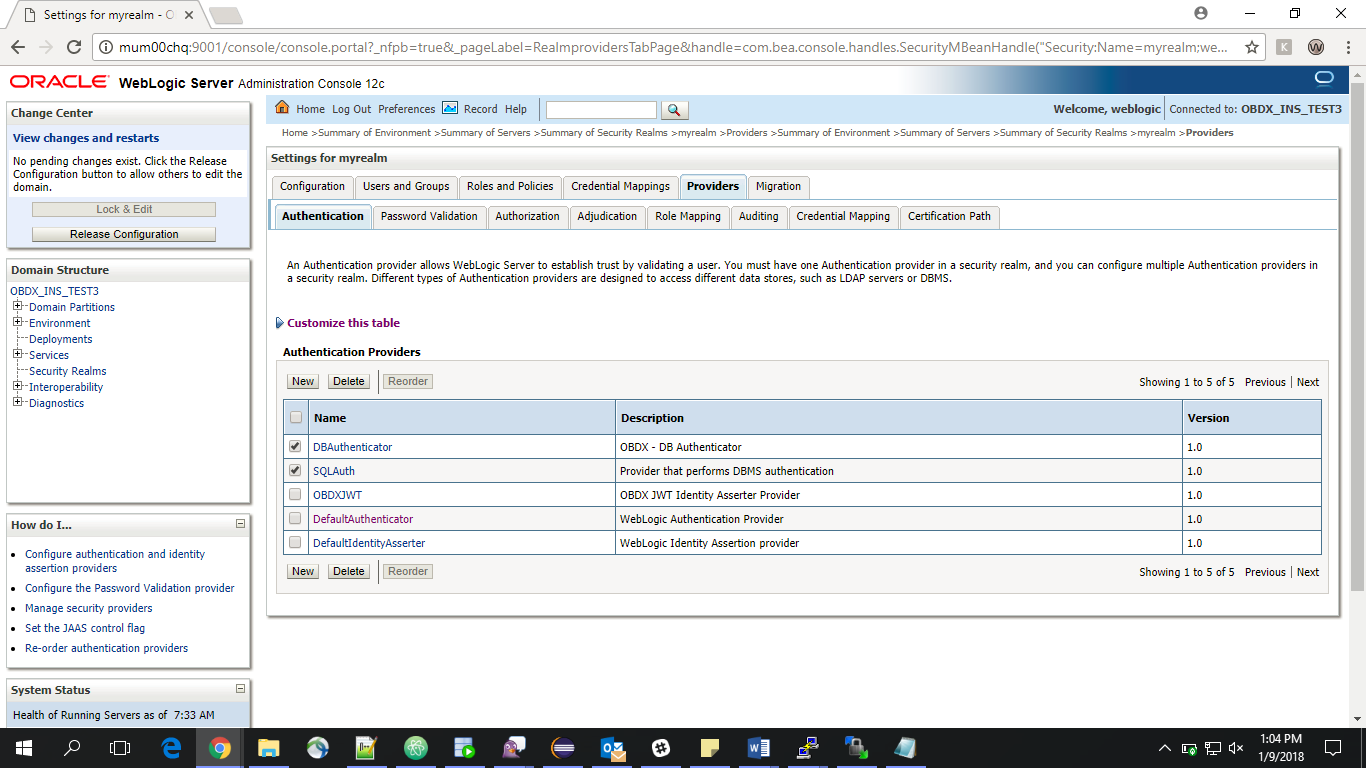
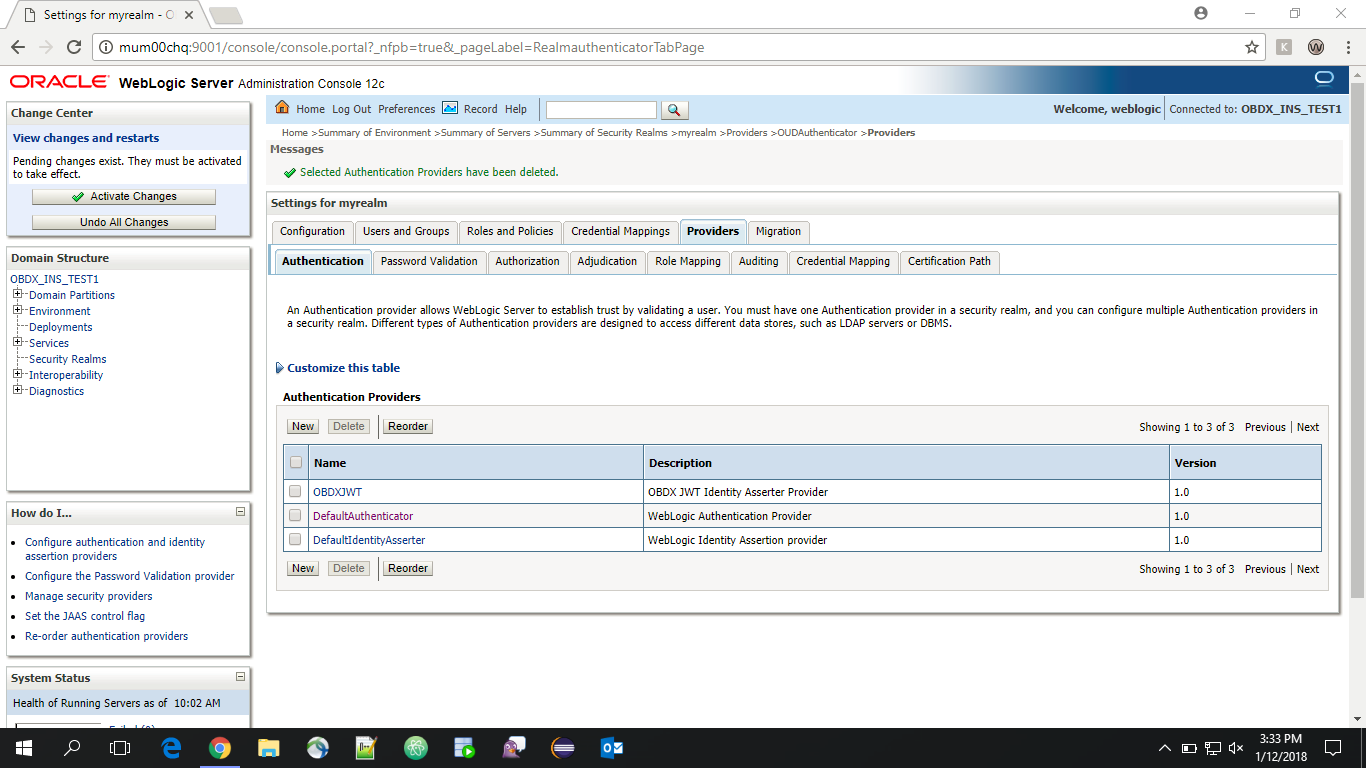
- Delete the following Authenticators under providers > Authentication:
-
-
DBAuthenticator
-
SQLAuth
-
- Click on ‘DefaultAuthenticator” provider and change the Control Flag to SUFFICIENT
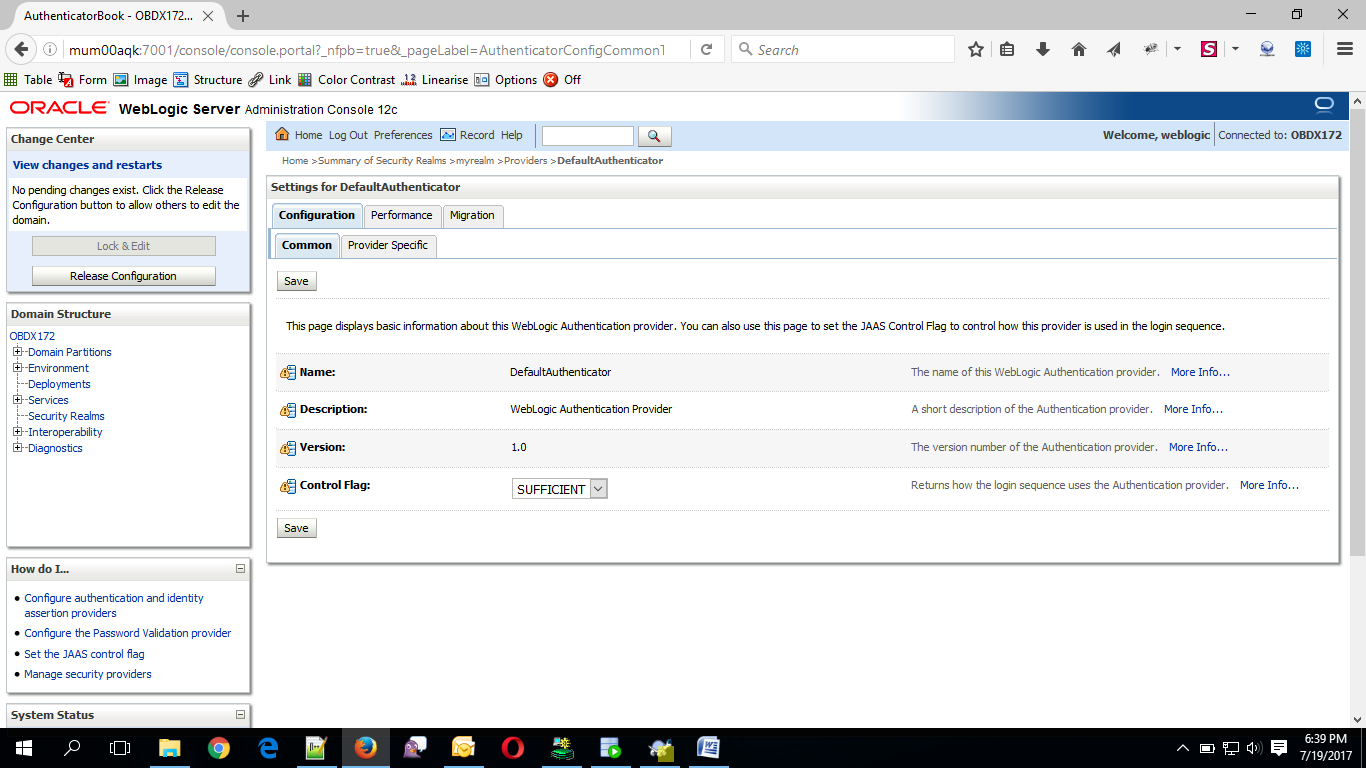
- Click on Save button to save the changes
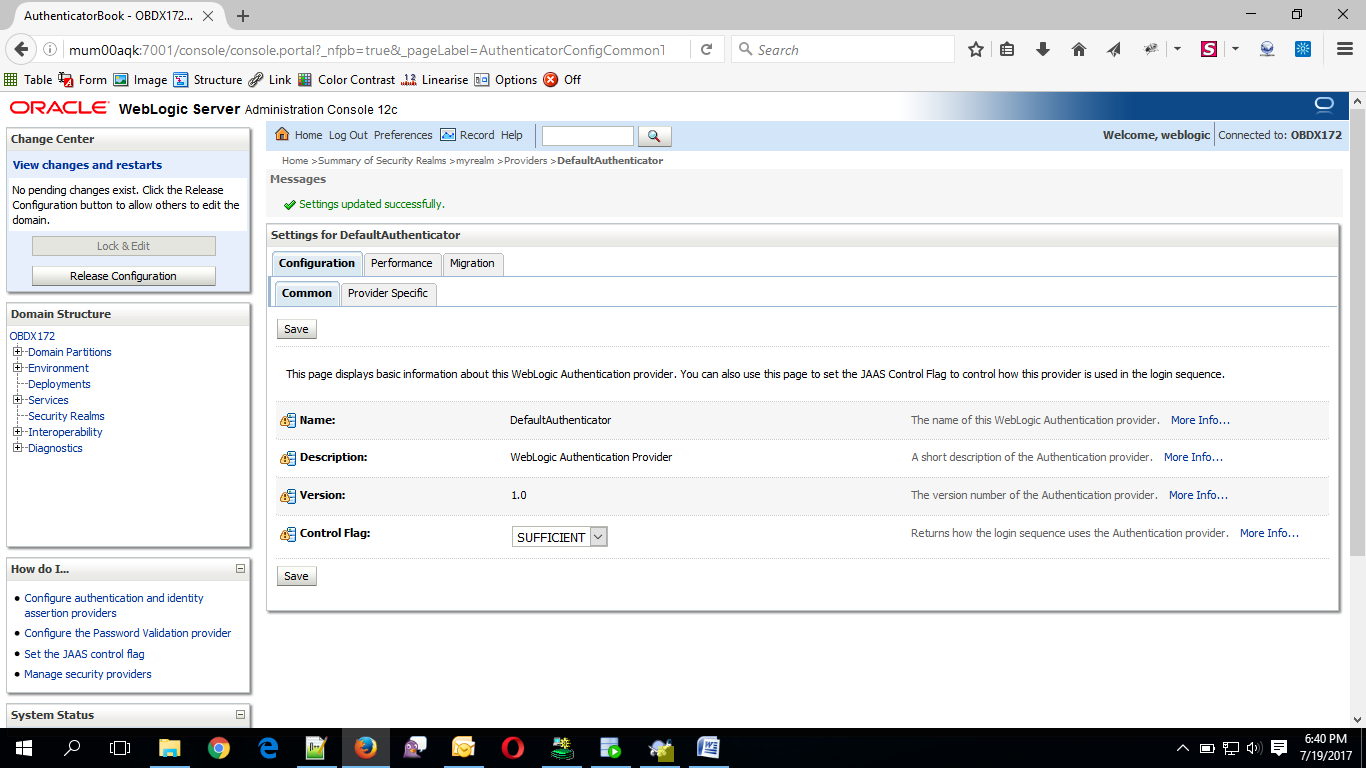
- Navigate Back to Security Realms > myrealm > Providers.
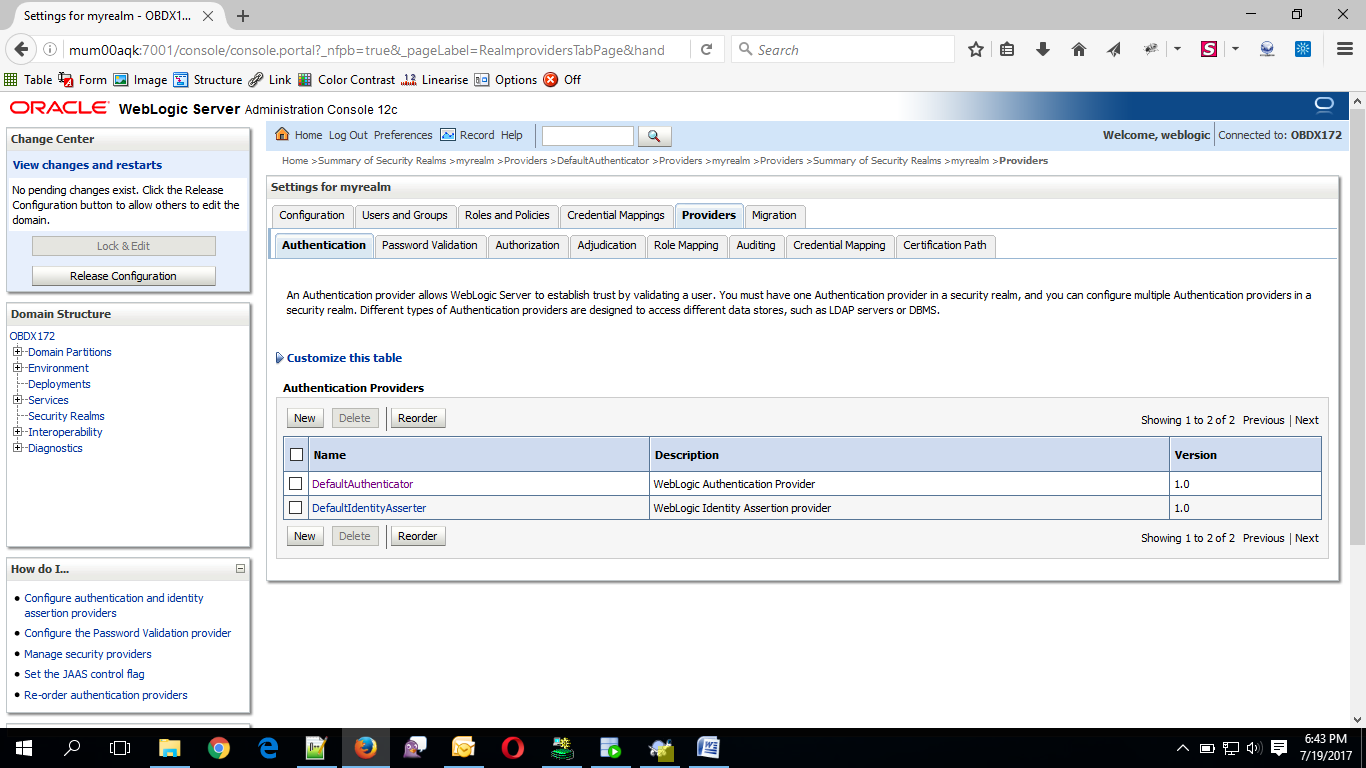
- Now, click on New and enter the below details and click Save.
- Name : OUDAuthenticator
- Type : OracleUnifiedDirectoryAuthenticator
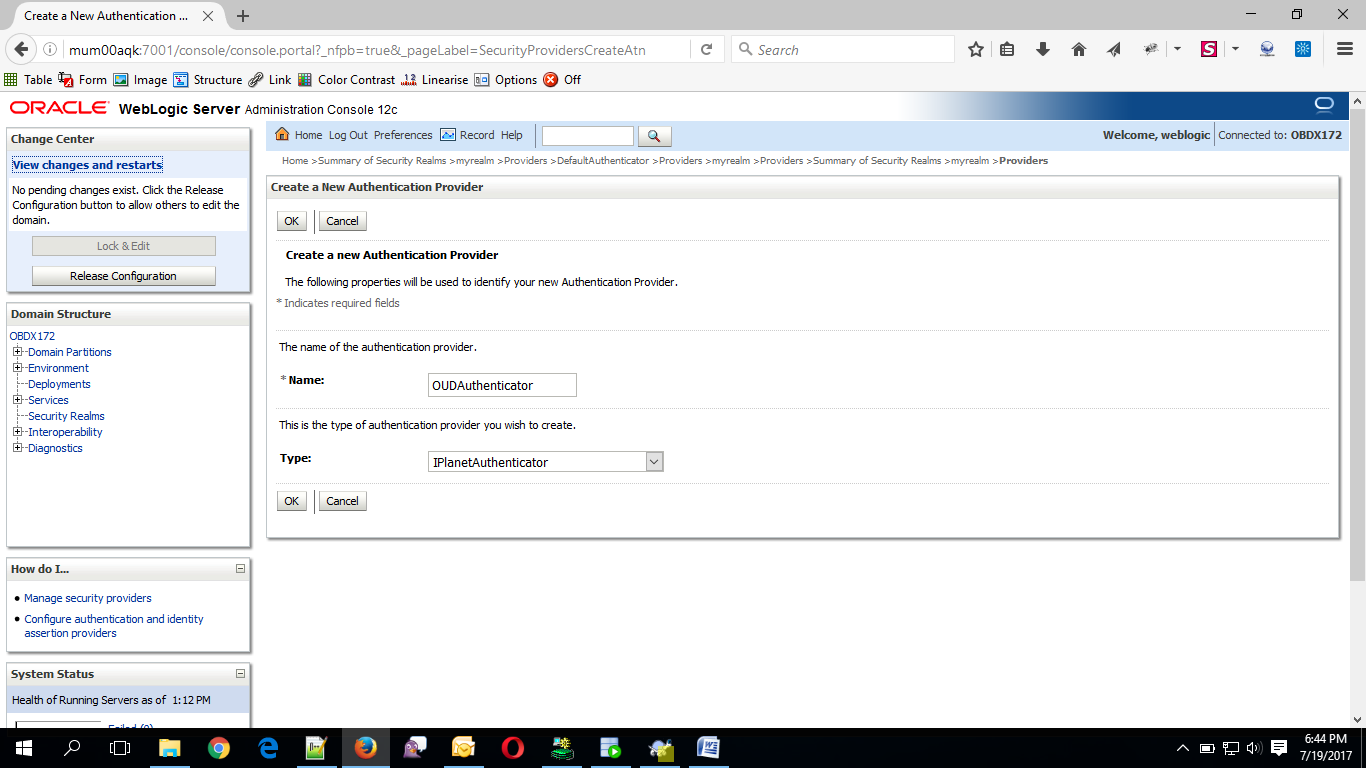
- Click on OK Button.
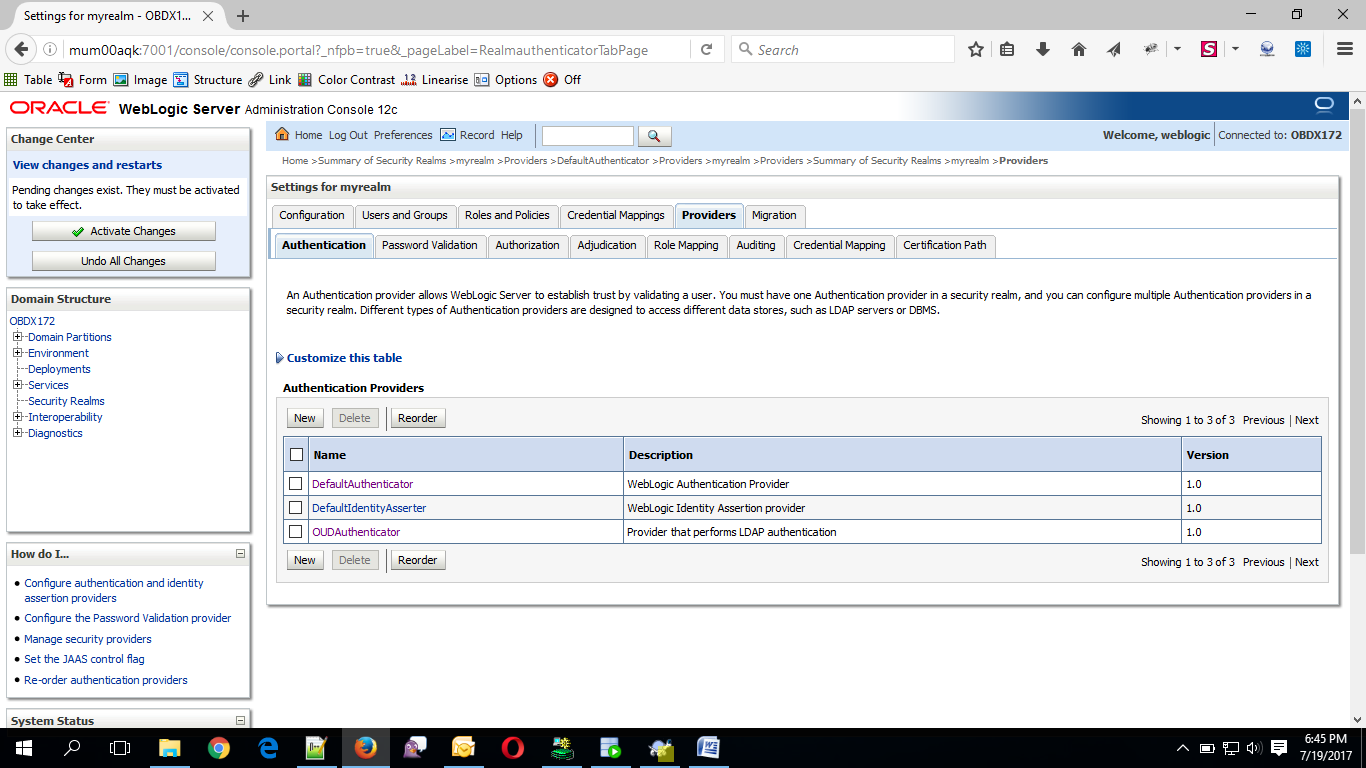
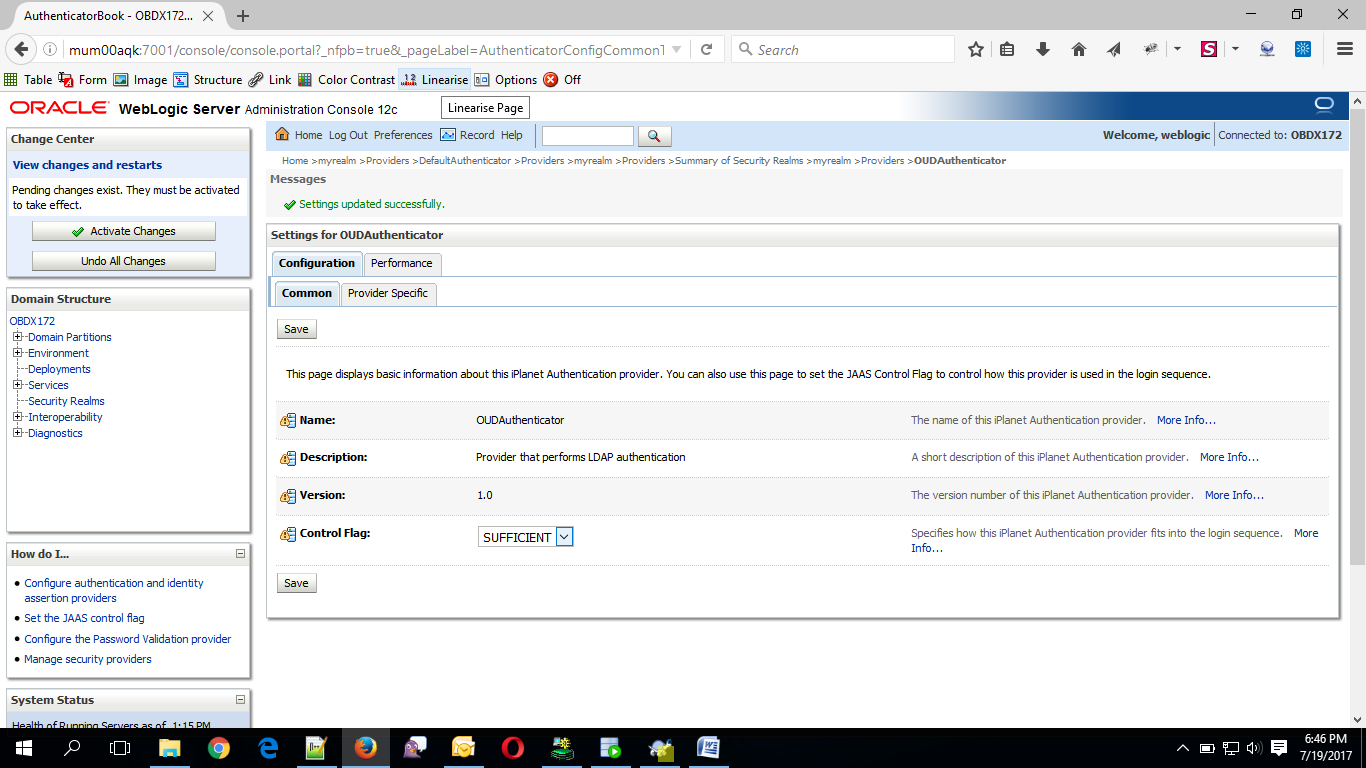
Now Click on OUDAuthenticator and select Control Flag as “SUFFICIENT”.
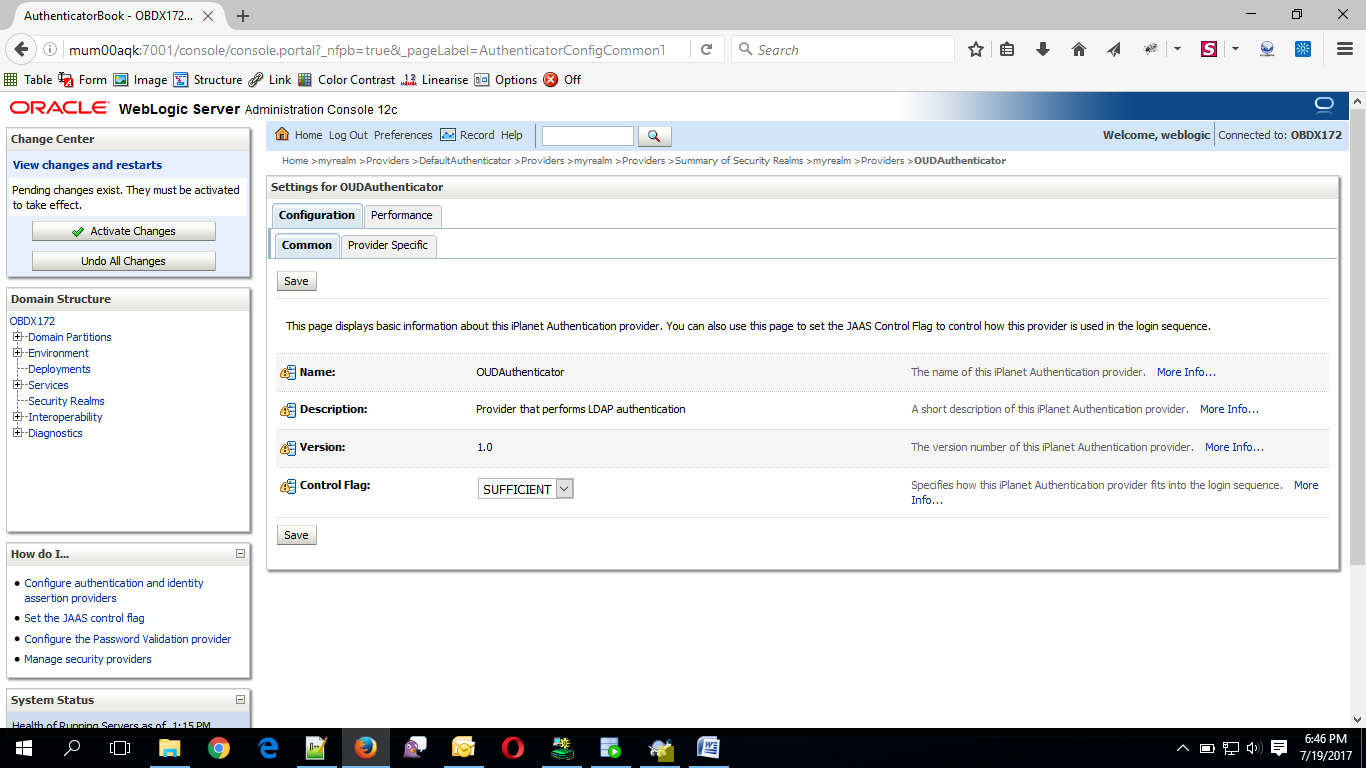
- Click on Save Button.
- Now under Provider Specific tab set the details of LDAP where the server should point. Refer to the following table for more information:
|
Property |
Value |
|---|---|
|
Host |
This is the LDAP Server (OUD) Hostname |
|
Port |
This is the LDAP Server (OUD) Port. E.g. 1389 |
|
Principal |
This is the Administrator |
|
Credential |
This is the Administrator Account password. |
|
Confirm Credential |
Confirm the Administrator Account password. |
|
UserBase DN |
This is the OUD user search base For e.g.: cn=Users, dc=in,dc=oracle,dc=com |
|
GroupBase DN |
This is the OUD group search base For e.g.: cn=Groups, dc=in,dc=oracle,dc=com |
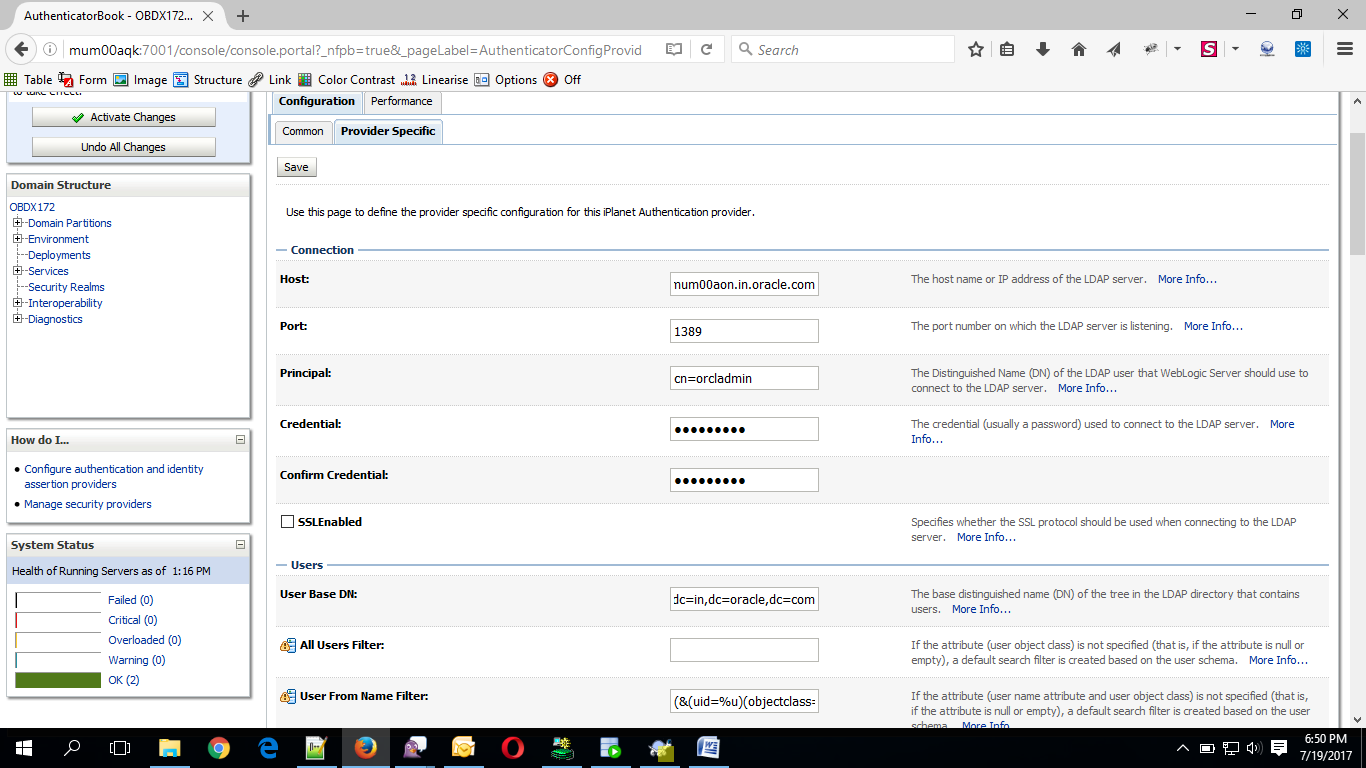
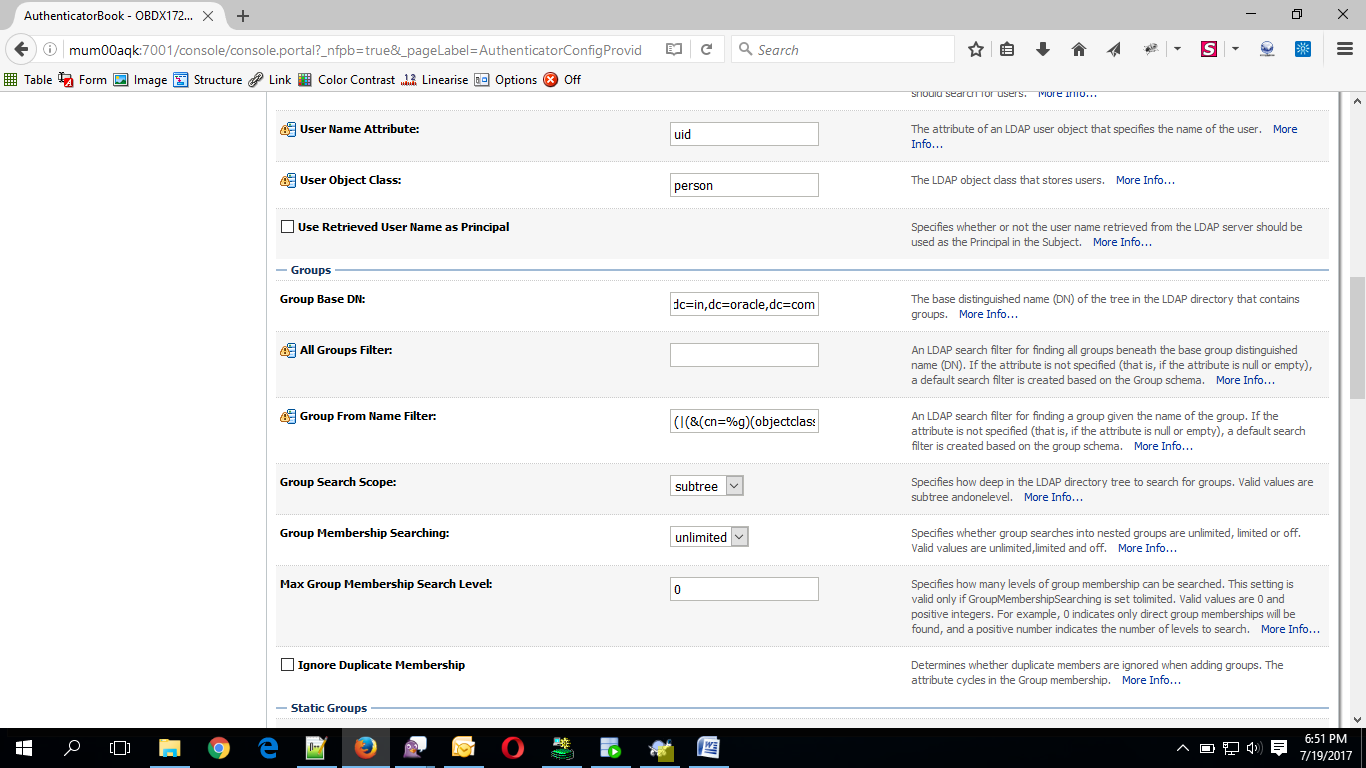
- Click on Save to update the changes.
- Navigate Back to Security Realms > myrealm > Providers
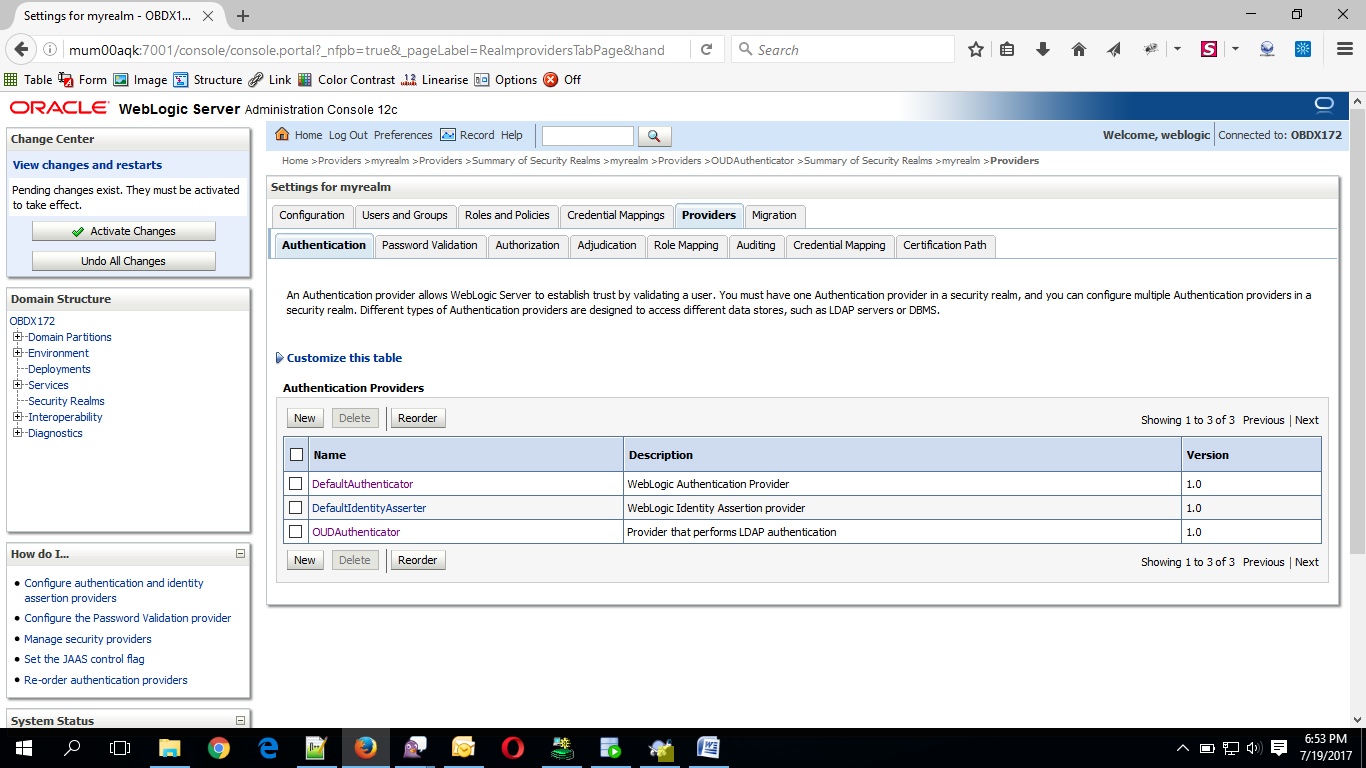
- Now, click on New and enter the below details and click Save.
- Name : OAMIdentityAsserter
- Type : OAMIdentityAsserter
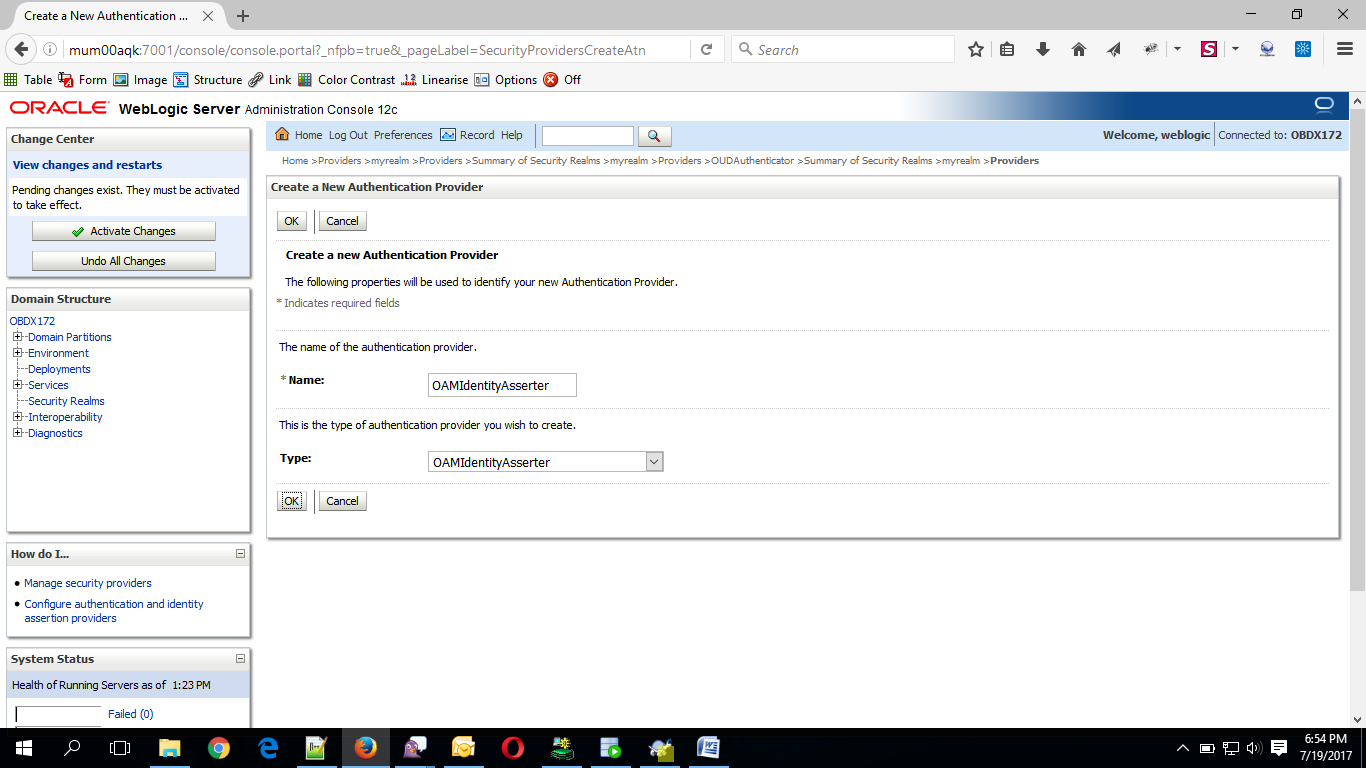
- Click on OK Button.
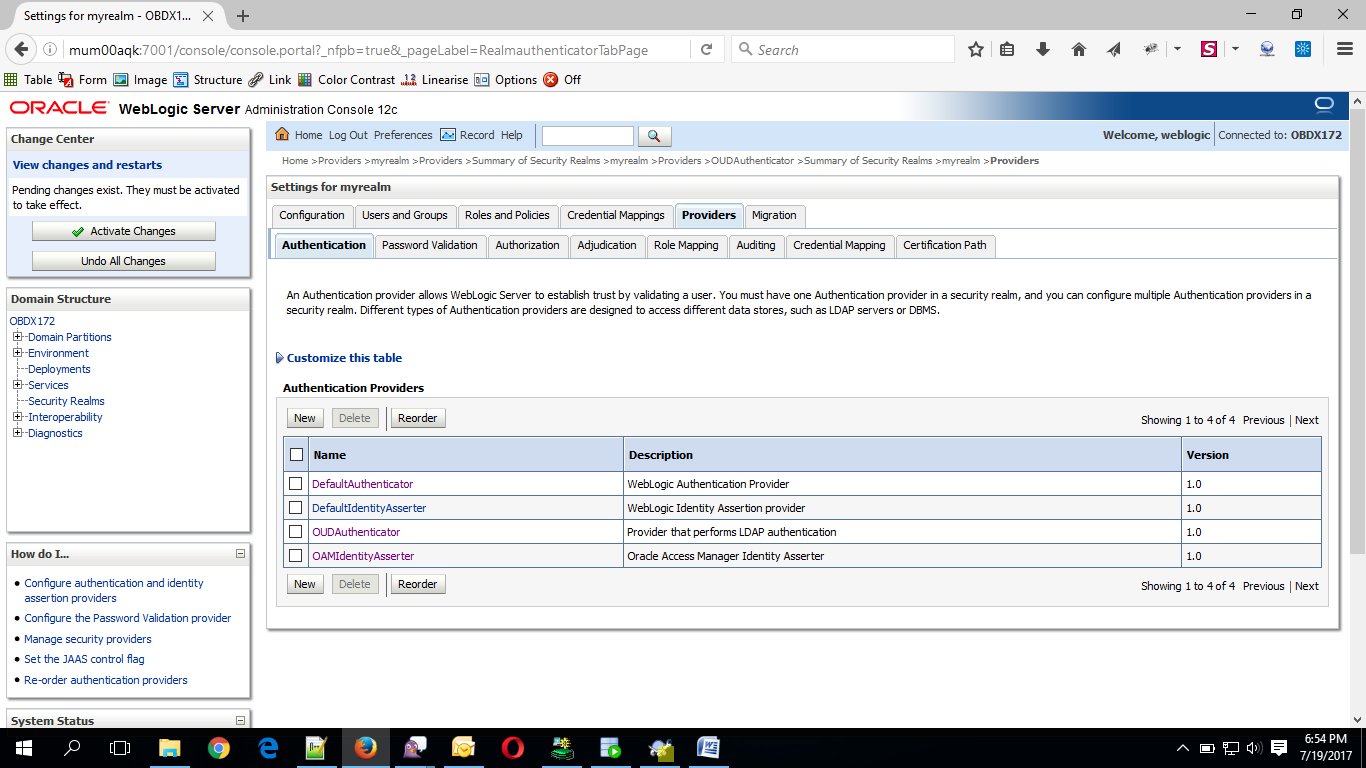
- Click on Reorder Button.
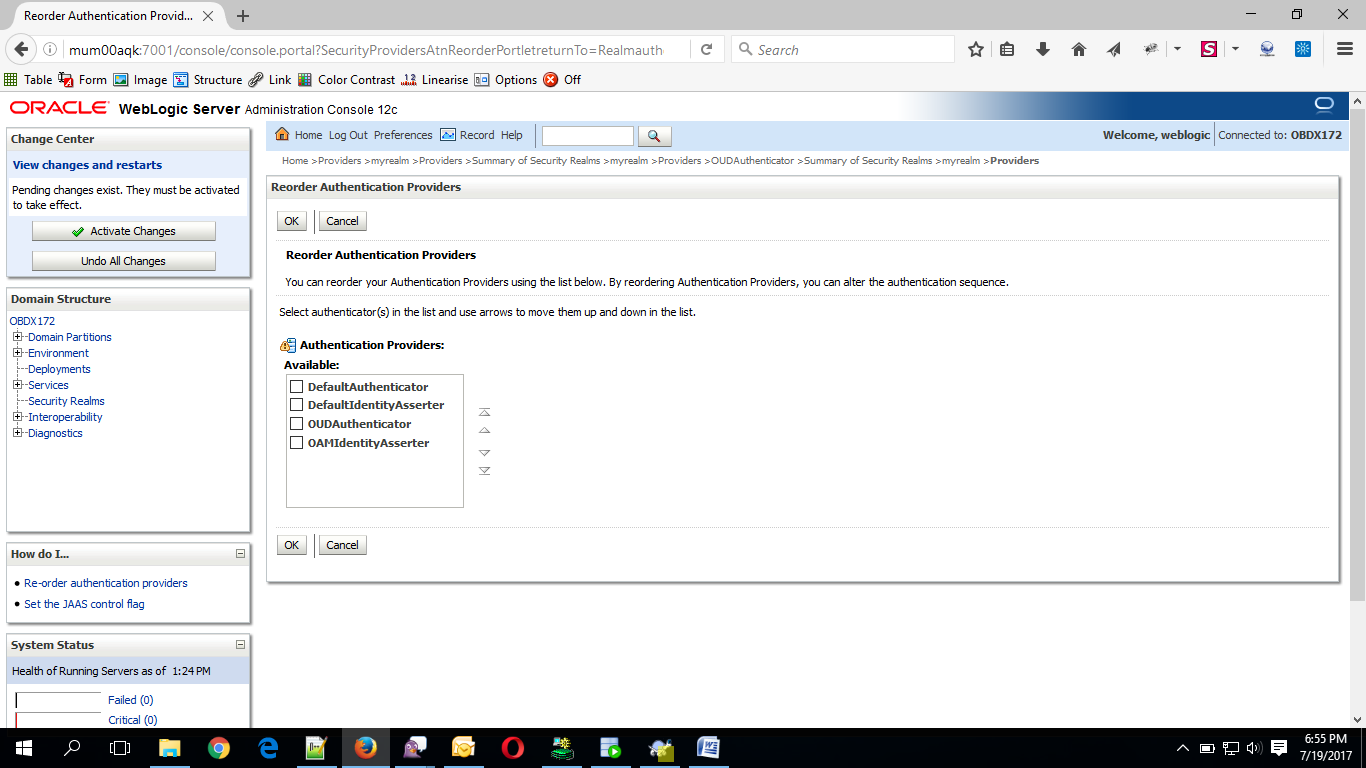
- Reorder the providers so that LDAP Provider (OUDAuthenticator) gets highest priority followed by OAMIdentityAsserter, DefaultAuthenticator, DefaultIdentityAsserter.
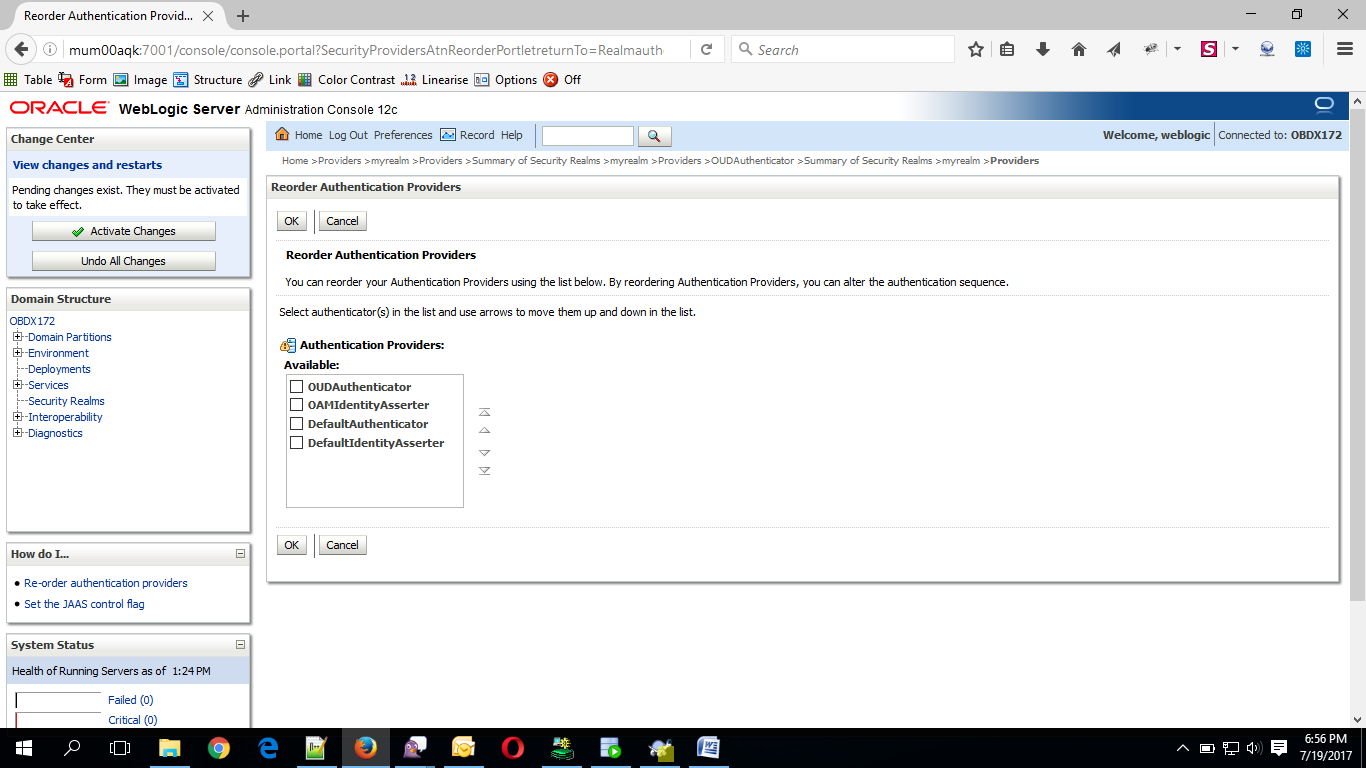
- Click on OK Button.
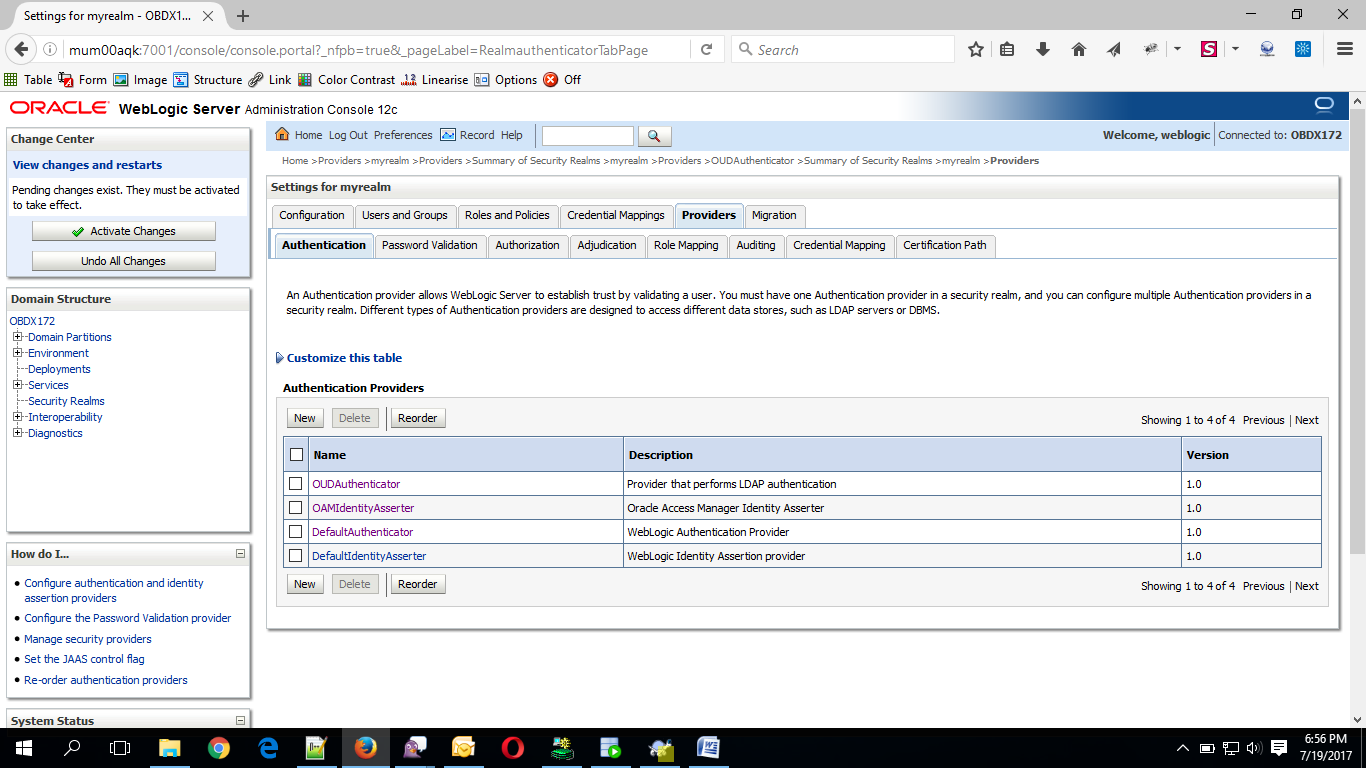
- Set the OAuth URL for OBDXJWT
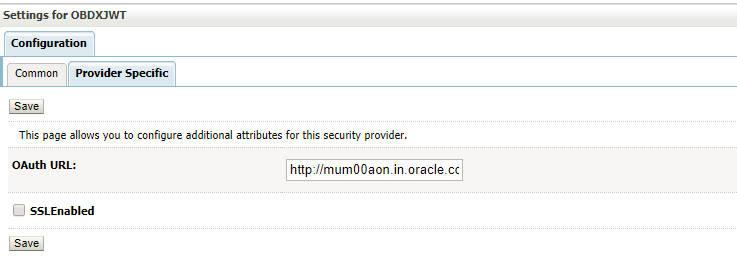
Sample OAuth URL: http://<hostname>:<port>/oauth2/rest/token/info (hostname and port should be replaced with OAM Server setup).
- Click on Activate Changes to apply the changes.
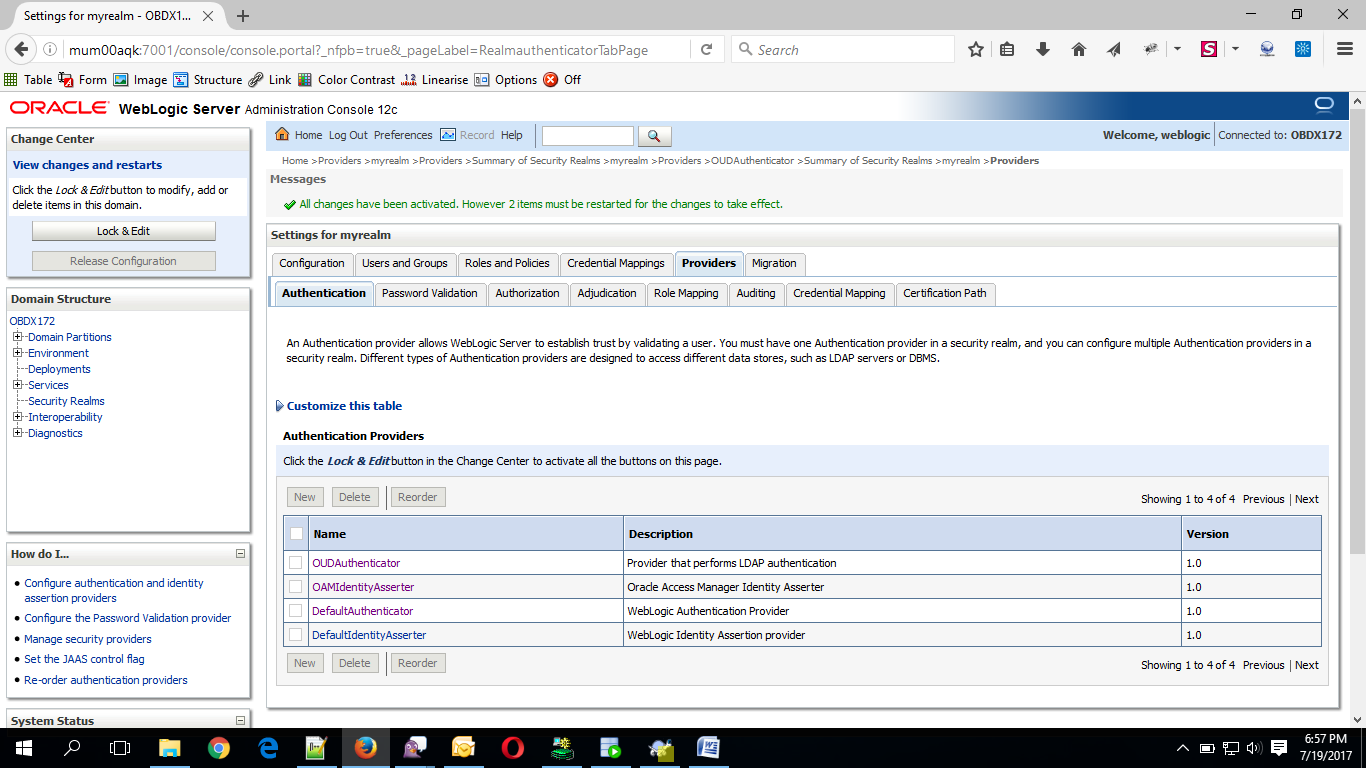
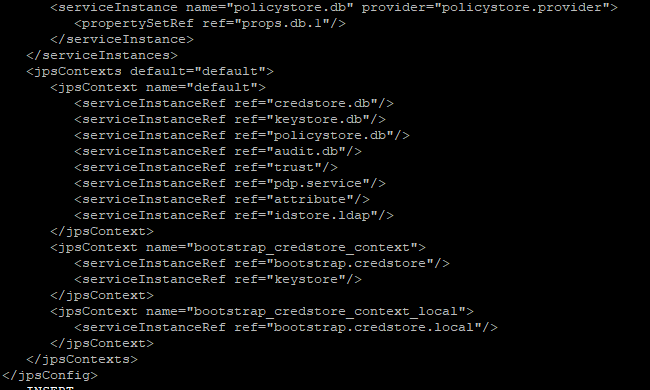
- Now go to the <DOMAIN_PATH>/<DOMAIN_NAME>/config/fmwconfig/
- Open jps-config.xml
Replace the line: <serviceInstanceRef ref="idstore.custom"/>
With <serviceInstanceRef ref="idstore.ldap"/>

- Now Shutdown the Admin server.
- Now, again start the Admin Server using the command,
<DOMAIN_PATH>/<DOMAIN_NAME>/bin/startWeblogic.sh
- Run the following script into OBDX Schema:
update DIGX_FW_CONFIG_ALL_B set prop_value = 'ipm1.0,ORACLEBI12.2.1.2,GENERIC1.0,OAM122130,OUD1.0' where prop_id = '01' and category_id = 'extxfaceadapterconfig'; -
commit;
- Restart Managed Server
Verification
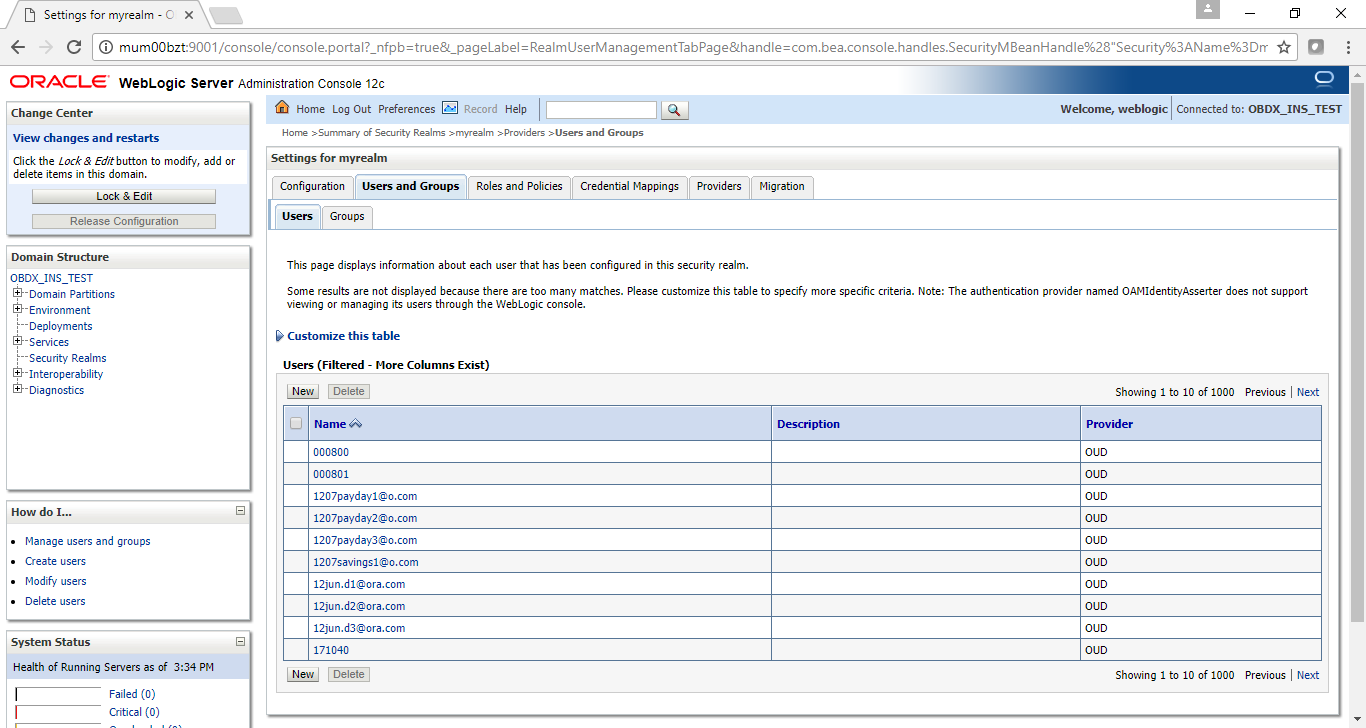
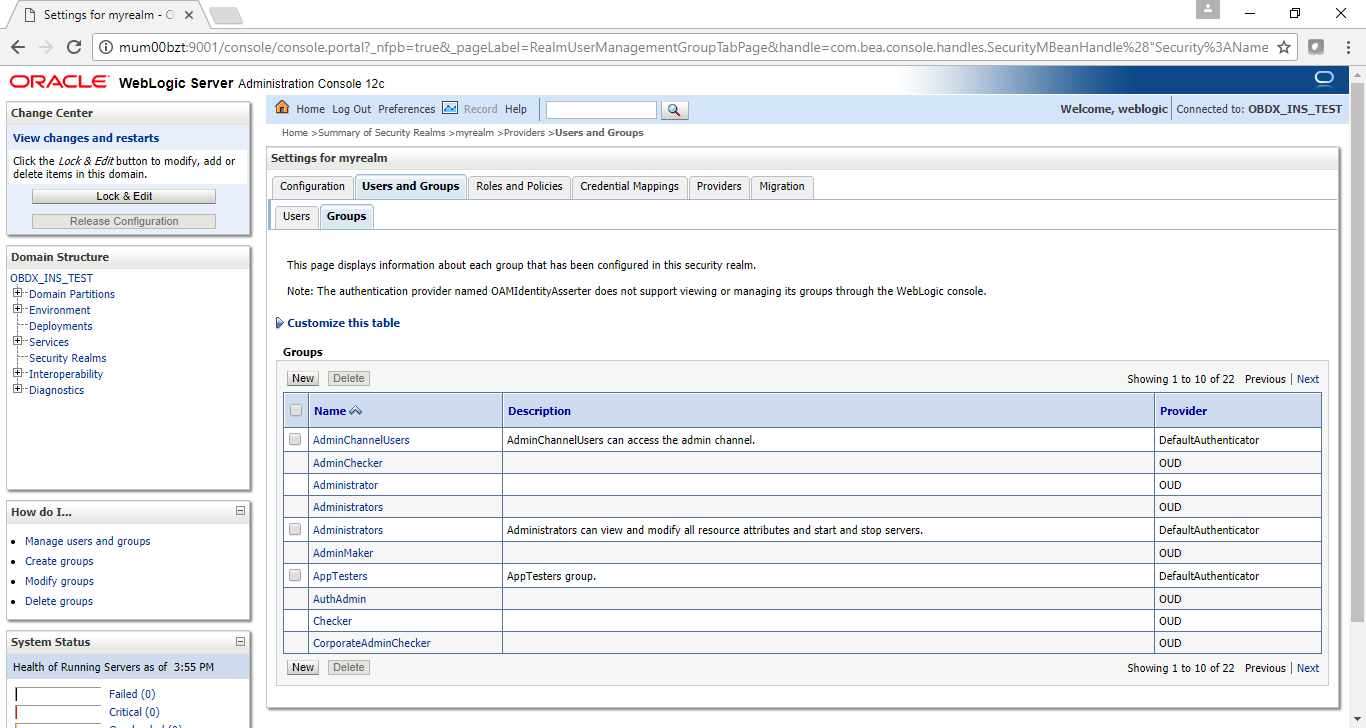
Post Admin and Managed Servers restart, login into Admin Console and browse to Security Realms > myrealm > Users and Groups.
Under Users tab additional LDAP users would be populated and additional LDAP groups can be seen under Groups tab.
Note: Session Timeout configuration for OAM
In web.xml of 'com.ofss.digx.appx.service.rest.war' inside 'obdx.app.rest.idm.ear', add/edit the following tag.
<session-config>
<session-timeout>(Timeout in minutes)</session-timeout>
</session-config>
This timeout should be equal to Idle Timeout (minutes) maintained in OAM for session.