FCM Push Notification
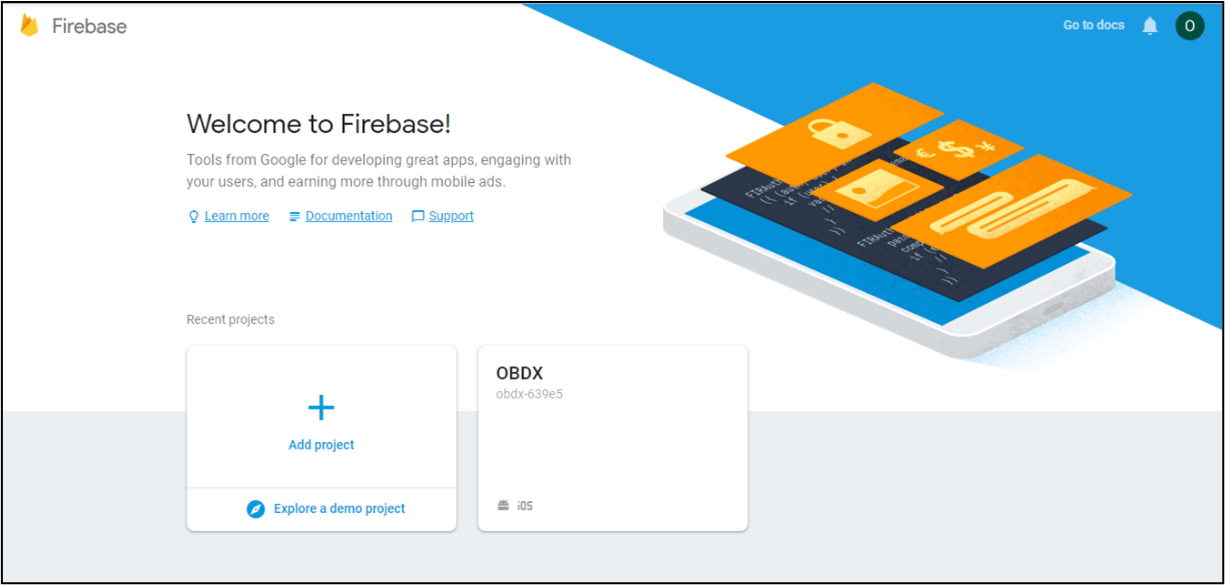
- a. Go to URL https://firebase.google.com/
- b. Traverse to console and create a project

- Download google-services.json from below page and save to (zigbank\platforms\android\app) directory.
- Remember to keep the projects package name and firebase package name same.

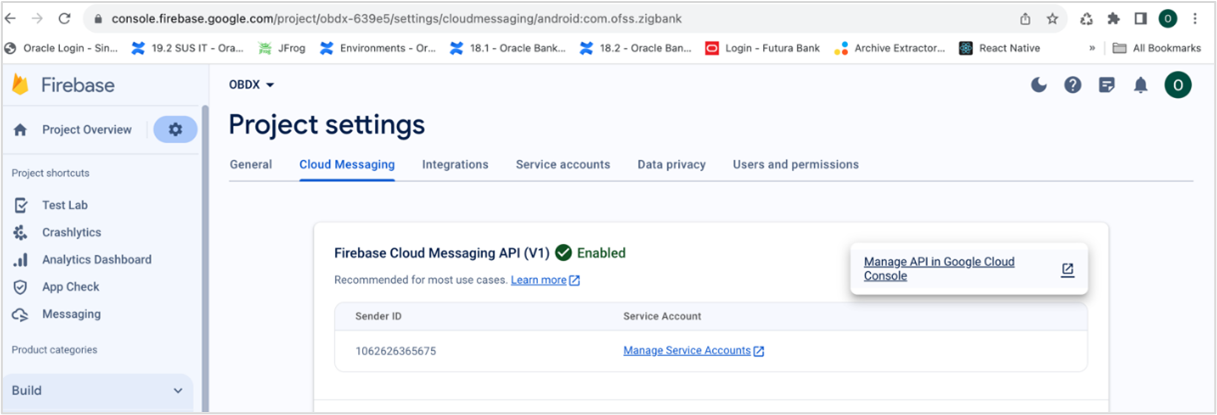
- Traverse to cloud messaging tab Enable Firebase Cloud Messaging API(V1) by clicking on Manage API in Google Cloud Console.

- Get the Project ID from Project Setting in Firebase console.

- Update FCM URL in below table as-
-
update DIGX_FW_CONFIG_ALL_B set prop_value = 'https://fcm.googleapis.com/v1/projects/YOUR_PROJECT_ID/messages:send' where prop_id = 'FCM_URL';
Add YOUR_PROJECT_ID in url which is captured on above step
- If proxy address is to be used, provide the same in database as mentioned in point 3.
- Generate private key for your service account by using below steps-
-
- In the Firebase console, open Settings > Service Accounts
-
- Click Generate New Private Key, then confirm by clicking Generate Key
-
You can also follow below google doc -
-
https://firebase.google.com/docs/cloud-messaging/auth-server#provide-credentials-manually
|
Sr. No. |
Table |
PROP_ID |
CATEGORY_ID |
PROP_VALUE |
Purpose |
|
1 |
DIGX_FW_CONFIG_VAR_B |
FCM |
DispatchDetails |
<Server_Key> |
Service account json file content captured in above step |
|
2 |
DIGX_FW_CONFIG_ALL_B |
FCMKeyStore |
DispatchDetails |
DATABASE or CONNECTOR |
Specifies whether to pick server key from database or from connector. Default DB (No change) |
|
3 |
DIGX_FW_CONFIG_ALL_B |
Proxy |
DispatchDetails |
<protocol,proxy_address> |
Provides proxy address, if any, to be provided while connecting to APNS server. Delete row if proxy not required. Example: HTTP,148.50.60.8 |
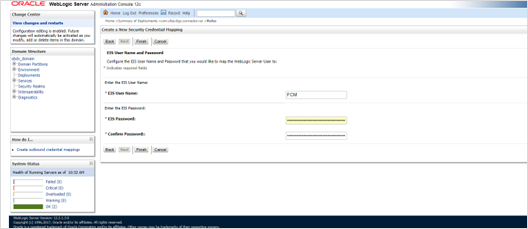
If CONNECTOR is selected in Step 2 update password as below
