OBDX SERVICING APPLICATION
This document includes following topics:
1.1 Prerequisites
OBDX Android App is supported on N (Android 8) and N-1 (Android 7) releases of Android only. However all features work on Android 6 as well.
App will not work for Android 5 and below versions
- Download and Install node Js (will be downloaded to default path)
- Install node js from https://nodejs.org
- Download and Install Android Studio
- Download and install Android Studio from https://developer.android.com/studio/index.html
- Download and Install Android platforms
- Update Android SDK to latest API Level.
- Cordova Version: 6.x
- Gradle Version: gradle-4.6
- Android Gradle Plugin Version (3.2.1): 'com.android.tools.build:gradle:3.2.1'
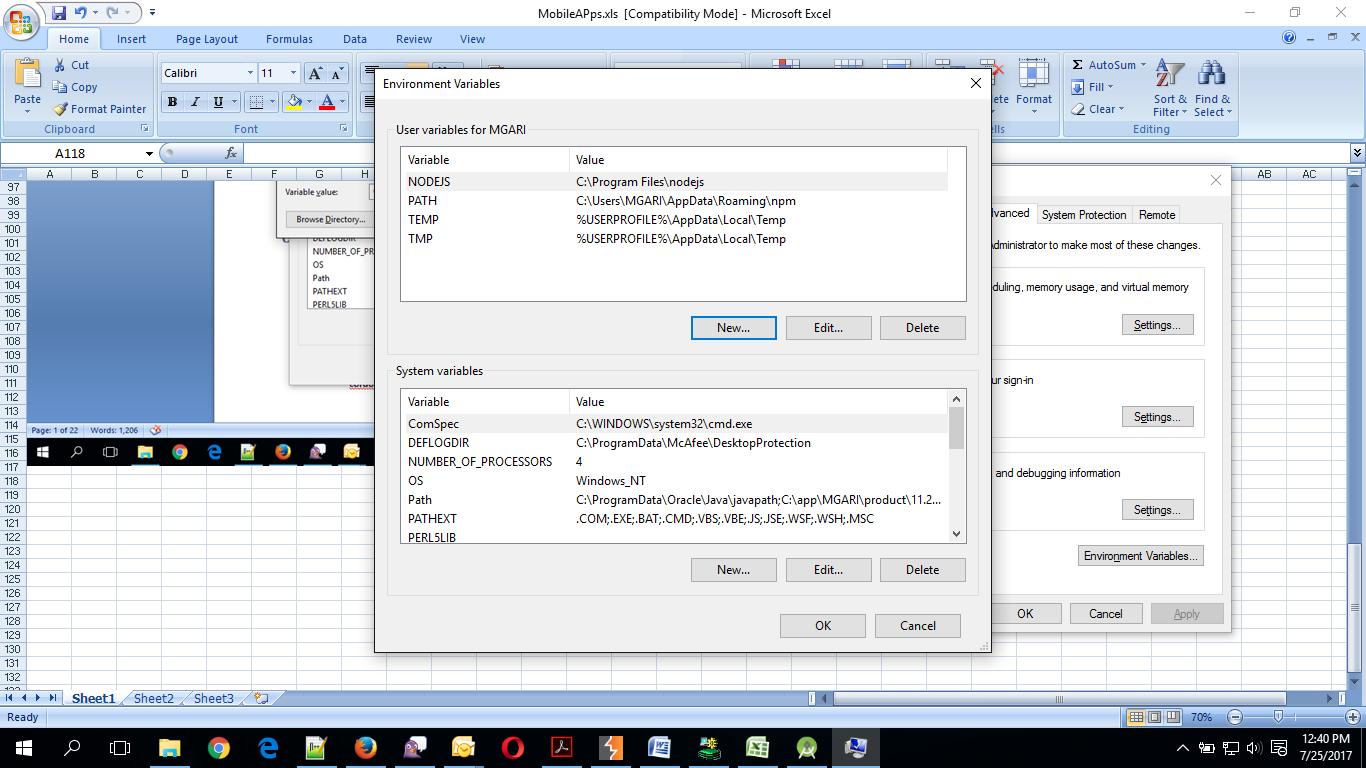
- Set Environment variables
- Set following system variables:
- Click on Windows key and type Environment Variables.
- A dialog box will appear. Click on the Environment Variables button as shown below

- NODEJS <nodejs_path> Example: “C:\Program Files\nodejs\”.
- Add the above variables in “PATH” system variable.

1.2 Create project
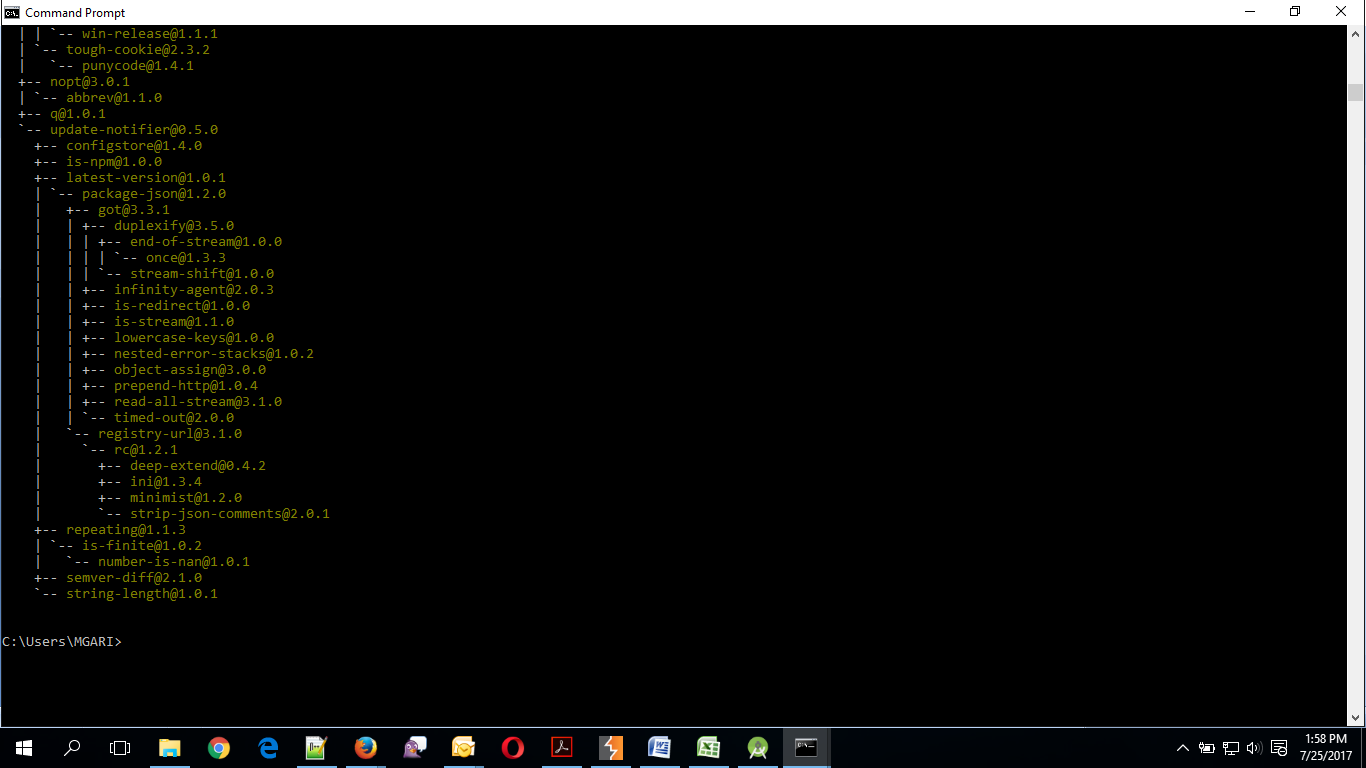
- Install cordova using the command.
- npm install –g cordova
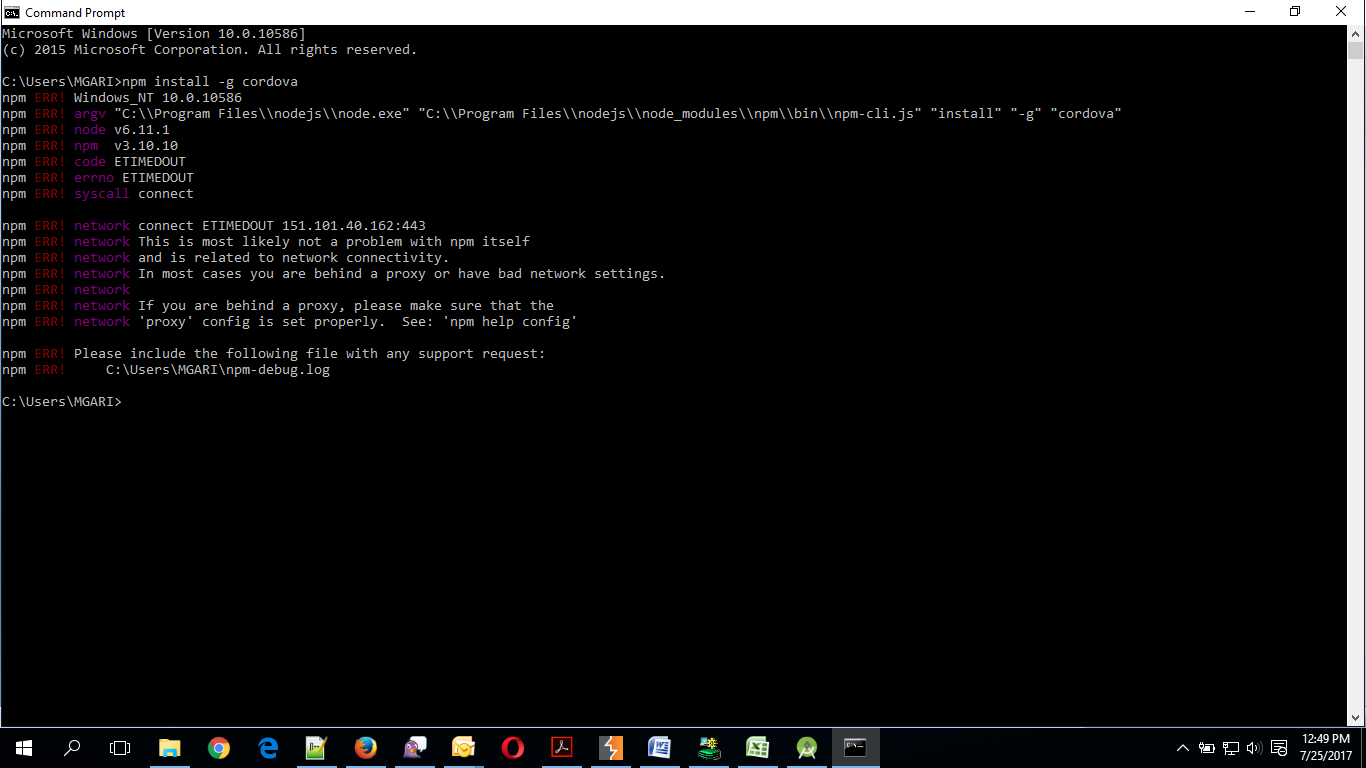
- If you face the above error then set proxy using following commands on command line.
- npm config set proxy <provide your proxy value here>
- npm config set https-proxy <provide your proxy value here>

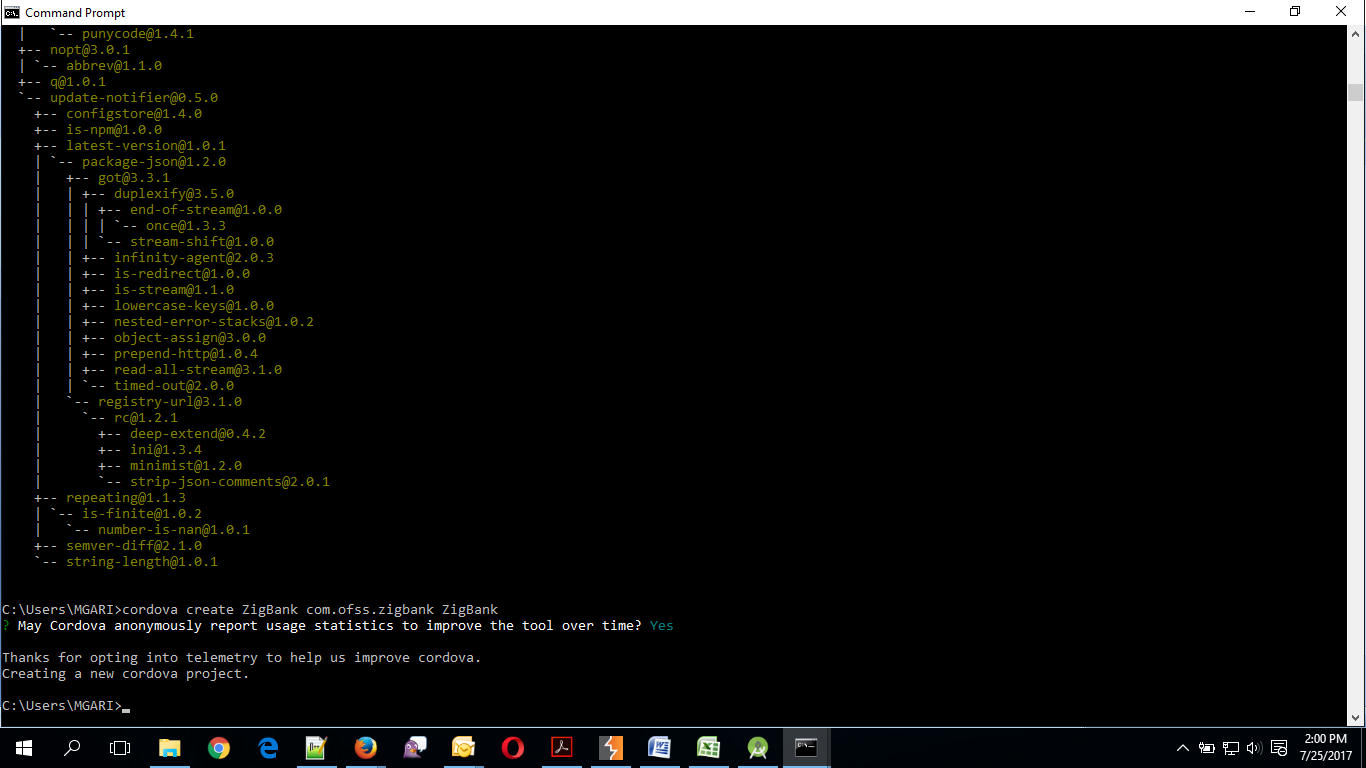
- Create sample project using following command
- cordova create <directory name> <package name> <project name>
- Eg : cordova create zigbank com.ofss.zigbank ZigBank
- All subsequent commands need to be run within the project's directory
- cd <directory name>
- Eg: cd zigbank

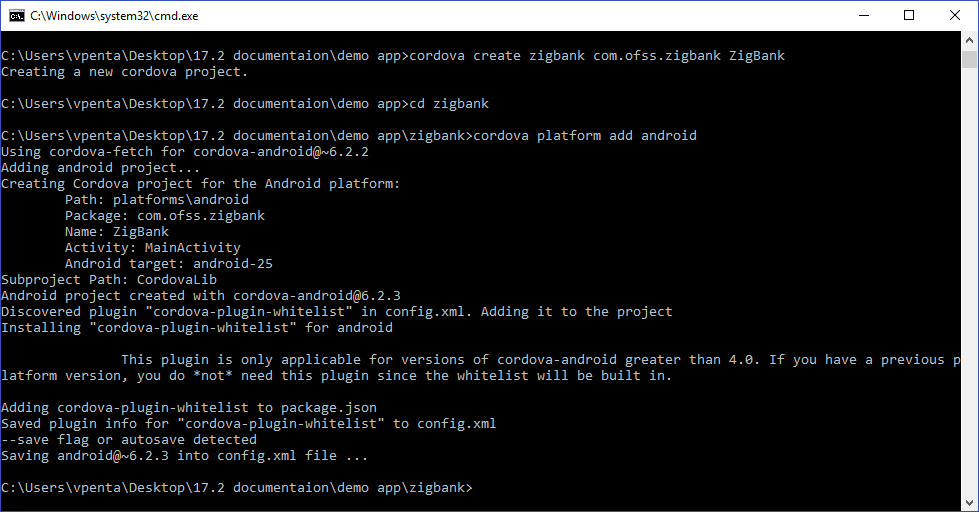
- Add platform android to the project using following command
- cordova platform add android@6.x.x
- Extract Android workspace from installer and place in a folder.
- Copy folders cordova & CordovaLib from sample project (created in previous step) to this workspace(zigbank\platforms\android). Merge the folders and skip (do not replace) existing files. Confirm from below screenshot

1.3 Adding UI to workspace
Use any 1 option below
a. Building un built UI![]() User Interface (required in case of customizations)
User Interface (required in case of customizations)
Extract unbuilt UI and traverse to OBDX_Installer/installables/ui/channel/_build folder and perform below steps
Windows –
npm install -g grunt-cli
npm install
set IS_GRUNT=true
node render-requirejs/render-requirejs.js mobile
grunt --max_old_space_size=5120 mobilebuild --platform=android
Linux -
sudo npm install -g grunt-cli
sudo npm install
export IS_GRUNT=true
node render-requirejs/render-requirejs.js mobile
node --max_old_space_size=5120 grunt mobilebuild --platform=android
a. Using built UI (out of box shipped with installer)
i. Unzip dist.tar.gz for android from installer and copy folders(components,extensions,framework,images,json,lzn,pages,partials,resource, index.html,build.fingerprint) to workspace (platforms/android/app/android/app/src/main/assets/www/)
Delete originations folder inside images (images/originations) and ensure webhelp folder is not copied.
Also delete files: \assets\www\framework\js\libs\oracle.live.web.api\lib\jquery.js
and \assets\www\framework\js\libs\oraclejet\js\libs\jquery\jquery-3.3.1.min.js
1.4 Importing in Android Studio
Open Android Studio
- Import zigbank/platforms/android in android studio by clicking on Open an Existing Project.

- For Adding Facebook (Required for social payments only)
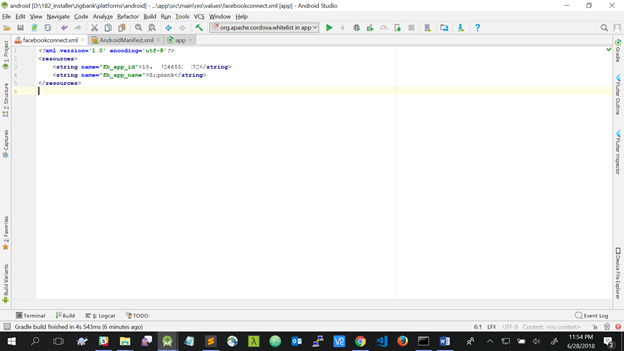
- Open facebookconnect.xml
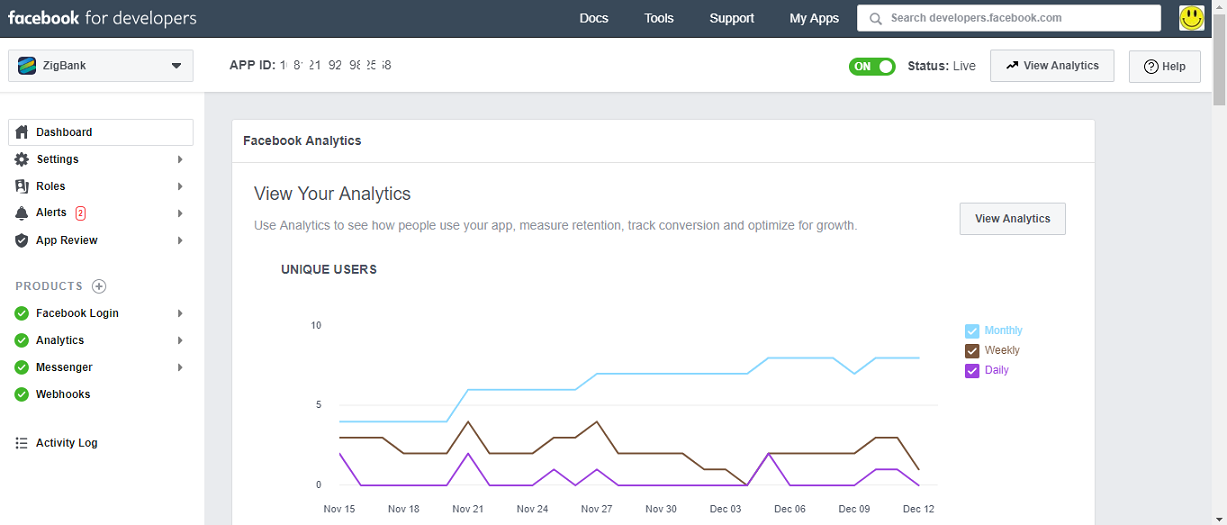
- Replace YOUR_FB_APP_ID with your fb app id generated from facebook developer console
- Replace YOUR_APP_NAME with the App name
As shown below
