| Oracle® Communications Diameter Signaling Router Service Capability Exposure Function User's Guide Release 8.4 F12301-02 |
|

 Previous |
 Next |
| Oracle® Communications Diameter Signaling Router Service Capability Exposure Function User's Guide Release 8.4 F12301-02 |
|
|
Previous |
Next |
The
SCEFCustomSLAValidation
is a component developed in API Gateway to enforce the required custom rules.
The SCEF Custom SLAs addition per application group is configured via admin
console.
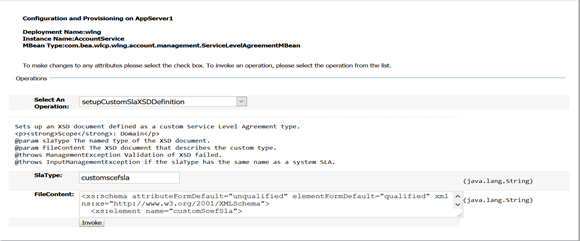
The following steps are involved:
setupCustomSlaXSDDefinition
from the list.
customscefsl
customslaxsd.xsd
provided in
Custom SLA XSD.
See the below screen for reference.
Figure 2-25 CustomSLA XSD Upload Screen
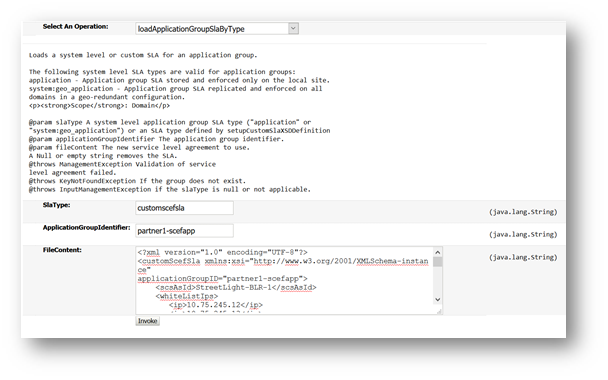
loadApplicationGroupSlaByType
from the list
customscefsla
<partnerusername>-<applicationname>
For example, if
partnerusername is
partner1 and
applicationname is
scefapp then
ApplicationGroupIdentifier
is
partner1-scefapp
Figure 2-26 CustomSLA XML Upload Screen