Chapter - 4 : Setting Up The Enterprise Scheduler Service Jobs


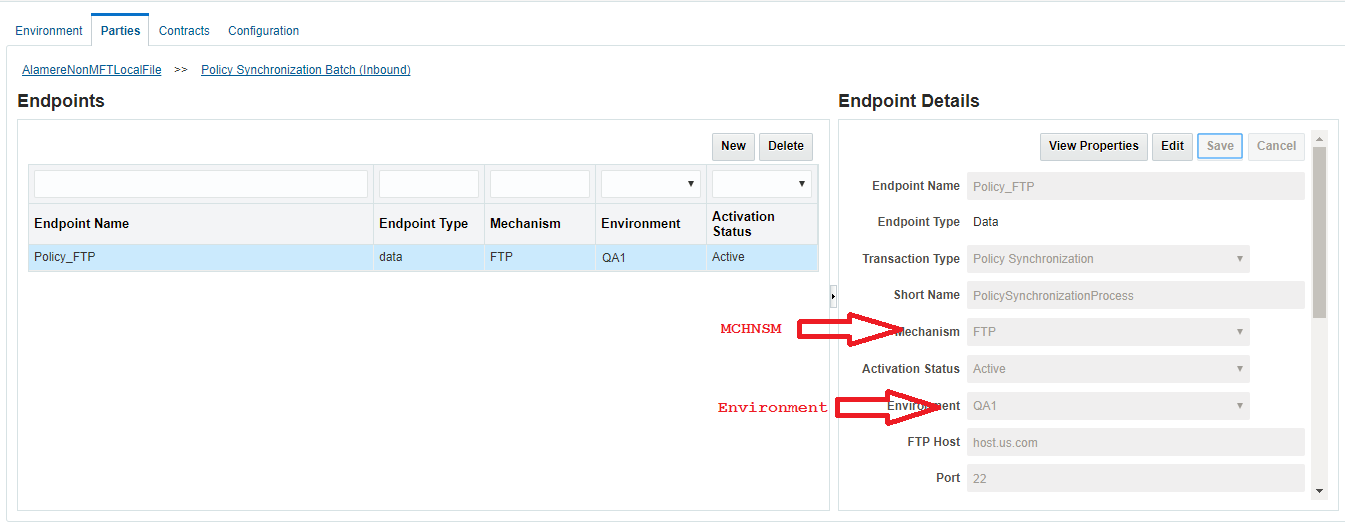
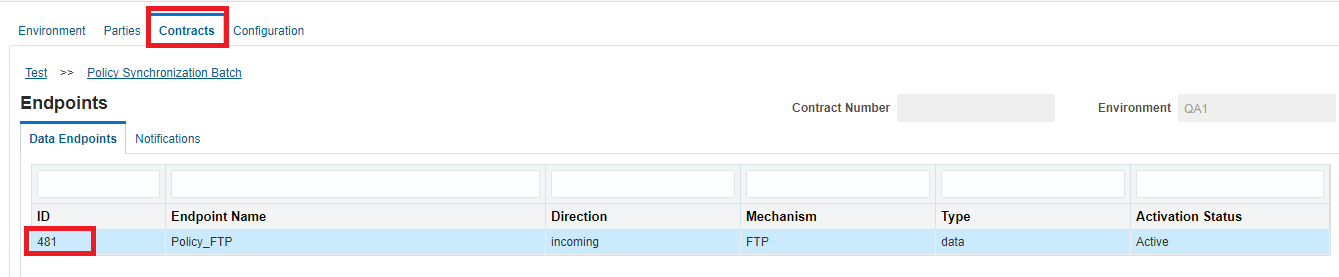
This chapter describes how to configure jobs in the Enterprise Scheduler Services (ESS) for batch request processing. Before proceeding with this section, you must configure your parties and contracts in the AdminView. Please refer to the Oracle Insurance Data Gateway User Interface Guide for more info on this.

Once your parties and contracts have been established you can configure schedules for batch jobs following these steps:

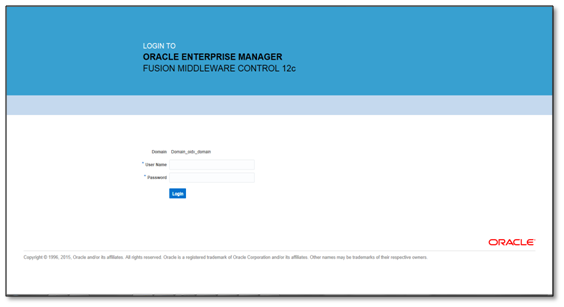
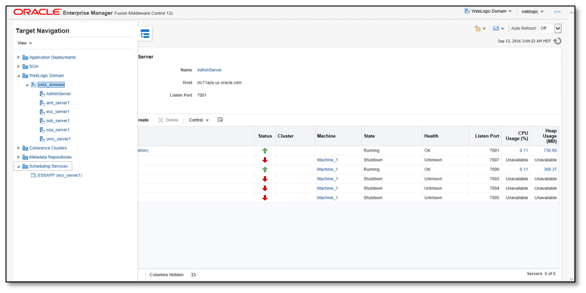
  1. Log in to the Enterprise Manager console.
    Example: http://<hostname>:<Admin Server Port Number>/em
    Image represents EM console page
    Figure 4.1 - Enterprise Manger Console Login Page
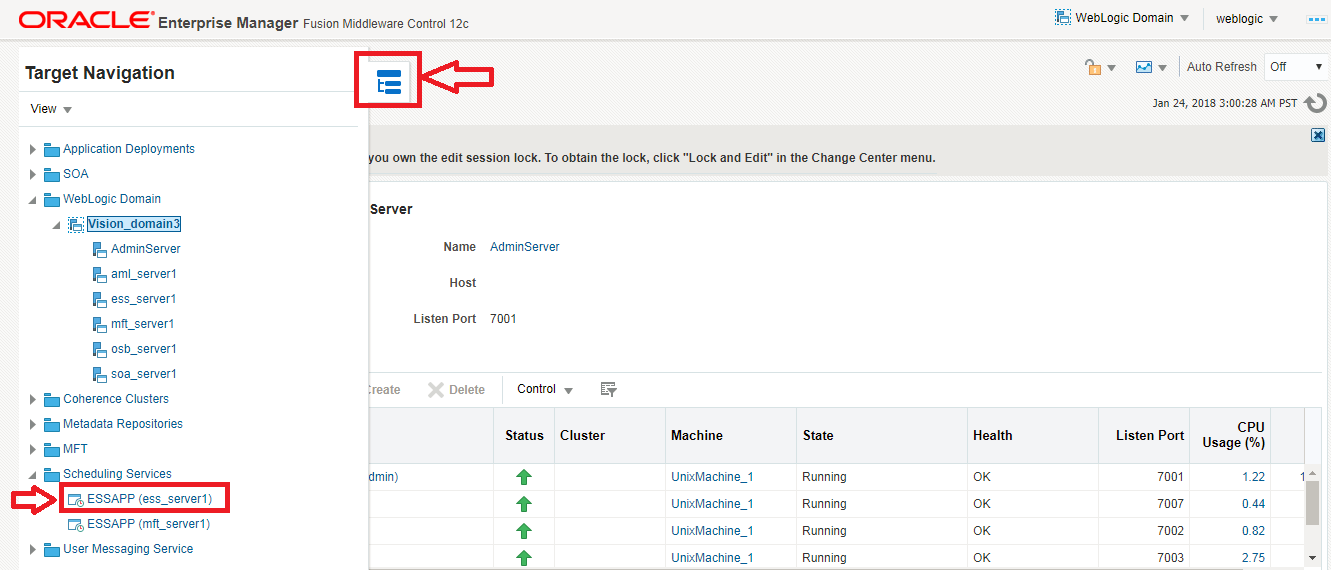
  2. Click the Target Navigation at the top-left corner.
  3. Click Scheduling Services > ESSAPP (ess_server1).
    Image represents Scheduling Services
    Figure 4.2 - Scheduling Services
  4. Click Scheduling Service → Job Metadata → Job Definitions.
    Image represents job definitions
    Figure 4.3 - Job Definitions
  5. Job definition screen appears.
    Image represents job definitions
    Figure 4.4 - Job Definitions
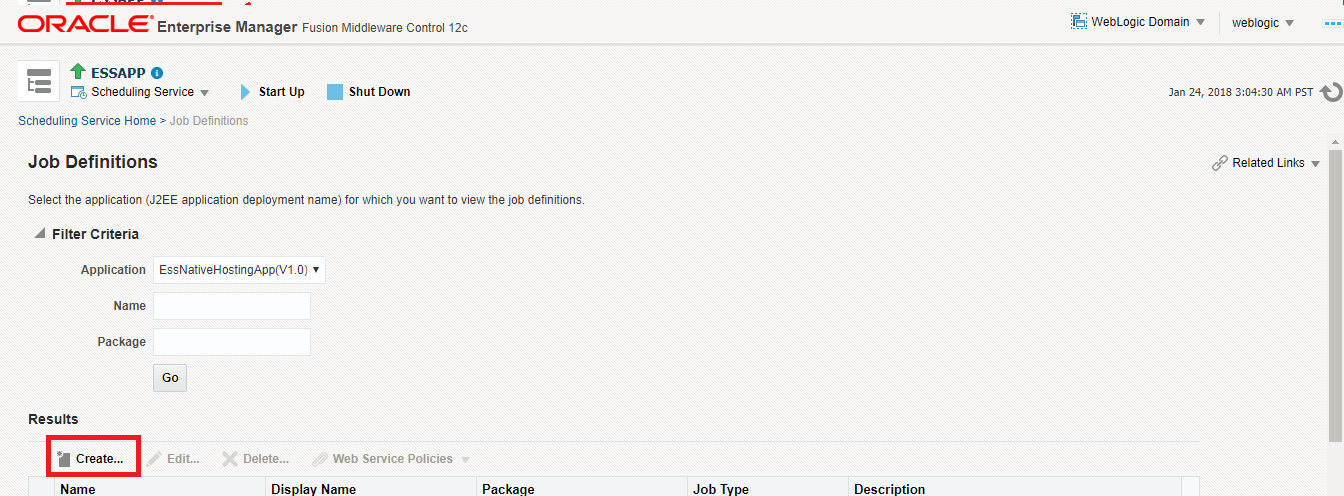
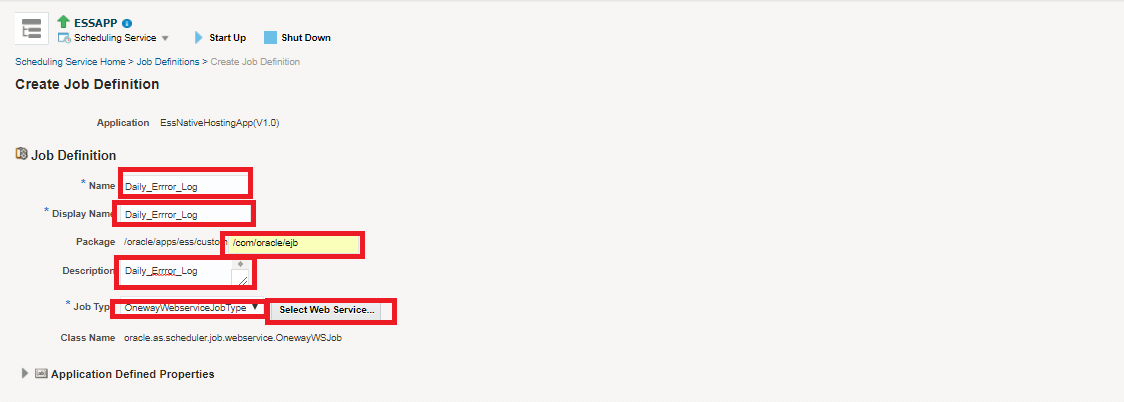
  6. Click Create and Enter Name, Display Name, Package, Description and Job Type. As shown in the table below:
    NameExampleDescription
    NameAlamere_IN_Carrier_PolicySyncJob name
    Display NameAlamere IN Carrier PolicySyncAlamereJob display name
    Package/com/oracle/ejbFile Transfer Service package. Always enter this value as ’/com/oracle/ejb’
    DescriptionAlamere IN Carrier PolicySyncAlamereJob description
    Job TypeOnewayWebserviceJobTypeJob type. Always select this field value as “OnewayWebserviceJobType”
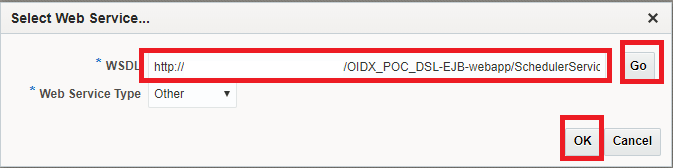
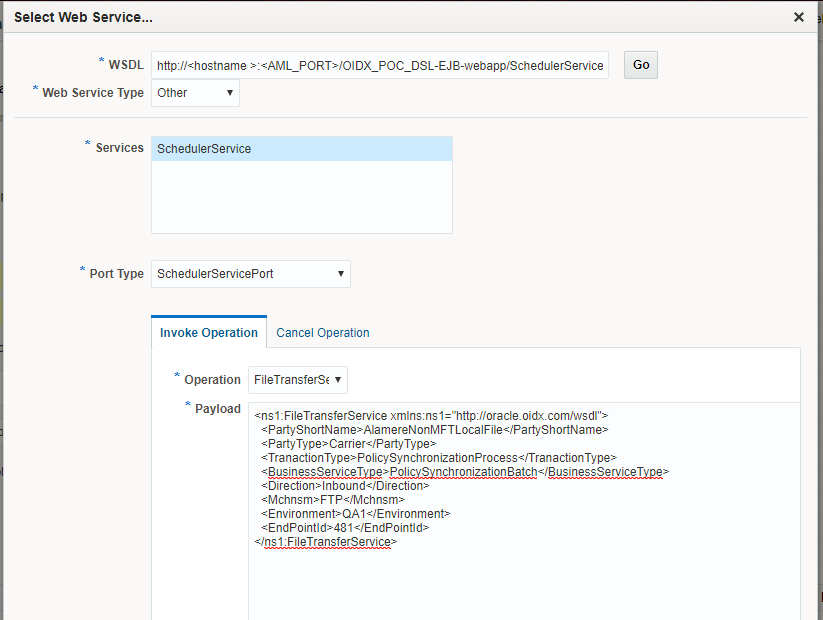
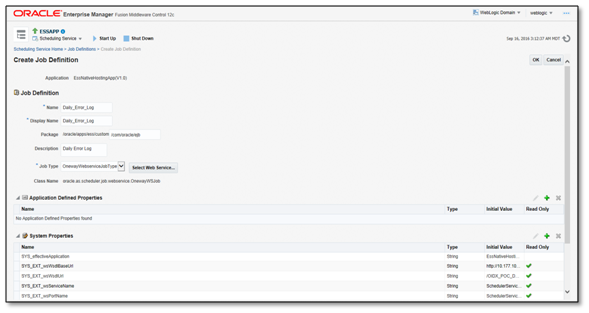
  7. Click Select Web Service.
    Note: Select Web Service appears only after you select the Job Type as OnewayWebserviceJobType.
  8. Enter web service URL at WSDL and Click Go.
    Image represents select web services
    Figure 4.5 - Select Web Services
    Example URL: http://<hostname>:<AML Server Port Number>/OIDX_POC_DSL-EJB-webapp/SchedulerService?WSDL
  9. Fill in the details as shown in the table below.
    Select ServicesSchedulerServiceMgrEJBBeanService
    Port TypeSchedulerServiceMgrEJBBeanPort
    OperationfileTransferService

    Payload:
    <PartyShortName></PartyShortName>
    <PartyType></PartyType>
    <TranactionType></TranactionType>
    <BusinessServiceType></BusinessServiceType>
    <Direction></Direction>
    <Mchnsm></Mchnsm>
    <Environment></Environment>
    <EndPointId></EndPointId>


    Gather all the payload values from AdminView to configure jobs.
    1. PartyShortName and PartyType
      Image represents Party Details Section
      Figure 4.6 - Party Details Section
    2. TransactionType
      Image represents Endpoint Details Section
      Figure 4.7 - Endpoint Details Section
    3. BusinessServiceType
      Image represents Business Service Details Section
      Figure 4.8 - Business Service Details Section
    4. Direction value is always Inbound.
    5. Mchnsm and Environment
      Image represents Endpoint Details Section for Mechanism and Environment
      Figure 4.9 - Endpoint Details Section for Mechanism and Environment
    6. EndPointId
      Image represents AdminView Application Data Endpoints Section
      Figure 4.10 - AdminView Application Data Endpoints Section

      Example:

      <ns1:FileTransferService xmlns:ns1="http://oracle.oidx.com/wsdl"> <PartyShortName>AlamereNonMFTLocalFile</PartyShortName>
      <PartyType>Carrier</PartyType>
      <TranactionType>PolicySynchronizationProcess</TranactionType> <BusinessServiceType>PolicySynchronizationBatch</BusinessServiceType>
      <Direction>Inbound</Direction>
      <Mchnsm>FTP</Mchnsm>
      <Environment>QA1</Environment>
      <EndPointId>481</EndPointId>
      </ns1:FileTransferService>

      Image represents Select Web Service Section
      Figure 4.11 - Select Web Service Section
  10. Click Ok to create the Job Definition.

Configuring Daily Error Log

Configure Enterprise Scheduler Services using the ESS application to schedule a particular time to run the Daily Error Log report.

Follow these steps to configure Daily Error Log report on Enterprise Scheduler Services server.

  1. Log in to Enterprise Manager Console.
  2. Click Scheduling Services > ESSAPP (ess_server1).
    Image represents : Enterprise Manager Console after Clicking Scheduling Services.
    Figure 4.12 - Enterprise Manager Console after Clicking Scheduling Services
  3. Click Scheduling Service → Job Metadata → Job Definitions.
    Image represents Enterprise Manager Console after Clicking Job Definitions.
    Figure 4.13 - Enterprise Manager Console after Clicking Job Definitions
  4. Click Create and Enter Name, Display Name, Package, Description and Job Type. Example:
    NameDaily_Error_LogJob name
    Display NameDaily_Error_LogJob display name
    Package /com/oracle/ejbError log service package name. Always enter this value as ‘/com/oracle/ejb’
    DescriptionDaily Error LogJob description
    Job TypeOnewayWebserviceJobTypeJob type.Always select this value as ‘OnewayWebserviceJobType’
  5. Click Select Web Service.
    Image represents Creating Job Definition Section.
    Figure 4.14 - Creating Job Definition Section

    Note: Select Web Service appears only after you select the Job Type as OnewayWebserviceJobType.

  6. Enter web service URL at WSDL and Click Go.
    Example URL: http://<hostname>:<AML Server Port Number>/OIDX_POC_DSL-EJB-webapp/SchedulerService?WSDL
    Image represents Dialog after Clicking Select Web Service.
    Figure 4.15 - Dialog after Clicking Select Web Service
  7. Fill in the details as shown in the table below.
    Select ServicesSchedulerServiceMgrEJBBeanService
    Port TypeSchedulerServiceMgrEJBBeanPort
    OperationerrorLogService

    Enter the following Payload:

    <ns1:ErrorLogService xmlns:ns1="http://oracle.oidx.com/wsdl">

    <PartyShortName>Daily</PartyShortName>

      <PartyType>Error</PartyType>

      <TranactionType>Log</TranactionType>

      <Direction>report</Direction>

      <SchedulerIntervalInMins>1440</SchedulerIntervalInMins>

    </ns1:ErrorLogService>

  8. Click Ok.
    Image represents the EM Console.
    Figure 4.16 - EM Console
  9. Click OK.
  10. Created Job Definition can be scheduled as per desired requirements.
Previous  Home  Next