Creating a New Batch
A Batch can be created using the Central Add dropdown and selecting Batch from the dropdown menu. The Batch screen allows users to create, view, modify or delete a batch.
Steps to Create a Batch
- From the Central Add dropdown menu, select Batch. The Batch screen appears.
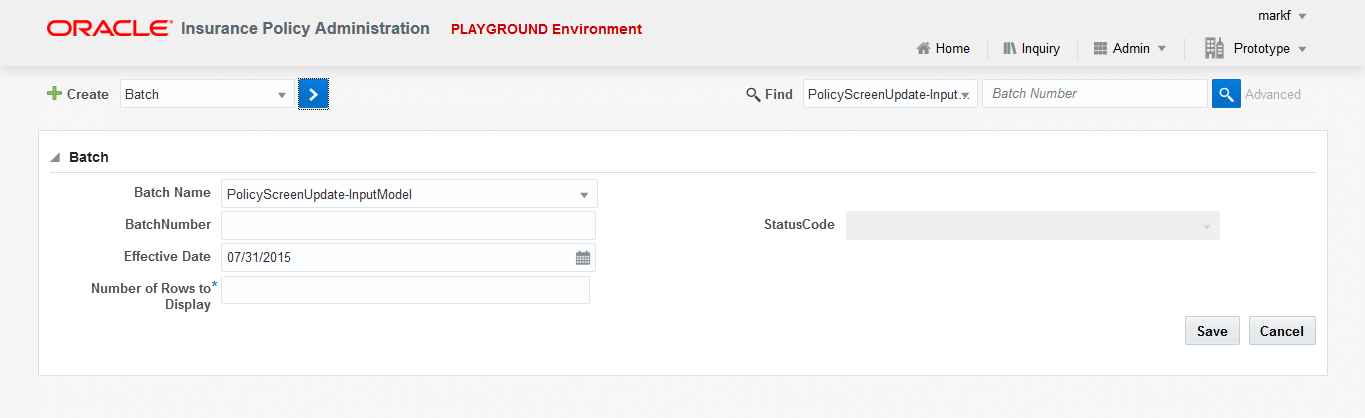
- Enter all the batch details.
- Batch Name is a dropdown menu for batch names which lists all the configured batches that a user can select.
- Batch Number is the unique identifier for a batch. Depending upon the configuration, this field can be automatically populated or user can manually enter a value in it.
- Status is the status of the batch at any moment. It is Pending by default.
- Number of Rows is the number of rows that a user may wish to be part of the batch.
-
Click the Save button when finished. Clicking the Cancel button would discard any changes made by the user on the screen. Once a batch is saved, the Effective Date field shall be automatically populated and the user presented with the Batch Details.
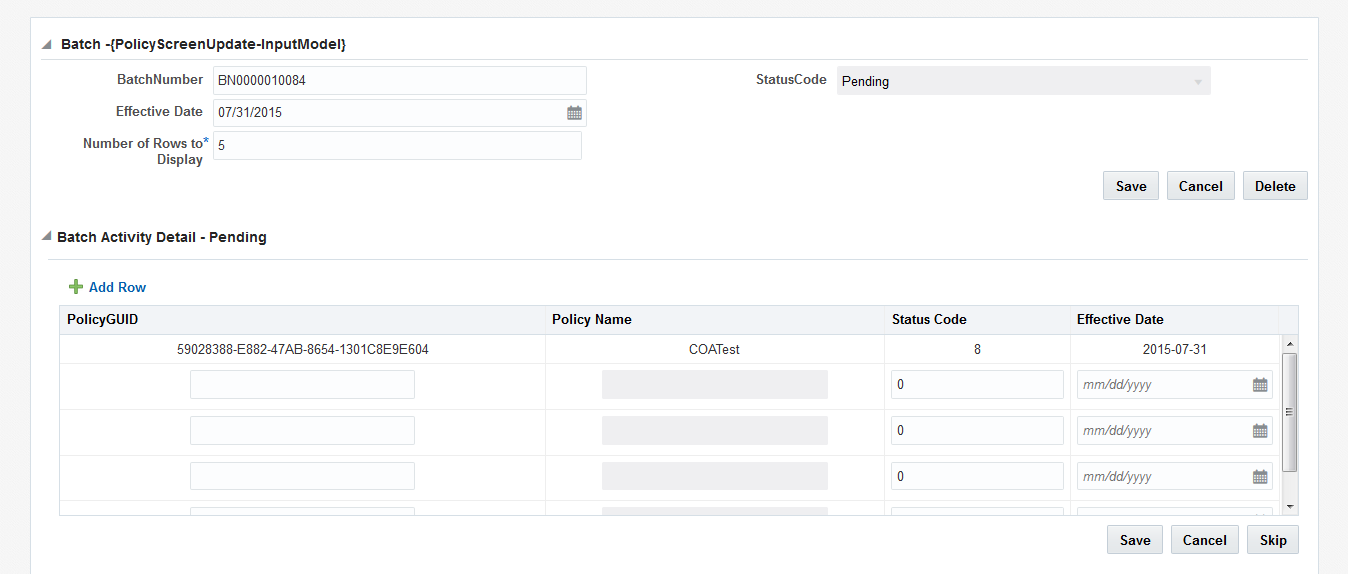
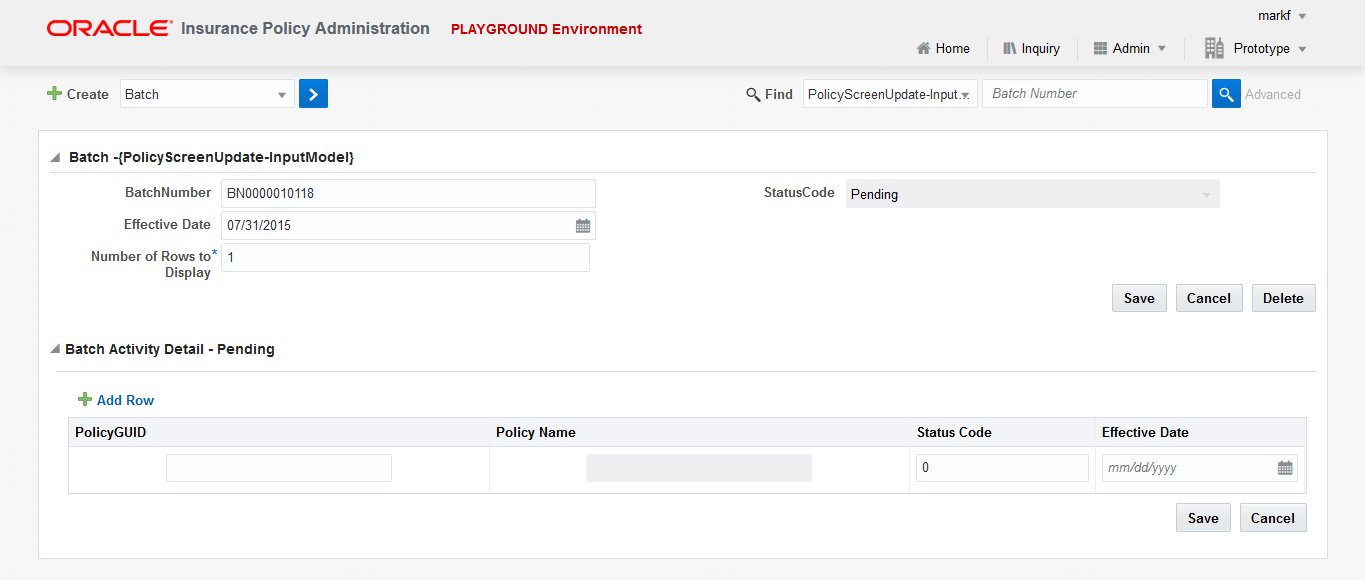
Depending upon the configuration, the user may be presented with the batch details where they may have to enter the batch activities manually or select the batch activities from the predefined list using check-boxes.
If the batch is configured to input the batch activities manually, the user is presented with a screen where user shall be able to enter the batch activities manually. This is achieved by clicking on the Add Row button and adding the appropriate values. Click Save to save the changes and click Cancel to discard any changes.
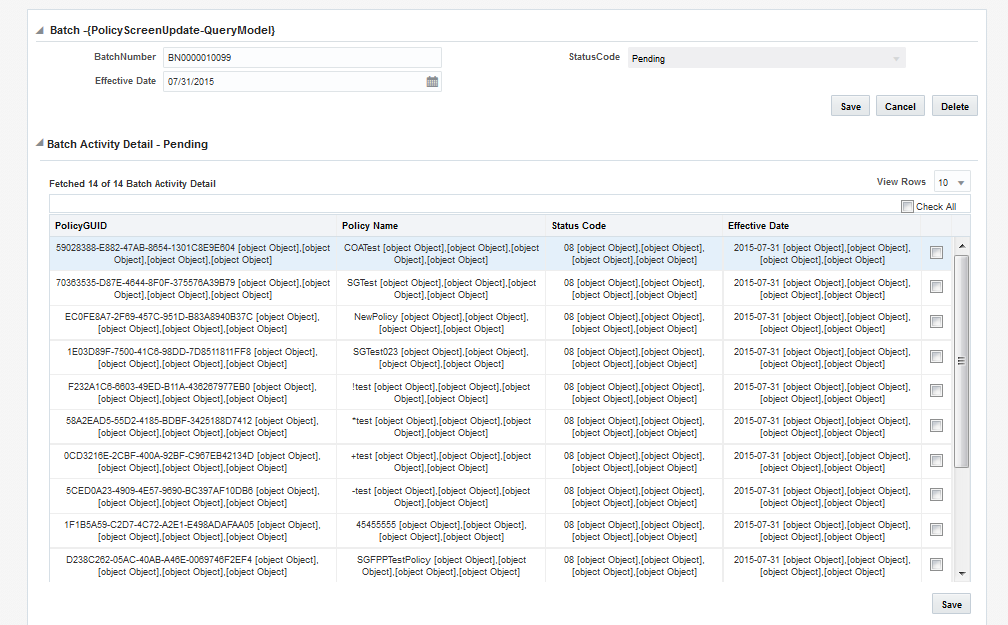
If the batch is configured to input the batch activities with SQL queries to select the batch activities from a predefined list, then the user is presented with the screen where batch details are selected from the predefined set. User can select the required batch detail via check-box. Click Save to save the changes and click Cancel to discard any changes.
When the user clicks on Save, the batch activity details are saved and the user is presented with the Batch Details pane as Detail - Saved.
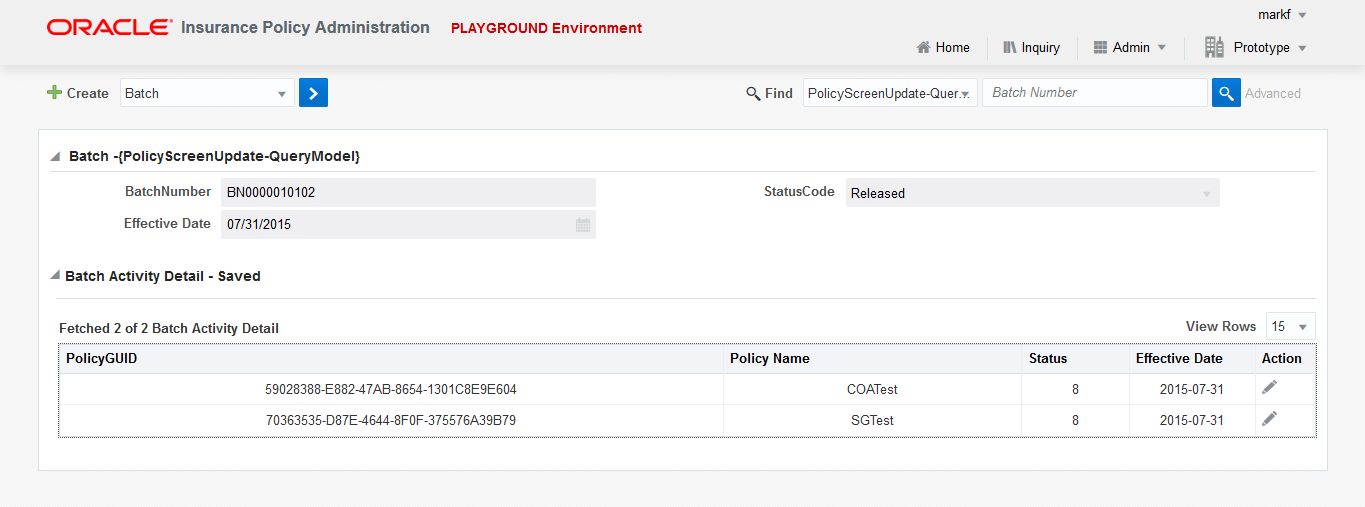
Here the user can perform Edit and Delete actions by clicking on the corresponding Edit and Delete buttons in the Action column. Edit allows the user to change the input data for spawning the batch activities for that record whereas Delete allows user to delete the record in the batch.
User can click on the Back button to navigate to the previous screen as shown in the figure below -
The records on this page cannot be edited since they are read only. User can add a new record by increasing the number of rows but cannot remove the already added rows. When the user adds rows, a new batch is generated with the same details but with additional row as added.
User can modify the data and click on Save to save the additional changes or click on the Skip button to navigate back to the Batch Details screen.
Updating a Batch
As long as a batch is in the Pending state, a user may update it. To update any batch:
- Perform a unified search for any batch that you want to edit.
- When you click on the desired batch from the search results, the Batch screen is displayed.
- Edit any field as required.
- Click on Save.
Deleting a Batch
Users can delete a batch using the Delete button on Batch Screen anytime after creating the Batch entry but before Releasing the Batch.
- Perform a unified search for any batch that you want to delete.
- When you click on the desired batch from the search results, the Batch screen is displayed.
- Click Delete. The batch status now changes to Deleted state and New and Find buttons are made available on the Batch screen.
Releasing a Batch
When in the Batch Activity Detail section of the Batch screen, users can select the Release button to release a batch. Upon Releasing a batch, the status of the batch will change to Released state and New and Find buttons made available on the Batch screen.
