Entering Absences and Forecasting Results
This topic describes how to run the Absence Forecasting process and how to enter absences in Brazil.
|
Page Name |
Definition Name |
Usage |
|---|---|---|
|
GPBR_ABSENCE_ENTRY |
Enter absence event details for an employee. You can also run the Absence Forecasting process to evaluate the impact of an absence event. |
|
|
GP_ABS_FCST_MSG |
Review any messages that are generated during the Absence Forecasting process. |
|
|
GP_ABS_EVT_FCS_SEC |
Review the results of the Absence Forecasting process for a specific absence event and any take elements that are mapped to it. |
The Absence Forecasting process enables you to assess the impact of an absence. To run the process, follow these steps:
Enter a payee's actual or anticipated absence event on the Absence Entry page.
Click the Forecast button to start the process.
If applicable, check the Forecast Messages page to see if errors or warnings were generated.
Correct any errors and rerun the process. Each time you run the Absence Forecasting process, the system overwrites the previous forecast data.
Click the Forecast Details link on the Absence Entry page to view the results.
Use the Absence Entry page (GPBR_ABSENCE_ENTRY) to enter absence event details for an employee.
You can also run the Absence Forecasting process to evaluate the impact of an absence event.
Navigation
Image: Absence Entry page (1 of 2)
This example illustrates the fields and controls on the Absence Entry page (1 of 2).
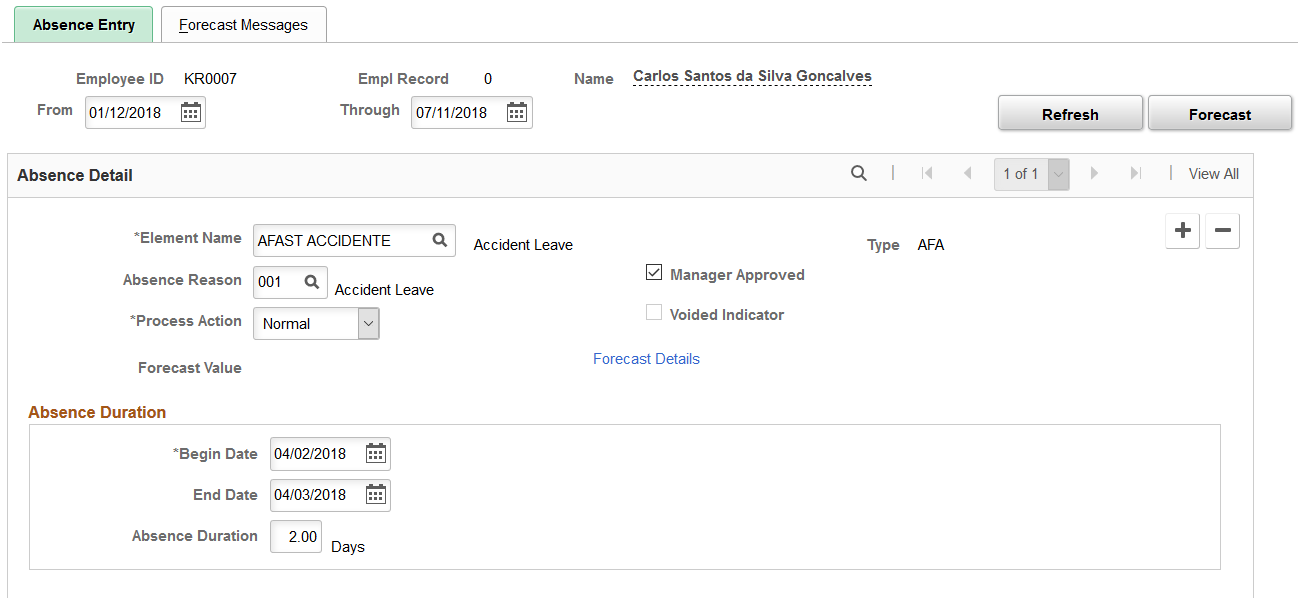
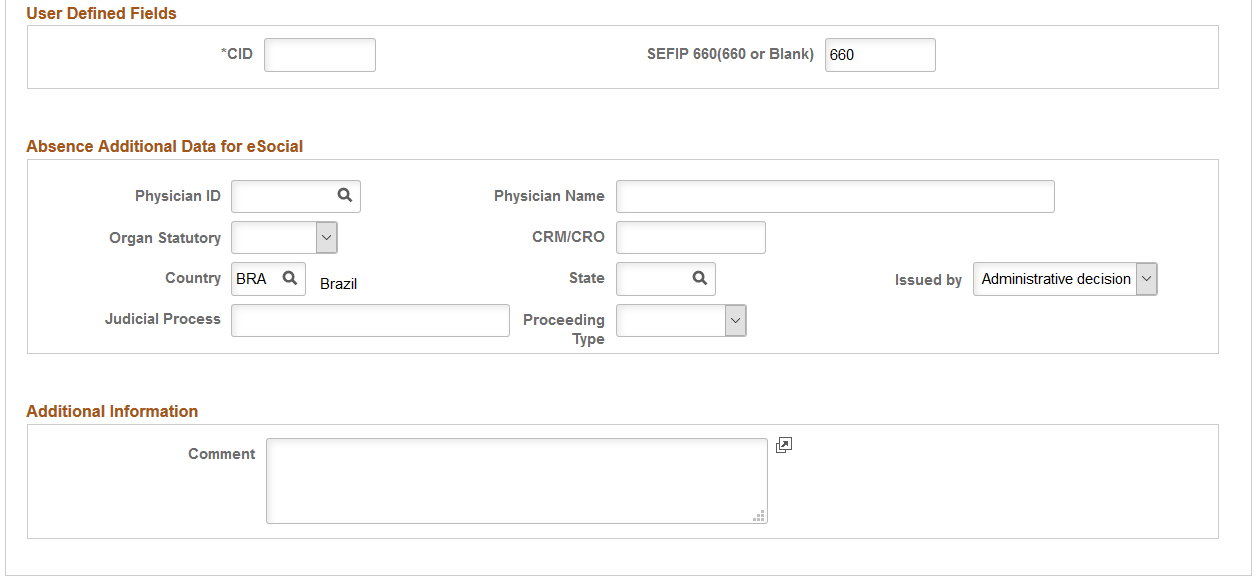
Image: Absence Entry page (2 of 2)
This example illustrates the fields and controls on the Absence Entry page (2 of 2).
The Absence Entry page in Global Payroll for Brazil is similar to the Absence Event Entry page in the core application, however this page includes validations for Brazilian absence rules.
Note: You cannot add or edit vacation absence events that were generated by the Vacation Acquisition Prd-Sched page or the Mass Vacation Programming BRA page using the Absence Entry page.
|
Field or Control |
Definition |
|---|---|
| From and Through |
Specify the date range for which you want to retrieve and display absence event data on the page. |
| Forecast |
After entering absence events, click this button to start the Absence Forecasting process. For the process to run, Absence Forecasting must be enabled for one or more take elements. A message appears when the process is complete. If there were any processing errors, the message instructs you to review the Forecast Messages page. |
Absence Detail
|
Field or Control |
Definition |
|---|---|
| Element Name and Type |
Select the absence take element that corresponds to the employee's absence. The system displays the name of the element and the absence type. When you define an absence take element, you assign an absence type that describes the category of the absence. |
| Absence Reason |
Select the code that corresponds to the absence reason. The Absence Reason field is optional and further describes the absence take. |
| Manager Approved |
Select to have the absence processed when you run the absence take process. This check box is selected if you defined the absence take element as not requiring manager approval on the Absence Take - Calculation page in the core application. |
| Process Action |
Select the process action. For a new absence event, the default is Normal. Select Void to void an absence that has already gone through the absence take process. The event is not processed in subsequent runs. Instead, the process action is reset to Normal and theVoided Indicator check box is automatically selected during the absence take process. During retroactive processing, the system calculates a new version of the results without the voided event. Positive input is not generated from the voided event, and the results for earnings or deductions have deltas. |
| Voided Indicator |
This check box is automatically selected if you voided the event and ran the Take process. This check box can also be selected if you use the automatic priority processing feature and have assigned a priority number to your absence take elements. If you save absence entries with overlapping dates, the system voids the event with the lower priority and creates a new event for the days that do not overlap. |
| Forecast Details |
Click to access the Absence Forecast Results page. |
Absence Duration
Specify the length of the absence. Depending on which data you enter, the system calculates the missing field. For example, if you enter the begin and end date, the system calculates the duration days. If you enter the begin date and duration, the system calculates the end date.
|
Field or Control |
Definition |
|---|---|
| Begin Date and End Date |
Enter the begin and end dates for the absence. |
| Original Begin Date |
Enter this date if your absence take rules allow you to link this absence to a previous absence that was taken for the same reason. If this absence is related to another absence, enter the begin date of the original absence. |
| Absence Duration |
Enter the number of days for the absence. |
User Defined Fields
This section appears if the selected absence element is AFAST ACCIDENTE (Accident Leave) or AFAST POR DOENCA (Sick Leave), and the begin date for the absence request is specified.
In order for this section to display when the condition is met, you need to add the CID as a required character field for AFAST ACCIDENTE or AFAST POR DOENCA absence elements on the Country Take - User Fields Page.
Information in this section is used in eSocial, CAGED, and SEFIP reporting, to name a few.
|
Field or Control |
Definition |
|---|---|
| CID |
Specify the appropriate international code of sickness for the absence request. |
| SEFIP 660 (660 or Blank) |
Enter a SEFIP value (for example, 660) if applicable,
or leave it blank.
This field appears if the selected element is AFAST ACCIDENTE, and the begin date for the absence request is specified. |
Absence Additional Data for eSocial
This section appears with these fields, if the selected absence element is AFAST ACCIDENTE (Accident Leave) or AFAST POR DOENCA (Sick Leave), the begin date for the absence request is specified, and the CID field is configured to be displayed. Enter applicable information for employee’s temporary absence. Data entered in this section is used in eSocial reporting.
|
Field or Control |
Definition |
|---|---|
| Physician ID |
Specify a doctor or medical specialist for the absence request. When selected, several fields are populated automatically with the physician’s information, such as physician’s name, organ statutory, number or organ class, state, and country. Physicians are defined using the Physician BRA component. See Also Physician Table - Name Page. |
| Physician Name |
Enter the physician's name, if physician ID is not specified. |
| Organ Statutory |
Enter the organ class of the physician, CRM, CRO, or RMS, if physician
ID is not specified.
|
| CRM/CRO |
Enter the class number of the specified CRM or CRO organ class,
if physician ID is not specified.
|
| Country and State |
Enter the country and state where the organ class was issued to the physician, if physician ID is not specified. |
| Issued by |
Select the entity that issued the license of accident
leave referenced in the absence request. This field appears if the SEFIP 660 (660 or Blank) field value is set to 660.
Values are: Administrative decision Employer Judicial decision |
| Judicial Process and Proceeding Type |
If the selected Issued by field
value is Administrative
decision or Judicial decision, enter the corresponding proceeding number and type (Administrative, INSS Benefit
Number, or Judicial) in
these fields that appear.
|
eSocial Union Additional Data
This section appears with these fields, if the selected absence element is MANDATO SINDICAL (Union Absence). Enter applicable information for employee’s temporary absence by union mandate. Data entered in this section is used in eSocial reporting.
|
Field or Control |
Definition |
|---|---|
| Union Code, Union Name and Union CNPJ |
Specify the code of the employee’s union. The system populates the corresponding union name and union CNPJ number. Alternatively, if the union code is not specified, enter the union name and CNPJ number manually. |
| Remuneration Onus |
Select the recipient of the employee’s remuneration onus. Values are: Employer and Union Not applicable (default) Only Employer Only the Union |
Additional Information
Enter data and comments on additional fields pertaining to your business processes. You define these fields in the Absence Self-Service transaction.
|
Field or Control |
Definition |
|---|---|
| Comment |
Enter more information about the absence event. These comments appear only in the employee's record. |
Use the Forecast Messages page (GP_ABS_FCST_MSG) to review any messages that are generated during the Absence Forecasting process.
Navigation
Image: Forecast Messages page
This example illustrates the fields and controls on the Forecast Messages page.
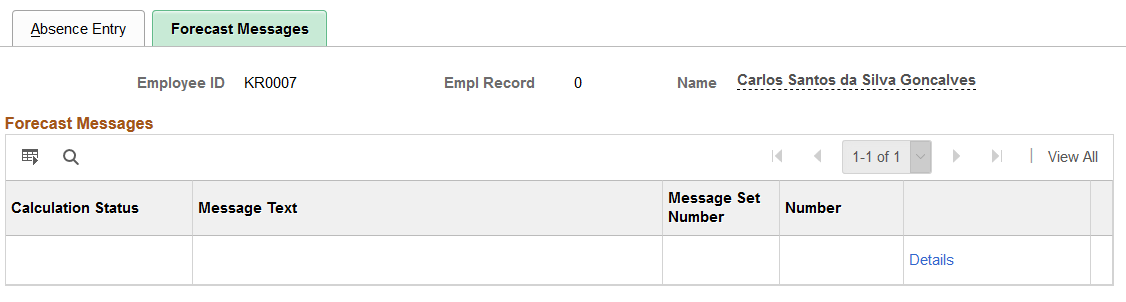
This page displays any errors the system encountered during the Absence Forecasting process. Correct any errors and run the process again.
Note: The Forecast Messages page in Global Payroll for Brazil is the same as the Forecast Messages page in the core application.
Use the Absence Forecast Results page (GP_ABS_EVT_FCS_SEC) to review the results of the Absence Forecasting process for a specific absence event and any take elements that are mapped to it.
Navigation
Click the Forecast Details link on the Absence Entry page.
Image: Absence Forecast Results page
This example illustrates the fields and controls on the Absence Forecast Results page.
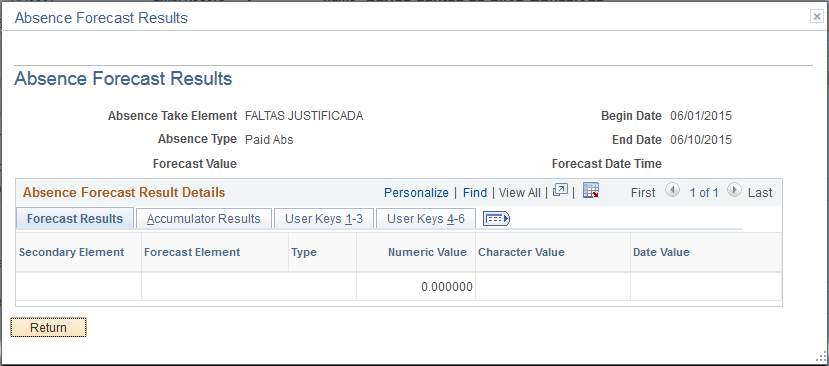
Note: The Absence Forecast Results page in Global Payroll for Brazil is the same as the Absence Forecast Results page in the core application.