Entering Garnishments
Use the Assign Garnishments FRA page to create a new garnishment. Enter the garnishment amount, the start date and end date, the type of garnishment, and other instructions.
When you save the garnishment data, the system :
Identifies deduction elements for each garnishment type based on the Garnishment Elements setup data.
Assigns a deduction to the payee. View the assignment on the Element Assignment by Payee (GP_ED_PYE) component or the Payee Assignment by Element (GP_ED_ELEM) component.
Creates a section override for the payee section named SAI SE SAISIES (the garnishments section). The override instructions appear on the Section Overrides page.
For the garnishment instructions to be processed, you must add the section SAI SE SAISIES to the process list that you use to calculate the payee's pay.
Note: To see the names of the deduction elements used for garnishment processing and the names of the variables that store the garnishment ID, start date, and initial amount, access the Rates and Elements page using the component name, GPFR_GAR_DAT.
|
Page Name |
Definition Name |
Usage |
|---|---|---|
|
GPFR_GAR_DAT |
Set up a new garnishment or display the details of an existing garnishment. |
Use the Assign Garnishments FRA page (GPFR_GAR_DAT) to set up a new garnishment or display the details of an existing garnishment.
Navigation
Image: Assign Garnishments FRA page: Garnishment Identification tab
This example illustrates the fields and controls on the Assign Garnishments FRA page: Garnishment Identification tab.

Garnishment Identification Tab
|
Field or Control |
Definition |
|---|---|
| Garnishment ID |
Enter the garnishment number on the garnishment notification. Enter up to 19 alphanumeric characters. |
| Type |
Select the type of garnishment. Valid values are:
|
| Start Date |
(Required) Enter the date on which the payee's earnings become subject to garnishment. The date should fall within the current processing period. You cannot change this date once the system processes the first garnishment amount. If you enter a start date that falls within an earlier processing period, the system will not begin to calculate the garnishment until you process a retroactive pay run. In addition, the results may be unpredictable and may require manual adjustment. |
| Amount |
If the garnishment is for alimony, enter the amount of the monthly payment. In all other cases, enter the initial amount of the garnishment. That is, enter the total amount owed according to the garnishment notice. If you need to change the amount of the garnishment later, use positive input. See Changing a Garnishment Balance later in this section for more information. |
Recipient Tab
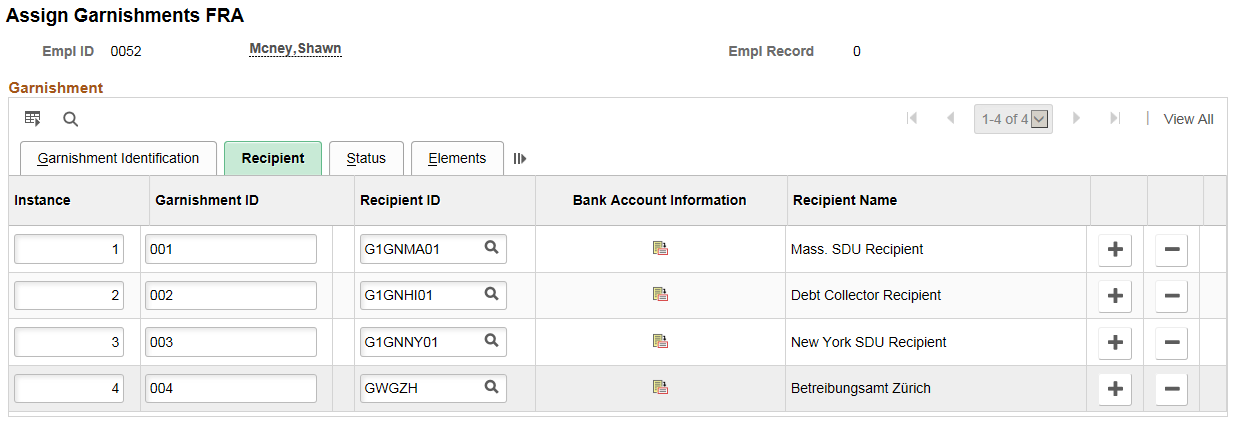
Image: Assign Garnishments FRA page: Recipient tab
This example illustrates the fields and controls on the Assign Garnishments FRA page: Recipient tab.
|
Field or Control |
Definition |
|---|---|
| Recipient ID |
Select the garnishment recipient. |
| Recipient Name |
Enter the name of the garnishment recipient. This field is required only if the recipient does not have a Recipient ID. |
| Bank Account Information |
Select to add information about the bank account that will receive the garnishment payment. Specify the payment method, country code, bank ID, bank branch ID, account number, account name, and currency code. |
Status Tab
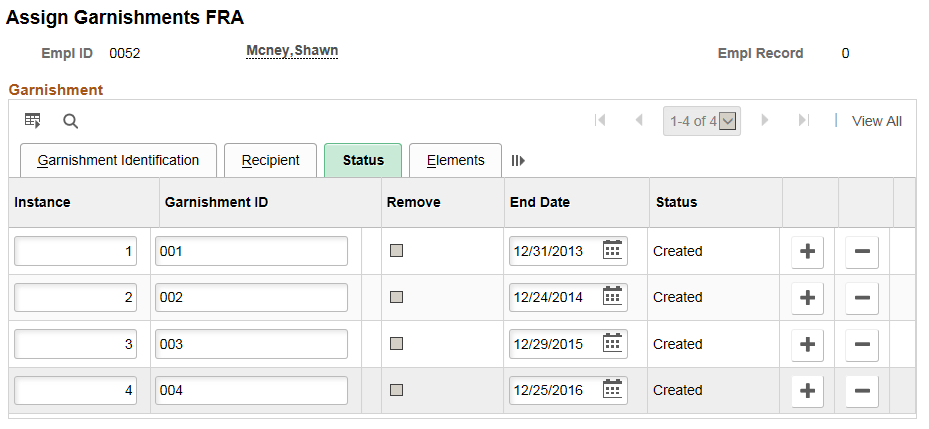
Image: Assign Garnishments FRA page: Status tab
This example illustrates the fields and controls on the Assign Garnishments FRA page: Status tab.
|
Field or Control |
Definition |
|---|---|
| Remove |
Select this check box only if you want to remove a garnishment. To delete the garnishment, you must remove it first, save the page, and then click the minus (-) button to the right. |
| End Date |
Enter the final payment date. |
| Status |
Displays the status. Valid values are: Created: Appears when you click the plus (+) button to add a new row. Processed: Indicates that the system has created a section override for the payee. The status is set to Processed when you save the garnishment data. Updated: Indicates that you modified the garnishment data. Removed: Indicates that the system has deleted the deduction for the payee and has updated the section override (or deleted it if there are no other garnishments). Error: Indicates that the system could not assign the deduction to the payee or create a section override due to a technical problem. |
Elements Tab
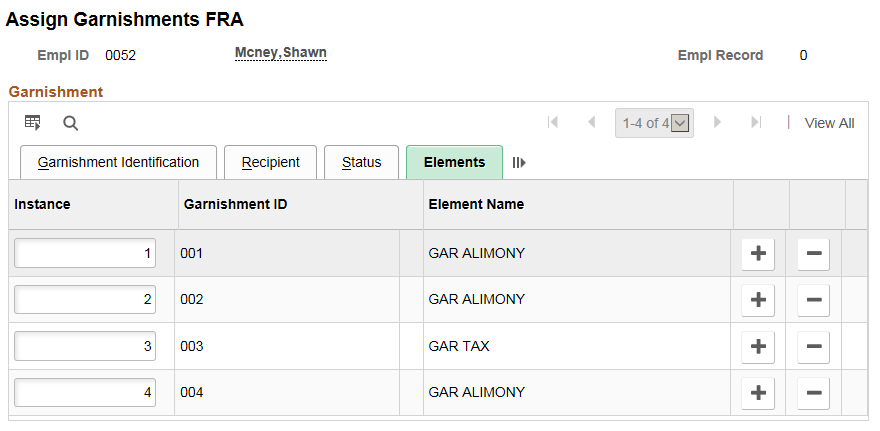
Image: Assign Garnishments FRA page: Elements tab
This example illustrates the fields and controls on the Assign Garnishments FRA page: Elements tab
|
Field or Control |
Definition |
|---|---|
| Element Name |
Displays the name of the deduction element that calculates the garnishment amount during payroll processing. The elements for garnishments are:
Note: On saving the input data, Element Name is displayed based on the selected Garnishment Type. |