| Oracle® Retail Home Oracle Retail Home Administration Guide Release 21.0 F45466-03 |
|

 Previous |
 Next |
| Oracle® Retail Home Oracle Retail Home Administration Guide Release 21.0 F45466-03 |
|
Previous |
Next |
Retail Home not only ships with built-in reports, but also supports the creation of custom tile state reports from within the application.
This chapter describes the process for creating custom tile state reports from a tile state report template.
To access the Custom Tile State Reports page, complete the following steps:
Open the Settings navigation menu.
Select Dashboards and Reports.
Select Dashboards.
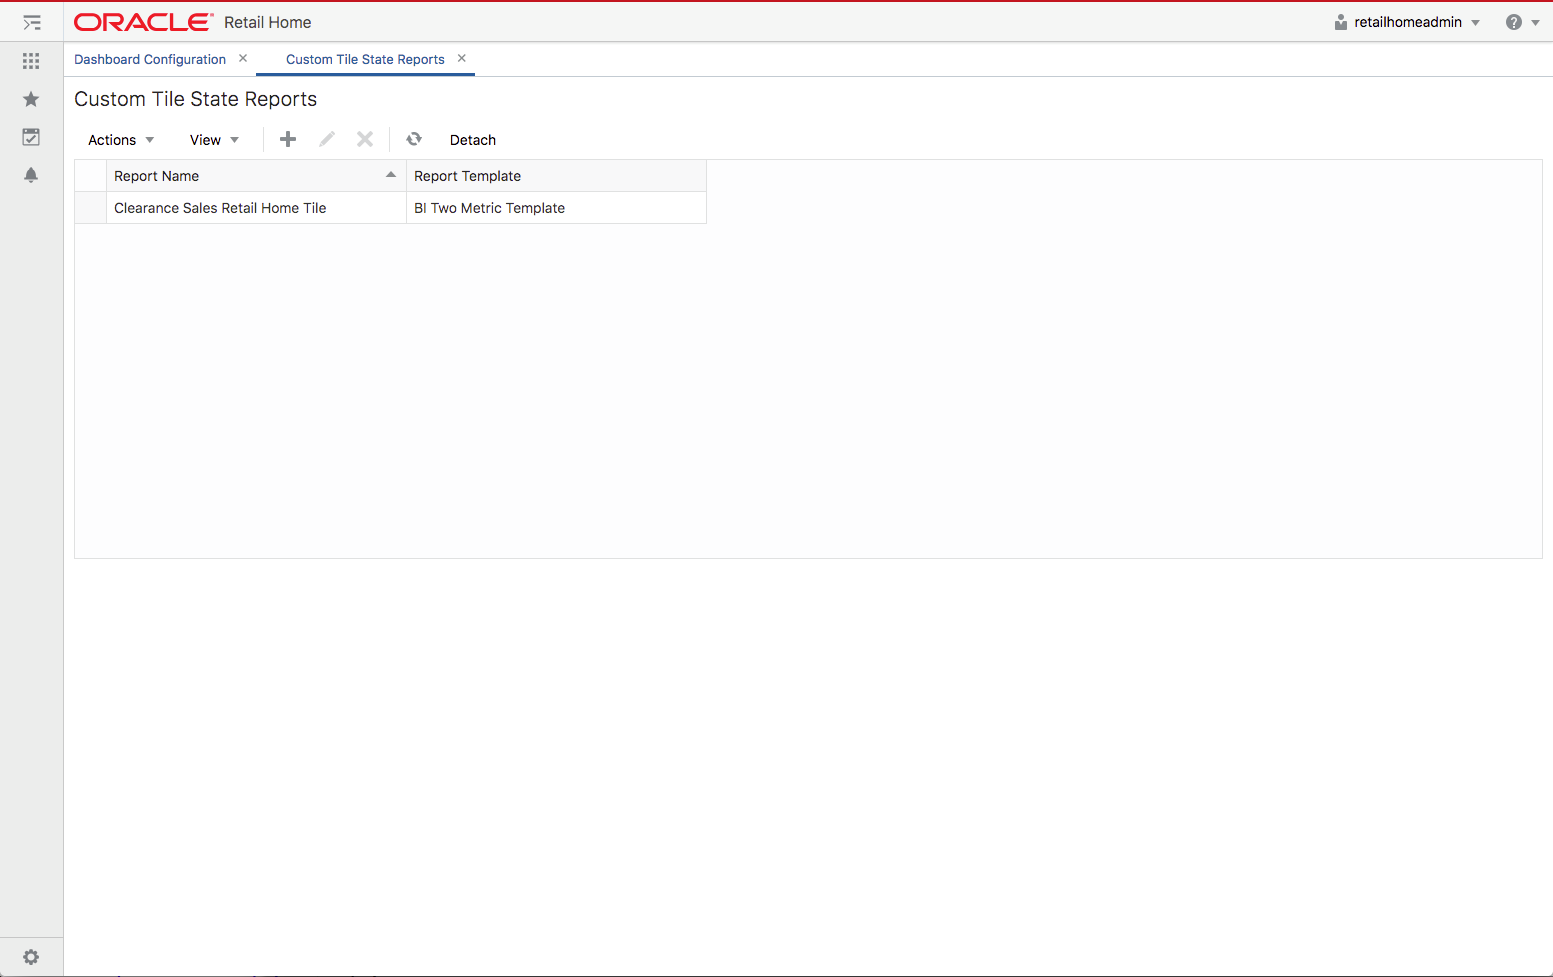
Select Custom Tile State Reports, shown in Figure 3-27 Custom Tile State Reports, which displays a table listing all the custom tile state reports that have been added and a toolbar that is used to add, edit, and delete custom tile state reports.
To add a custom tile state report, complete the following steps:
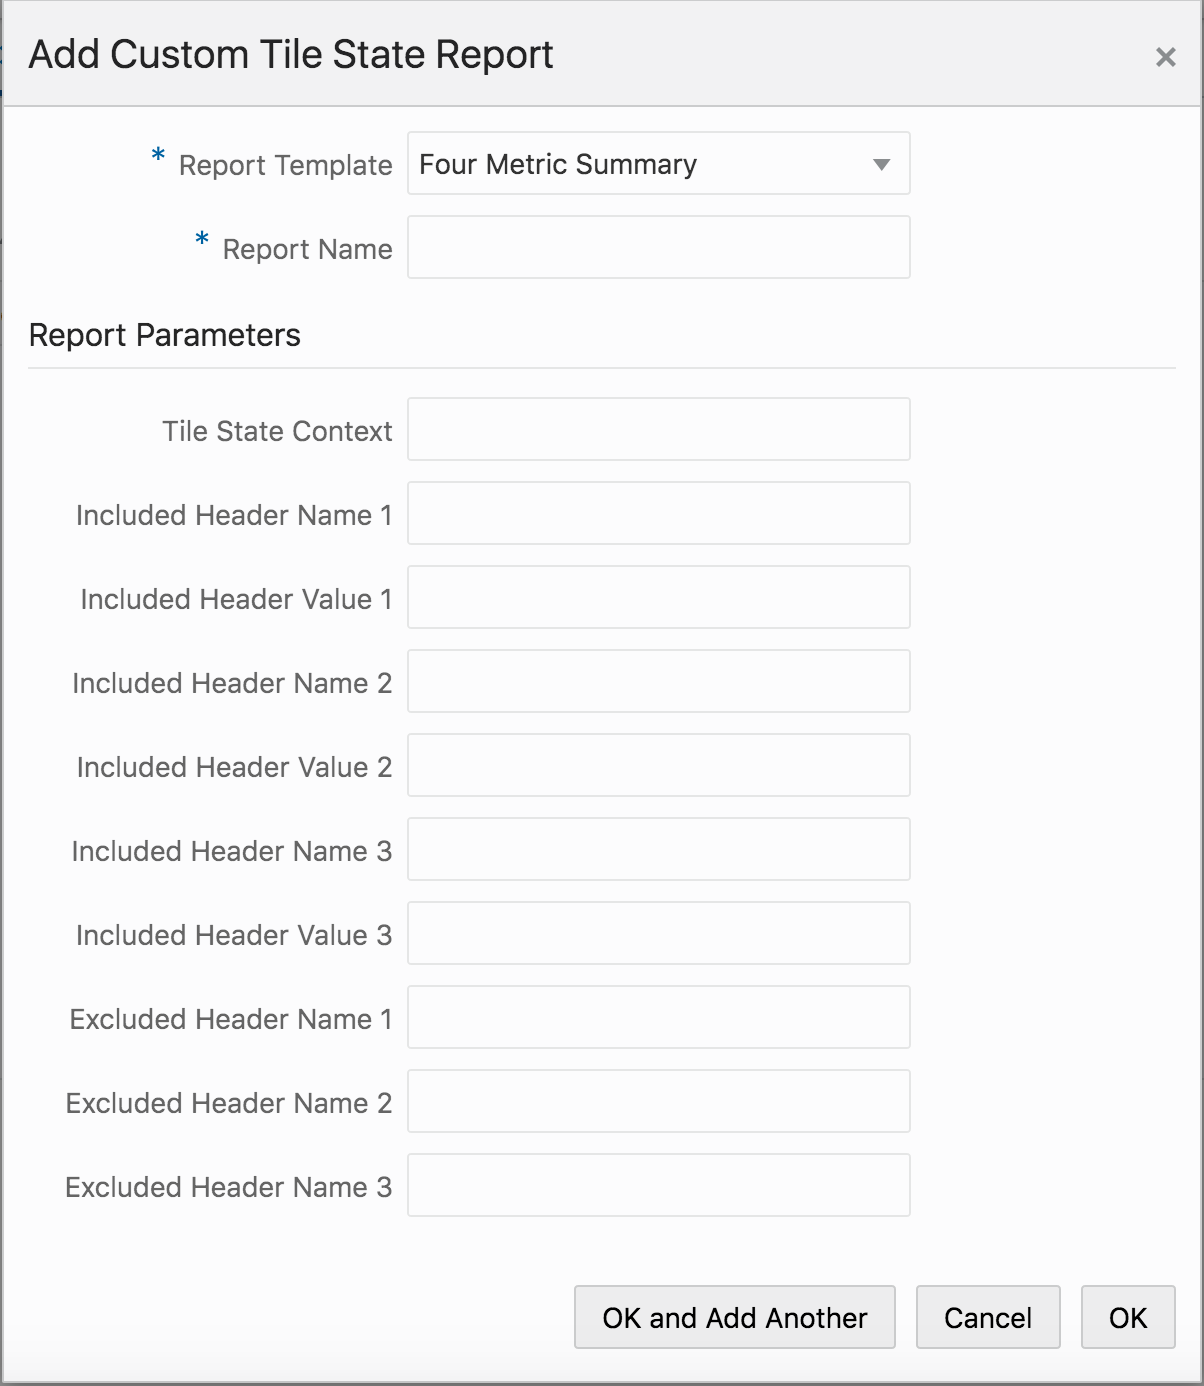
Click Add in the table toolbar to open the Add Custom Tile State Report dialog.
Select a template from the Report Template drop-down list. Note that the Report Parameters section of the dialog will update dynamically, depending on the selected template since each template defines its own set of report parameters.
Enter a name in the Report Name field. This name is used to identify the report in the Tile Configuration step of the Dashboard Configuration page.
Complete the Report Parameters section. See the documentation for each Report Template for an explanation of the template's Report Parameter fields and expected values.
Click OK to add the custom tile state report or OK and Add Another to add the custom tile state report and then add another. Click Cancel to not create the custom tile state report.
The Image Link Template allows an administrator to create a tile state report that renders an image that launches a configured link in a new browser tab. For example, an administrator may create a "Company Website" tile state report that shows a company logo that when clicked opens the company's website in a new browser tab.
The following figure shows a tile state report that renders the Oracle logo and launches to the Oracle website.
The following screenshot shows the Image Link Template report parameters.
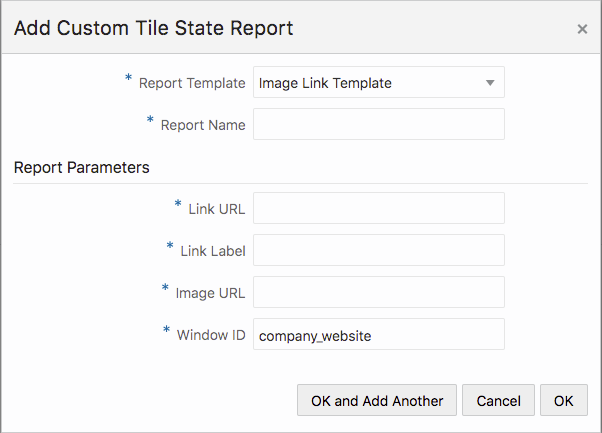
The Image Link Template has the following parameters:
Table 4-1 Image Link Template Parameters
| Parameter Name | Description |
|---|---|
|
Link URL |
The URL that will be opened in a new browser tab when the image is clicked. |
|
Link Label |
A label that will display when hovering over the image. |
|
Image URL |
The URL where the image in the tile can be accessed. |
|
Window ID |
A text identifier specifying which window / browser tab to open the link in. If you create multiple Image Link reports, but you want them all to open in the same browser window or tab, you would specify the same Window ID in each report. Otherwise, this can be any unique value. |
Tile state reports created from BI templates render the tile state layout with data coming from one or more Retail Insights (RI) analyses.
|
Note: Retail Home must be installed with RI Integration enabled for this functionality to work properly.See appendix "Appendix: Report Data Requirements" for details about required analyses for each of the supported BI templates. |
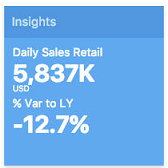
The following tile state uses the BI Two Metric Template tile state layout:
Each metric has a label, value, and optional description. In the above tile state example, the first metric's label is Daily Sales Retail, its value is 5,837K, and its description is USD.
The BI Two Metric Template has the following report parameter configuration:
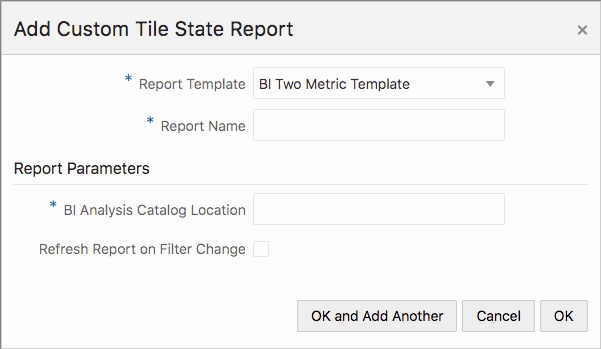
BI templates require one or more BI Analysis Catalog Locations. The BI Analysis Catalog Location is the path to the analysis within RI.
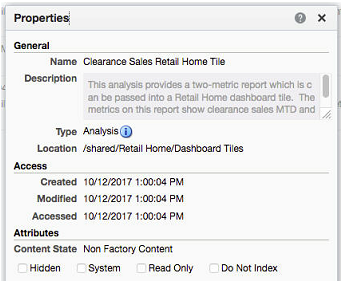
The analysis path is a combination of the analysis's Location and Name, as found in the analysis's Properties within RI.
For example: /shared/Retail Home/Dashboard Tiles/Clearance Sales Retail Home Tile
In the above example, the analysis's Location is /shared/Retail Home/Dashboard Tiles and the analysis's Name is Clearance Sales Retail Home Tile. The full BI Analysis Catalog Path is formed by joining the Location and Name with a "/".
The structure of the RI analysis must match the documented format described in the appendix "Appendix: Report Data Requirements".
No data source is required when adding tile state reports created with the BI templates, since Retail Home can determine the data source from the information provided during installation; however, for more fine-grained control, configure a data source for each report created from the BI templates. The reports use the RetailHomeBIService data source.
If the report backs a tile state that has filters set, the filters will be passed as variables to the BI analysis for processing.
This parameter when checked indicates that the tile state report should refresh when the user updates the Retail Home dashboard filter. If not checked, the report will not reload. If checked, the report will reload. If the RI analysis supports being filtered by merchandise hierarchy, the report's data will be filtered by the user's merchandise hierarchy selection.
The data visualizer template allows embedding data visualization from Retail Insights in an expanded report.
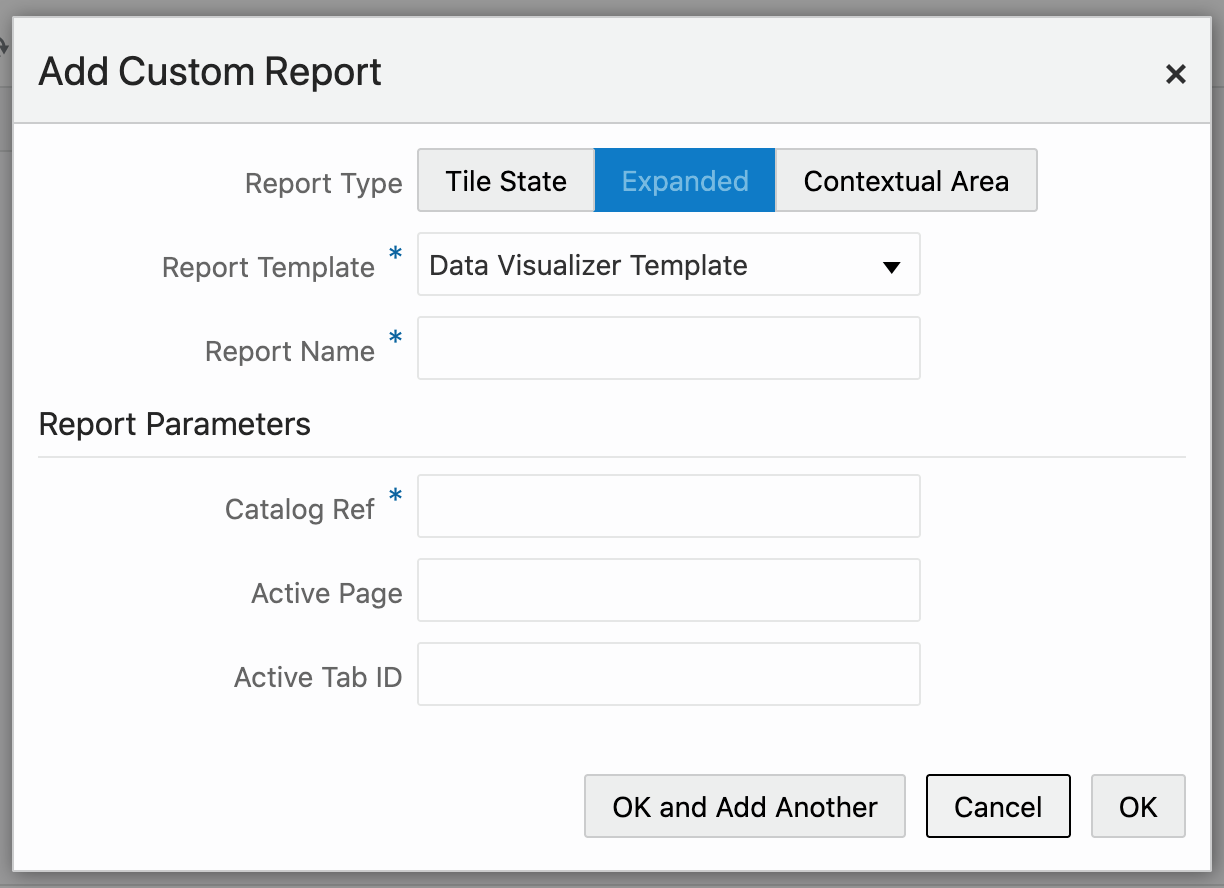
The catalog reference is retrieved in the same way as for the BI tile states. The default view of the data visualizer report can be controlled using the optional active page and tab ID values. Refer to the Data Visualizer documentation on embedded views for more information on what values to enter for these.
|
Note: The Data Visualizer expanded view will open the report in Data Visualizer in a new tab. |
The metric summary templates are configured to render arbitrary metric summary tiles in Retail Home. There are templates for all metric summary and table reports.
Administrators can configure the report to include or exclude specific headers when sending requests to the service. Additionally, this template supports sending a tileStateContext query parameter based on the RPAS templates, which consuming applications can use to send additional configuration data to the service.
The RPAS (Retail Predictive Application Server) Metric Summary Templates are pre-configured to render metrics sourced from the RPAS services as metric summary tiles in Retail Home. There are templates for all metric summary and table reports.
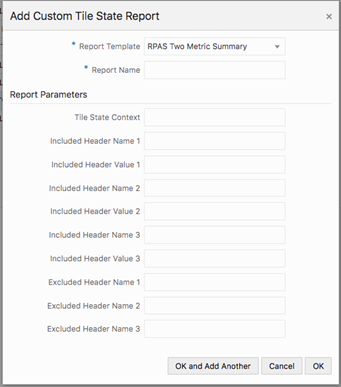
The template has the following features:
It allows RPAS services to be called with a configurable context value called the Tile State Context. This context value will be passed a query parameter (tileStateContext) to the RPAS services. The RPAS services can inspect this value to mutate business logic when calculating the metrics.
It is tailored for RPAS services standards for REST invocation. Specifically, RPAS Services will be called with the following characteristics:
The REST request header "X-Requested-By" is always included with a value of "true".
The REST request header "Accept-Version" is always excluded.
Administrators for Retail Home can use the "Add/Edit Custom Tile State Report" dialog to specify the Tile State Context value to be sent to the supporting RPAS service.
Administrators can also specify additional headers to be included and excluded in the REST service calls through the dialog.
To edit a custom tile state report, complete the following steps:
Select the tile state report that you want to edit in the table.
Click Edit. You see the Edit Custom Tile State Report dialog.
Make edits to the fields that you wish to change.
|
Note: You cannot change the Report Template of a custom tile state report once the report has been added. You must either add a new custom report tile state report or delete your existing custom tile state report and then add a new one. |
To delete a custom tile state report, complete the following steps:
Select the tile state report that you want to delete in the table.
Click Delete in the table toolbar. You see a confirmation.
Click OK to delete the custom tile state report. Otherwise, click Cancel.
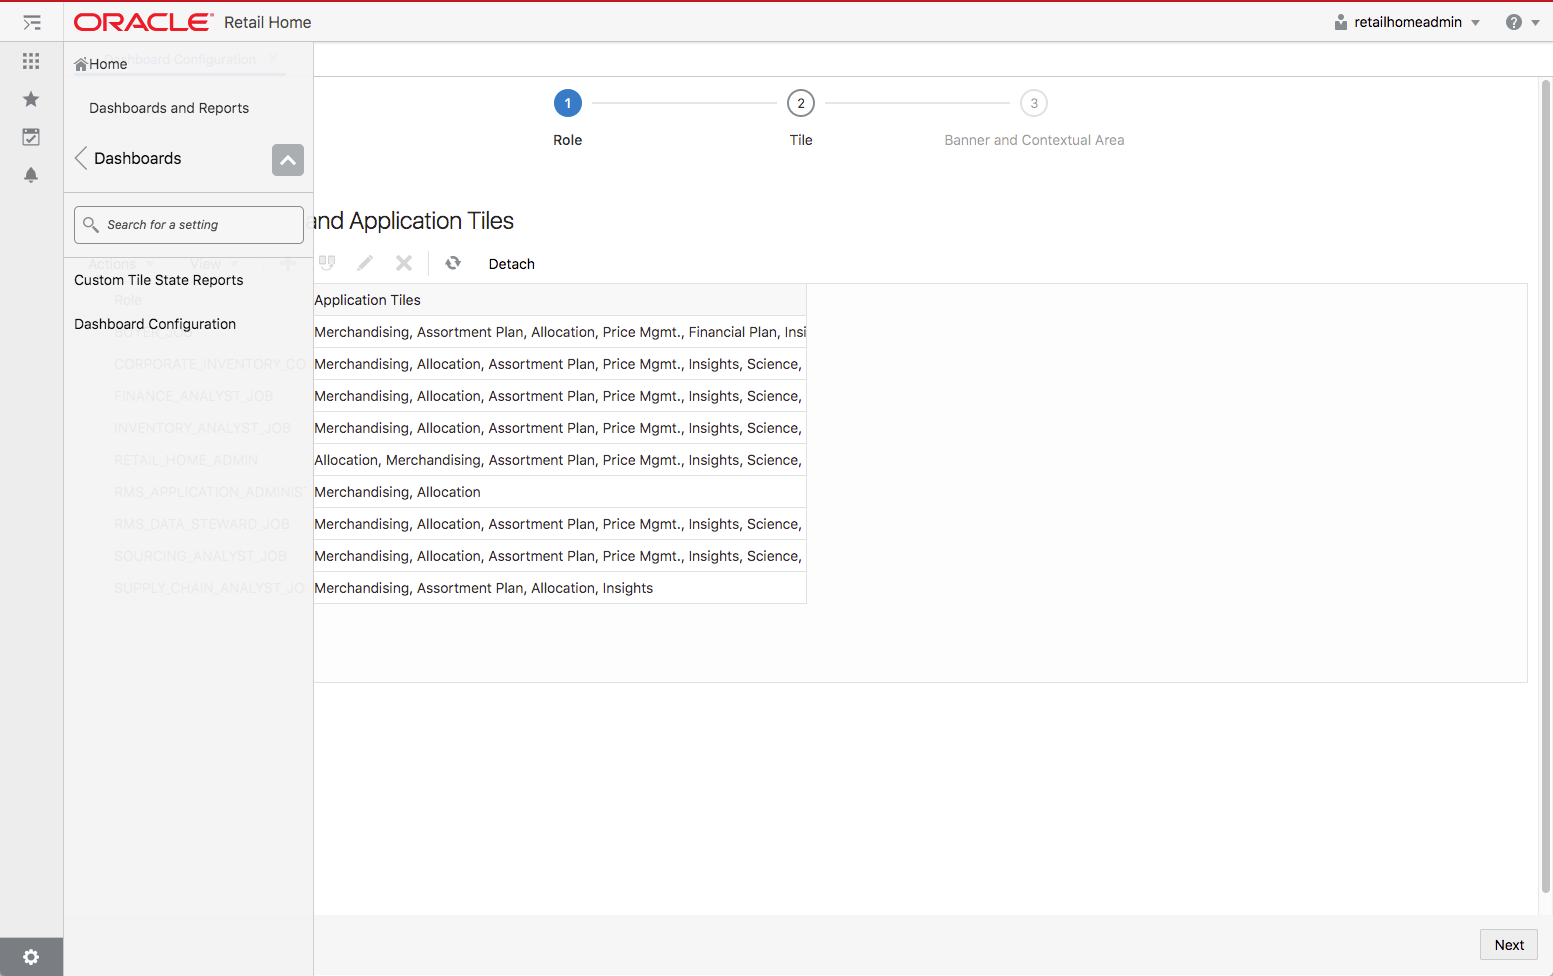
All custom tile state reports added on the Custom Tile State Reports page are available to add to a tile on the Tile configuration step of the Dashboard Configuration page. You can find each custom tile state report by looking for its Report Name that was entered on the Custom Tile State Reports page.
|
Note: Each custom report is further marked as a custom report on the Tile Configuration screen with the word "(Custom)" appended to the custom report name. |