| Oracle® Retail Home Oracle Retail Home Administration Guide Release 3.0.2 F16712-02 |
|

 Previous |
 Next |
| Oracle® Retail Home Oracle Retail Home Administration Guide Release 3.0.2 F16712-02 |
|
Previous |
Next |
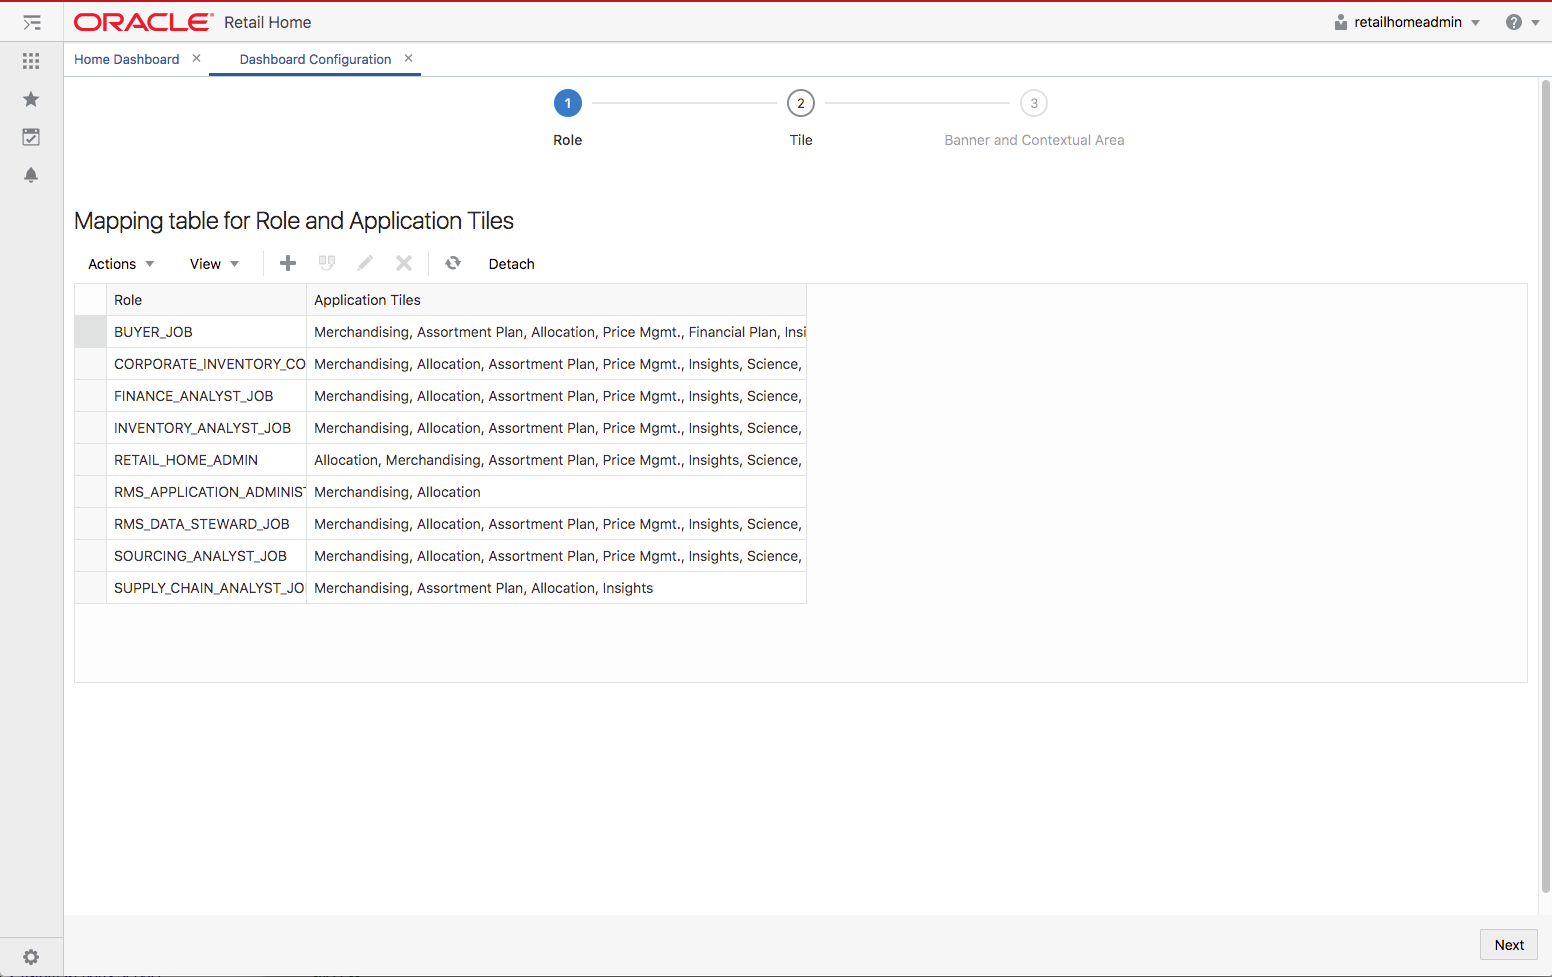
Retail Home is a portal-type application for the RGBU enterprise. The UI consists of a tile-based configurable dashboard that highlights important metrics and KPIs across RGBU applications. A Retail Home administrator configures persona-based dashboards for each enterprise role through the Dashboard Configuration flow.

The Retail Home dashboard can be configured with 4 different kinds of reports.
Tile state reports render within dashboard tiles. A tile can display up to 5 tile state reports.
Expanded tile reports can be launched from a tile state to show more data.
Banner reports render in the region above the tiles.
Contextual area reports render on the right side of the screen next to the tiles and below the banner.
A Retail Home administrator can access the Dashboard Configuration flow as follows:
Open the Settings menu.
Open the Dashboard and Reports submenu.
Open the Dashboards submenu.
Select Dashboard Configuration. This will open the Dashboard Configuration flow in a tab.
In Retail Home, an administrative user defines dashboards for enterprise roles. Users will see the dashboards configured for their enterprise role(s) when they log in to Retail Home. This section describes how to associate enterprise roles with application tiles, the first step in the Dashboard Configuration flow.
To add a new dashboard for a role, complete the following steps:
In the Dashboard Configuration flow, select the Role step if it is not already selected.
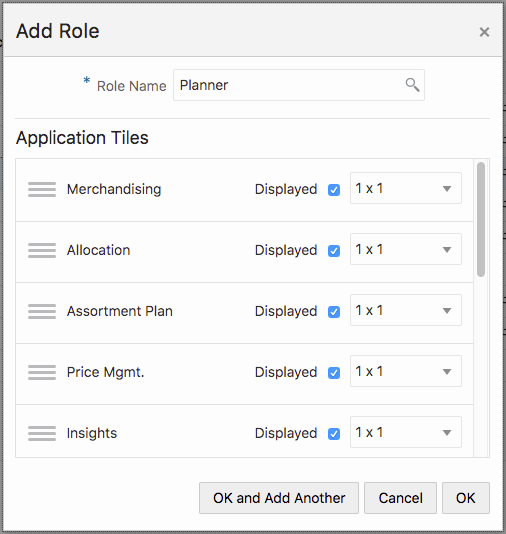
Click the Add icon. The Add Role dialog box is displayed. The dialog displays a Role Name search and the list of applications that are configured on the Application Navigator Setup screen.
Enter text in the Role Name text box to search for a specific role. If the result includes more than one role, select the appropriate one.
Select the Displayed checkbox as appropriate to control which application tiles display in the role's dashboard for the role name you selected in step 3.
Select the appropriate tile size for each application tile: 1 x 1 or 2 x 2. These are the only two options available.
Reorder the application tiles to the desired ordering using the drag and drop gripper icon.
Click OK to save your changes and close the dialog box. Click OK and Add Another to save your changes and map an additional role to applications. Click Cancel to close the dialog box without saving your changes.
To duplicate an existing association between a role and an application, complete the following steps:
In the Dashboard Configuration flow, select the Role step if it is not already selected.
Select the row in the table that you wish to duplicate to another role.
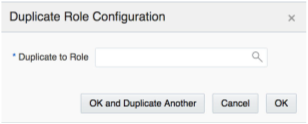
Click the Duplicate icon. The Duplicate Role Configuration dialog box is displayed.
Enter text in the Duplicate to Role text box to search for a specific role. If the result includes more than one role, select the appropriate one.
Click OK to save your changes and close the dialog box. Click OK and Duplicate Another to save your changes and duplicate the configuration to another role. Click Cancel to close the dialog box without saving your changes.
You can change the order of the application tiles, toggle the display, and adjust the size of a tile.
To edit an existing role, complete the following steps.
From the Dashboard Configuration flow, select the Role step if it is not already selected.
Select the row in the table that you wish to edit.
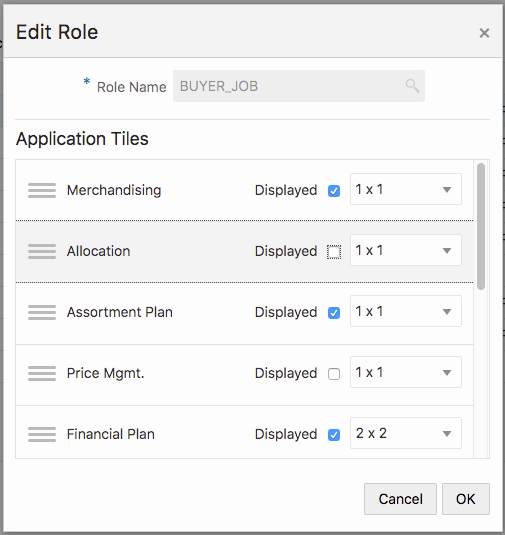
Click the Edit icon. The Edit Role dialog box is displayed.
To change the order of application tiles, drag and drop them using the gripper icon.
To toggle the display of applications, adjust the Displayed check marks.
To adjust the size of a tile, select an alternative size from the drop-down list.
Click OK to save the edits. Otherwise, click Cancel to not save the edits.
You can delete a role association record along with its associated tile, banner, and contextual configurations.
To delete a role, select that role, click the Delete icon in the table toolbar, then click OK to confirm the deletion.
Retail Home displays application tiles within the dashboard. You can configure application tile states and the data sources used for the metrics displayed in the tiles.
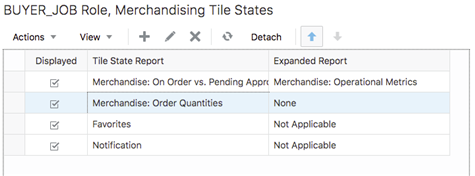
Figure 5-8, "Tile Configuration for BUYER_JOB Role and Merchandising Application" shows the Tile Configuration step of the Dashboard configuration flow.
At the top of the screen, the Role and Application select controls are used to select which dashboard application tile to configure.
Tile States and Data Sources tables are rendered below the controls and are for configuring tile states and data sources respectively.
The following fields are configurable for Tile States:
Displayed - A check box that toggles between two states, displayed and not displayed.
Tile State Report - This field is mandatory and is used to indicate the report that is displayed in the tile state.
Expanded Report - This field is optional and is used to indicate which expanded tile report can be launched from this tile state.
The following fields are configurable for Data Sources:
Data For - The report type that the data source is for, either "Tile State" or "Expanded Report".
Active - A check box that toggles between two states, active and inactive. Only one data source for a report type can be active at a time.
Name - The name of the data source.
Type - The data type, either "REST" or "FILE".
Source - The URL for the source of the data.
To add a tile state, complete the following steps:
In the Dashboard Configuration flow, select the Tile step if it is not already selected.
Select a combination of role and application from the drop-down list.
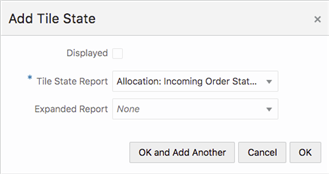
Click the Add icon in the Tile States table toolbar. The Add Tile State dialog box is displayed.
|
Note: Only five tile states can be displayed for a given role/application at a time. |
Toggle the Displayed check box to control whether the tile state displays in the tile or not.
Select the desired Tile State Report from the drop-down list.
Optionally, select the desired Expanded Report from the drop-down list.
Click OK to save your changes and close the dialog box. Click OK and Add Another to save your changes and add another tile state. Click Cancel to close the dialog box without saving your changes.
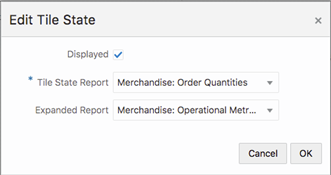
To edit a tile state, select the tile state in the table, click the Edit icon in the table toolbar, and make edits in the dialog, as shown in Figure 5-10, "Edit Tile State". Click OK to save the edits. Click Cancel to not save the edits.
To delete a tile state and its associated data sources, select the tile state in the table, click the Delete icon in the table toolbar, and click OK in the Confirmation dialog. Click Cancel to cancel the delete.
To move a tile state within the list, select the tile state you want to move and use the Up Arrow and the Down Arrow icons to adjust the position as required.
|
Note: The Favorites and Notification tile states are always the last two tile states respectively and cannot be moved. |
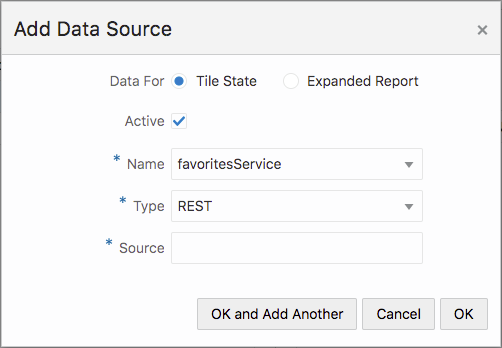
To add a data source, complete the following steps:
In the Dashboard Configuration flow, select the "Tile" step if it is not already selected.
Select a combination of Role and Application from the drop-down menus.
Select the Tile State Report that you want to add a data source for.
In the Data Sources table toolbar, click the Add icon .
Select the Data For value. If the data source provides data to a tile state report, select "Tile State". If the data source provides data to an expanded tile report, select "Expanded Report".
Select the Active check box to toggle to the active state.
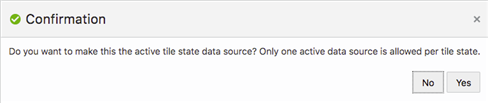
|
Note: If another data source is active, you will be asked if you want to make the new data source active upon saving. Click Yes to make the new data source active. |
Select the data source Name from the drop-down list.
Select the data source Type from the drop-down list.
Enter a valid URL for the data source.
|
Note: The URL will be validated and you will receive an error message if the URL is not valid. |
Click OK to save your changes and close the dialog box. Click OK and Add Another to save your changes and add another data source. Click Cancel to close the dialog box without saving your changes.
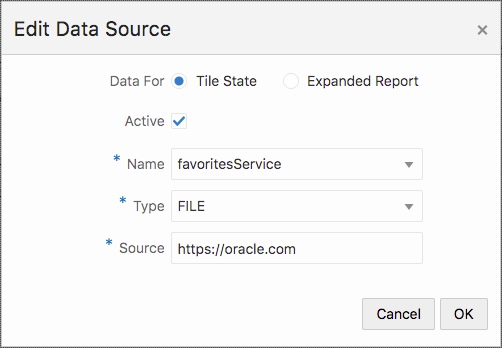
To edit a data source, select the data source in the table, click the Edit icon in the table, and edit the values in the Edit Data Source dialog, as shown in Figure 5-16, "Edit Data Source". Click OK to save the edits. Click Cancel to not save the edits.
To delete a data source, select the one you want to delete, click the Delete icon in the table toolbar, and click OK in the Confirmation dialog. Click Cancel to cancel the delete.
You can duplicate all of the tile states and their associated data sources from the selected role/application intersection to another role.
Click the Duplicate button at the bottom of the page. Then, use the Duplicate to Role search to find and select the Role to which you wish to duplicate the configuration.
Click OK to duplicate the tile configuration. Click OK and Duplicate Another to duplicate more than one tile configuration. Click Cancel to not duplicate the configuration.
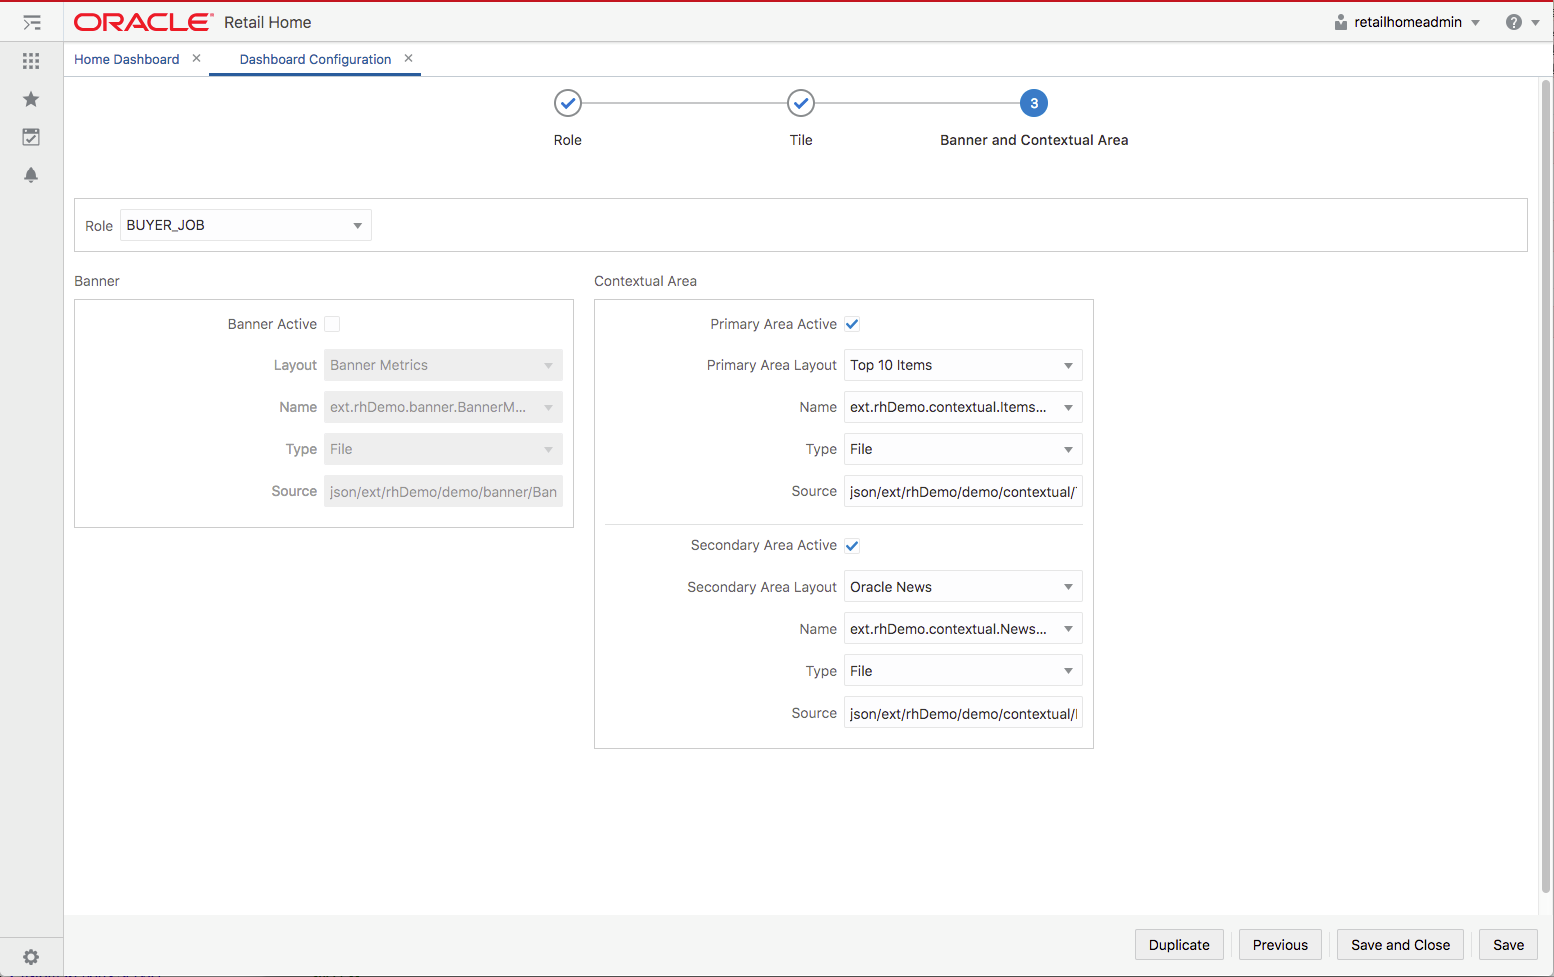
You can configure Retail Home to display reports and metrics in the banner and contextual areas of the Dashboard.
To configure the reports and metrics, complete the following steps:
In the Dashboard Configuration flow, select the "Banner and Contextual Area" step if it is not already selected.
Select a role from the Role drop-down list.
Select the Banner Active check box. This determines whether or not the banner is displayed on the dashboard. If the banner is active, you must provide a value for the following:
Select a layout from the Layout drop-down list.
Select a banner data source name from the Banner data name drop-down list.
Select a data source type from the Type drop-down list.
Enter a valid data source URL into the Source text box. The URL will be validated.
To configure the Contextual Area, select the check box to make the Primary Area active or the Secondary Area active. If you make both areas active, then both will be displayed on the dashboard. If you do not want to display the Contextual Area, then do not make either area active.
For whichever area(s) you have designated (Primary and/or Secondary) as active, provide values for the following:
Select a layout from the Layout drop-down list
Select a data source name for the report from the Name drop-down list.
Select a data source type from the Type drop-down list.
Enter a valid data source URL into the Source text box. The URL will be validated.
Click Save to save your work and continue. Click Save and Close to save your work and close the tab.
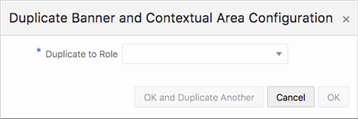
You can duplicate your Banner and Contextual Area Configuration to another role's Dashboard.
Once the configuration has been saved for the currently selected Role, click the Duplicate button at the bottom of the page.
Select the role you want to duplicate the configuration to in the Duplicate to Role field.
Click OK to save your changes and exit the dialog box. Click OK and Duplicate Another to repeat the process with another role. Click Cancel to not duplicate the configuration.