3. Creating a Fund Product Preference Class
'Preferences' are the options that are available to you for defining the attributes of a fund. A set of such preferences can be grouped together into what we call in Oracle FLEXCUBE, a ‘Preference Class’. You can maintain several fund preference classes.
While creating a fund product, instead of specifying preferences for each product, you need to just associate the appropriate fund preference class to the product. All the attributes defined for the class will be made applicable to the fund product.
Note
Once defined, a fund preference class can be made applicable to any number of products.
This chapter contains the following sections:
3.1 Fund Product Preference Class Maintenance
This sections contains the following topics:
3.1.1 Maintaining Fund Product Preferences Class Details
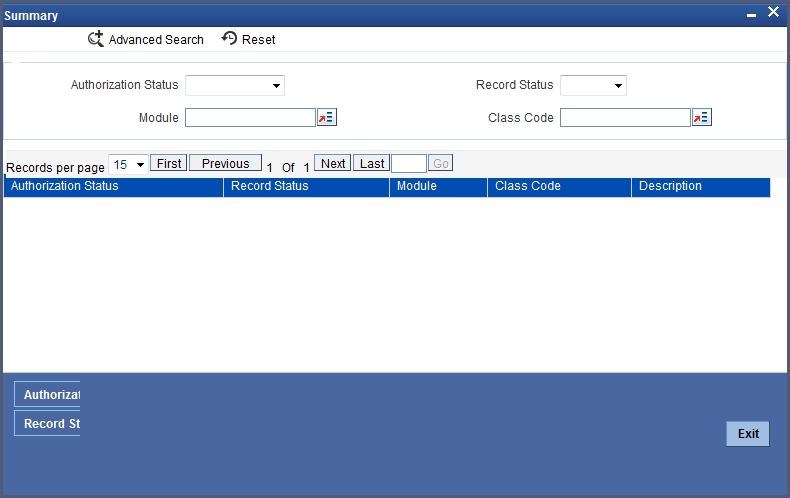
If you are calling a fund restriction class record that has already been defined, choose the Summary option. From the ‘Summary’ screen double-click a class of your choice to open it. You can invoke the ‘Fund Product Preferences Class Summary’ screen by typing ‘AMSPRPCL’ in the field at the top right corner of the Application tool bar and clicking the adjoining arrow button.
You can also maintain a fund preference class in the ‘Fund Product Preference Class Definition’ screen. You can invoke the ‘Fund Product Preference Class Definition’ screen by typing ‘AMDPRPCL’ in the field at the top right corner of the Application tool bar and clicking the adjoining arrow button.
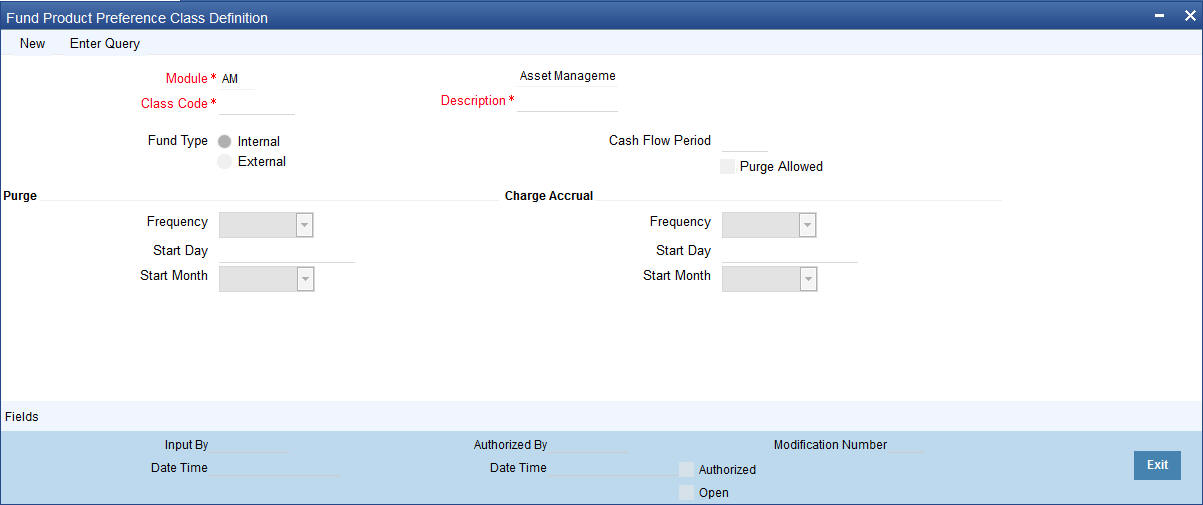
To maintain a new fund preference class, Click ‘New’ button on the Application tool bar.
Class Code
In Oracle FLEXCUBE, each fund preference class that you maintain is identified by a unique code called a Class Code. You can follow your own convention for devising this code.
Description
You can specify a short description that will enable you to identify the fund preference class quickly. The short description that you specify is for information purposes only and will not be printed on any customer correspondence.
Fund Type
The funds that you enter in Oracle FLEXCUBE can be internal or external. An internal fund is one that originates from Oracle FLEXCUBE. An external fund is one that has originated from a system outside Oracle FLEXCUBE e.g. Oracle FLEXCUBE Investor Servicing.

Further internal and external funds can be of the Portfolio and Mutual fund type. The fund type that you specify for a class will be defaulted to the product to which it associated.
Cash Flow Period
Enter the period of Cash flow.
Purge Allowed
Check the box if purge is allowed.
Purge
You can maintain the following parameters here:
Frequency
The purge frequency can be one of the following:
- Daily
- Monthly
- Quarterly
- Half yearly
- Yearly
Start Day
In the case of monthly, quarterly, half yearly or yearly purges, you should specify the date on which the accruals have to be done during the month.
Start Month
If you set the accrual frequency as quarterly, half yearly or yearly, you have to specify the month in which the first accrual has to begin, besides the date on which the accruals should be done.
Charge Accrual
Certain charges that you incur in maintaining a fund need to be accrued. While setting up a fund preference class, you can specify accrual frequency preferences. The charge components of funds associated with the product will be accrued based on these preferences.
Frequency
As a product preference, you can specify the frequency with which the charges applicable to a fund should be accrued. While specifying the details of the charge, you can indicate the period over which the charge should be accrued.
The accrual frequency can be one of the following:
- Daily
- Monthly
- Quarterly
- Half yearly
- Yearly
Start Day
In the case of monthly, quarterly, half yearly or yearly accruals, you should specify the date on which the accruals have to be done during the month.
Start Month
If you set the accrual frequency as quarterly, half yearly or yearly, you have to specify the month in which the first accrual has to begin, besides the date on which the accruals should be done.
3.1.1.1 Processing Charge Accrual on a Holiday
Oracle FLEXCUBE carries out automatic accruals at the frequency that you specify, as part of the end of cycle processing. However, if the accrual date falls on a holiday, the accruals are done as per your holiday handling specifications in the ‘Branch Parameters’ screen:
- If you have specified that automatic events are to be processed for a holiday(s) on the working day before the holiday, the accruals falling due on a holiday(s) will be processed during end-of-day processing on the last working day before the holiday.
- If you have specified that the automatic events are to be processed for a holiday(s) on the working day following the holiday, the automatic events falling due on a holiday(s) will be processed on the next working day, during the beginning-of-day processing.
Click ‘Exit’ or ‘Cancel’ button to return to the Application Browser.
3.1.2 Fields Button
When you click on ‘Fields’, the ‘User Defined Fields’ screen will be displayed.
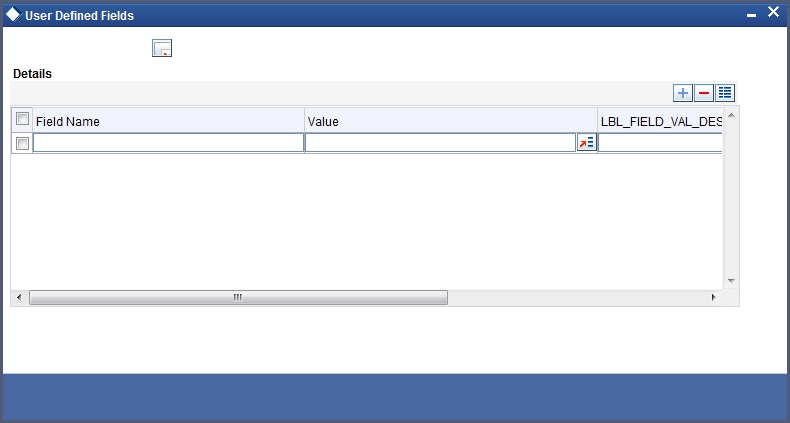
Specify the values in the fields and click ‘Ok’ button.