4. Defining Attributes for DL Products
In this chapter, we shall discuss the attributes for a Deposit Locker (DL) product.
This chapter contains the following section:
4.1 Safe Deposit Box Product Definition
This section contains the following topics:
- Section 4.1.1, "Creating Safe Deposit Box Product"
- Section 4.1.2, "Accounting Roles Button"
- Section 4.1.3, "Events Button"
- Section 4.1.4, "Preferences Button"
- Section 4.1.5, "Tracers Button"
- Section 4.1.6, "Charges Button"
- Section 4.1.7, "MIS Button"
- Section 4.1.8, "Restrictions Button"
- Section 4.1.9, "Viewing Safe Deposit Box Product Details"
4.1.1 Creating Safe Deposit Box Product
You can create a DL product in the ‘Safe Deposit Box Product Definition’ screen. You can invoke this screen by typing ‘DLDPRMNT’ in the field at the top right corner of the Application tool bar and clicking the adjoining arrow button.

For any product you create in Oracle FLEXCUBE, you can define generic attributes, such as branch, currency, and customer restrictions, interest details, tax details, etc., by clicking on the appropriate icon in the horizontal array of icons in this screen. For a DL product, in addition to these generic attributes, you can specifically define other attributes. These attributes are discussed in detail in this chapter.
For further information on the generic attributes that you can define for a product, please refer the following Oracle FLEXCUBE User Manuals:
- Products
- Interest
- Charges and Fees
- MIS
- User Defined Fields
- Settlements
You can define the attributes specific to a DL product in the DL Product Definition Main screen and the DL Product Preferences screen. In these screens, you can specify the product type and set the product preferences respectively.
4.1.1.1 Defining Details in the Main Product Screen
Specify the following in the main screen of the DL Product:
Product Code
Specify a unique code to identify the product you are creating.
Product Description
Enter a brief and meaningful description for the product.
Product Type
Specify the type for the product. This identifies the basic nature of the product. You can also select the type from the adjoining option list. The list contains all the product types maintained in the system.
Description
The system displays the description for the product type.
Slogan
Enter an appropriate slogan you wish to associate with the product.
Product Group
Products can be categorized into groups based on the common elements that they share. You must associate a product with a group. This would facilitate retrieval of information of a class of products at one stroke.
Specify the group to which the product belongs. You can also select the group from the adjoining option list. The list contains all the relevant product groups.
Product Group Description
The system displays the description for the product group.
Start Date
Enter the date from which the product will be valid and can be used for creation of contracts.
End Date
Enter the date till which the product will be valid and can be used for creation of contracts. If you do not enter an end date, the product can be used indefinitely.
The start and end dates can be used to make a product available only for a specific period.
Remarks
Specify remarks that you wish to associate with this product.
Auto Rollover
Check this option to indicate that contracts using this product should be automatically rolled over for the next period.
Exchange Rate
You can define the exchange rate variance that you would like to allow for a DL product. This variance is expressed in terms of a percentage.
For a special customer, or in special cases, you may want to use a special rate that is better than the exchange rate maintained for a currency pair. The variance is referred to as the Exchange Rate Variance.
When creating a product, you can express an Exchange Rate Variance Limit in terms of a percentage. This variance limit would apply to all contracts associated with the DL product.
Default Rate Type
Specify the rate type that will be used to define at the product level.
Rate Code
Specify the rate code that will be used to define at the product level. You have the following options:
- Mid Rate
- Buy/Sell Rate
Override Limit
If the variance between the default rate and the rate input varies by a percentage that is between the Override Limit and the Rate Stop Limit, you can save the transaction by providing an override.
Stop Limit
If the variance between the default rate and the rate input varies by a percentage greater than or equal to the Rate Stop Limit, you cannot save the transaction.
4.1.2 Accounting Roles Button
Before you define the accounting details for a product, you should define the various components of the contracts involving the product such as interest, charges, tax, etc.
In the Product Accounting Role to Head Mapping Definition screen, a list of accounting roles will automatically be generated based on the components you define for the product. You should map all the accounting roles that are available with the appropriate accounting heads.
You can invoke the ‘Accounting Roles’ screen by clicking ‘Accounting Roles’ button in the ‘Safe Deposit Product Definition’ screen.
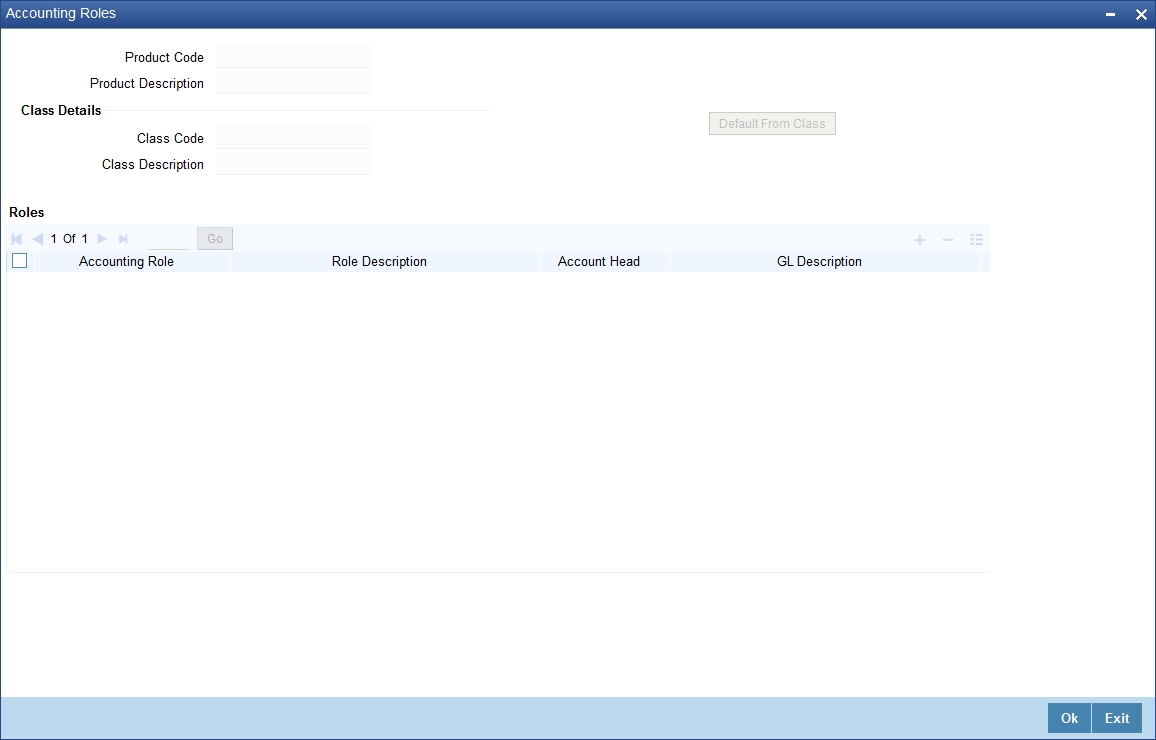
Refer the chapter ‘Products’ in the Modularity User Manual for more details on the screen.
4.1.3 Events Button
At an event, typically, you would want to post the accounting entries to the appropriate account heads and generate the required advices. When setting up a product, you can define the accounting entries that have to be posted and the advices that have to be generated at the various events in the life cycle of contracts involving the product. To do this, click ‘Events’ button in the ‘Safe Deposit Product Definition’ screen.
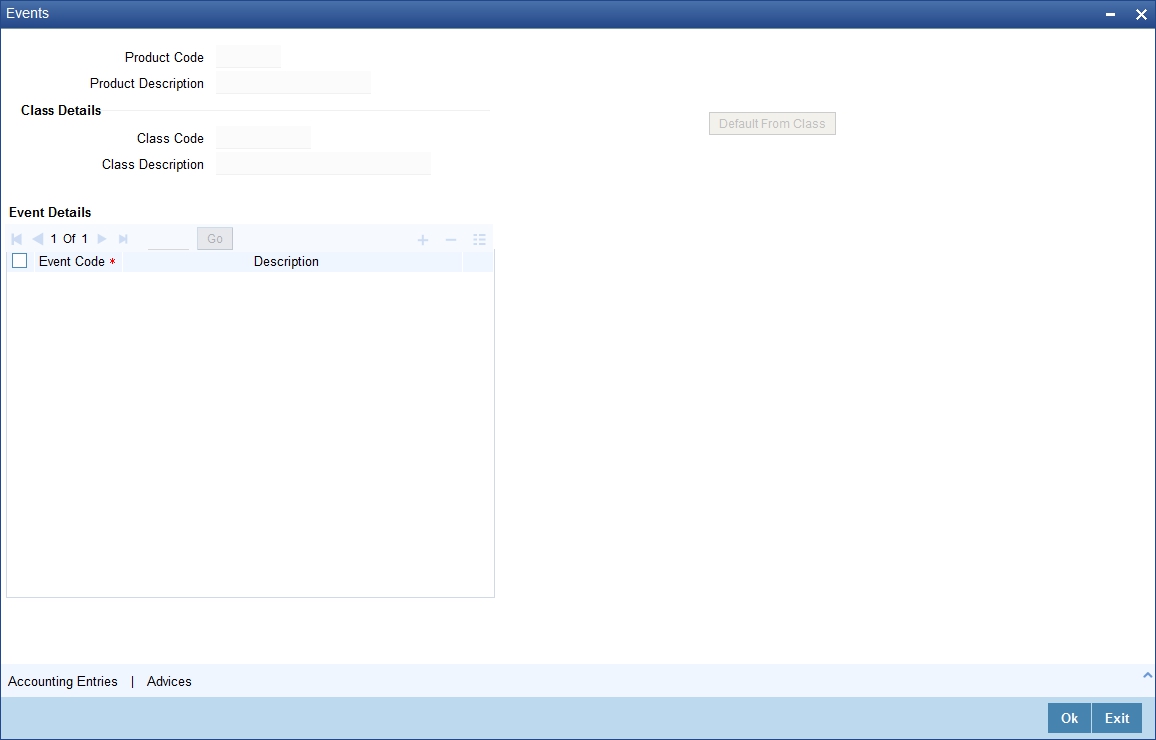
Refer the chapter ‘Product Definition’ in the Modularity User Manual for more details on the screen.
4.1.4 Preferences Button
You can define the preferences that are specific to a DL product in the ‘Deposit Locker Preferences’ screen. These include preferences relating to the tenor for the boxes, the mode, frequency for collecting locker rentals, re-key requirements and so on. To access this screen, click ‘Preferences’ in the ‘Safe Deposit Box Product Definition’ screen.

You can capture the following details here:
Tenor (in Days)
In this section, you can define tenor details for SDB accounts which are tenor based. Based on the values provided here, the system will calculate the expiry date for SDB contract. Specify the following:
Default
Enter the standard number of days an SDB account, created using this product, will be valid.
Minimum Tenor
Enter the minimum number of days an SDB account will be valid, for this product.
Maximum Tenor
Enter the maximum number of days an SDB account will be valid, for this product.
Rental
You can detail the rental basis here. Specify the following:
Payment Mode
Select, from the drop-down list, the mode of payment for contracts created using this product. You have the following options:
- Advance
- Arrears
Frequency
Select, from the drop-down list, the frequency at which the payment should be done. You have the following options:
- Monthly
- Quarterly
- Half Yearly
- Annual
Month
Select, from the drop-down list, the month in which the rental payment should be made. The list, which contains all the months of the year, will be enabled only if the rental frequency is any of the following:
- Quarterly
- Half Yearly
- Annual
Day
Specify, from the drop-down list, the day of the month on which the rental payment should be made. The list contains all the days of the month.
ReKey Requirements
If you wish to ensure re-keying of values in certain fields of the contract during contract authorization, you can indicate it here. You can also select the fields for which you wish re-keying to be done. Specify the following details:
Yes
Select this option if you wish to avail the re-key facility during contact authorization for contracts created using this product.
No
Select this option if you do not wish to avail the re-key facility during contact authorization for contracts created using this product.
Check the following fields, if you want them to be re-keyed during contract authorization:
Customers
This is the ID of the customer in the contract.
Value Date
This represents the start date of the contract.
Expiry Date
This is the end date of the contract.
CASA Account
You can specify if a current or savings account should be linked to this product or not, in this section
CASA Account Mandatory
Check this option to indicate that a current account or savings account of the customer should be linked for payments for this product. You must select this option if you have selected the ‘Auto Rollover’ option for this product.
Break Open Period
Specify the following detail here:
Break Open Period
Specify the period, in number of days, after which the bank can force open a locker assigned to a customer.
Closure Period
Specify the following detail here:
Closure Period
Specify the number of days up to which the lockers for contracts using this product can be kept active. The system will derive the expiry date of the SDB contract based on the start date of the contract and the value specified here.
Box visits
Specify the following detail here:
Max No. of Free Visits allowed
Specify the maximum number of times the customer will be allowed to visit the vault without being charged for it.
Deposit Details
Here you enter details of the different boxes allowed for the product and the deposit required for each. Specify the following:
Box Type
Specify the box type. You can also select the type from the adjoining option list. The list contains all the box types maintained in the system.
Box dimension
Select the dimensions of the box from the adjoining option list. The list contains the different dimensions available for the box type you have selected.
Charge Basis
This refers to the amount or weightage assigned to the box. The system will compute the rental amount on this basis. If you have defined the charge as a percentage type, then the system will consider the charge basis amount and return the applied value.
Deposit Amount
Enter the deposit amount that should be collected for the box.
4.1.5 Tracers Button
You can maintain details of the tracers and when they should be sent in the ‘Tracer Details’ screen. You can invoke this screen by clicking the ‘Tracers’ button.

In this screen, enter the following details:
Tracer Code
Specify the tracer you wish to send. You can also select the code from the adjoining option list. The list contains all the relevant tracer codes.
Description
The system displays the description for the tracer you have selected.
Required
Check this option to indicate that the tracer should be sent as per details given.
Number to be Sent
Specify the number of times you wish to send the tracer.
Start Date
Specify the date on which the first tracer should be sent.
Mode
Select when the tracer needs to be sent - before or after the due date for the event.
Frequency
Specify the frequency at which you want to send the tracer. For instance if the number of tracers to be sent is 3 and you have set the frequency at 1 then one tracer will be sent per day for three days.
4.1.6 Charges Button
On the transactions and contracts you enter in Oracle FLEXCUBE, you may opt to levy charges or fees. You can calculate charges and fees for a contract in the following manner:
- Define a Charge/Fee Rule
- Build a Charge Class and associate it with a rule
- Associate a product with charge classes. These classes apply on all contracts processed under the product
- Amend, if required, certain charge details that a contract acquires from the product under which it is processed
You can identify the charge component for a product in the ‘Charge Details’ screen. Click ‘Charges’ button in the ‘Safe Deposit Product Definition’ screen of any module to invoke this screen.

Refer the chapter ‘Products’ in the Modularity User Manual for more details on the screen.
4.1.7 MIS Button
You can retrieve MIS related information for a product by linking it to a Warehouse Code. Linking a product to a warehouse code ensures that all contracts processed under the product are automatically tracked under the specified Warehouse Code.
Click ‘MIS’ button in the ‘Safe Deposit Product Definition’ screen to define the MIS details for the product you are creating.
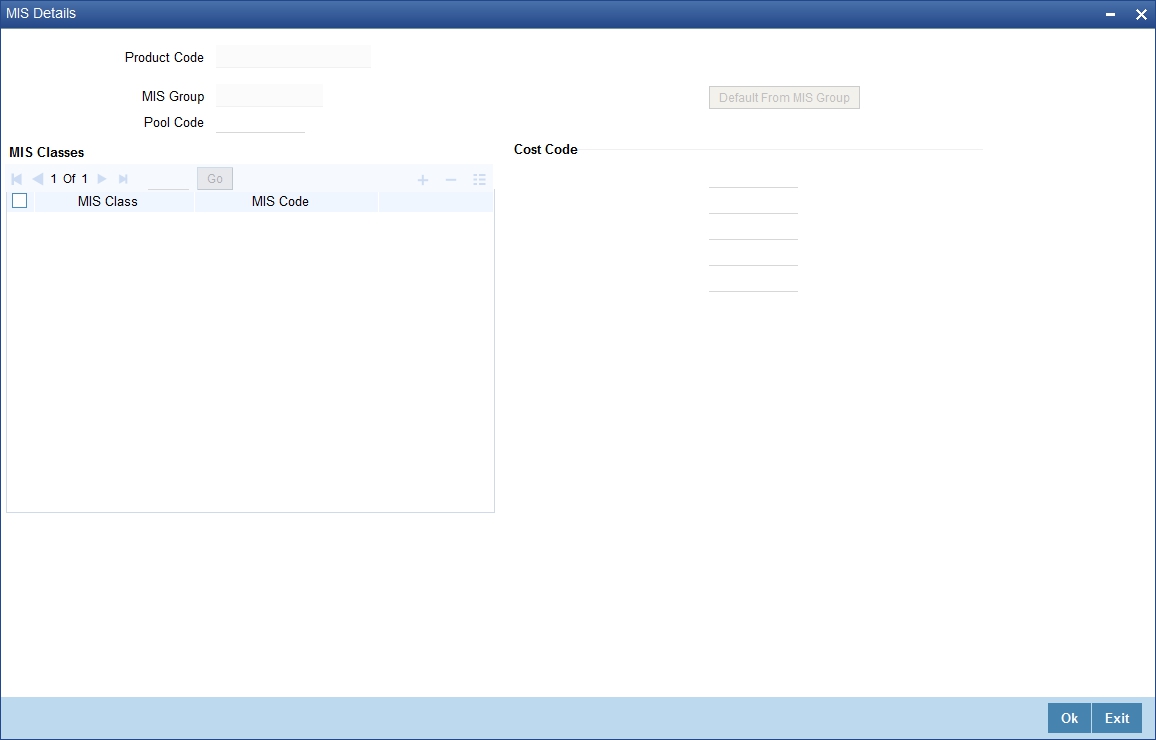
Refer the chapter ‘Products’ in the Modularity User Manual for more details on the screen.
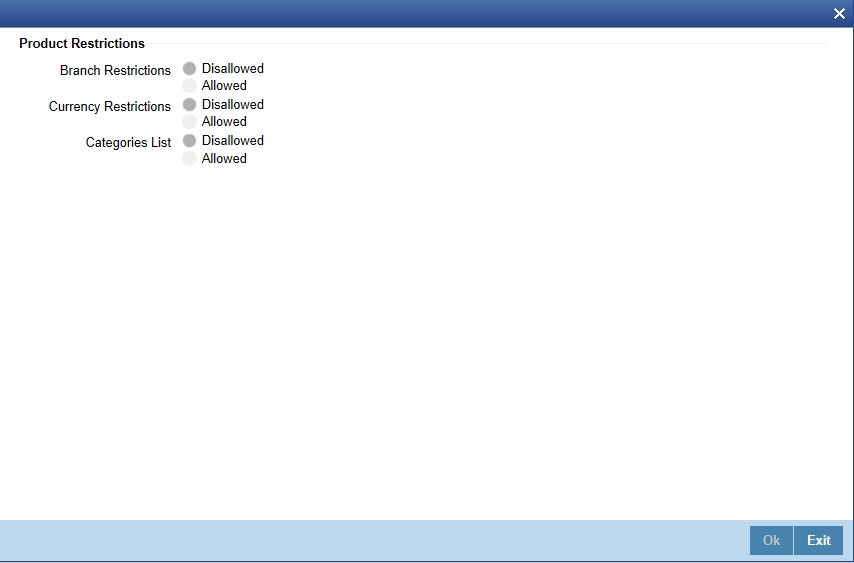
4.1.8 Restrictions Button
A new subscreen ‘Restrictions’ is introduced that holds
Branch, Currency and Category Restrictions and showcases Category List.
You can define the Restrictions as ‘Disallowed’ or ‘Allowed’
Click ‘Restrictions’ button in the ‘Safe Deposit Product
Definition’ main screen to invoke this screen.
4.1.9 Viewing Safe Deposit Box Product Details
You can query and view the details of all the products available in the system in the ‘Safe Deposit Box Product Definition Summary’ screen. To invoke this screen, type ‘DLSPRMNT’ in the field at the top right corner of the Application Toolbar and then click the adjoining arrow button.
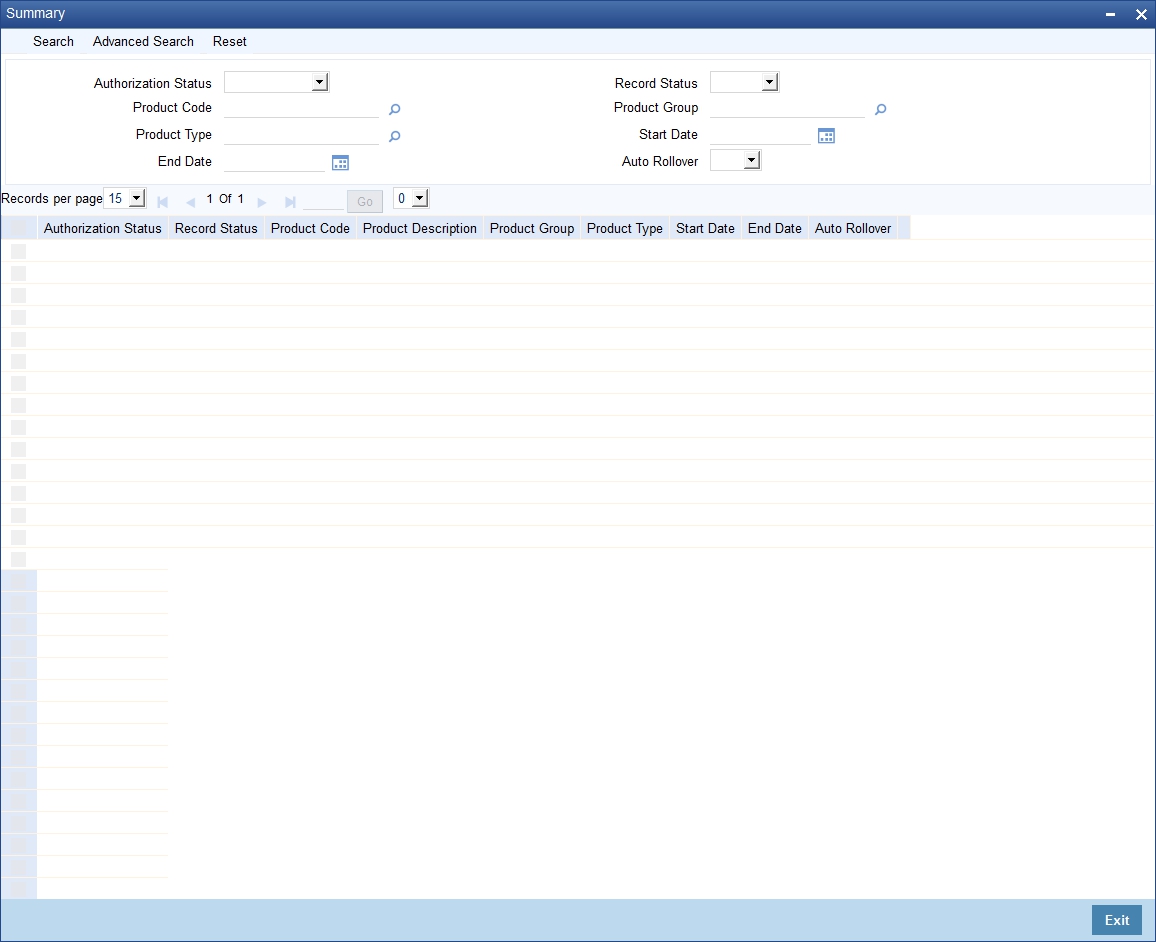
In this screen, specify any combination of parameters for the query. The query parameters that are available are:
- Authorization Status
- Product Code
- Product Type
- End Date
- Record Status
- Product Group
- Start Date
- Auto Rollover
After you specify the parameters, click ‘Search’. The system will display all the records matching the given parameters. If you do not enter any parameter before clicking ‘Search’, the system will display all the records available for the maintenance.
The following details pertaining to each record are displayed:
- Authorization Status
- Record Status
- Product Code
- Product Description
- Product Group
- Product Type
- Start Date