6. Liquidation of the Receivable Components of an Islamic Bill
6.1 Introduction
The components of a Murabaha bill can be liquidated either automatically or manually. The receivable components of a Murabaha bill, however, will have to be liquidated manually. This is because when a component is due from a customer, and the customer is unable to pay, you debit your profit receivable account and credited the income account. When the customer pays you can liquidate the receivable outstanding components of the bill through the Receivable Liquidation screen.
You can invoke the ‘Receivable Liquidation Input’ screen by typing ‘LQDTRONL’ in the field at the top right corner of the Application tool bar and clicking the adjoining arrow button. The ‘Receivable Liquidation Input’ screen will be displayed.

Through this screen you can:
- Manually liquidate the receivable components of a bill
- Reverse the liquidation of an outstanding receivable component
This chapter contains the following sections
- Section 6.2, "Liquidate the Outstanding Components of a Bill"
- Section 6.3, "Reversing Liquidation Entries"
- Section 6.4, "List of Outstanding Items Report"
- Section 6.5, "Liquidate of Overdue Components"
- Section 6.7, "Document Arrival Details"
6.2 Liquidate the Outstanding Components of a Bill
This section contains the following topics
- Section 6.2.1, "Liquidating the Outstanding Components of a Bill"
- Section 6.2.2, "Specifying Details of the Advices that should be Generated"
- Section 6.2.3, "Specifying the Tracer Details"
6.2.1 Liquidating the Outstanding Components of a Bill
On entering the reference number of the bill, in the ‘Receivable Liquidation’ screen, the system automatically assigns a liquidation reference number that is unique to the component you are liquidating. In addition, the following details of the bill are picked up and displayed:
- The counterparty (customer) code
- Value date of the bill
- Account to which the Liquidated amount should be credited
- Currency of the receivable account
- Branch to which the account belongs
- Total outstanding amount for the component as of the Value date the date on which the payment is being made.
- Details of the tracers that were generated thus far for the outstanding component.
- Status of the bill
You can specify the following details for the Liquidation:
- Account that should be debited for the liquidation amount
- Branch to which the account belongs
- Currency of the account
- If for the liquidation amount, the component currency and the currency of the account to be debited for the liquidated amount are different, you can indicate the exchange rate to be used in the conversion. By default, the exchange rate specified for the currency pair in the Core Services module of Oracle FLEXCUBE is picked up.
The outstanding components of a bill are displayed for each event. To liquidate an outstanding component, choose ‘Liquidate’ from the Processing submenu of the Actions menu or click the liquidate icon in the toolbar.
If there are other outstanding components, after a successful liquidation of an outstanding component, for an event, the system will notify you. It will prompt you to liquidate them as well.
6.2.2 Specifying Details of the Advices that should be Generated
The advices generated for the events occurring during the life-cycle of a Murabaha bill are defined for the product involved in the bill. In this screen you can specify the advices that should be generated to the parties concerned indicating that you have liquidated a receivable component of the bill.
You also have the option of prioritizing the advices to be generated for the Contract.

The advices that can be generated for the liquidation of the receivable components of a bill are:
- Charge Claim Advice
- Debit Advice
The Charge Claim Advice is generated when the receivable account is debited, that is, when the event happens. Details, such as whether it was suppressed during the event, the medium through which it was transmitted and the date on which it was generated will be displayed. This is for information purposes only.
The Debit Advice is generated when the receivable components of the bill are liquidated. You can suppress the generation of the advice or change the media and priority when you are processing the liquidation.
Suppress
By default, all the advices defined for the product involved in the bill will be generated. As an advice may not be applicable to the liquidation of a component, you can suppress it's generation by indicating so.
Priority
Priority applies to the advices that need to be sent through media like SWIFT or TELEX. By default, the priority of all advices is marked as Normal. You have the option to prioritize advices as one of the following:
- Normal
- Medium
- High
Indicating the Medium for generation
It is mandatory for you to also specify the medium through which an advice is to be transmitted. An advice can be transmitted through Telex, Mail or SWIFT. Select the appropriate medium code from the option list.
6.2.3 Specifying the Tracer Details
The Tracer details are for the Chg_Comm_Tracer, which is generated after the event has taken place and until, till the component is liquidated. The details shown in this screen are for information purpose only.

6.3 Reversing Liquidation Entries
You can reverse the authorized accounting entries that were passed when you liquidated an outstanding receivable component of a bill.
You can reverse the accounting entries passed for the liquidation of an outstanding component of a bill through the Receivable Liquidation screen. Specify the Contract Reference Number of the bill. All the outstanding components of the bill that were paid from a receivable account will be displayed.
Query the component whose liquidation entries you want to reverse. Choose Reverse form the Processing sub-menu of the Actions Menu.
The system will prompt you to indicate whether you want to reverse the liquidation entries passed for the outstanding component or make the component outstanding again.
If you indicate that the entries should be reversed, the accounting entries that were passed earlier will be reversed. However, you will not be able to pass further entries for the payment of that component at a future date.
If you indicate that the component should be made outstanding, the accounting entries that were passed earlier will be reversed and the component will become outstanding again.
The reversal of the liquidation of a component may sometimes entail a change in the status of the bill. If the contract is set for automatic status change, this change will be made by the system automatically.
6.3.1 Partial Payment of the Discounted Bills
For discounted export bills you can partially liquidate the principal before the maturity date of the bill. In this case, correction entries will be passed for the:
- Profit that has been collected in advance
- Profit receivable in the future along with the respective accruals/amortization as the case may be
6.4 List of Outstanding Items Report
This report lists all the outstanding items (including commissions and charges), which have been debited to a GL account, which is normally the accounts receivable ledger. The items are marked as outstanding.
This section contains the following topics
- Section 6.4.1, "Invoking this Report"
- Section 6.4.2, "Selection Options"
- Section 6.4.3, "Contents of the Report"
6.4.1 Invoking this Report
This report is available in the Application Browser under LQ (indicating liquidation).
6.4.2 Selection Options
The report is sorted on the basis of currency. It is listed in the serial order of the Accounts receivable account under the currency type.
Ap11s the sequence of this report is by the Accounts Receivable account, a bill may be reported in more than one place i.e., different charges and profit items were booked to different GLs.
This report highlights the necessary details for collection or payment of the outstanding amount, so that the required action may be taken.
6.4.3 Contents of the Report
The report contains the following information:
Party CIF ID |
This is the ID assigned to the customer in the Customer Information File (CIF) of the Core Services module of Oracle FLEXCUBE. |
Party Name |
The short name of the Customer maintained in bill will be printed. For all credits which have been opened at your branch, the name of the applicant is printed here. For those credits which have been advised or confirmed (i.e., the original operation was advise, advise & confirm or confirm) the name of the beneficiary bank is printed in this field. |
Party Type |
This is the party type assigned to the customer in the Parties screen. |
Ac CCY |
This is the currency of the outstanding amount. |
Module |
This is the module to which the outstanding receivable component belongs. |
Contract Ref No |
This is the reference number of the contract whose outstanding receivable components are overdue. |
Event Code |
This is the event under which the Outstanding component should have been paid. |
Booking Date |
This is the date on which the original entry was passed. |
Receivable Ac Code |
This is the account that is to be credited when the customer pays the outstanding component. |
Ac Branch |
This is the branch to which the account belongs. |
Amount |
This is the amount of the outstanding component that is to be received from the customer. |
Amount Tag |
This is the amount tag of the component. |
Description |
This is a description of the amount tag. |
6.5 Liquidate of Overdue Components
This section contains the following topics
- Section 6.5.1, "Liquidation of Overdue Components"
- Section 6.5.2, "Specifying Event Details"
- Section 6.5.3, "Specifying the Settlement Details"
- Section 6.5.4, "Specifying MIS Details"
6.5.1 Liquidation of Overdue Components
You can liquidate the overdue components i.e. Normal and Compensation components partially or fully through the ‘Islamic BC Payment Input’ screen.
You can invoke the ‘Islamic BC Payment Input’ screen by typing ‘IBDTRPAY’ in the field at the top right corner of the Application tool bar and clicking the adjoining arrow button.

Contract Reference
Specify the contract you want to liquidate. You can also select the contract from the adjoining option list. The list displays all the active contracts with bill amount ‘zero’.
Outstanding Balance
The system displays the outstanding balance on click of ‘P’ button.
The system also displays all the overdue interest and penalty interest on Principal.
Value Date
Specify the value date from he adjoining calendar.
Total Amount Due
Total due amount of all the sub-components of a multi tenor contract is displayed here. However, for a non-multi-tenor contract, the system displays the total amount due for all the components.
On clicking ‘L’ button, the system allocates the payment amount towards each component.
Total Paid
The system displays the total amount paid on click of ‘S’ button.
Payment Remarks
Specify payment remarks, if any.
Currency
The system displays the currency.
Name
The system displays the name of the customer.
Payment Breakup
The system displays the following payment breakup details:
- Component
- Amount Due
- Currency
- Amount Prepaid
- Due Date
This screen displays all the overdue profit and compensation profit on Principal. All the active contracts with bill amount ‘zero’ will be displayed. You can choose to liquidate the overdue components only if the profit component is specified as Arrears.
This provision is applicable for incoming advance bills where profit is collected in arrears and outgoing discounted/purchased bills (compensation profit is always collected in arrears).
In case the components are liquidated, the screen amends the status of the contract as liquidated. You can also reverse the interest component that is liquidated.
On saving the transaction, the bill amount is validated against the product transaction limit and the user input limit maintained in the system. The system displays an appropriate override/error message if the amount exceeds the allowed input limit. This also indicates the level of authorisation required if the transaction amount exceeds the transaction limit maintained.
The system converts the bill amount using the standard mid rate to the transaction limit currency and check against the transaction limit amount maintained for the product if the bill currency is different from the transaction limit currency.
Note
You can choose to liquidate the overdue components only if the interest component is specified as Arrears.
For a multi tenor contract, sub-components are populated as components.
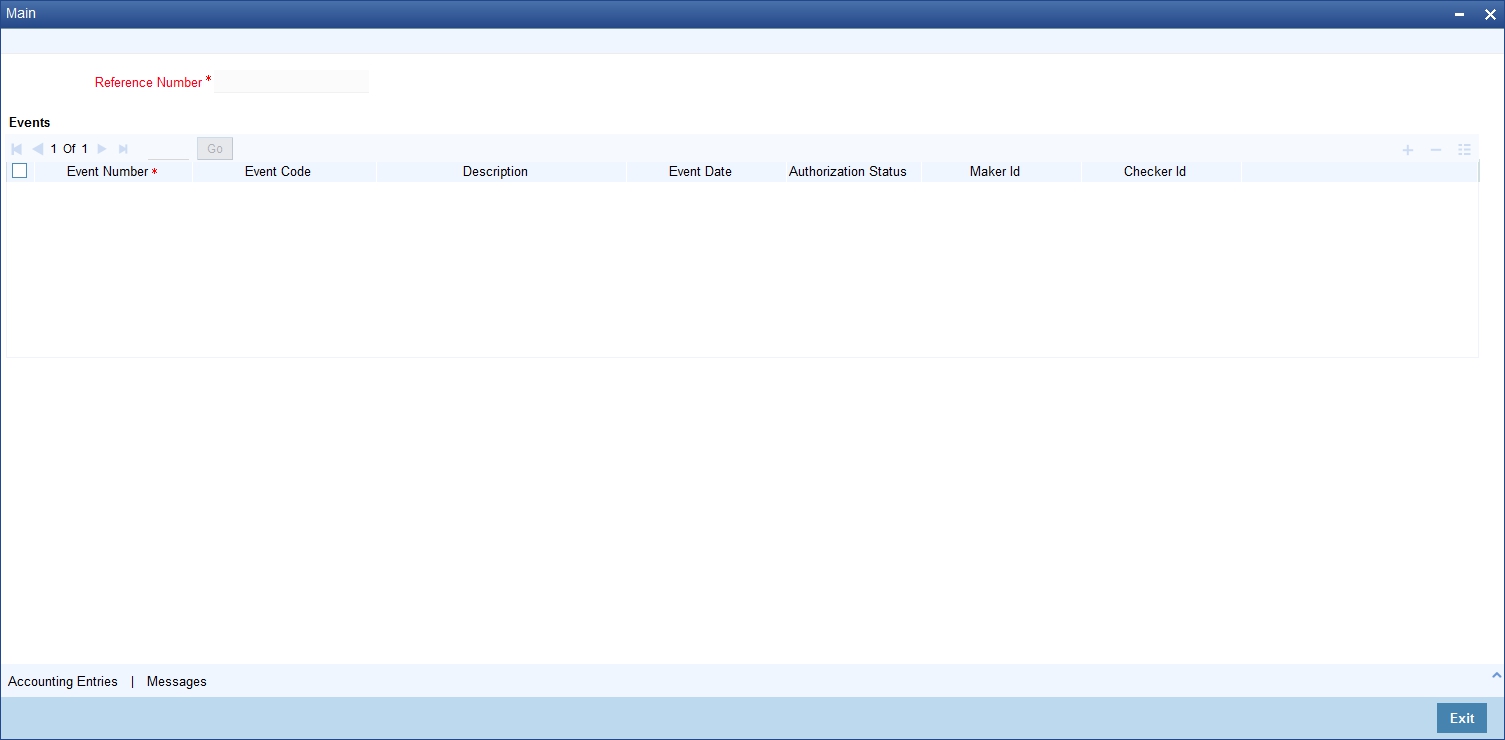
6.5.2 Specifying Event Details
Click the ‘Events’ button to invoke the ‘Events’ screen. Through this screen, you can specify the details of the Accounting Entries and Advices that have to be generated for the events that take place during the life cycle of a bill.
The events screen is as shown below:
6.5.3 Specifying the Settlement Details
Click the ‘Settlement’ button to invoke the ‘Settlement Details’ screen. Through the settlement screens, you can view the fund accounts to which entries for the applicable charges and taxes are posted.
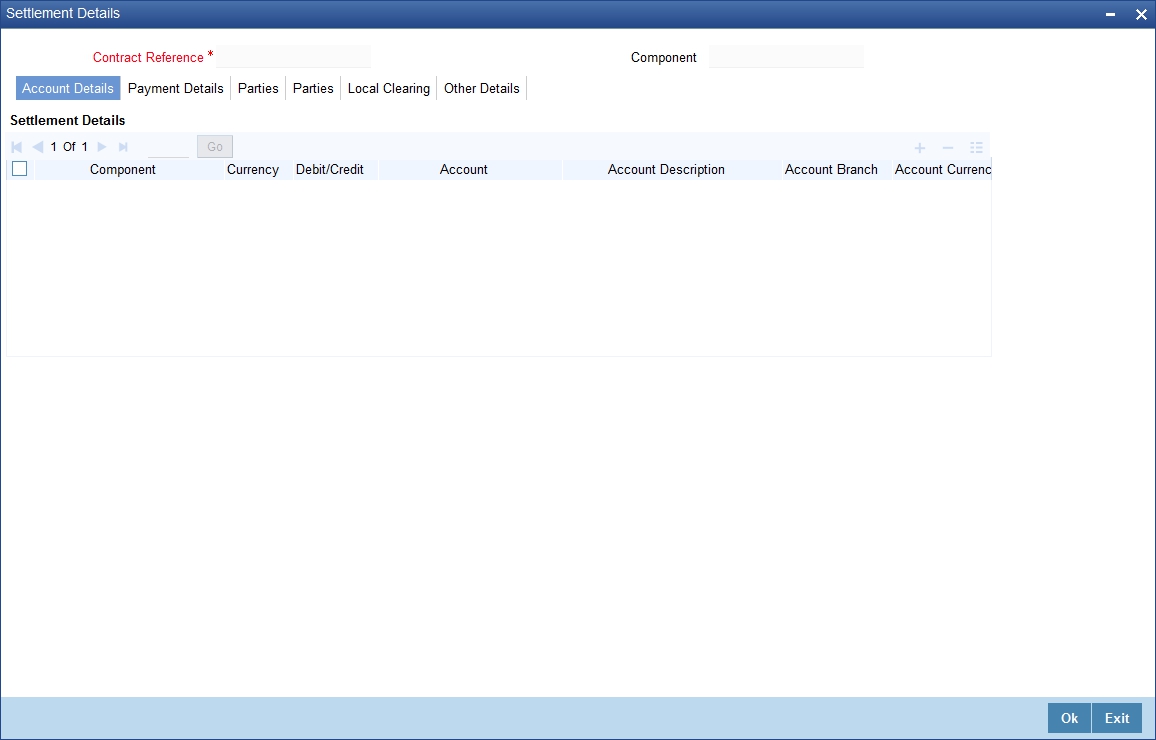
For more details on specifying Settlement details, refer ‘Settlements’ User Manual under ‘Modularity.
6.5.4 Specifying MIS Details
Click the ‘MIS’ button to define Management Information Details (MIS) details for the product you are defining.
The MIS screen is as shown below:
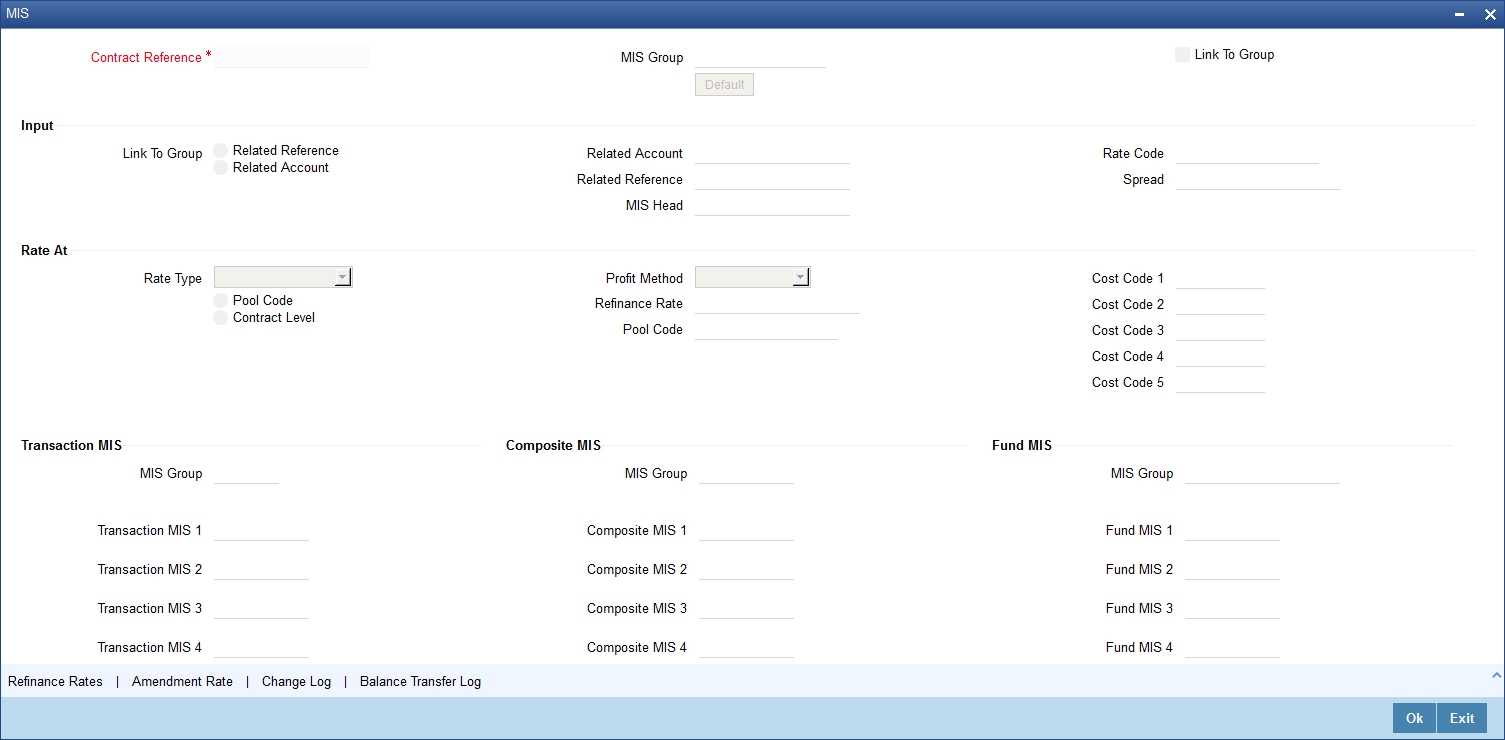
For an account, the transaction type of MIS class will be picked up from the account class, along with the cost codes and pool codes. The composite type of MIS class will be defaulted from those defined for the customer. These too can be changed.
6.6 Remarks
Click Remarks button to view all the intructions captured on every transaction of the contract in ‘History of Remarks’ screen.
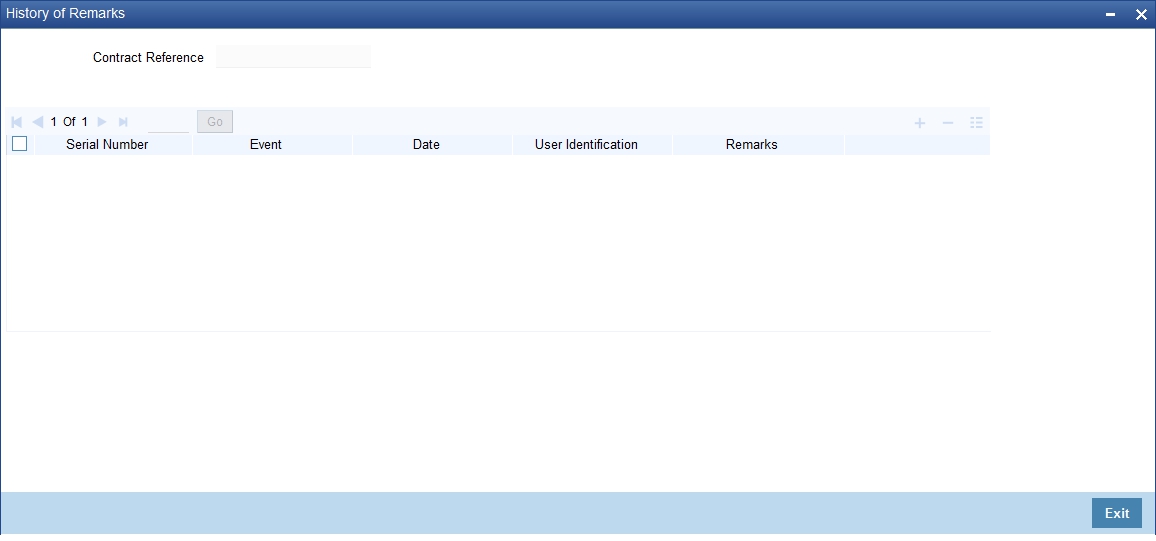
For more details on this screen, refer to section 5.5 titiled ‘Remarks’ in this user manual.
6.7 Document Arrival Details
This section contains the following topics
- Section 6.7.1, "Maintaining Document Arrival Details"
- Section 6.7.2, "Document Details Tab"
- Section 6.7.3, "Goods Tab"
6.7.1 Maintaining Document Arrival Details
Document arrival notice message is generated whenever the documents arrive after the payment is made for a Bill under LI. Oracle FLEXCUBE does not allow you to capture the document details of a contract after making a payment in contract online screen. Hence, whenever the documents arrive after the payment, the same details are captured in the ‘Islamic Bills & Collections Document Arrival Notice Input’ screen. You can invoke this screen by typing ‘IBDTRDOC’ in the field at the top right corner of the Application tool bar and clicking on the adjoining arrow button. The screen is displayed below:

Specify the following details:
Contract Reference
Specify the contract number for which you are maintaining the document details. You can also select the contract details from the adjoining option list. The list displays all the authorised contracts maintained in the system.
Latest Event Sequence Number
The system displays the latest event number.
Branch Code
The system defaults the branch code.
Click the ‘Default’ button to display the documents details maintained for the contract.
6.7.2 Document Details Tab
Specify the following details:
Document Details
Specify the following document details:
- Document Code – the document code
- Description – the description of the document code
- Document Type – the type of document
- First Mail Original – the first original mail
- Second Mail Original – the second original mail
- First Mail Copy – the first mail copy
- Second Mail Copy – the second mail copy
- Reimbursing Bank Copy – the reimbursing bank copy
- Document Reference – the document reference number
- Document Date – the document date
- Covering Letter Reference – the covering letter reference
- Covering Letter Date – the covering letter date
Clause Details
There are some standard clauses, which should appear on the documents that are required under a documentary bill. In this screen you can indicate the clauses that should accompany a document.
6.7.3 Goods Tab
You can maintain the goods details by clicking the ‘Goods’ tab.
6.7.4 Remarks
Click Remarks button to view all the instructions captured on every transaction of the contract in ‘History of Remarks’ screen.
For more details on this screen, refer to section 5.5 titiled ‘Remarks’ in this user manual.