6. Bulk Operations
6.1 Introduction
This chapter gives an account of various bulk operations that can be performed on microfinance accounts. The prominent operations include bulk payment against loans, capturing deposit, withdrawal, RD payment and manual disbursement details.
This chapter contains the following sections:
- Section 6.2, "Collection Sheet"
- Section 6.3, "Bulk Payments against Loan or Commitment"
- Section 6.4, "Capture of Deposit/Withdrawal Details in Bulk"
- Section 6.5, "Capture of RD Payment Details in Bulk"
- Section 6.6, "Capture of Details of Manual Loan Disbursement in Bulk"
- Section 6.7, "Viewing Bulk Authorization of Loan Account"
6.2 Collection Sheet
You can access the collection details of a center/group of each branch to facilitate collection of dues by the collection officer using the ‘MFI Collection Sheet’ screen. You can invoke this screen by typing ‘MFDCOLSH’ in the field at the top right corner of the Application toolbar and clicking the adjoining arrow button.

The system displays the following details:
Branch Code
The system displays the current Branch Code.
MFI Level
Select the microfinance level for which you wish to generate a collection sheet from the adjoining drop-down list. The available options are:
- Center
- Group
Center/Group Code
The system displays the center/group’s code.
The system identifies all records satisfying the specified criteria and displays the following details for each one of them:
Under the ‘Group Hierarchy Details’ tab, the system populates the following fields.
- Group Code
- Customer No
- Customer First Name
- Customer Middle Name
- Customer Second Last Name
- Customer Last Name
Under the ‘Loan – Groups’ tab, the system populates the following fields.
- Customer No
- Name
- Loan Account Number
- Currency
- Amount Due
- Amount Overdue
- Total Due
- Original Loan Amount
- Amount To Close The Loan
- Original Instalment Number
- Current Instalment Number
Note
If you generate a query based on the Center, the loans booked for group CIFs are displayed.
Amount Due Details:
- Component
- Amount Due
Amount Overdue Details
- Component
- Amount Overdue
Group Total
- Amount Due
- Amount Overdue
- Total Due
Under the ‘Loan – Members’ tab, the system populates the following fields.
- Customer No
- Name
- Loan Account Number
- Currency
- Amount Due
- Amount Overdue
- Total Due
- Original Loan Amount
- Amount To Close The Loan
- Original Instalment Number
- Current Instalment Number
Note
If you generate a query based on the Group, the loans booked for client CIFs are displayed.
Amount Due Details:
- Component
- Amount Due
Amount Overdue Details
- Component
- Amount Overdue
Group Total
- Amount Due
- Amount Overdue
- Total Due
Under the ‘Accounts – Groups’ tab, the system populates the following fields.
Saving Accounts Details
- Customer No
- Customer Account Number
- Currency
- Balance
Note
If you generate a query based on the Center then the Savings and RD accounts booked for Group CIFs are displayed.
RD Account Details
- Customer No
- Customer Account Number
- Currency
- Amount Due
- Total
Under the ‘Accounts – Members’ tab, the system populates the following fields.
Saving Accounts Details
- Customer No
- Customer Account Number
- Currency
- Balance
Note
If you generate a query based on the Group then the Savings and RD accounts booked for client CIFs are displayed.
RD Account Details
- Customer No
- Customer Account Number
- Currency
- Amount Due
- Total
6.3 Bulk Payments against Loan or Commitment
This section contains the following topics:
- Section 6.3.1, "Making Bulk Payments against Loan or Commitment"
- Section 6.3.2, "Viewing Bulk Loan Payment Summary"
6.3.1 Making Bulk Payments against Loan or Commitment
The ‘Bulk Loan Payment’ screen is provided to create bulk payments against a limit or commitment for loan accounts coming under a group/center. Bulk payment is done for the loan accounts linked to an L/C for which the bulk payment option is checked. The bulk payment is always done for the current branch.
You can invoke the 'Bulk Loan Payment' screen by typing ‘MFDBLKPT’ in the field at the top right corner of the Application toolbar and clicking the adjoining arrow button.

You can capture the following details here:
Branch Code
The system displays the current branch code.
MFI Level
Select the microfinance level for which you wish to capture the loan payment details in bulk, from the adjoining drop-down list. The available options are:
- Center
- Group
Center/Group Code
Specify a valid ID of the Center/Group against which you wish to capture the payment details in bulk. The adjoining option list displays all valid Center/Group codes maintained in the system. You can select the appropriate one.
Bulk Reference Number
This is auto generated and used as a reference to identify the transaction in the system.
Date
The system displays the date on which the bulk payment details are being captured. You can change the date if required.
Click ‘Populate Due’ button. The system will now list all the active accounts for each customer coming under the selected Center/Group code.
Payment Details
Here you can capture the payment details for each customer.
Account Number
The system displays the loan account number.
Payment Mode
Select the mode of payment from the adjoining drop-down list. The available options are:
- CASA
- Cash Teller
- Clearing
- Instrument
- External Pay Order
- Credit Card
- Debit Card
- External Account Details
- Internal Cheque
Settlement Currency
Specify a valid currency in which the settlement is being made. The adjoining option list displays all valid currencies maintained in the system. You can select the appropriate one.
Amount Settled
Specify the amount settled.
Local Currency Equivalent
If the Settlement Currency and Loan Currency are different, the system calculates the Loan Currency equivalent using the exchange rate applicable for the currency pair.
Exchange Rate
Specify the exchange rate of the local currency against the settlement currency.
Check List
This contains a check list screen for the bulk payments made. You need to specify the description or remarks if any. To invoke this screen click ‘Check List’. This check list is provided with respect to each account. The user needs to navigate to these details for each contract before saving the payment. The check list details are populated on clicking Check list button.

You can capture the following details here:
- Description: If check list items are maintained at the maintenance level, those items are displayed under ‘Description’.
- Checked: Select the box under ‘Checked’ corresponding to each item you have verified as part of payment collection.
- Remark 1/2/3/4/5/6/7/8/9/10: Enter remarks, if any, against each verified check list item.
Settlement Branch
Specify a valid settlement branch. The adjoining option list displays all valid settlement branches maintained in the system. You can select the appropriate one.
Settlement Account
Specify a valid settlement account. The adjoining option list displays all valid accounts maintained in the system. You can select the appropriate one.
Settlement Product
Specify the settlement product.
Instrument Number
Specify the instrument number.
End Point
Specify a valid end point. The adjoining option list displays all the valid end points maintained in the system. You can select the appropriate one.
Card Number
Specify the card number.
External Account Number
Specify the external account number.
External Account Name
Specify the external account name.
Clearing Bank
Specify a valid clearing bank. The adjoining option list displays all valid clearing banks maintained in the system. You can select the appropriate one.
Clearing Branch
Specify the clearing branch.
Upload Source
Specify a valid upload source. The adjoining option list displays all the upload sources maintained in the system. You can select the appropriate one.
Sector Code
Specify a valid sector code. The adjoining option list displays all the valid sector codes maintained in the system. You can select the appropriate one.
Routing Number
Specify the routing number.
Settlement Reference Number
Specify the settlement reference number.
Click ‘Allocate’ button.
Component Details
The system populates the following fields upon clicking the ‘Allocate’ button.
- Account Number
- Component Name
Currency
The system defaults the currency in which the loan account is maintained.
Amount Due
The system defaults the amount due.
Amount Overdue
The system defaults the overdue amount.
Amount Waived
Specify the waived off amount.
Amount Paid
Specify the amount paid.
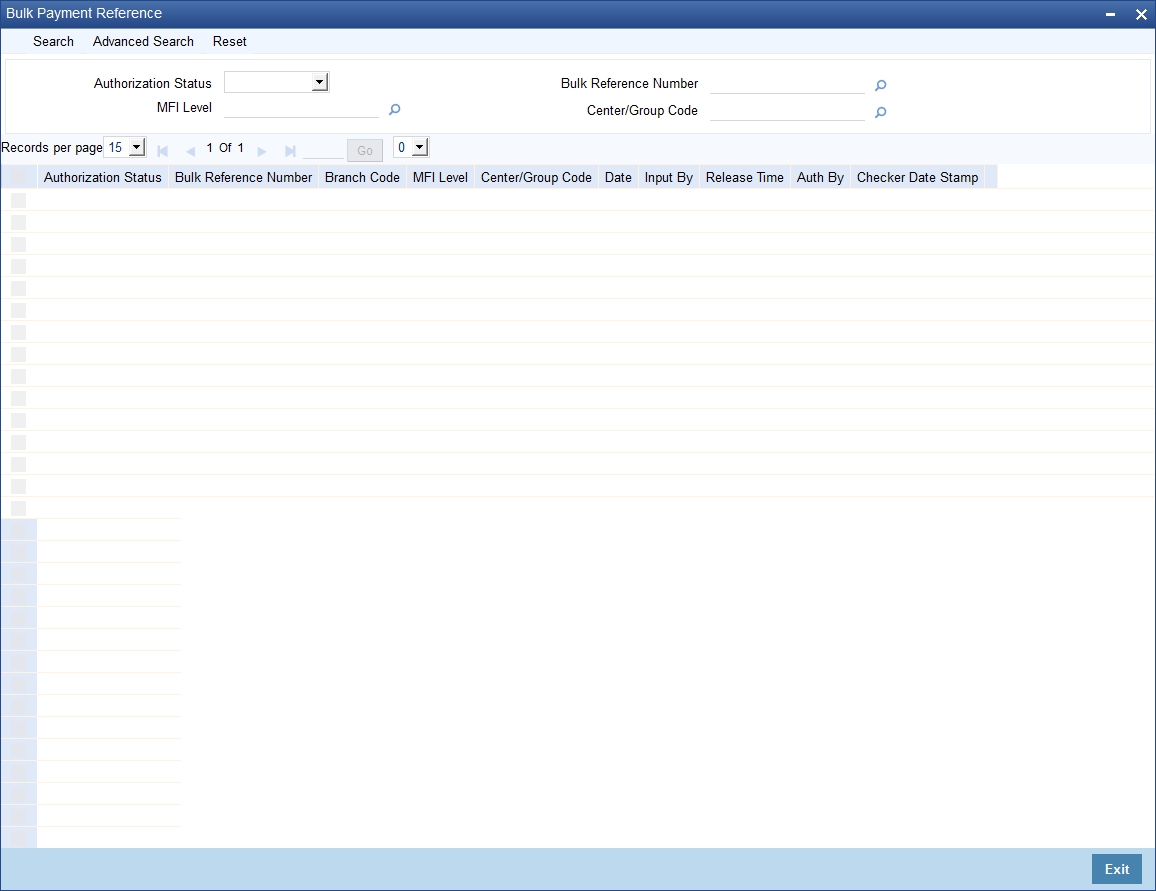
6.3.2 Viewing Bulk Loan Payment Summary
You can view a summary of all bulk loan payments using the ‘Bulk Loan Payment Summary’ screen. You can invoke this screen by typing ‘MFSBLKPT’ in the field at the top right corner of the Application tool bar and clicking the adjoining arrow button.
You can query on records based on any or all of the following criteria:
- Authorization Status
- MFI Level
- Bulk Reference Number
- Center/Group Code
Click ‘Search’ button. The system identifies all records satisfying the specified criteria and displays the following details for each one of them:
- Authorization Status
- Bulk Reference Number
- Branch Code
- MFI Level
- Center/Group Code
- Date
- Maker
- Release Time
- Checker
- Checker Date Stamp
6.4 Capture of Deposit/Withdrawal Details in Bulk
This section contains the following topics:
- Section 6.4.1, "Capturing Deposit/Withdrawal Details in Bulk"
- Section 6.4.2, "Viewing Bulk Deposit/Withdrawal Summary"
6.4.1 Capturing Deposit/Withdrawal Details in Bulk
The account officers, during field visits, can service members’ requests of deposits/withdrawal transactions on their savings accounts. These details can be captured in bulk using the ‘Bulk Savings Deposit/Withdrawal’ screen. You can invoke this screen by typing ‘MFDBLKSA’ in the field at the top right corner of the Application toolbar and clicking the adjoining arrow button.

You can capture the following details here:
Branch Code
The system displays the current branch code.
MFI Level
Select the microfinance level for which you wish to capture the deposit/withdrawal details in bulk, from the adjoining drop-down list. The available options are:
- Center
- Group
Center/Group Code
Specify a valid ID of the Center/Group against which you wish to capture the deposit/withdrawal details. The adjoining option list displays all valid Center/Group codes maintained in the system. You can select the appropriate one.
Date
The system displays the date on which the deposit/withdrawal details are being captured. You can change the date if required.
Bulk Reference Number
This is auto generated and used as a reference to identify the transaction in the system.
Click ‘Populate’ button. The system will now list all the active savings accounts for each customer related to the selected Group/Center under ‘Account Details’.
Transaction Code
The system defaults the transaction code from the ‘MFi - Branch Parameters’ maintenance screen.
Offset GL
The system defaults the Offset GL to which the deposit/withdrawal entries should be offset from the ‘MFi - Branch Parameters’ maintenance screen.
Account Details
Group Code
The system displays the group code of the member.
Branch Code
The system displays the branch code of the account.
Account No
The system displays the account number of each member coming under the selected Group/Center.
Currency
The system displays the currency in which the account is operated.
Transaction Type
Select the transaction type from the adjoining drop-down list. The available options are:
- Deposit
- Withdrawal
Amount
Specify the deposit/withdrawal amount.
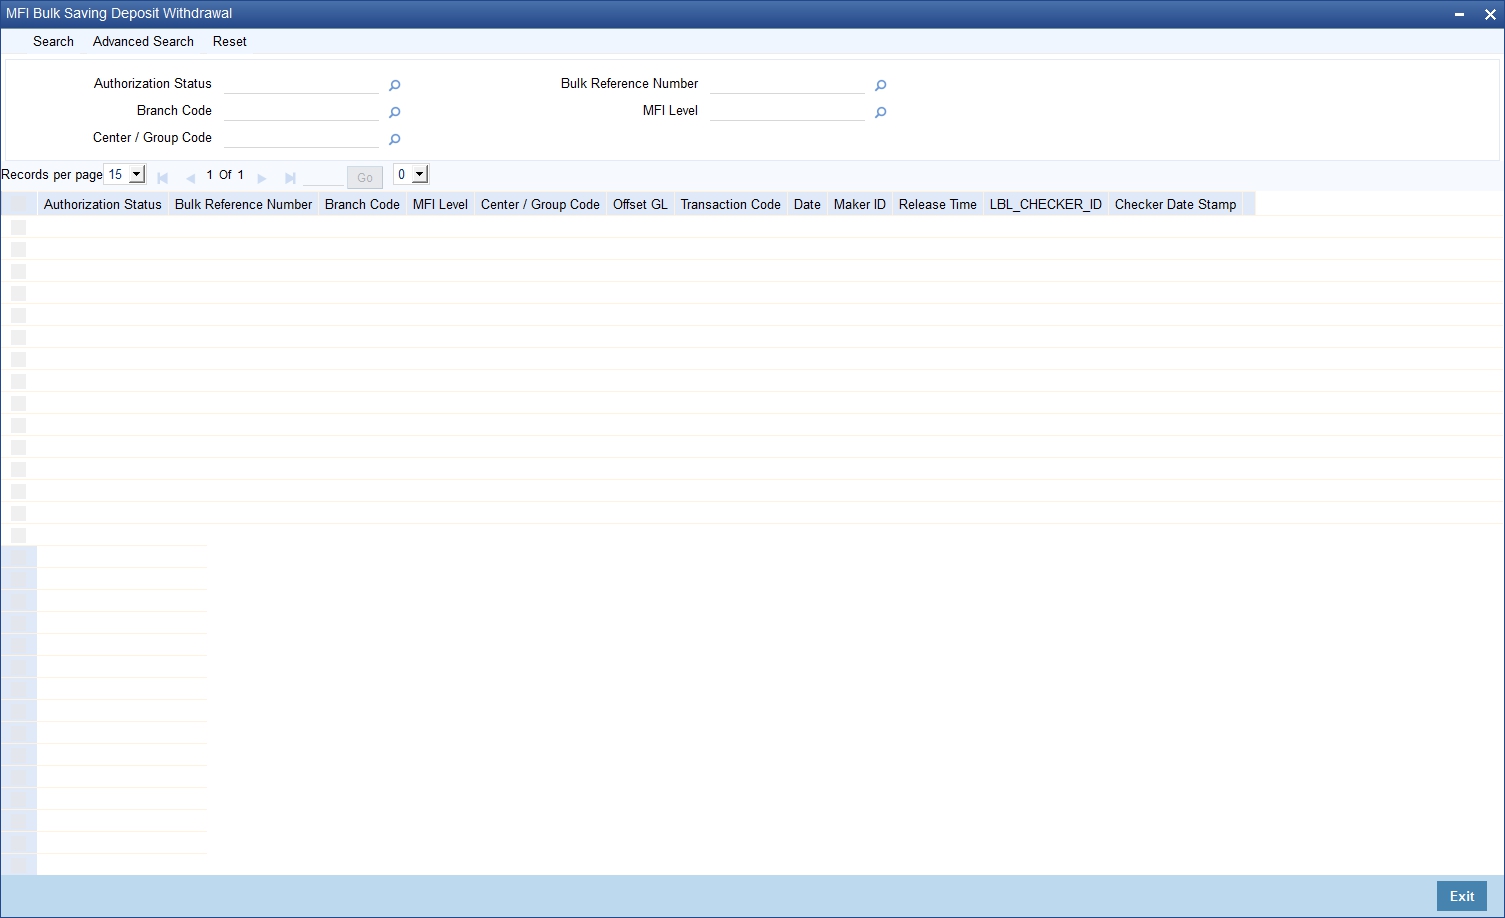
6.4.2 Viewing Bulk Deposit/Withdrawal Summary
You can view a summary of all bulk deposit/withdrawal transactions performed on savings accounts using the ‘Bulk Savings Deposit/Withdrawal Summary’ screen. You can invoke this screen by typing ‘MFSBLKSA’ in the field at the top right corner of the Application tool bar and clicking the adjoining arrow button.
You can query on records based on any or all of the following criteria:
- Authorization Status
- Branch Code
- Center/Group Code
- Bulk Reference Number
- MFI Level
Click ‘Search’ button. The system identifies all records satisfying the specified criteria and displays the following details for each one of them:
- Authorization Status
- Bulk Reference Number
- Branch Code
- MFI Level
- Center/Group Code
- Offset GL
- Txn Code
- Date
- Maker ID
- Release Time
- Checker ID
- Checker Date Stamp
6.5 Capture of RD Payment Details in Bulk
This sections contains the following topics:
- Section 6.5.1, "Capturing RD Payment Details in Bulk"
- Section 6.5.2, "Viewing Bulk RD Payment Summary"
6.5.1 Capturing RD Payment Details in Bulk
You can capture recurring deposit payment details in bulk using the ‘Bulk RD Payment’ screen. You can also capture single RD payment details using this screen. You can invoke this screen by typing ‘MFDBLKRD’ in the field at the top right corner of the Application toolbar and clicking the adjoining arrow button.

You can capture the following details here:
Branch Code
Specify a valid code of the branch under which the center/group for which you wish to capture bulk RD details is listed. The adjoining option list displays all valid branch codes maintained in the system. You can select the appropriate one.
MFI Level
Select the microfinance level for which you wish to capture the RD payment details in bulk, from the adjoining drop-down list. The available options are:
- Center
- Group
Center/Group Code
Specify a valid code of the Center/Group against which you wish to capture the RD payment details. The adjoining option list displays all valid Center/Group codes maintained in the system. You can select the appropriate one.
Bulk Reference Number
This is used as a reference to identify the transaction in the system and is generated automatically upon saving the record.
Transaction Date
Specify the date of transaction.
Click ‘Populate’ button. The system will now list all the active RD accounts for each customer coming under the selected Center/Group code.
RD Account and Payment Details
You can capture the details of RD accounts and payments here.
RD Account No
The system displays all the active RD account numbers. Check the corresponding box of the RD account number against which you wish to capture the payment details.
Maturity Date
The system displays the maturity date of the RD account.
Instalment Amount
The system displays the instalment amount.
Product Code
Specify a valid RD product code against which the RD payment details need to be captured. The adjoining option list displays all valid product codes maintained in the system. You can select the appropriate one.
Payment Branch
Specify a valid payment branch. The adjoining option list displays all valid payment branches maintained in the system. You can select the appropriate one.
Payment Account No
Specify a valid payment account number. The adjoining option list displays all valid payment account numbers maintained in the system. You can select the appropriate one.
Mode of Payment
Select the mode of payment from the adjoining drop-down list. The available options are:
- CASA
- Cash
Payment Amount
Specify the payment amount.
Charge Amount
The system displays the amount chargeable if the RD payment was delayed.
Paid Amount
The system displays the paid amount.
Payment Currency
Specify a valid currency in which the payment is made. The adjoining option list displays all valid currencies maintained in the system. You can select the appropriate one.
Exchange Rate
The system displays the exchange rate maintained for the currency.
Contract Status
The system displays the contract status.
Receipt ID
Specify the receipt ID.
Payments Against RD Account
Click ‘Populate Payment Details’ button.
Due Date
The system displays the due date by which the payment needs to be made.
Payment Amount
The system displays the payment amount.
Payment Date
Specify the date on which the RD payment is made.
Due Days
The system displays the number of days for which the payment has been due.
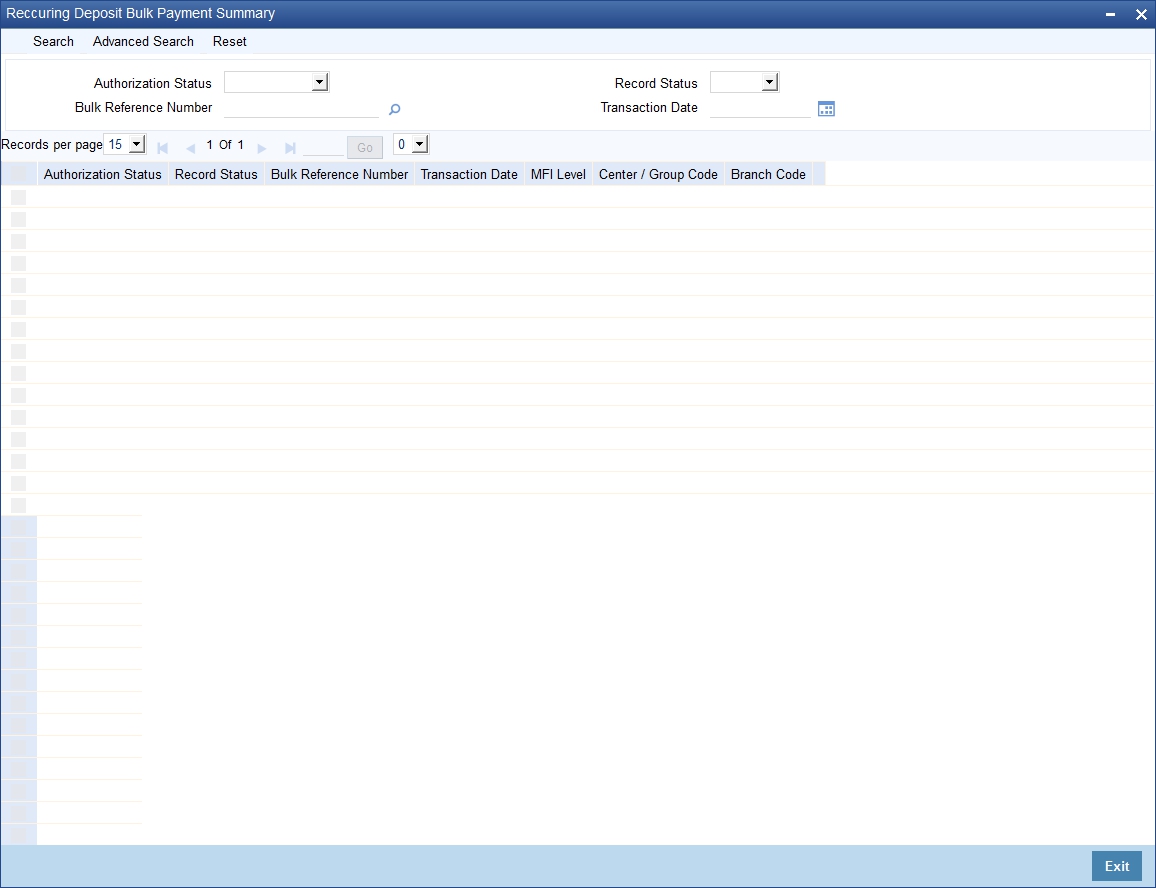
6.5.2 Viewing Bulk RD Payment Summary
You can view a summary of all bulk RD payments using the ‘Bulk RD Payment Summary’ screen. You can invoke this screen by typing ‘MFSBLKRD’ in the field at the top right corner of the Application tool bar and clicking the adjoining arrow button.
You can query on records based on any or all of the following criteria:
- Authorization Status
- Bulk Reference Number
- Record Status
- Transaction Date
Click ‘Search’ button. The system identifies all records satisfying the specified criteria and displays the following details for each one of them:
- Authorization Status
- Record Status
- Bulk Reference Number
- Transaction Date
- MFI Level
- Center/Group Code
- Branch Code
6.6 Capture of Details of Manual Loan Disbursement in Bulk
This section contains the following topics:
- Section 6.6.1, "Capturing Details of Manual Loan Disbursement in Bulk"
- Section 6.6.2, "Viewing the Charge Details"
6.6.1 Capturing Details of Manual Loan Disbursement in Bulk
You can capture in bulk details of loans disbursed manually at different microfinance levels (Group/Center) using the ‘Bulk Manual Disbursement’ screen. You can invoke this screen by typing ‘MFDBLKDS’ in the field at the top right corner of the Application toolbar and clicking the adjoining arrow button.

You can capture the following details here:
Branch Code
The system displays the code of the current branch.
MFI Level
Select the microfinance level for which you wish to capture the manual loan disbursement details in bulk, from the adjoining drop-down list. The available options are:
- Center
- Group
Center/Group Code
Specify a valid code of the Center/Group against which you wish to capture the manual loan disbursement details. The adjoining option list displays all valid Center/Group codes maintained in the system. You can select the appropriate one.
Value Date
This is the date when the credit entry (for the disbursement amount) is posted to the Cr Settlement Bridge. The current system date is displayed here.
Execution Date
This is the date on which the disbursement is booked in the system. The current system date is displayed here. You may change the date to a date in the future before the maturity date of the loan.
Bulk Reference Number
This is auto generated and used as a reference to identify the transaction in the system.
Component
All disbursements are made towards the PRINCIPAL component. You cannot change the component.
Remarks
Specify remarks about the loan disbursement, if any.
Click ‘Populate’ button. The system will now populate the ‘Disbursement Details’ section with loan account numbers related to the selected Group/Center.
Disbursement Details
Here you can capture details specific to the loan disbursement.
Account
The system displays the loan account number.
Settlement Mode
You can make disbursements either through a single mode or by using multiple modes of settlement, depending on the customer’s requirement.
The settlement details that need to be captured depend on the mode you select. The list of modes and the applicable settlement details are given below:
- CASA
- Settlement Branch
- Settlement Account
- Clearing
- Upload Source
- Instrument Number
- Clearing Product
- End Point
- Routing Number
- Clearing Bank
- Clearing Branch
- Sector Code
- External Account
- Upload Source
- Product Category
- Clearing Bank Code
- Clearing Branch Code
- External Account Name
- External Account Number
- Instrument
- Instrument Number
- Settlement Branch
- Settlement Account
- Cash/Teller
- Upload Source
- Settlement Product
At least one mode is mandatory to make a disbursement.
Settlement Currency
Specify a valid currency in which the settlement is made. The adjoining option list displays all valid currencies maintained in the system. You can select the appropriate one.
Settlement Amount
Specify the amount that is to be settled through the selected mode in the selected currency.
Exchange Rate
This information is applicable if the Mode Currency is different from the Loan Currency. The exchange rate that is defaulted from the Standard Exchange Rate Maintenance is used to convert the disbursement amount to the Loan Currency equivalent.
You can change the defaulted rate provided the change is within the variance level maintained for the underlying product.
Refer the section titled ‘Exchange Rate Preferences’ in the ‘Defining Product Categories and Products’ chapter of this User Manual for details.
Settlement Currency Equivalent
If the Settlement Currency and Loan Currency are different, the system calculates the Loan Currency equivalent using the exchange rate applicable for the currency pair.
Settlement Branch
Specify a valid settlement branch. The adjoining option list displays all valid settlement branches maintained in the system. You can select the appropriate one.
Settlement Account
Specify a valid settlement account. The adjoining option list displays all valid settlement accounts maintained in the system. You can select the appropriate one.
External Account
Specify the external account.
External Account Number
Specify the external account number.
Clearing Bank
Specify a valid clearing bank. The adjoining option list displays all valid clearing banks maintained in the system. You can select the appropriate one.
Clearing Through Branch
Specify a valid clearing through branch. The adjoining option list displays all valid clearing through branches maintained in the system. You can select the appropriate one.
Clearing Product Code
Specify a valid clearing product code. The adjoining option list displays all valid clearing product codes maintained in the system. You can select the appropriate one.
Settlement Product
Specify a valid settlement product. The adjoining option list displays all valid settlement products maintained in the system. You can select the appropriate one.
Sector Code
Specify a valid sector code. The adjoining option list displays all valid sector codes maintained in the system. You can select the appropriate one.
End Point
Specify a valid end point. The adjoining option list displays all valid end points maintained in the system. You can select the appropriate one.
Routing Number
Specify the routing number.
Instrument Number
Specify the instrument number.
Upload Source
Specify a valid upload source. The adjoining option list displays all valid upload sources maintained in the system. You can select the appropriate one.
6.6.2 Viewing the Charge Details
When making a bulk manual disbursement, you can apply the charges applicable for the event. To do this, click ’Charges’ button and invoke the ‘Charges Details’ screen.
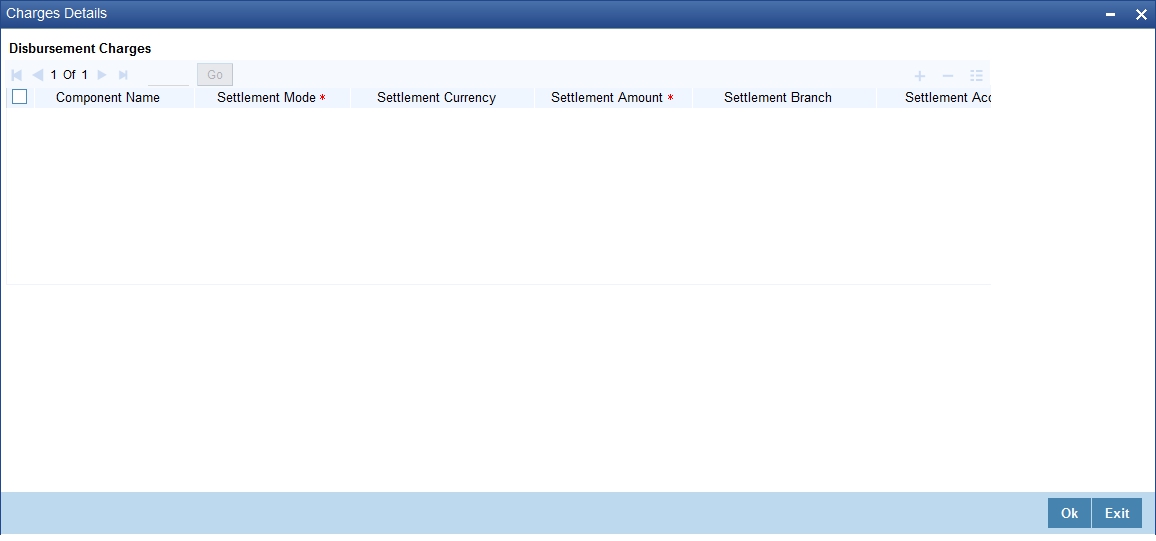
Specify the following details in this screen:
Component Name
All disbursements are made towards the PRINCIPAL component. You cannot change the component.
Settlement Mode
You can use multiple modes of settlement for charge settlement also. The list of modes applicable is same as the one allowed for loan disbursal.
Settlement Currency
After specifying the settlement mode, select the currency in which the charge is to be collected. The currencies allowed for the branch are available in the option list provided
Settlement Amount
Specify the settlement amount.
Settlement Branch
Specify a valid settlement branch. The adjoining option list displays all valid settlement branches maintained in the system. You can select the appropriate one.
Settlement Account
Specify a valid settlement account. The adjoining option list displays all valid settlement accounts maintained in the system. You can select the appropriate one.
Settlement Product
Specify a valid settlement product. The adjoining option list displays all valid settlement products maintained in the system. You can select the appropriate one.
Sector Code
Specify a valid sector code. The adjoining option list displays all the valid sector codes maintained in the system. You can select the appropriate one.
External Account
Specify the external account.
External Account Number
Specify the external account number.
Clearing Bank
Specify a valid clearing bank. The adjoining option list displays all valid clearing banks maintained in the system. You can select the appropriate one.
Clearing Through Branch
Specify a valid clearing through branch. The adjoining option list displays all valid clearing through branches maintained in the system. You can select the appropriate one.
Clearing Product Code
Specify a valid clearing product code. The adjoining option list displays all valid clearing product codes maintained in the system. You can select the appropriate one.
End Point
Specify a valid end point. The adjoining option list displays all the valid end points maintained in the system. You can select the appropriate one.
Routing Number
Specify the routing number.
Instrument Number
Specify the instrument number.
Card Number
Specify the card number.
6.6.3 Verify Check List Item
To every online event, you can associate check list items through the ‘Checklist Description’ screen. To view the check list items associated with the ‘Manual Disbursement’ event, click on the ‘Check List’ button.
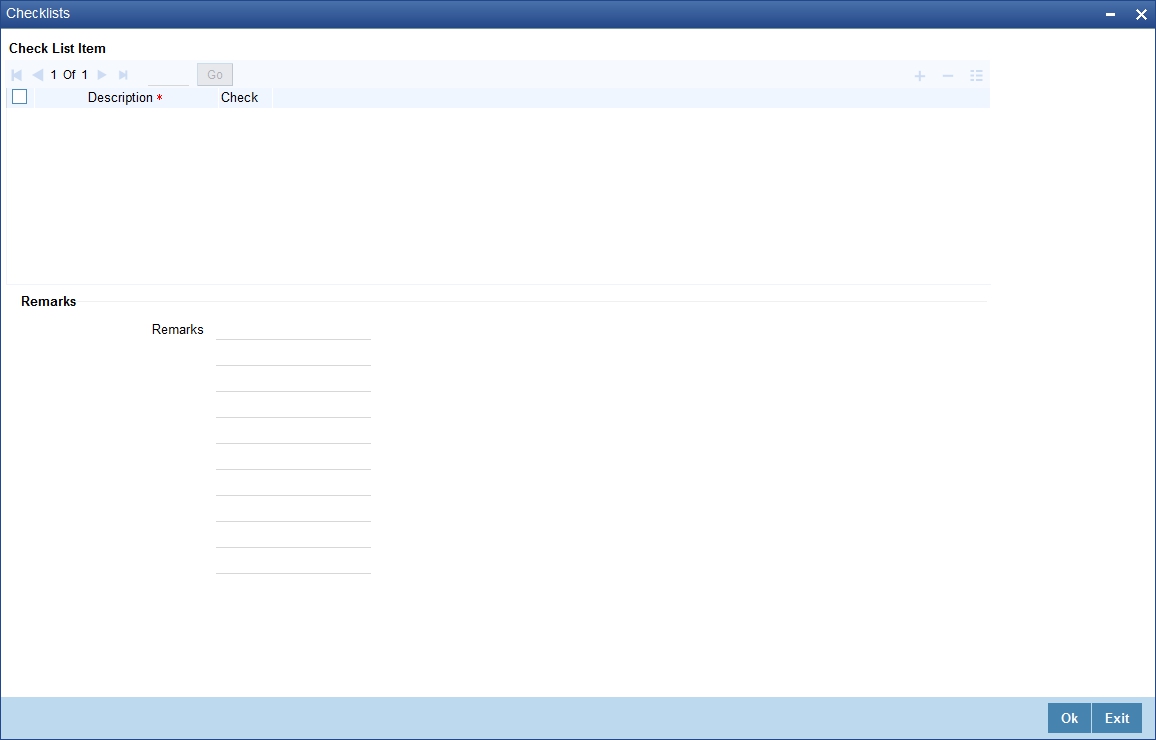
This screen displays the check list items for manual disbursement. All check list items have to be verified for successful disbursal of the loan. To do this, check the ‘Check’ box against each check list item.
You may also capture any additional information/remarks, if required, under ‘Remarks’.
Click ‘Ok’ button to save and return to the ‘Bulk Manual Disbursement’ screen.
6.6.4 Capturing values for the Event level UDFs
You can enter values for the UDFs that you have associated with the manual disbursement event in the ‘Event Details’ screen. To invoke this screen, click ‘Event Fields’ button.
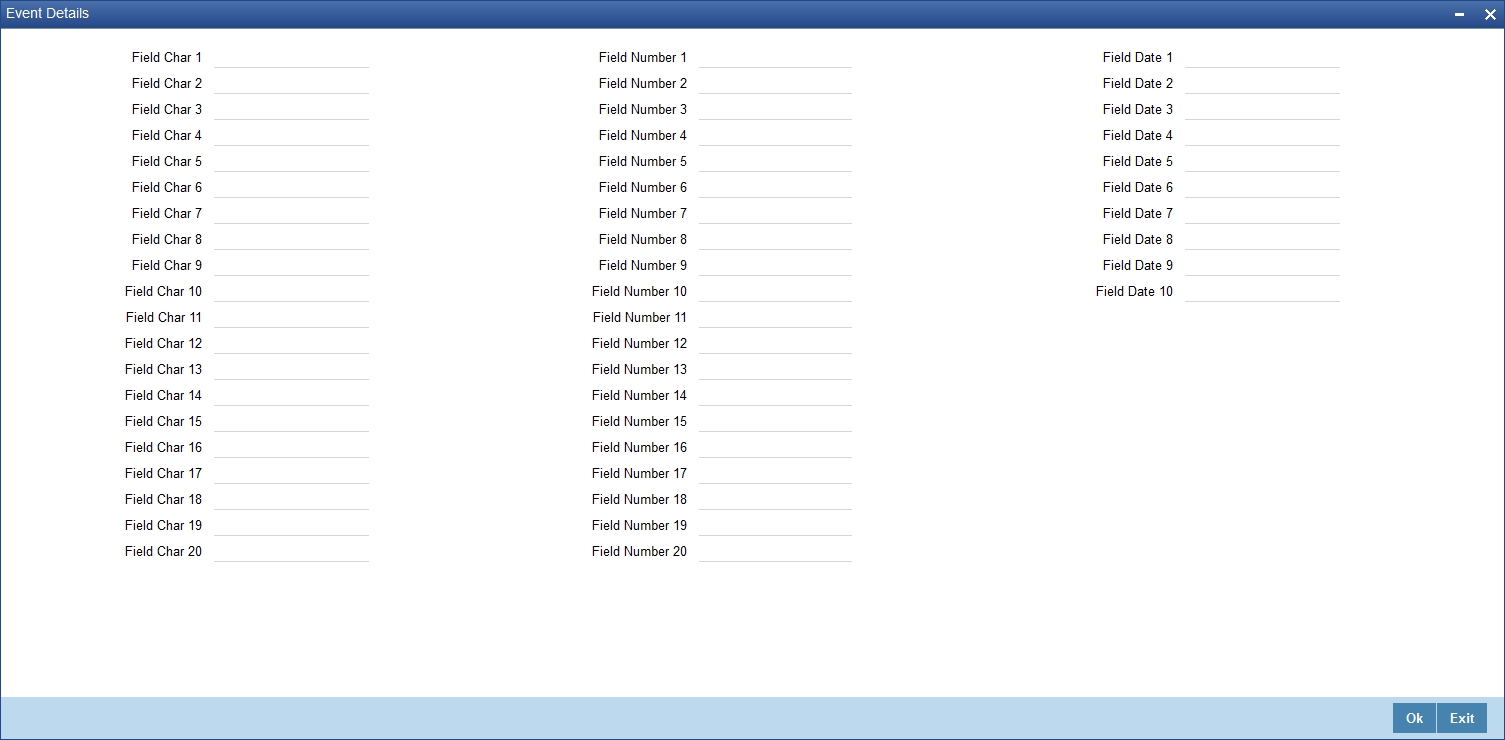
The system allows you to enter different values for the same UDF for events that get repeated for the same loan account. For instance, if you have multiple disbursements for a Loan Account, you can capture different values for UDFs for different disbursements.
Click ‘Ok’ button to return to the ‘Bulk Manual Disbursement’ screen.
6.6.5 Capturing Advice-related Details
You can view the advices defaulted which also include the Payment Message in the ‘Event Advices’ screen. To invoke this screen, click ‘Advices’ button in the ‘Bulk Manual Disbursement’ screen. You can also choose to suppress the messages as required. You can opt to suppress the Payment Message defaulted in case you do not need a credit through swift message. The defaulted details can be overridden at this stage and if the settlement mode is changed to anything other than CASA, the swift message is automatically suppressed.

System automatically suppresses the payment message under the following conditions:
- If the Principal Credit Settlement account is changed to a GL or if the receiver in Swift Msg Details tab is not valid to receive the message i.e, if the Customer Type of the Receiver party is not a Bank
- If the settlement mode for PRINCIPAL component is changed to anything other than CASA
If the Transfer Type is chosen as blank i.e, neither Customer Transfer nor Bank Transfer and if the Receiver is a bank and the credit settlement account is a current account, then the PAYMENT_MESSAGE becomes CREDIT_ADVICE by Swift (MT910).
6.6.6 Viewing Bulk Manual Loan Disbursement Summary
You can view a summary of bulk manual loan disbursements using the ‘Bulk Manual Disbursement Summary’ screen. You can invoke this screen by typing ‘MFSBLKDS’ in the field at the top right corner of the Application tool bar and clicking the adjoining arrow button.

You can query on records based on any or all of the following criteria:
- Authorization Status
- Center/Group Code
- Bulk Reference Number
- Value Date
Click ‘Search’ button. The system identifies all records satisfying the specified criteria and displays the following details for each one of them:
- Authorization Status
- Bulk Reference Number
- Center/Group Code
- Component
- Value Date
- Execution Date
- Remarks
- Maker ID
- Release Time
- Checker ID
- Checker Date Stamp
6.7 Viewing Bulk Authorization of Loan Account
You can view the bulk authorization of loan account for an entity. You can invoke the ‘Bulk Authorization’ screen by typing ‘MFDBLKAU’ in the field at the top right corner of the Application tool bar and clicking on the adjoining arrow button.

Here you need to specify the following details.
Entity
Specify the entity either as Group or Center. On the basis of the entity selected, loan account which is unauthorized will be populated on query.
You can select account which needs to be authorized. Overrides related to each account are displayed. During authorization, if any account fails that account will be skipped.