4. Defining Attributes for Securitization Products
This chapter contains the following sections:
4.1 Securitization Product
This section contains the following topics:
- Section 4.1.1, "Maintaining Securitization Product"
- Section 4.1.2, "Accounting Roles Button"
- Section 4.1.3, "Events Button"
- Section 4.1.4, "Preferences Button"
- Section 4.1.5, "Charge Button"
- Section 4.1.6, "MIS Button"
- Section 4.1.7, "Accounting Roles and Amount Tags for Securitization"
4.1.1 Maintaining Securitization Product
In this chapter, we shall discuss the attributes for a Securitization Product. You can maintain the securitization product details in the ‘Securitization Product Definition’ screen. You can invoke this screen by typing ‘SZDPRMNT’ in the field at the top right corner of the Application tool bar and clicking on the adjoining arrow button.
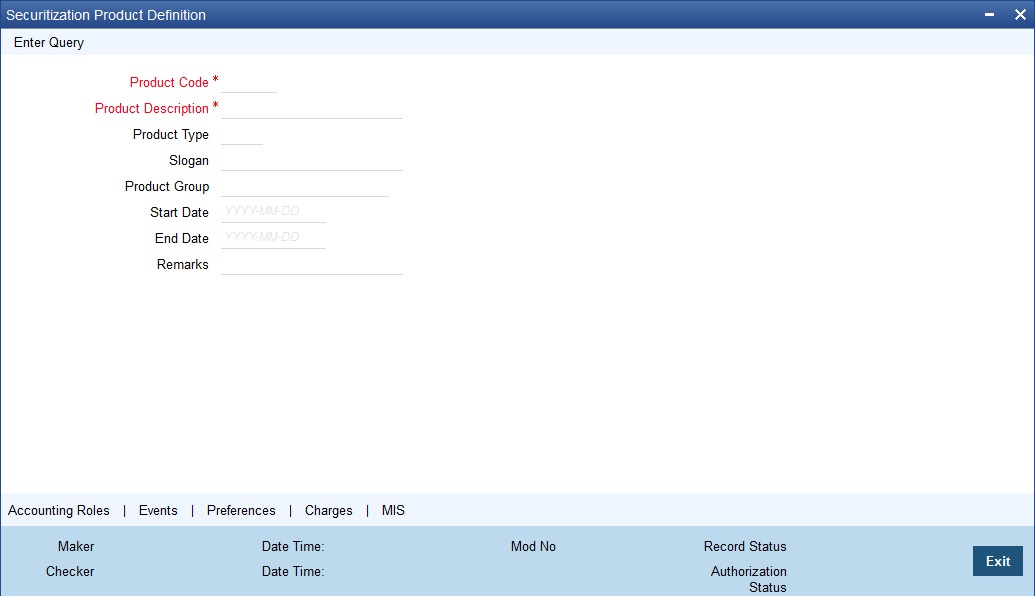
Here you can capture the following details:
Product Code
Specify the product code of the product.
Product Description
Specify a short description about the product,
Product Type
Specify the type of the product.
Slogan
Specify the slogan of the product.
Product Group
Specify the product group.
Start Date
Specify the product available start date.
End Date
Specify the product available end date.
Remarks
Specify short note about the product.
4.1.2 Accounting Roles Button
You are allowed to map Accounting Role to a GL or a customer account. The system defaults the GL configured in this screen in the ‘Securitization Contract Online’ screen. Click on ‘Accounting Roles’ button to capture the details to map the accounting role to a GL or a customer account.
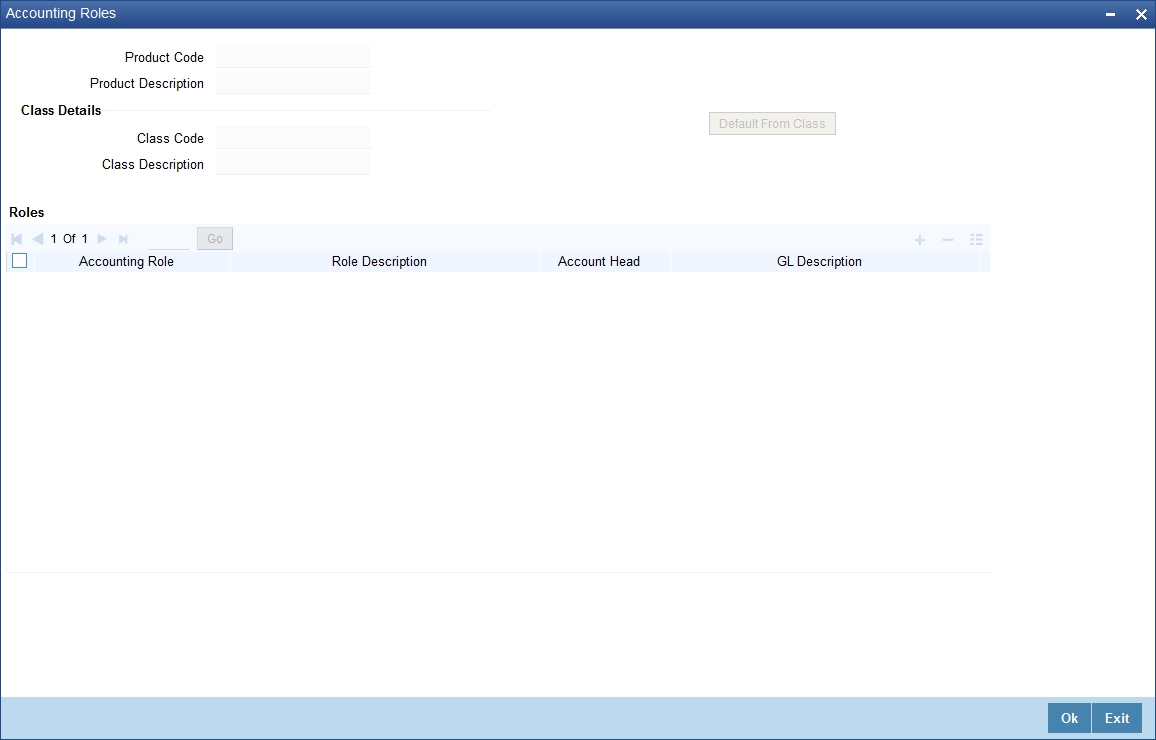
For further information on this screen refer chapter the ‘Product Definition’ under ‘Modularity’ User Manual.
4.1.3 Events Button
You are allowed to define or specify the pre-defined events in securitization product based on the nature of securitization. You should click on the ‘Events’ button to capture the details of the event. In the ‘Events’ screen, you can attach the applicable events to the product.
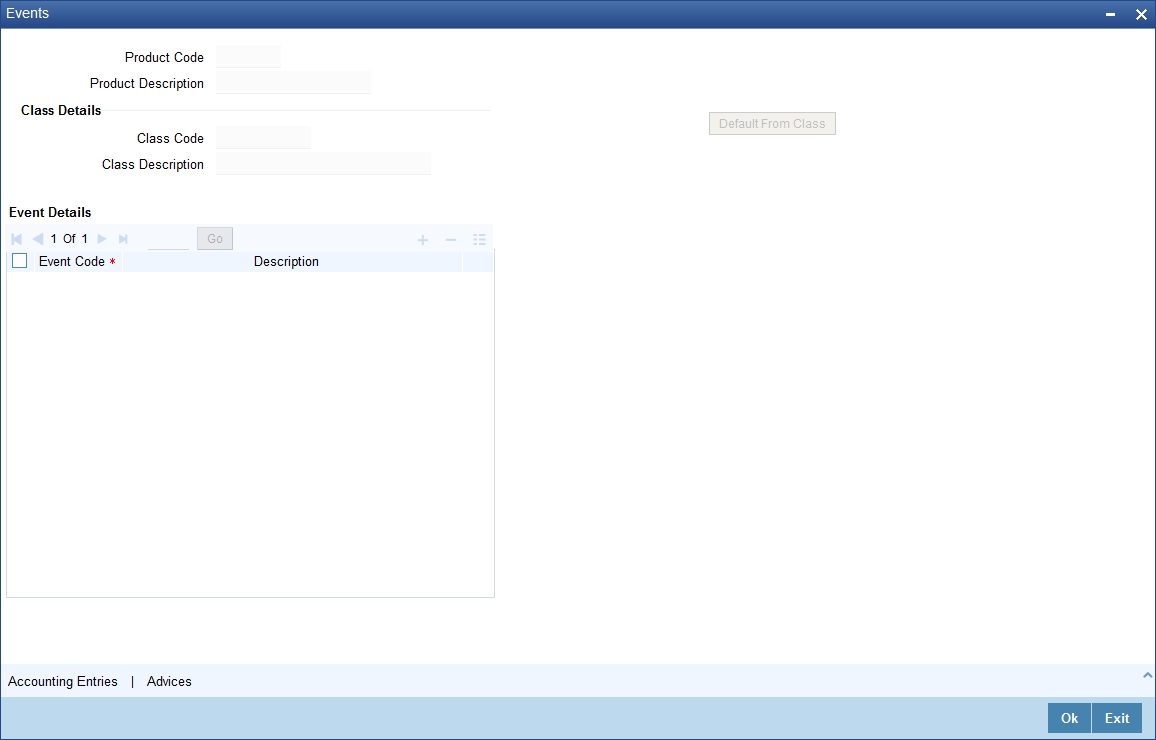
For further information on Events, Accounting Entries, and Advices, refer ‘Product Definition’ User Manual under ‘Modularity’ User Manual.
4.1.4 Preferences Button
You need to maintain the common attributes which are used to define the Securitization product in the Preference section.
Click ‘Preferences’ button in ‘Securitization Product Definition’ screen to maintain preferences for the specified securitization product.

Here you need to capture the following details:
Preferences
You can set the preference details here.
Product Code
The system defaults the product code.
Product Description
The system defaults the product description.
Rate
You can set the rate details here.
Rate Type
Select the code that should be used for the product from the option list provided. The ‘Rate’ and ‘Rate Type’ are used in combination to determine the actual rate applicable for currency conversion.
The default value for Rate Code is ‘STANDARD’. This means that, if you choose ‘Mid Rate’, the mid rate maintained for the STANDARD code is used for the loans created under the product.
Rate
Indicate the exchange rate applicable for the product you are maintaining. The available options are:
- Mid Rate
- Buy/Sell Rate
By default, the Buy/Sell Rate is used.
Liquidation
You can specify the liquidation details here.
Liquidation Mode
Indicate the mode of liquidation. The options available are:
- Auto
- Manual
Tenor
You can set the tenor details here.
Minimum Tenor
Specify the minimum tenor of a product. The tenor of the loan account that involves the product should be greater than or equal to the Minimum tenor that you specify.
Maximum Tenor
Specify the maximum tenor for a product. The tenor of the loan accounts that involve the product should be less than or equal to the Maximum tenor that you specify.
Default Tenor
The ‘default tenor’ is the tenor that is associated with a loan account involving this product. The value captured here should be greater than the minimum tenor and less than the maximum tenor. You can change the default tenor applied on a loan account during loan processing. However, the new tenor should be within the minimum and maximum tenors maintained for the product.
Unit
Select the tenor details for a product from the drop down list. The options available are:
- Days
- Months
- Year
Others
You can set the buy back of pool details here.
Buyback of Pool Allowed
Check this option to allow the bank to buy back the sold accounts.
Periodic Charges
You can specify the periodic charges here.
Frequency
Select the frequency of the periodic charges to be applied from the drop down list. The options available are:
- Monthly
- Quarterly
- Half yearly
- Yearly
Start Reference
Select the periodic charge starting day from the drop down list. The options available are:
- Value Date
- Colander Date
Month
Select the starting month of the periodic service charge.
Note
It is applicable only when start reference is calendar date.
Day
Specify the starting day from which charges should be levied.
Note
It is applicable only when start reference as calendar date.
Charge Amount
Specify the amount to be charged for the service during the period.
Currency
Specify the service charge currency.
Profit/Loss Accrual
You can set the accrual details here.
Here
Accrual Required
Check this box to indicate that the component has to be accrued and provisioning is applicable.
Frequency
If you have opted for accrual and provisioning for the components, you have to specify the frequency for the same. The frequency can be one of the following:
- Daily
- Monthly
- Quarterly
- Half yearly
- Yearly
Start Reference
Select the starting date for the Profit/Loss accrual. If it is Value Date, system will take the value date as starting date and compute the schedule. Incase if the starting date is Calendar Date, system will compute the start date based on Month and Date specified.
Month
Specify the month in which the first accrual has to begin, if you set the accrual/provisioning frequency as quarterly, half yearly or yearly.
Day
Specify the day on which the accrual/provisioning has to be done.
Rekey Requirements
If you wish to ensure re-keying of values in certain fields of the contract during contract authorization, you can indicate it here. You can also select the fields for which you wish re-keying to be done. Specify the following details:
Rekey Required
Indicate whether to avail the re-key facility or not during contact authorization for contracts created using this product. The options available are:
- Yes
- No
Amount
Check this box to re-key the amount during contract authorization.
Currency
Check this box to re-key the currency during contract authorization.
Value Date
Check this box to re-key the start date during contract authorization.
Maturity Date
Check this box to re-key the end date during contract authorization.
Product Restriction
Branch Restriction List
Indicate whether you want to create a list of allowed branches or disallowed branches by choosing one of the following options:
- Allowed
- Disallowed
Currency Restriction List
Indicate whether you want to create a list of allowed currencies or disallowed currencies by selecting one of the following options:
- Allowed
- Disallowed
Category Restriction List
Indicate whether you want to create a list of allowed customers or disallowed customers by choosing one of the following options:
- Allowed
- Disallowed
4.1.5 Charge Button
Click on ‘Charges’ button to specify the charge details.

For further information on this screen refer chapter the ‘Product Definition’ under ‘Modularity’ User Manual.
4.1.6 MIS Button
You can retrieve MIS related information for a product by linking it to a Warehouse Code. Linking a product to a warehouse code ensures that all contracts processed under the product are automatically tracked under the specified Warehouse Code.
Click ‘MIS’ button to define the MIS details for the product you are creating.
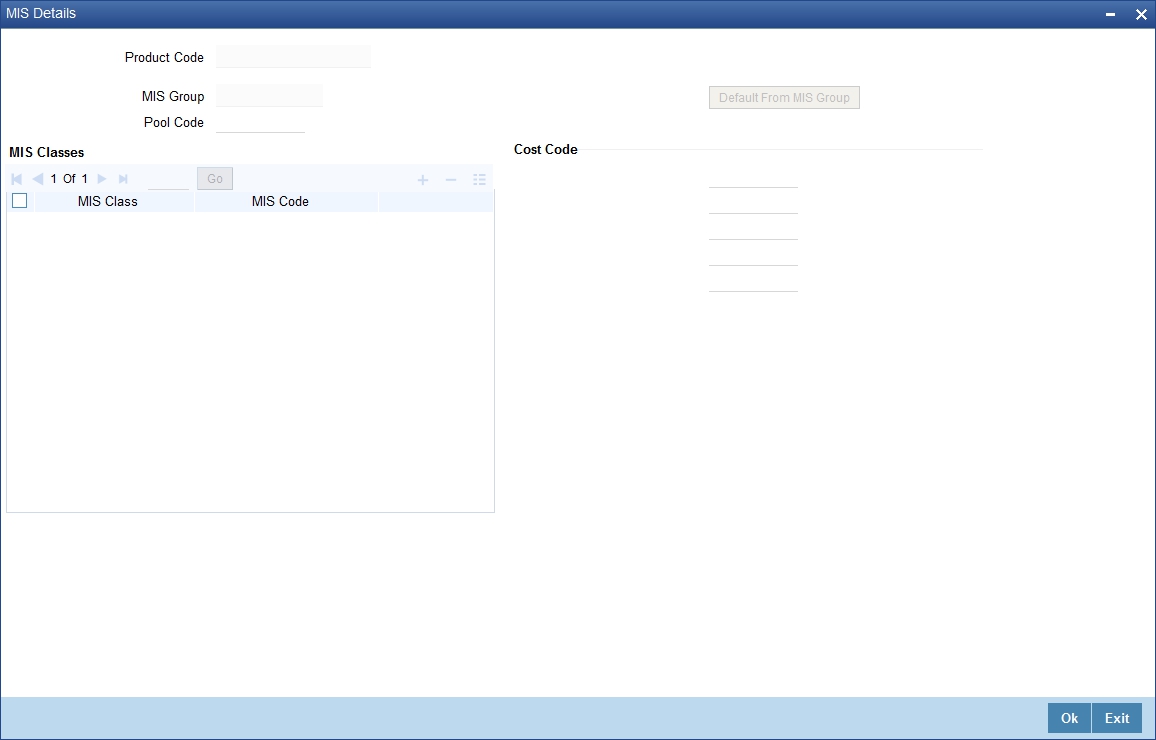
For further information on this screen refer chapter the ‘Product Definition’ under ‘Modularity’ User Manual.
4.1.7 Accounting Roles and Amount Tags for Securitization
The following are the Accounting Roles and Amount Tags for Securitization:
Accounting Role |
Description |
SPV_SETTL_ACC |
Accounting role for SPV settlement account. All credit/debit transaction for SPV is handled through the specified settlement account |
SPV_SETTL_BRIDGE_CR |
Bank GL account for SPV Credit Settlement bridge |
SPV_SETTL_BRIDGE_DR |
Bank GL account for SPV Debit Settlement bridge |
Note
- A loan account can be part of only one securitization pool.
- Post securitization, Interest/penal interest accrual continues.
- Post securitization, the system does not allow readjustment/backdated amendments for loans participating in the securitization pool. It is handled operationally.
- The system does not transfer schedule payments paid in advance and realized before securitization to SPV during securitization.
- Securitization of loan (contract booking) is possible only in head office branch.
- Post sale, the system does not allow any amendments resulting in addition and removal and it cannot be combined in a single amendment.
- Post securitization, the system triggers CL events and posts the accounting entries according to the product configurations.
- If the status of loan account is ‘Marked for securitization’, then the system restricts performing account specific operations like amendment, disbursement or payments, on the same day until the securitization process is completed as part of intra-day batch and also raises the following message “Islamic asset is under batch securitization”.