2. Upgrading the Oracle Financial Services Lending and Leasing Database
2.1 Pre-requisites
- It is assumed that an earlier version of Oracle Financial Services Lending and Leasing is installed.
2.2 Audience
This document is intended for system administrators or application developers who are upgrading Oracle Financial Services Lending and Leasing Application.
2.3 Conventions Used
Term |
Refers to |
Home Directory/$OFSLL_HOME |
Oracle Financial Services Lending and Leasing Home Directory |
Application |
Oracle Financial Services Lending and Leasing |
2.4 Upgrading Application Database
An upgrade is a process of updating an existing version to its higher version. For example, upgrading Oracle Financial Services Lending and Leasing from 14.7.0.0.0 to 14.8.0.0.0.
Audit Logging (Optional)
Audit logging is moved to new tablespace. However, the institution can continue to use the existing tablespace setup OR move to a new one. To facilitate the same, do the following:
- Login as sys user and create Audit Tablespaces (DATA and INDEX). Grant quota to OFSLL schema owner. Sample scripts ‘crt_ofsll_tablespace.sql’ and ‘alter_ofsll_user_quota.sql’ are provided in ‘\ofslldb.zip\dba_utlis’ folder in release bundle.
- After creating tablespace, copy the below sql files available in \ofslldb.zip\sql folder to $OFSLL_HOME\sql. This is executed during the subsequent steps of upgrade process.
- storage_parms_table_aud.sql
- storage_parms_index_aud.sql
- Login as OFSLL schema owner and move the ‘audits’ table to the newly created audit tablespace. For example, ALTER TABLE AUDITS MOVE TABLESPACE OFSLL_AUD_DATA;
- Since the audit table is moved to newly created tablespace, recreate the index by executing the following SQL file available in ‘\ofslldb.zip\data_fix’ folder - upgrade_rebuild_audit_table_indexes.sql.
Note
Verify that the Audits table and the corresponding indexes are moved to new tablespace.
2.4.1 Upgrade to 14.8.0.0.0
Choose ‘2’ as the installer option at the ‘Selecting the Install Type’ stage, then the script runs the upgrade installer.
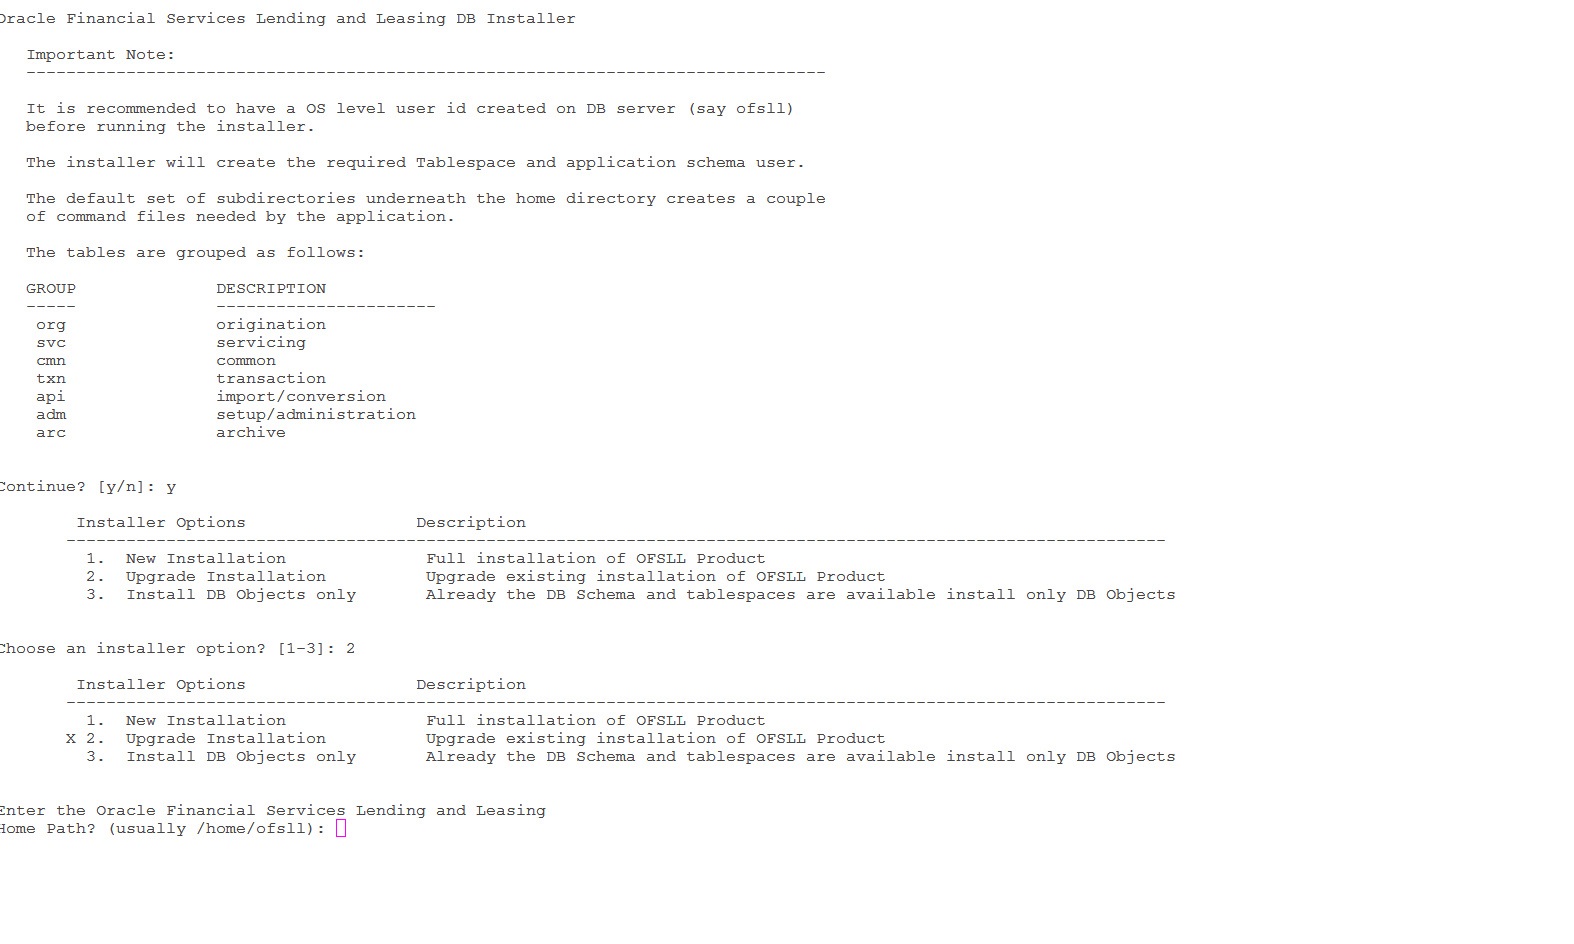
During the upgrade process directory objects are to be created and installer prompts for the same as indicated below:
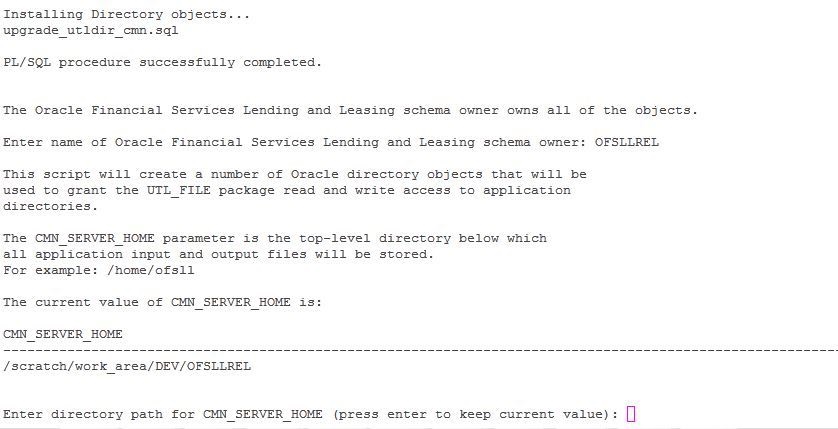
Respond to the prompts and continue. For more details, refer to ‘Installing Upgrade’ section in Database Installation Guide.
While installing the upgrade, the installer performs the following tasks:
- Stop the running services, if any.
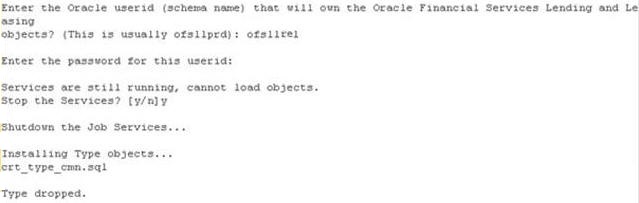
- In case you see the below prompt to stop the queue for loading objects, press ‘Y’ and press Enter to confirm.

- In case the Schema is EBR (Edition based Redefinition) enabled,
- You will be prompted as below. Press 'Y' and enter to continue.

- Enter the Edition name and press enter. Confirm 'Y' when prompted.

- Install the upgrade

- Recompile the invalid objects and complete installation.

Post upgrade, install the database object of web services by referring to the instructions detailed in chapter 2 ‘Installing WebServices Database Objects’ of WebServices Installation Guide.
Grant java file permissions for the directory objects created by executing the script ‘set_java_perms.sql’ available in dba_utils folder. For more information, refer to the process detailed in section 2.5 of Database installation guide.
Note
- Post upgrade, if there are any invalid java stored procedures noticed, please recompile the respective units manually.
- In case where ‘Edition based Redefinition’ (EBR) is enabled, the default edition of database is to be modified/switched to the new edition. This is to be done by system administrator only after both Database Patch and Webservices Patch objects are installed as mentioned in chapter 2 and chapter 4.2 and when all the database objects are in valid state.