2 Create What If Allocation
Oracle Retail Allocation allows you to create simulated allocation scenarios prior to generating an actual allocation. For operational efficiencies, allocation results from a What If allocation can be used to generate various types of Merchandising Purchase Orders. This chapter describes the different steps involved in creating a What If allocation. To create a What If allocation, select and review the items, add locations, and assign policies.
The What If Summary window displays the results of a What If allocation. From the What If Summary window you can create a purchase order, making the hypothetical allocation a reality.
Create a Worksheet
The Worksheet window allows you to view items that are selected for allocation, the quantity available, the item type, and source information. You can add or delete items from the worksheet.You can review the items selected for the allocation in the Worksheet window. To create a worksheet:
-
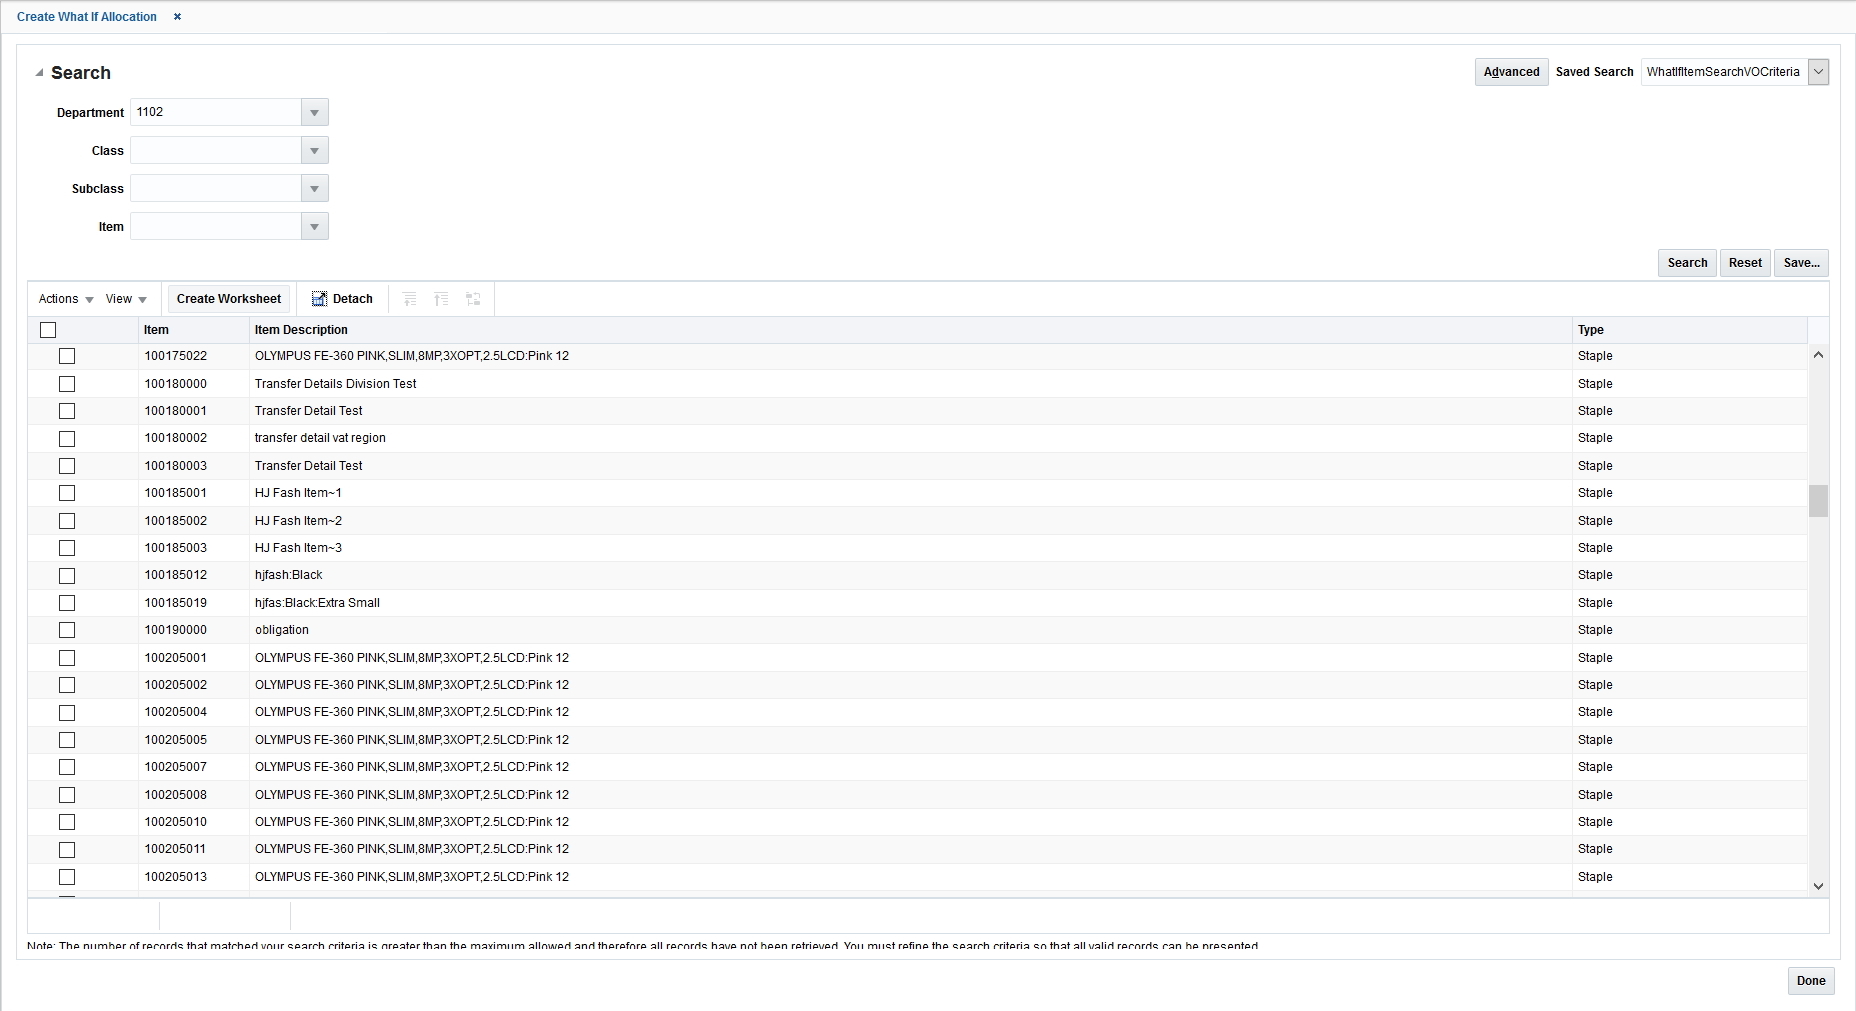
From the Tasks menu, select Create What If Allocation. The Create What If Allocation window appears.
-
Search for the items that you want to add to the worksheet.
-
Select the required items from the search results. The Create Worksheet button is activated.
-
Click Create Worksheet. The What If - Worksheet window appears with the selected items listed.
Select Items
You can search for items to allocate using the Create What If Allocation window. The Create What If Allocation window allows you to:
-
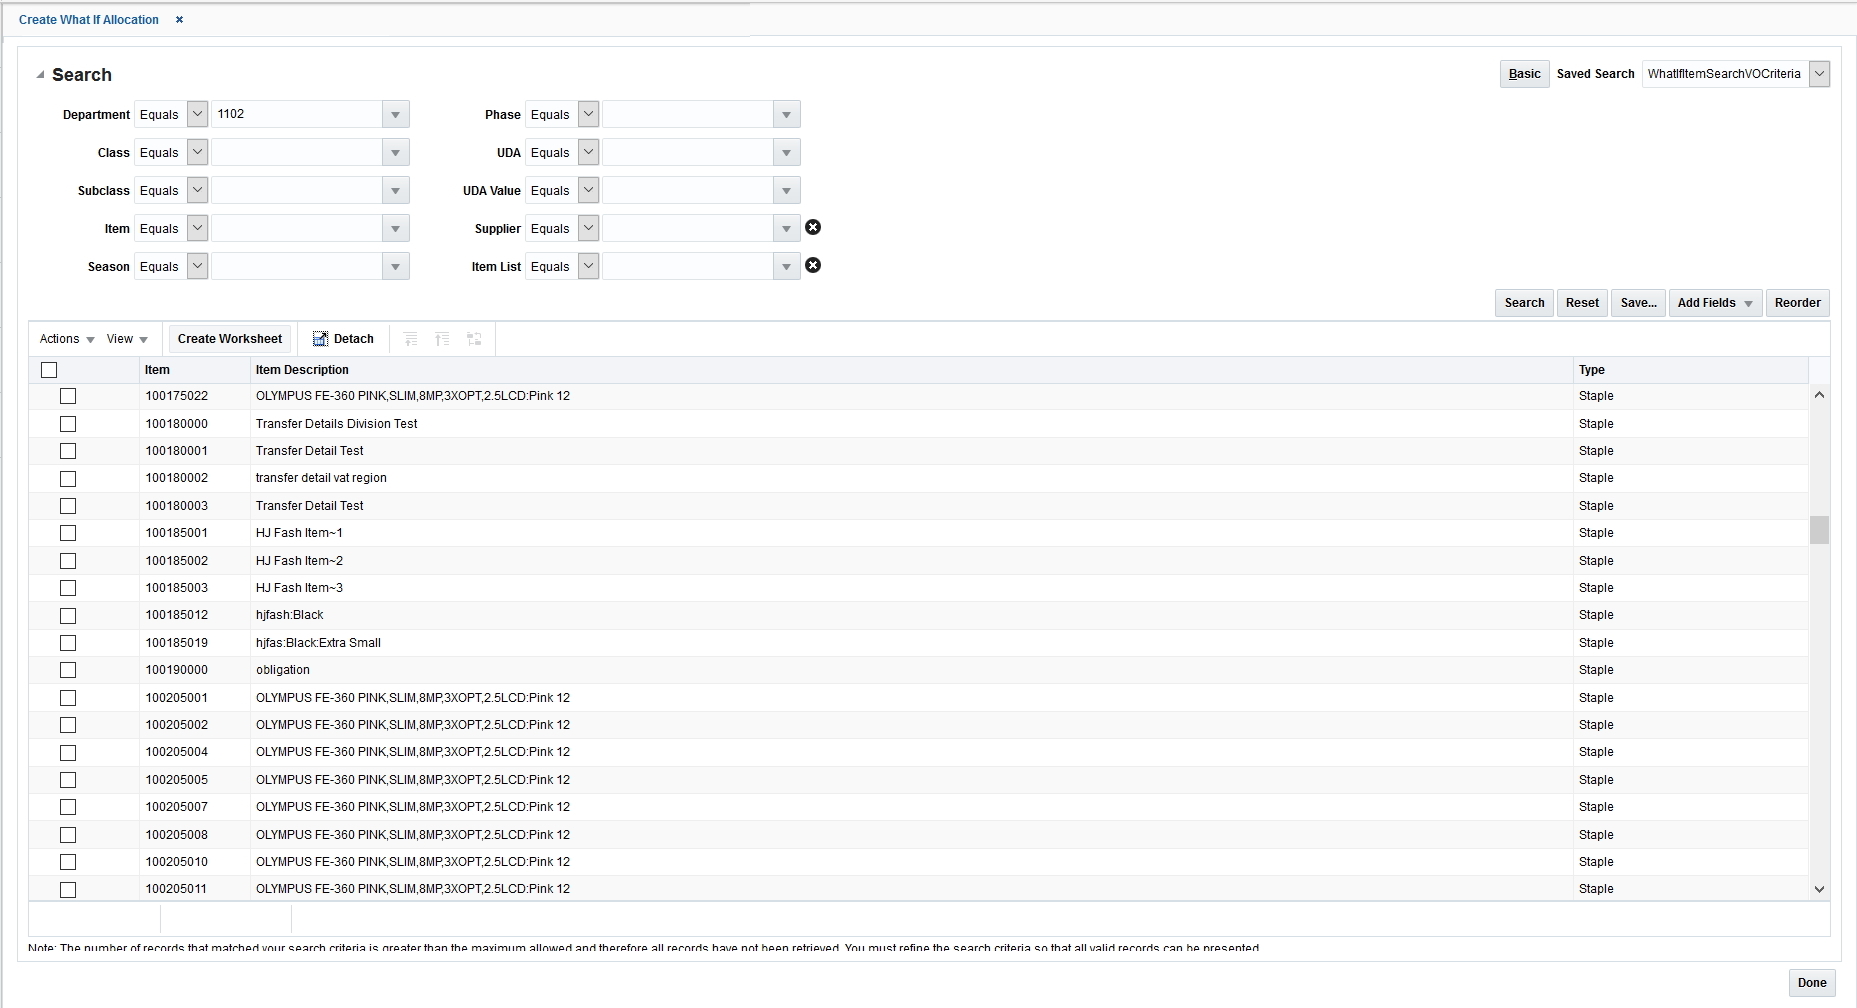
Search for items – After the sources are selected, you can search for items to allocate using Basic or Advanced search options or by applying a Saved Search.
-
View search results – After searching for items, you can view the search results in this section and select the items the you want to allocate.
-
Create Worksheet – You can create a Worksheet with the selected items for further processing of allocations.
Search for Items
To search for items to allocate:
-
From the Tasks menu, select Create What If Allocation. The Create What If Allocation window appears.
-
To use a saved search, select the search template in the Saved Search field.
-
Optionally, click Advanced to see the advanced search options.
-
Refine your search by entering information in the available fields. The fields available for search are:
-
Department
-
Class
-
Subclass
-
Item
-
-
Click Search to view items that match the criteria.
Add Items to the Worksheet
To add items to the worksheet:
-
On the What If - Worksheet window, select Quick Item Add from the Actions menu. The item search fields are displayed in a pop-up window.
-
Search and retrieve the items that you want to add.
-
Select the items and click Add Worksheet. The items are added to the current worksheet.