In general, it is not necessary to create a project to use the database tools of Workshop Studio. The IDE can connect with any existing database that has a JDBC driver. From Workshop Studio, you can simply create a database connection and proceed to use the database tools.
For this tutorial, we will open an existing demo application which contains a database, so that we can demonstrate the database tools.
Create a new project and load the sample application
In order to access the demo database, we must first create a project and install the files.
Choose File > New > Project.
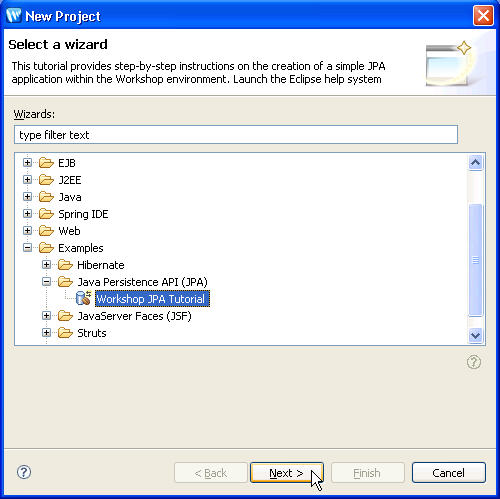
In the New Project dialog, select Examples > Java
Persistence API (JPA) > Workshop JPA Tutorial from the list.
Click Next.
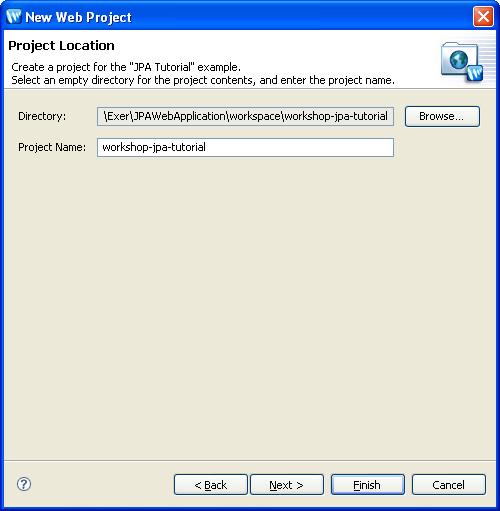
Verify that the value workshop-jpa-tutorial is in the
project name field, click Finishand click Yes to switch to Workshop perspective, if you are not already in Workshop perspective.
Connect and analyze database schema using DbXplorer
In this step, we will learn how to explore databases using the DbXplorer™.
The BEA Workshop ORM Workbench allows you to connect to any database, analyze
database schemas, tables, columns, and even populate the database with sample
data.
The DbXplorer™ provides an intuitive interface for database access through
the ORM Workbench. It allows to setup the database connection, review the database
artifacts, query the data in an existing table or column, and generate object
relational mappings.
Create a New Database Connection
Click on the DbXplorer view tab, if it is visible. If not, open
the DbXplorer view by clicking Window > Show
View > DbXplorer.
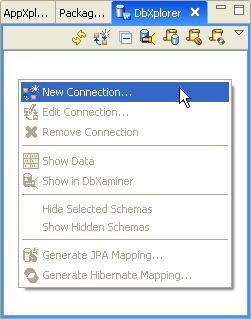
Right-click anywhere within the DbXplorer view and select New Connection.
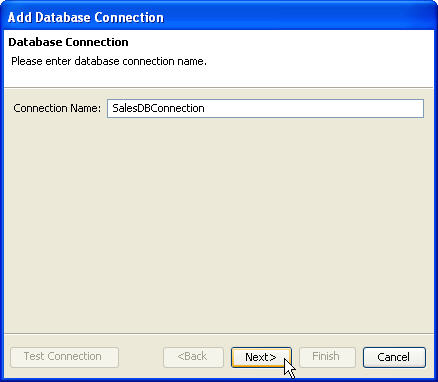
In the Add Database Connection wizard, enter a database
connection name. The database connection name can be arbitrary and does not
have to match the actual name of the database server. Click Next to proceed.
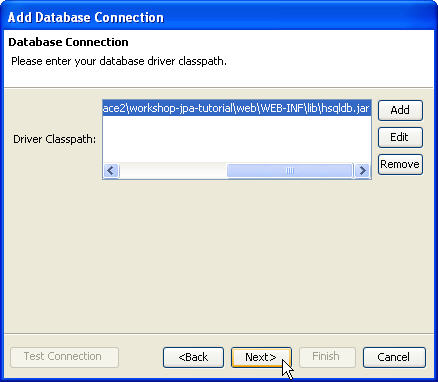
In the Add Database Connection dialog, click Add
and select the Hypersonic JDBC driver file, <path to workspace>\workshop-jpa-tutorial\web\WEB-INF\lib\hsqldb.jar.
Click Next.
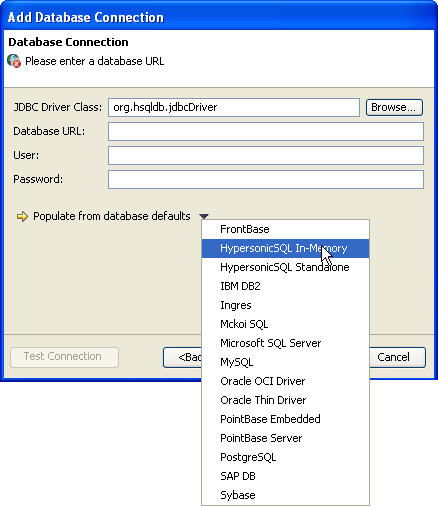
Click Browse and select org.hsqldb.jdbcDriver
as the Hypersonic JDBC Driver class.
Workshop provides sample Database URL's for some standard databases, which
can be accessed from the Populate from database defaults
pull down menu. Select HypersonicSQL In-Memory.
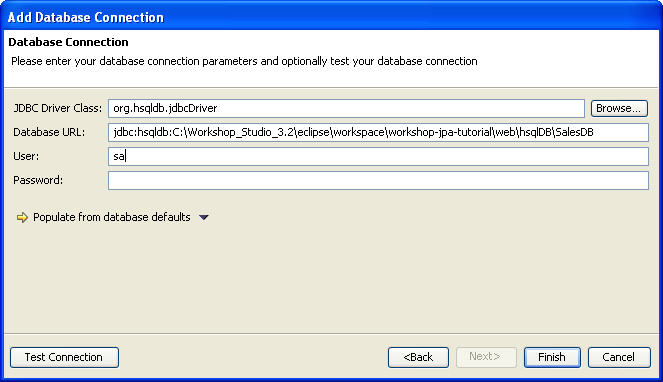
For database URL jdbc:hsqldb:{db filename}, specify the
Hypersonic database script file location for {db filename}: <path to workspace>\workshop-jpa-tutorial\web\hsqlDB\SalesDB
.
For User, enter sa.
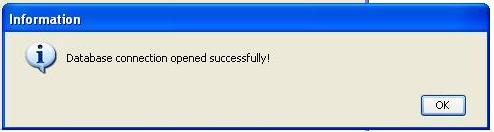
Click the Test Connection button to verify the connection
information.
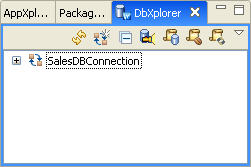
Click Finish. The new database connection displays
in the DbXplorer view.
Click one of the following arrows to navigate through the tutorial: