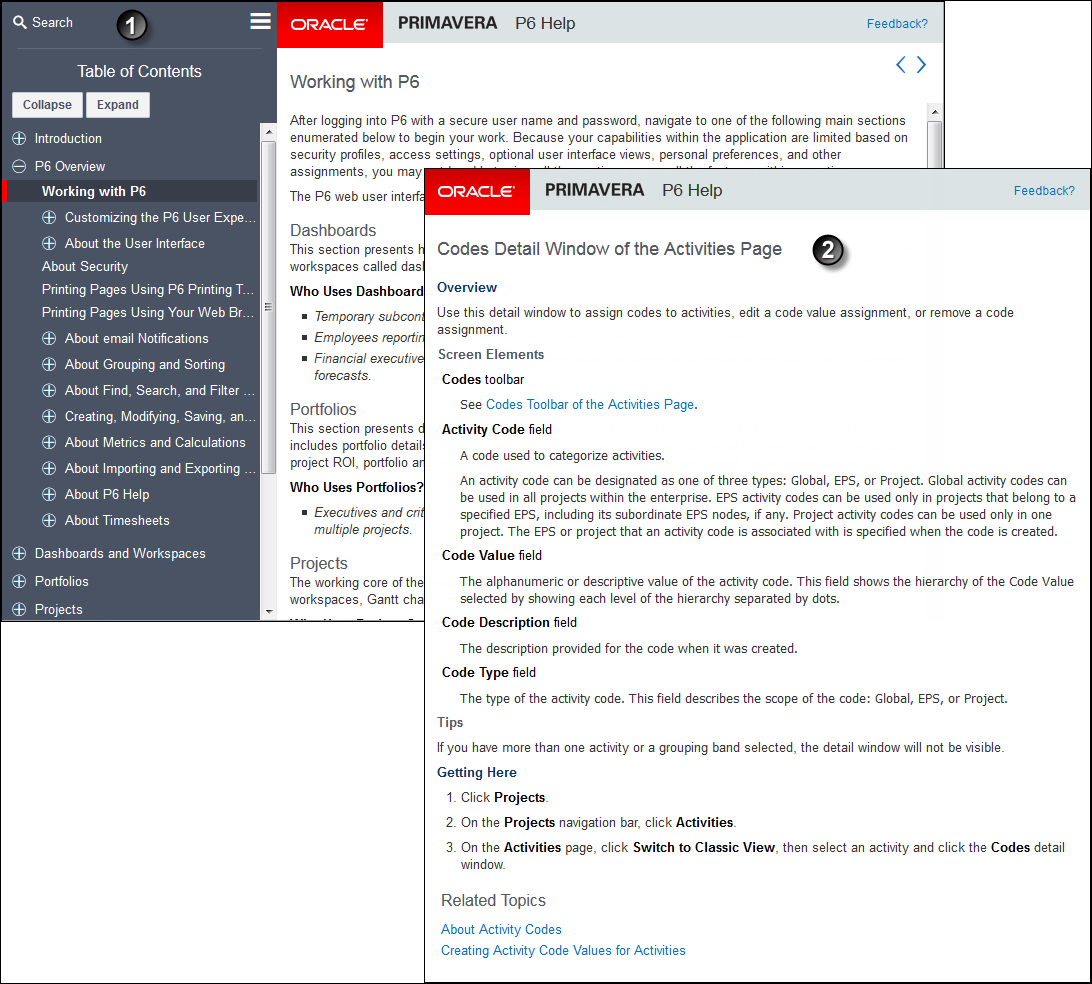
The online help appears in your default web browser whenever you need help using P6.

Table of Key Concepts: P6 Help
Item | Description |
|---|---|
| Key Help Window Elements: The Contents tab presents the table of contents for the help system showing topics arranged by subject. Use the Search tab to find help content by entering your own choice of characters, keywords, or phrases. The search feature will help you find partial word matches. For example, searching for site will return pages that include site, website, or sitemap. The search uses combination AND logic when you type multiple words or fragments. Only help topics that include all of the words or fragments appear in the results (e.g., word 1 AND word 2). If the topic is in the table of contents, click Previous Topic to view the previous help topic in the order shown in the table of contents. Click Next Topic to view the next help topic in the order shown in the table of contents. After a search, click Contents, if available, to view the topic within the table of contents. |
| Key Help Page Elements: Context-sensitive help topics include an overview, details for all screen elements on the actual P6 page, a Getting Here section listing the steps required to navigate to the page, and related topic links. Other types of topics include conceptual topics that tell you about main ideas, conceptual topics that summarize how a feature works often with sample screen images, task topics that take you step-by-step through a procedure, and reference topics that describe icons, fields, and other information. All topics may also include applicable notes, tips, examples, and other information. |
Common P6 Commands
To reduce repetition, the following screen elements are considered common and are documented once in the list below rather than on every help topic. They may appear in P6 as links or buttons:
Save: Validates the data you entered or changed and then stores it. If it cannot validate and save your data, the application will alert you so you can make corrections; for example, when a required field value is missing or if a logical constraint is not met.
Close: Closes the current page or dialog box. If you modified but did not yet save data, you will be prompted to save or discard your changes.
Save and Close: Attempts to save the data and then close the current page or dialog box, returning you to the previous page.
Cancel: Closes the page without saving any changes.
Defaults: Restores all options on the current page to their original default settings.
Apply: Applies your modified settings to the object you are editing but does not save them. This allows you to preview the impacts of your changes and decide if you want to save them or make additional changes.
Customize: Opens the available options for customizing the current item. The custom settings you make may be available to only you or to other users depending on the item being customized.
OK: On a message box or alert dialog box, acknowledges that you have read the message and want to continue rather than close or cancel the operation. On a typical application dialog box, accepts your input and attempts to continue the current task.
Assign: Applies your selection and continues the current task.