The permissions for creating an Activity Sheet are the same as those for creating a Schedule Sheet. You can create a new sheet or use a template.
To create an activity sheet
- Navigate to Projects tab > Programs > Schedule Manager > Activity Sheets. The Activity Sheets log opens.
- Click New. Select an Activity Sheet template.
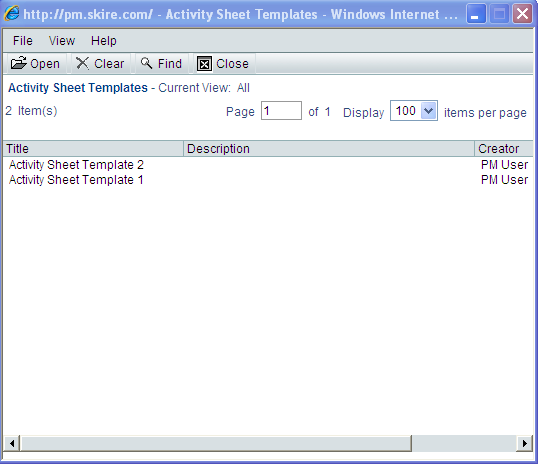
Activity Sheet templates window, example
The Activities Sheet properties window opens.
- Complete the General tab as needed, as described in the table below.
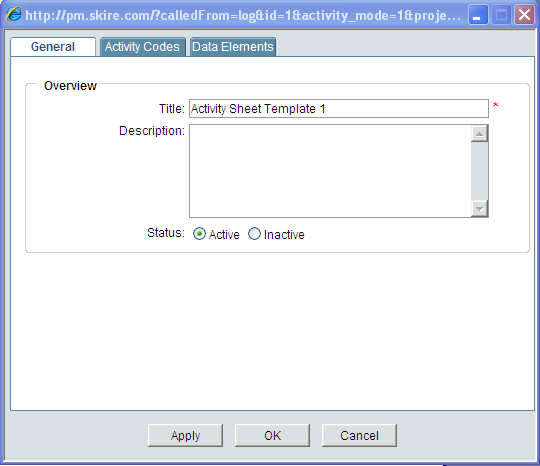
Activity Sheet properties window, General tab
- Complete the Activity Codes tab (as needed, or use the codes set up in the template) by clicking Add to add rows and select activity codes. The Activity Codes make up the columns in the Activity Sheet.
Select the activity codes that make up the columns of the activity sheet. Confer with your uDesigner user and Company Administrator to ensure that you can create activity sheets that contain the correct activity codes to form the sheet columns.
Activity names on the Master Schedule Sheet map to the Activity Codes that you add to the activity sheet. There is a one-to-one correspondence between activities and Activity Codes.
If you add the activity picker in a business process, then Unifier automatically populates the CBS cost code after you select the activity from the activity picker.
Note: Only elements that are marked as editable can be modified.
- Click the Move Up (Left) or Move Down (Right) buttons to change the sorting order of the activity codes.
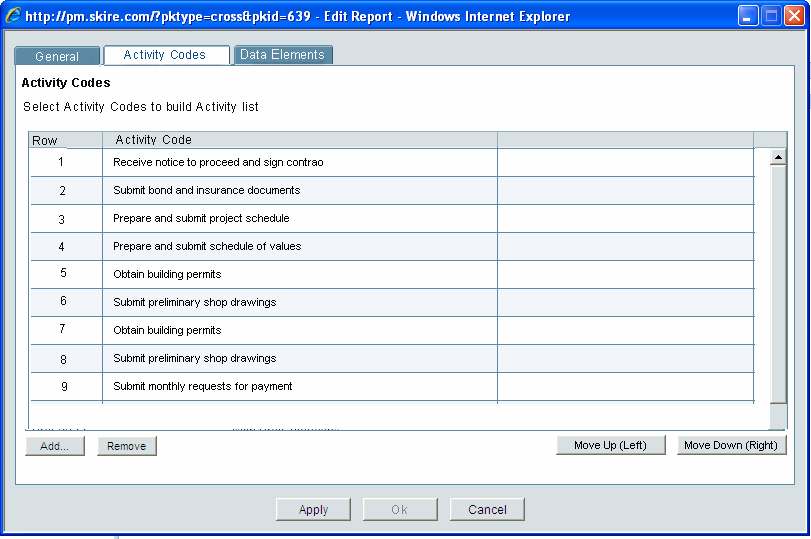
Activity Sheet properties window, Activity Codes tab example
- Click Add to add click Apply to save your changes.
- Complete the Data Elements tab by clicking Add to add rows and select activity attributes. The Data Elements make up the sub-columns in the Activity Sheet. The sub-columns are repeated under the columns. Modify these data elements as needed, or use those defined in the template.
- Use the Editable checkbox to designate which data elements will be editable in the Activity Sheet. Only one of Start Date, Finish Date, or Duration elements can be made Editable (the other two elements of the group, if added, are not selectable).
These elements are always read-only, and cannot be marked as editable:
- Actual Start/Finish/Duration
- Auto-update Activity checkbox
- Milestone checkbox
- Activity Code
- Activity Status
- Baseline elements
- Select the Allow negative lag to accommodate specified Start/Finish Dates checkbox to specify that the activity update process adjusts lag automatically to accommodate user-specified values (for Start Date, Finish Date, and Duration only). The default is unchecked.
- Click the Move Up (Left) or Move Down (Right) buttons to change the sorting order of the data elements.
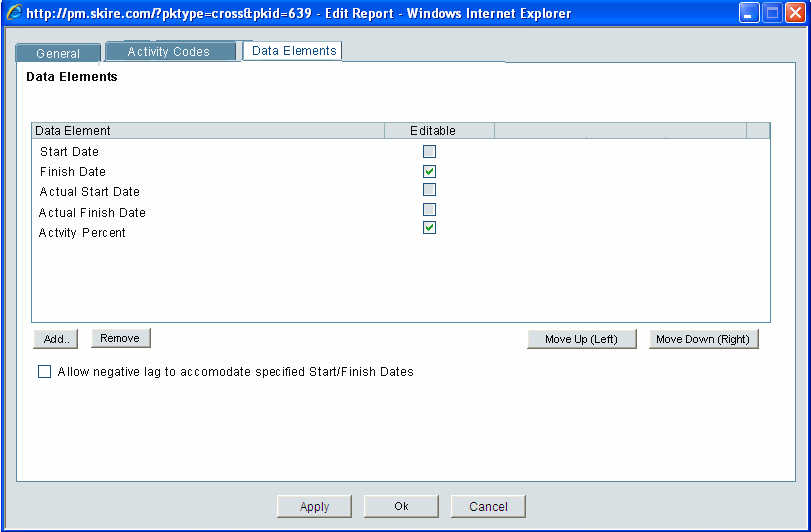
Activity Sheet properties window, Data Elements tab example
- Click OK. The new Activity Sheet is available in the log.
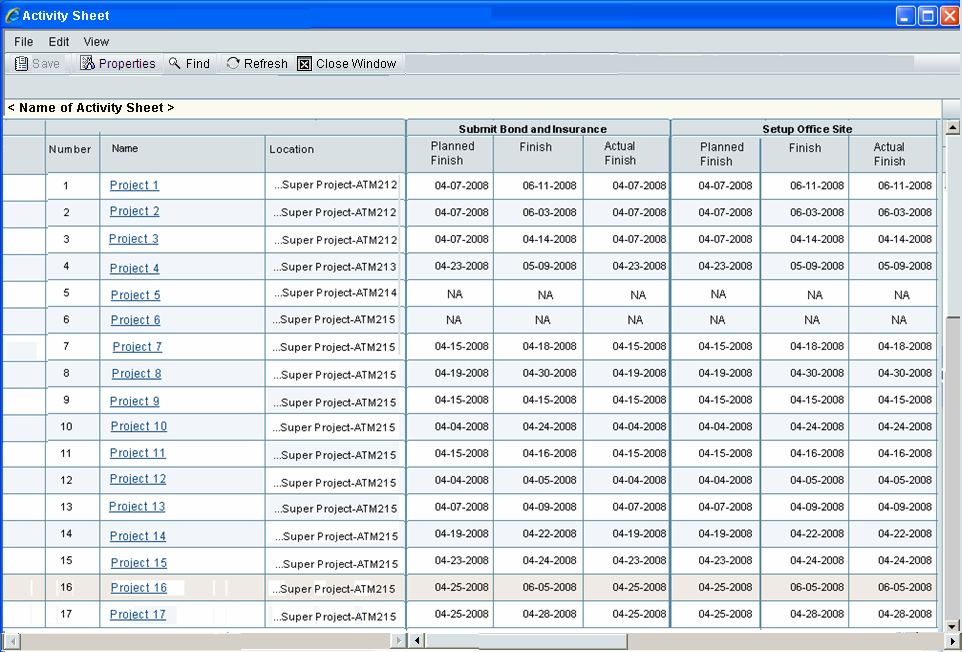
Example Activity Sheet
The rows in the sheet list the projects and shells related to the selected activity codes. The headings for the columns in the sheet are the selected activity codes; the sub-columns are the represented as the data elements for the activity codes.
The Number column lists the project or shell number; the Name column lists the project or shell name. The Location column lists the location of each shell, and is blank for projects.
Cell values are obtained from the project or shell Master Schedule Sheet from activities that the match Activity Code.
NA displays in a cell if:
- The Activity Code is not found
- You do not have permissions to view or update a Master Schedule Sheet
- A project or shell does not have a Master Schedule Sheet
In this field | Do this |
|---|---|
Title | Enter a title for the sheet. This is used as the sheet identifier and must be unique. (up to 120 characters) |
Description | Enter an optional description. (up to 400 characters) |
Status | When you are ready to make the sheet active and available for use, click Active. The default is Active. |