7. Configuring RESTful WebService
Follow the below steps to configure RESTful WebService.
- Create Data Sources for RESTful WebService
- OAuth Implementation
- Deploy RESTful WebService
- Deploy RESTful Credit Bureau WebService
7.1 Create Data Sources for RESTful WebService
- Login to Oracle Weblogic 12c console (http://hostname:port/console).
- On successful login, the following window is displayed.
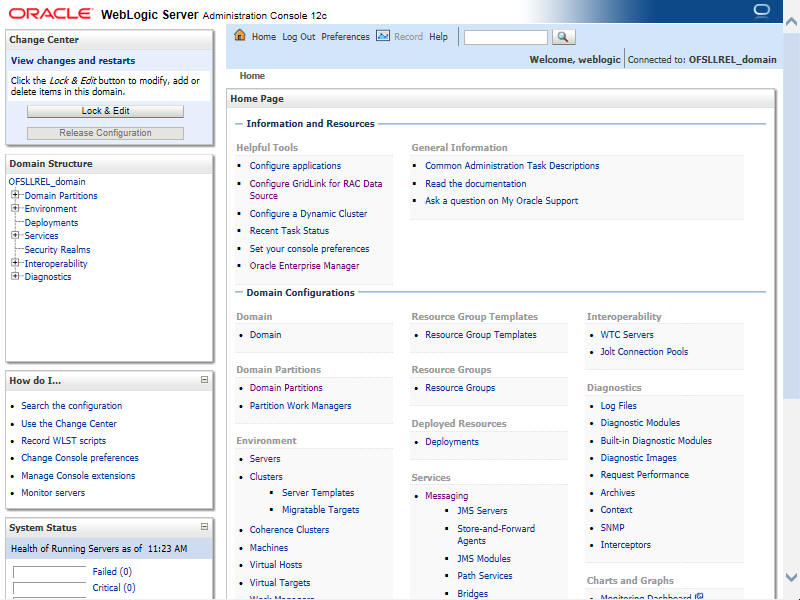
- Click Domain Name > Services > Data Sources. The following window is displayed.
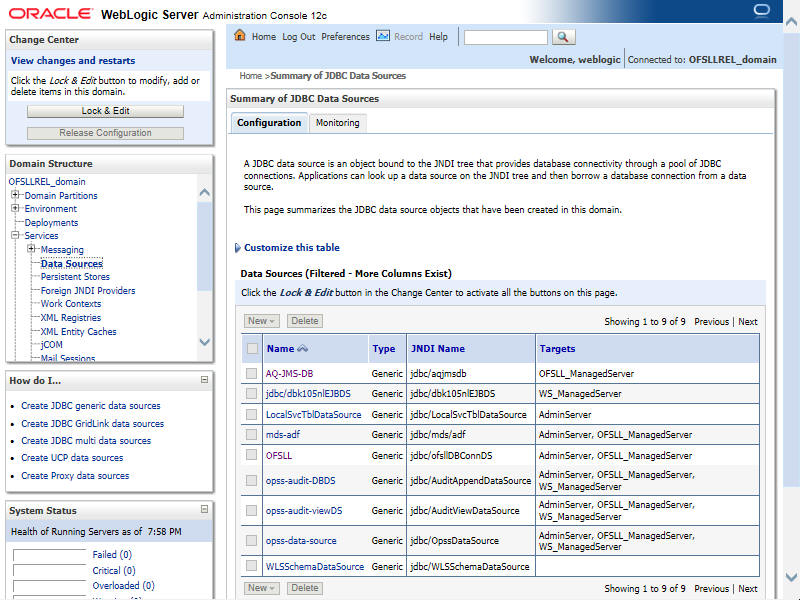
- Click ‘Lock & Edit’ button on the left panel. Click ‘New’ on right panel and select ‘Generic Data Source’.
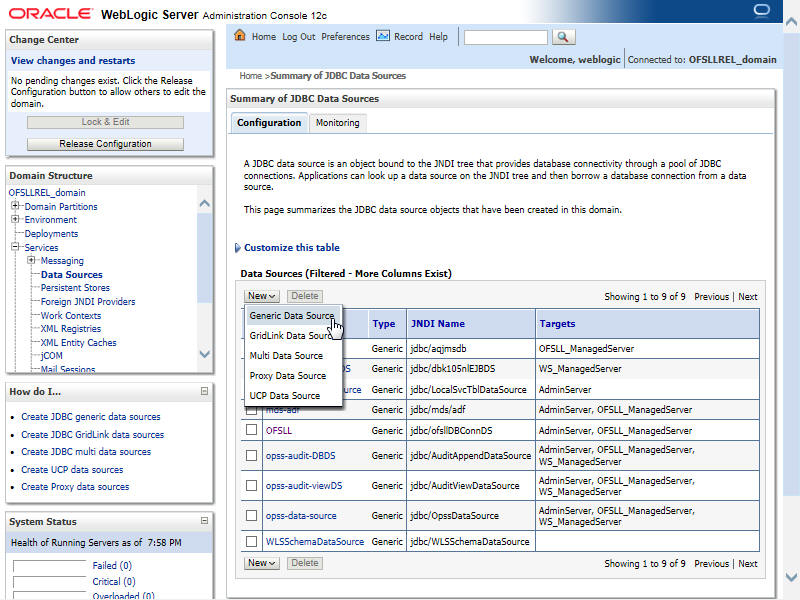
- The following window is displayed.
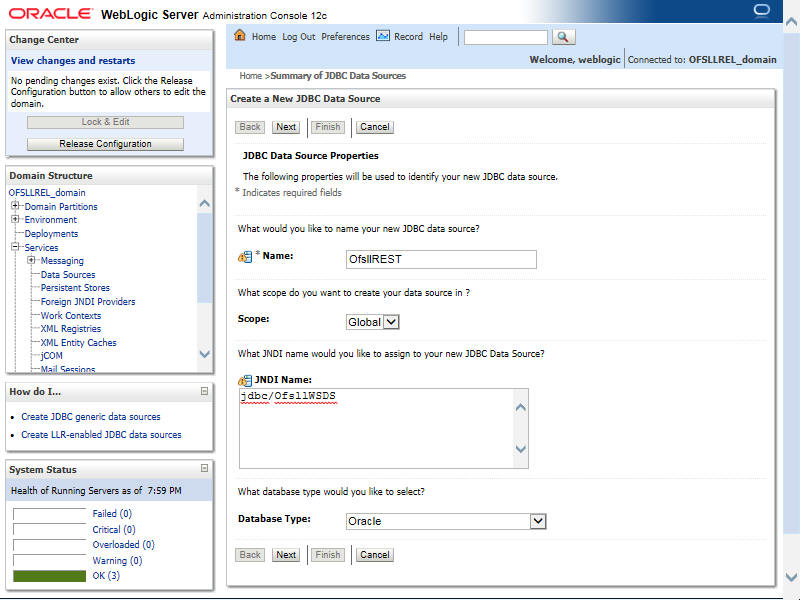
- Specify the following details:
- Enter Data source Name
- Enter the JNDI Name as ‘jdbc/OfsllWSDS’.
- Select ‘Oracle’ as Database Type.
- Click ‘Next’. The following window is displayed.
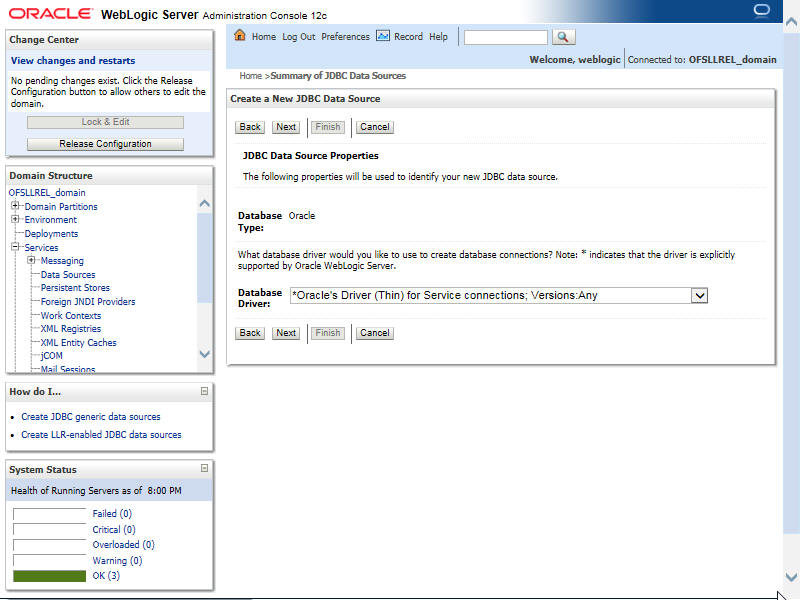
- Select the Database Driver ‘Oracle's Driver(Thin) for Services connections;Versions:Any’.
- Click ‘Next’. The following window is displayed.
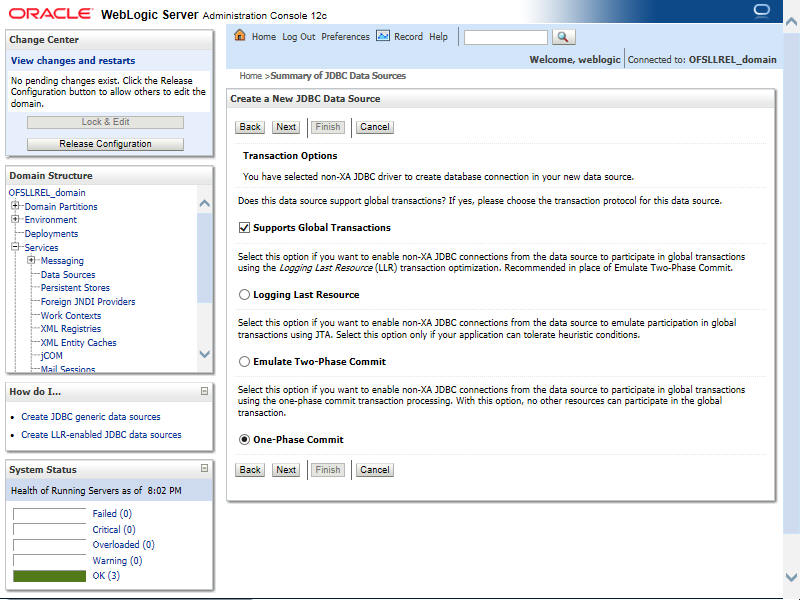
- Click ‘Next’. The following window is displayed.
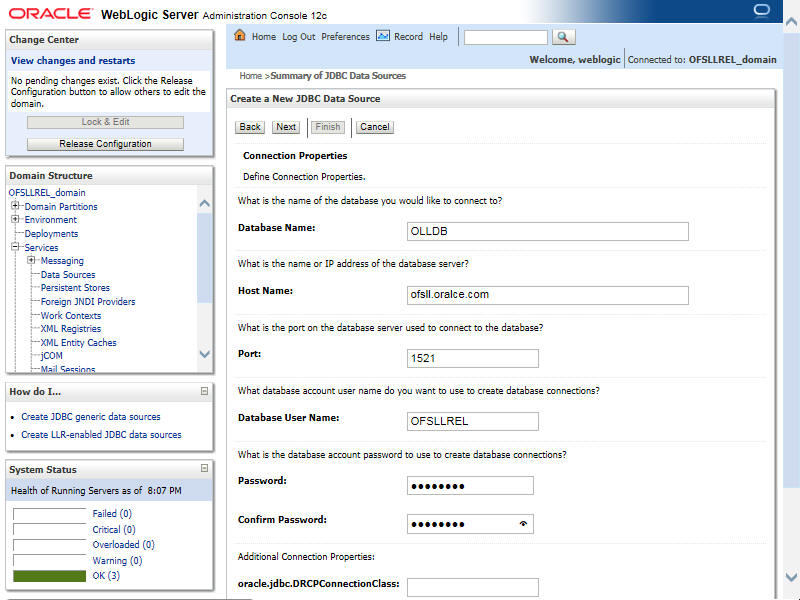
- Enter the Database details.
- Click ‘Next’. The following window is displayed.
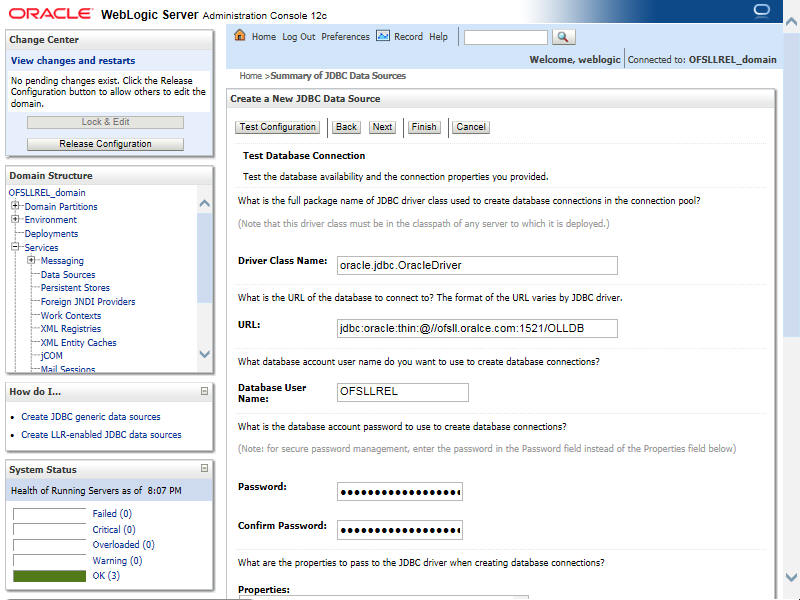
- Click ‘Test Configuration’. On completion, displays a confirmation message as ‘Connection test succeeded’.
- Click ‘Next’. The following window is displayed.
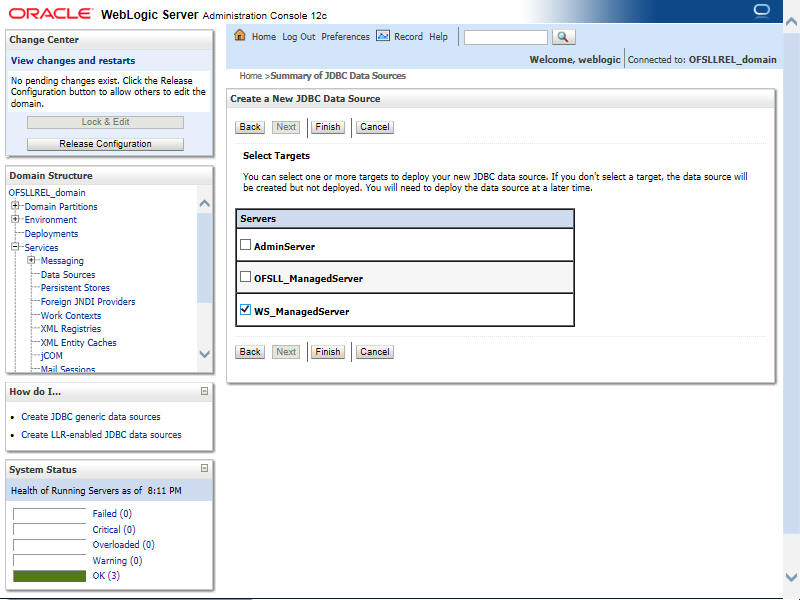
- Select target Server as ‘WS_ManagedServer’.
- Click Advanced button and update the ‘Inactive Connection Timeout’ to 300 seconds.
- Click ‘Finish’ to activate the changes.
7.2 OAuth Implementation
(Optional) To extend OFSLL SaaS, OAuth2 can be used for securing OFSLL web services user access Authentication.
Web services authentication using OAuth2 is one of the best approach for securing user authentication to extend OFSLL SaaS. This uses Oracle / Non-Oracle PaaS to authenticate service access request from an external partner application without sharing OFSLL environment access credentials (UID / Password) and leverages the built-in support for OAuth 2.0.
OAuth 2.0 is an open standard token-exchange technology for verifying a user’s identity across multiple systems and domains without risking the exposure of a password.
7.3 Deploy RESTful WebService
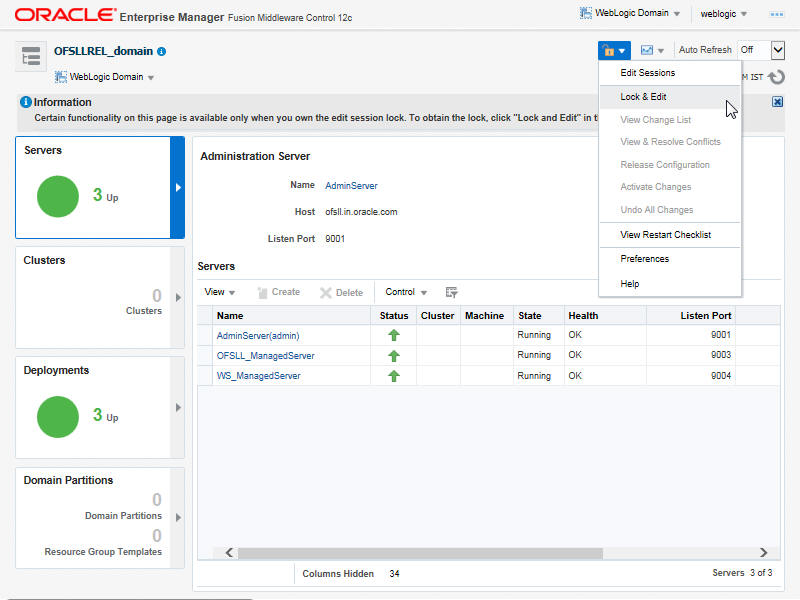
- Login to Web Logic application server enterprise manager (e.g.:http://hostname:port/em)
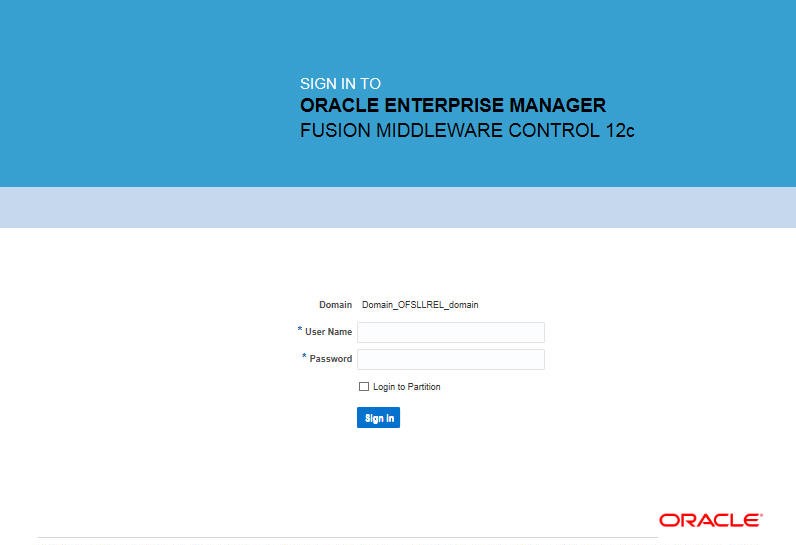
- Enter valid login credentials. The following window is displayed.
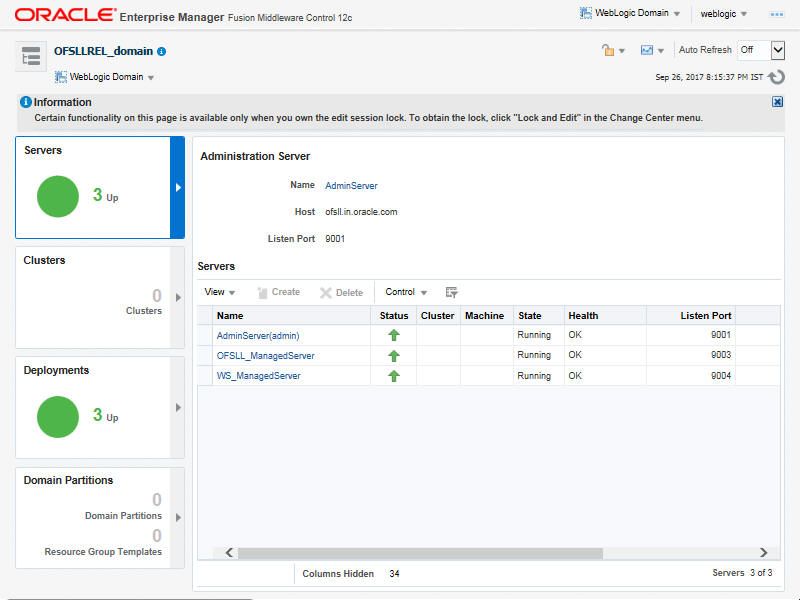
- Select ‘Lock & Edit’ option in the lock drop-down list available in the header.
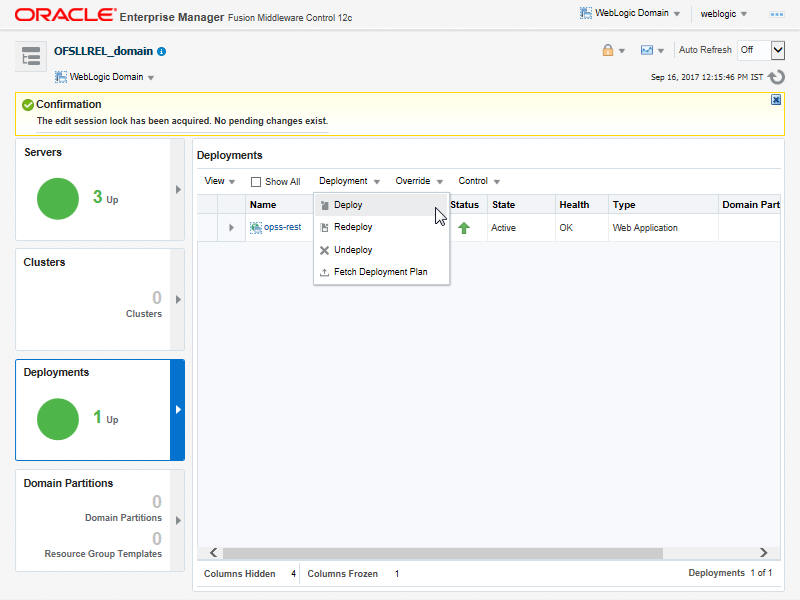
- Click ‘Deployment’ in the left panel. Select ‘Lock & Edit’ option in the lock drop-down list available in the header. The following window is displayed.
- Select ‘Deploy’ from the Deployment drop-down list. The following window is displayed.
- The following window is displayed.
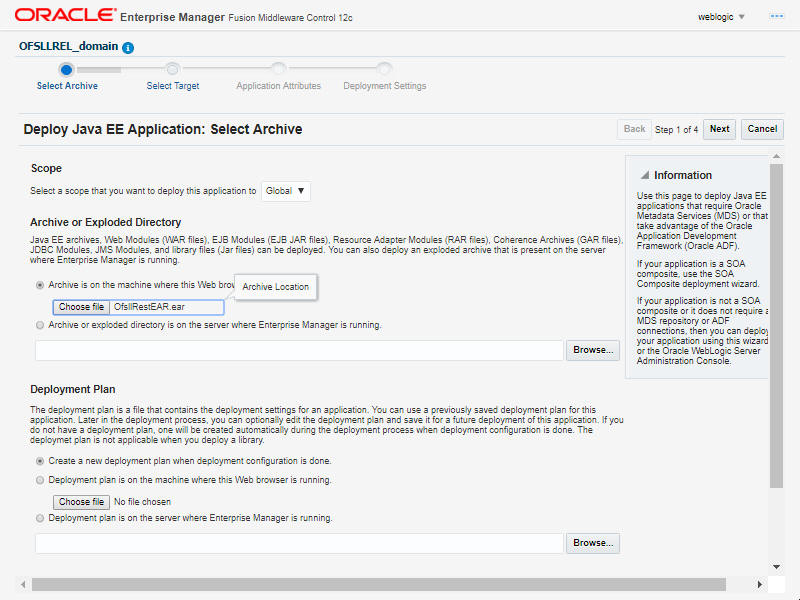
- Browse to the folder containing the WebService. Eg: C:/OfsllRestEAR.ear
- Click ‘Next’. The following window is displayed.
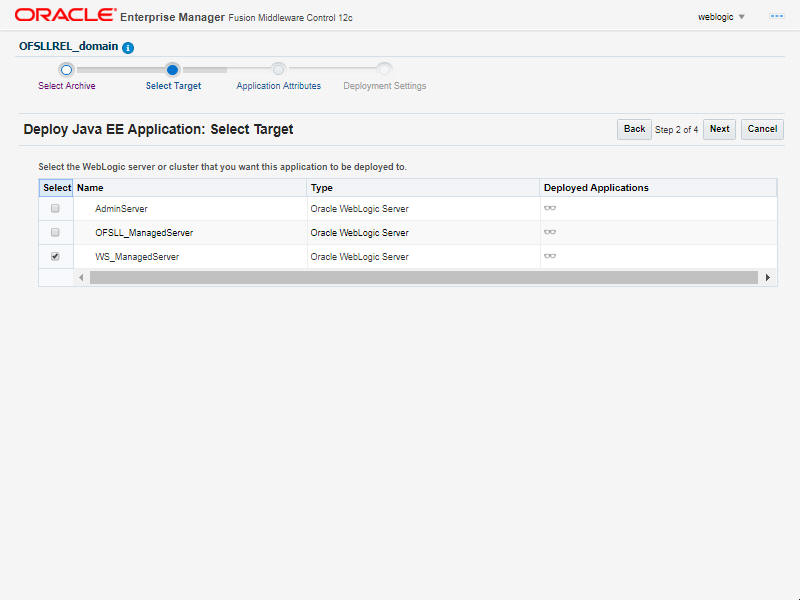
- Select the server on which the WebService needs to be deployed.
- Click ‘Next’. The following window is displayed.
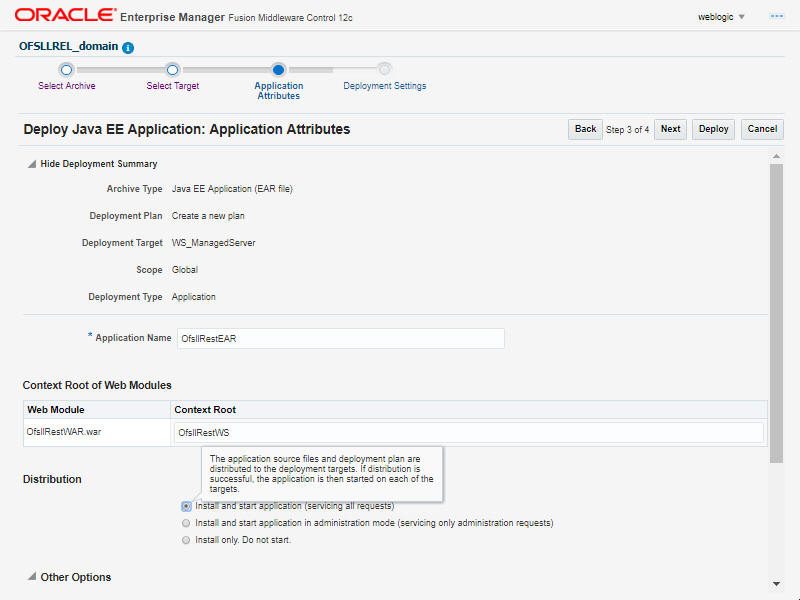
- Select the option ‘Install and start application (servicing all requests)’.
- Check the context root and click ‘Next’.The following window is displayed.
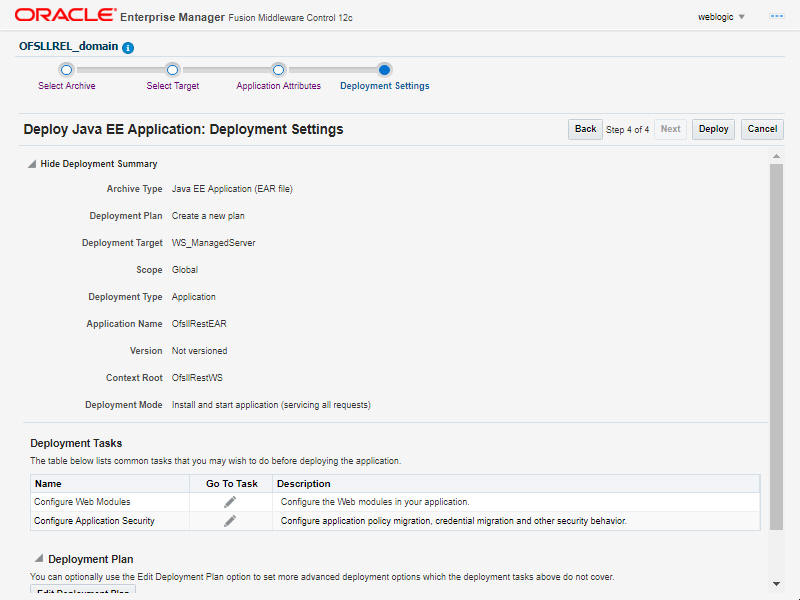
- Click ‘Deploy’. On successful deployment, the following window is displayed.
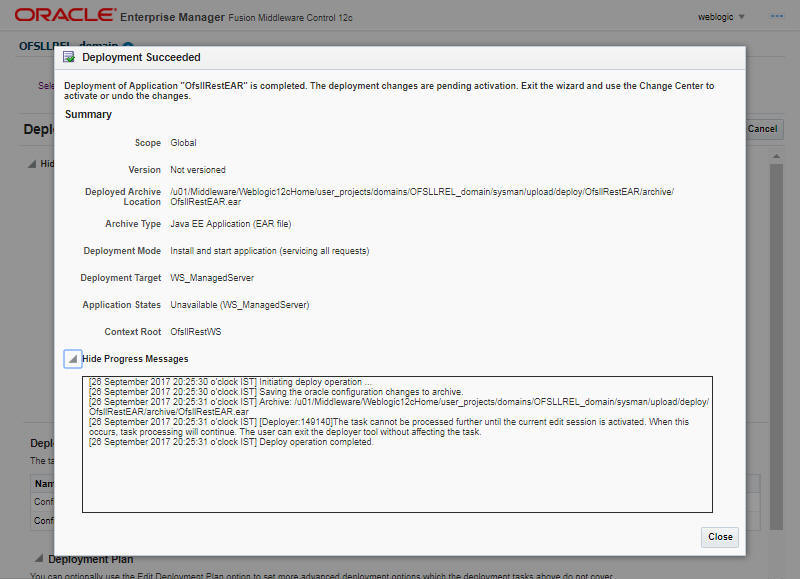
- Click ‘Close’. Post deployment, you need to activate the changes by selecting ‘Active Changes’ option from ‘Edit Session’ drop-down list as indicated in step 4 above.
To Identify the RESTful Webservice URL
- Login to WebLogic Server 12c console (http://hostname:port/console).
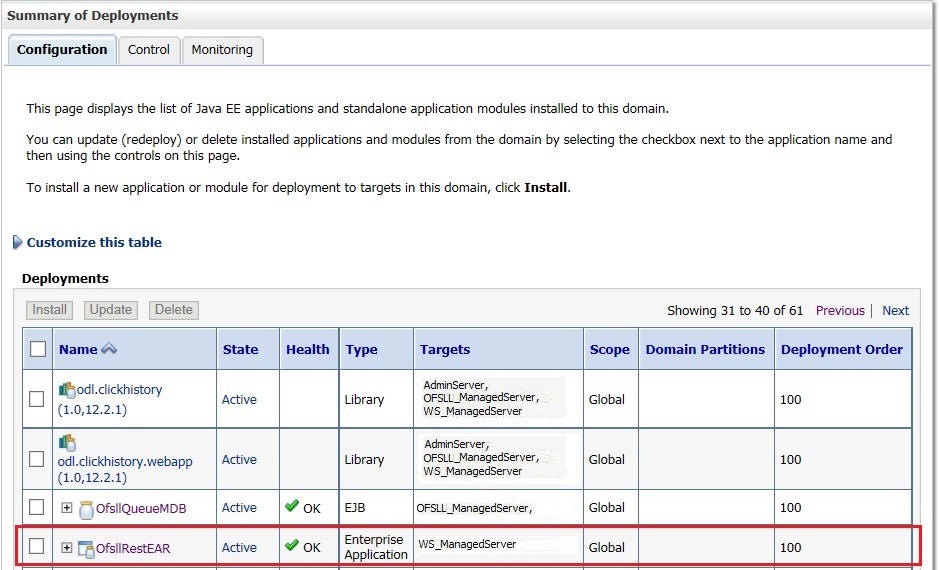
- Click ‘Deployments’ Under Configuration tab and select ‘OfsllRestEAR’ services. The following window is displayed.
- Click ‘Testing’ tab and expand ‘OfsllRestWS’. The following window is displayed.
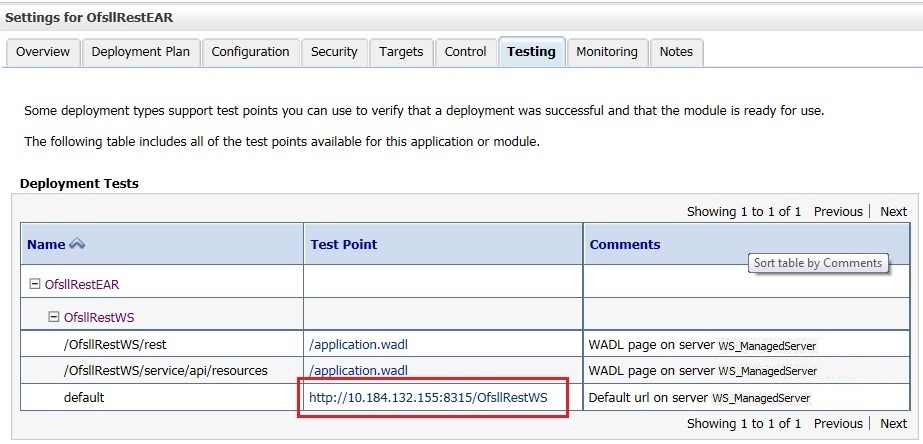
- You can view the 'OfsllRestful' Services URL as shown.
- Swagger documentation for RESTful web services can be accessed using the following URL type - http://<server_name>;<port>/<Application_context>/swagger.json
7.4 Deploy RESTful Credit Bureau WebService
- Login to Web Logic application server enterprise manager (e.g.:http://hostname:port/em)
- Enter valid login credentials. The following window is displayed.
- Select ‘Lock & Edit’ option in the lock drop-down list available in the header.
- Click ‘Deployment’ in the left panel. The following window is displayed.
- Select ‘Deploy’ from the Deployment drop-down list. The following window is displayed.
- The following window is displayed.
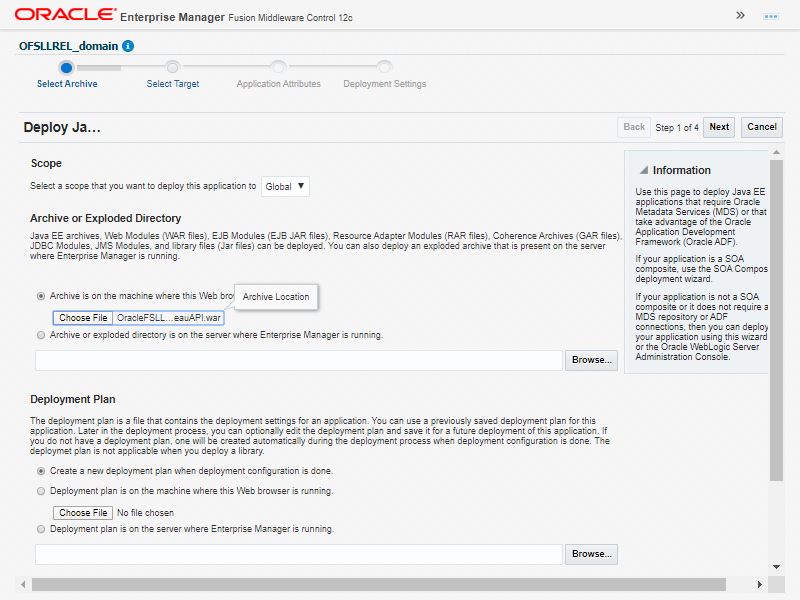
- Browse to the folder containing the Credit Bureau WebService. For example: C:/OracleFSLLBureauAPI.war
- Click ‘Next’. The following window is displayed.
- Select the server on which the WebService needs to be deployed.
- Click ‘Next’. The following window is displayed.
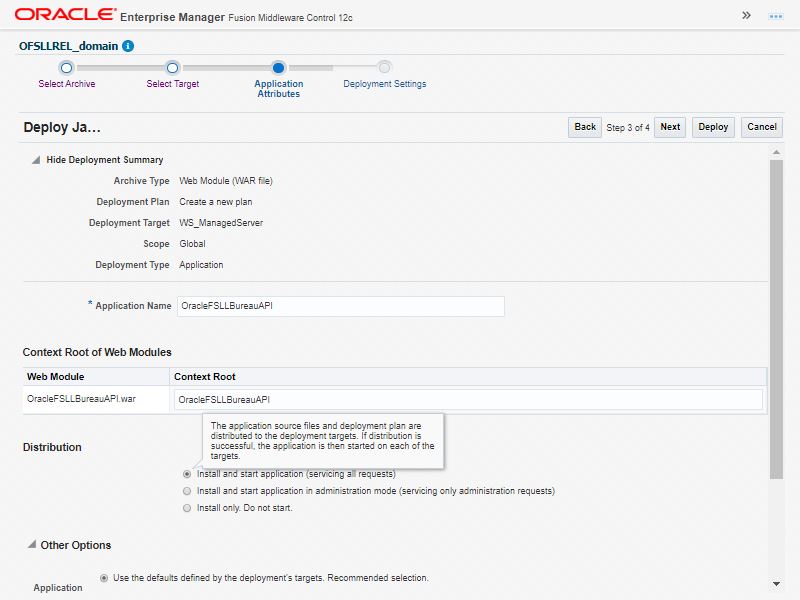
- Select the option ‘Install and start application (servicing all requests)’.
- Check the context root and click ‘Next’.The following window is displayed.
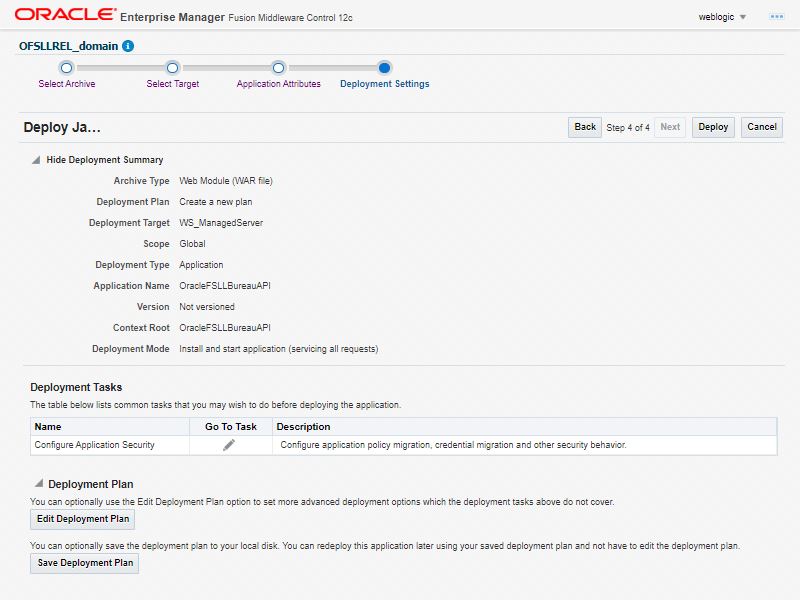
- Click ‘Deploy’. On successful deployment, the following window is displayed.
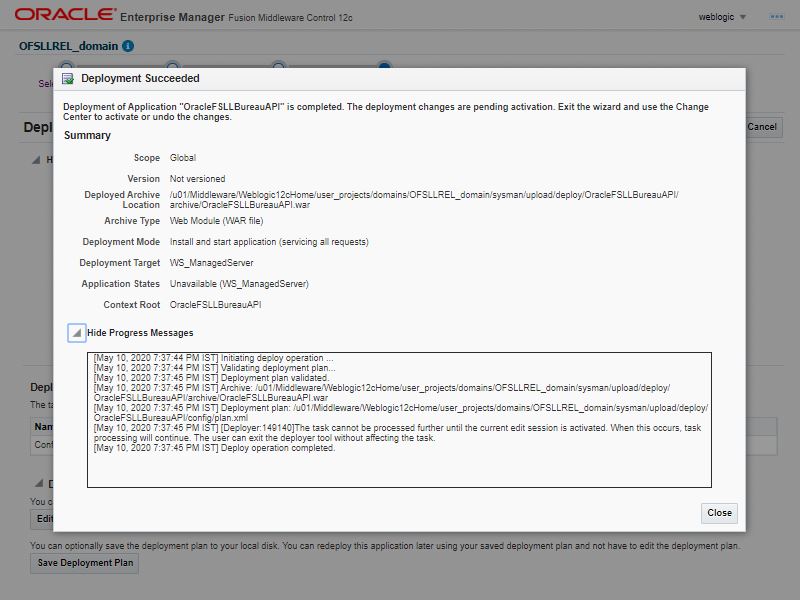
- Click ‘Close’. Post deployment, you need to activate the changes by selecting ‘Active Changes’ option from ‘Edit Session’ drop-down list as indicated in step 4 above.
7.4.1 Create Credentials and System Policies for Credit Bureau Interface
In order Configure Credit Bureau interface, you need to create credentials and system policies. The credentials are accessed through CSF framework which is managed by Oracle Weblogic Server. The keys are managed by Maps and Maps need to be given with Permissions.
Create the following Maps and corresponding keys as indicated in following table.
Maps |
Keys |
Description |
ofsll.int.bureau |
creditbureau_auth_mode_adapter |
There are two modes: BASIC - On selecting this option, you need to define User Name and Password to authenticate. OAUTH2.0 - On selecting this option, you need to define additional enabled fields such as Grant Type, Client Id, Client Secret, Identity Domain, Token and Header Key. |
|
creditbureau_adapter |
If Authentication mode is selected as BASIC, specify the Basic Authentication User Name and Password. |
|
creditbureau_serviceurl_adapter |
BureauApi or Third party RestAPI end point url. |
|
ProxyAuthenticationEnabled |
Indicator used to validate proxy. |
|
ProxyEnabled |
Indicator is for whether Proxy server info need to be set or not. |
|
ProxyPort |
Port to which ProxyServer is running. |
|
ProxyServer |
Name of the proxyServer to be configured |
|
<Bureau_name>_cert_path |
The location of certificate file which contains the valid certificate for Credit Bureau. |
|
<Bureau_name>_cert_password |
The password that requires to read the valid certificate for the Credit Bureau. |
Note
For certificate creation, please refer to ‘Interface_Certificate_Configuration.pdf’ document available in the release bundle.