Saving Queries
You can save a query at any time after you have selected one record and at least one field for it. Save queries from any Query Manager page (except for the Run page) by clicking either the Save button or the Save As link. You must enter some basic information about the query before the system allows you to save it for the first time.
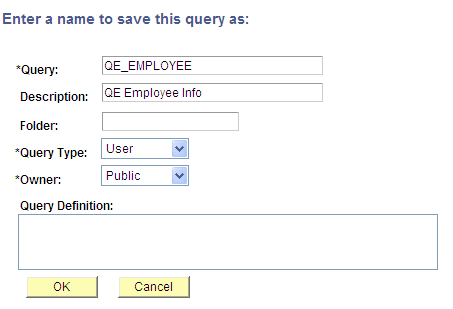
Image: Saving a query
This example shows the information that you must define when you save your query for the first time.
To save a query for the first time:
After you make your changes in Query Manager click the Save button.
In the Query field, enter a short name for the query.
In the Description field, enter an appropriate description for the query.
This information will help you identify the query later.
In the Folder field, enter the name of the folder into which you want to save the query.
To create a new folder, enter the name of the new folder.
Note: The folder that you create does not reside on your local drive. You create a folder for the purpose of describing the query and to facilitate grouping and sorting.
Select a query type.
Standard queries are designated as User queries. If you have access to workflow queries, your the query types also include role, process, and archive.
In the Owner field, select whether your query is Public or Private.
Private: Only the user that created the query can open, run, modify, or delete the query.
Public: Any user with access to the records used by the query can run, modify, or delete the query.
Enter the query definition.
Click the OK button to save the query.
Note: Using the Save As link creates another instance of the query that you can modify and save under a different name. When you click the Save As link, the Enter a Name to Save This Query page also appears enabling you to change the name, description, and owner of the new query.