Defining Outbound Maps
This topic discusses how to:
Create outbound maps.
Specify source records.
Define the outbound PeopleSoft Business Document format.
Access the Outbound Maps - Description page.
Image: Outbound Maps - Description page
This example illustrates the fields and controls on the Outbound Maps - Description page.
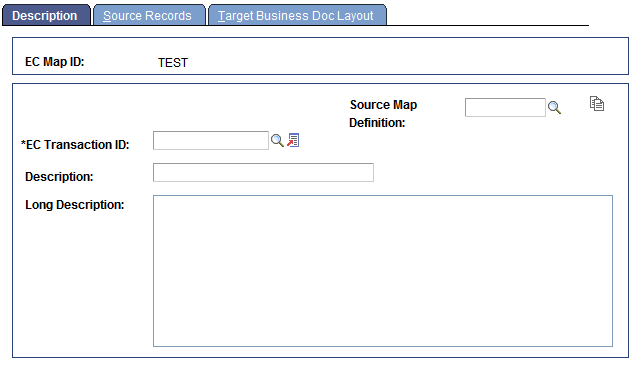
The initial procedure for creating an outbound map is the same as that for creating an inbound map.
Access the Outbound Maps - Source Records page.
Image: Outbound Maps - Source Records page
This example illustrates the fields and controls on the Outbound Maps - Source Records page.

To specify source records:
In the Source Record field, select the record definition that retrieves the data that you want from the staging tables.
You might select the record definition used to define the table or a view that retrieves just the data that you want.
Add lines to the PeopleSoft business document in a logical unit of work order: header information before detail line information, parent lines before child lines, and so on.
Note: You don’t need to create a control record for the PeopleSoft business document (the 999 or 998 record). The EDI agent creates one automatically from information in the queue that stores pending outbound transactions.
Select a parent record (child lines only).
If the record definition that you selected in the previous step retrieves data for a record that is related to a preceding parent record, such as the detail line under a header, select the record definition for the parent record in the Parent Record field.
The parent record is typically the record definition that you used for the previous row in the outbound mapping.
Enter the SQL Where clause to specify which rows to retrieve.
When you’re creating a header line, the Where clause needs to select the header information for a single transaction. You identify a single transaction using the transaction ID and queue instance ID. The Where clause should look like this:
WHERE ECTRANSID = $ECTRANSID$ AND ECQUEUEINSTANCE = $ECQUEUEINSTANCE$The two values inside dollar signs are system variables that the EDI agent replaces with the transaction ID and queue instance ID, respectively, of the first transaction in the pending outbound queue. This Where clause retrieves only the data for one transaction.
If you’re extracting the data for child lines, the Where clause must include a link to the parent record to tell the EDI agent how to join the tables. The Where clause needs to include a statement of this form:
WHERE fieldname = $record.fieldname$The first fieldname is a field from the source record definition; record.fieldname is a field in the parent record definition. You must include the dollar signs around record.fieldname.
Repeat steps 1 to 3 to specify the record definition for each record to go into the PeopleSoft business document.
Access the Outbound Maps - Target Business Doc Layout page.
Image: Outbound Maps - Target Business Doc Layout page
This example illustrates the fields and controls on the Outbound Maps - Target Business Doc Layout page.
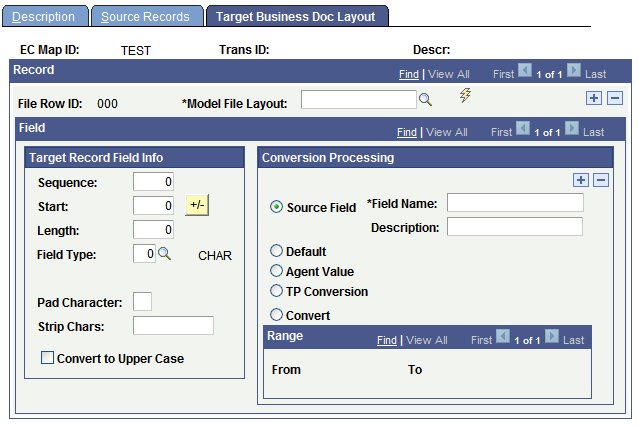
For each of the source record definitions that you added on the previous page, you identify an associated work record definition that specifies how the EDI agent writes the staging table data into PeopleSoft business documents.
To define the outbound format:
Select the work record definition that specifies the format of the output record, and then click the Get File Fields SW button.
The File Row ID field identifies a source record definition from the previous page. In theModel File Layout field, select the work record definition that the EDI agent will use to write data from the source record into PeopleSoft business documents.
When you click the Get File Fields SW button, the system copies field information from the work record definition into the page. The Target Record Field Info group box displays information about where in the record it will write each field’s data.
Depending on the data type of the record field, the Target Record Field Info group box offers additional formatting options so that you can format the data in the outgoing PeopleSoft business document.
For any field, enter in the Strip Chars field any characters that you don’t want the outbound EDI agent to include when it copies data into the outbound transaction file. For example, you may want to strip the hyphens from phone numbers and Social Security numbers, or the decimal from a currency amount. When the outbound EDI agent writes data from a field into an outbound transaction file, it first removes all characters in the Strip Chars field.
Note: The Strip Chars field contains a list of the individual characters to remove, not a string to remove. For example, if the field data is 455-67-8898 and the Strip Chars field has - (a hyphen) in it, the EDI Agent writes 455678898 to the file. If the Strip Chars field has the string -5 in it, the EDI Agent writes the field data to the file as 4678898.
For character fields, select the Convert to Upper Case check box to tell the outbound EDI agent to write the contents of the field in all uppercase letters.
For character fields or numeric fields, use the Pad Character field to specify a character for the outbound EDI agent to use to pad data so that it is the full length of the field. For character fields, the outbound EDI agent adds the specified character to the left of the existing field information. For numeric fields, the most typical use is to pad a number with initial zeros.
For date fields, you can specify in the Date Fmt (date format) andDelimiter fields how to format dates in this field in the business document. Use standard date formatting conventions, as illustrated in the procedure for creating inbound maps.
See Defining the Inbound PeopleSoft Business Document Format.
Specify the data that you want the EDI agent to enter in the field.
In the Conversion Processing group box, select the value that you want the EDI agent to enter into the selected field.
To copy the value from a field in the source record, select the Source Field option. Enter the name of the field whose value you want to copy in.
Note: You need to specify a source field for all fields in the work record definition except those for which you provide a default value. You must select a source field even if you select another option as well.
To enter a default value into the document, select the Default option and enter the value in the field that appears.
You can specify both a file field to copy data from and a default value. If you do, the EDI agent enters the default value into the document only when the specified field does not have a value.
If you select TP Conversion,, the EDI agent converts data from the specified source field according to the rules defined in a conversion type definition. When you select this option, a drop-down list box appears to select a conversion type definition.
If you select Convert, the EDI agent converts the data in the source field as specified in theFrom andTo fields that appear. When the field in the PeopleSoft business document contains the value in theFrom field, the EDI agent converts it into the value in theTo box. Enter a row for each possible value in the field.
To enter a value that the EDI agent calculates as it copies data into the staging table, select the Agent Value option, and then select a calculation option from the drop-down list box that appears. The following table describes the available calculation options.
Calculation Option
Value Written in the Field
Action Code/Primary Event Code
An action code.
The EDI agent gets the values from the fields in this record labeled Primary Event Code andSecondary Event Code, looks up the combination in the partner profile for the trading partner, and inserts the appropriate action code.
Current Date
The date on which the EDI agent creates the PeopleSoft business document.
Current Datetime
The date and time when the EDI agent creates the PeopleSoft business document.
Current Time
The time when the EDI agent creates the PeopleSoft business document.
EC Entity Code Flag
Flags this field as an entity code field to use in determining trading partner conversion logic. The values specify whether the entity is a customer, vendor, or business unit.
EC Queue Instance
The system-generated queue instance ID given to this PeopleSoft business document.
EC Trans ID (EC transaction ID)
The transaction ID.
Incremented Sequence Nbr (incremented sequence number)
A system-generated sequence number.
The EDI agent increments the number for each child row of a particular parent. It starts at 1 again when it reaches a new occurrence of the parent line.
Secondary Event Code
The secondary event code from the action code conversion.
Trading Partner Conversion
The trading partner ID associated with the customer, vendor, or business unit.
Move to the next field in the record definition and repeat step 2.
Scroll to the next source record definition and repeat steps 1 through 3.
Save the map.
Run the Outbound EDI Agent Preparer to create the Outbound EDI Agent SQC.
After you create or modify outbound maps, you need to run a special compilation process that prepares the maps for use by the EDI agent.
Note: Run the Outbound EDI Agent Preparer only after you’ve made all your changes to outbound maps. You only need to run it only once to prepare all outbound maps.