Personalizing Classic Homepages and Dashboards
Note: The information provided in this topic applies to PeopleSoft classic applications. For information about fluid homepages and dashboards, see Working with Fluid Homepages and Dashboards.
You can specify your preferences for the layout and content of your classic homepages.
Note: The labels of system-defined homepages and dashboards are translatable; however, personalized labels of homepages and dashboards are not translatable—this applies to personal fluid homepages as well as the personalized labels of fluid homepages, fluid dashboards, classic homepages and classic dashboards.
Access the Personalize Content page (on your classic homepage or dashboard, click the Personalize Content link).
Image: Example of a Personalize Content page
This example illustrates the fields and controls of the Personalize Content page for an example homepage.
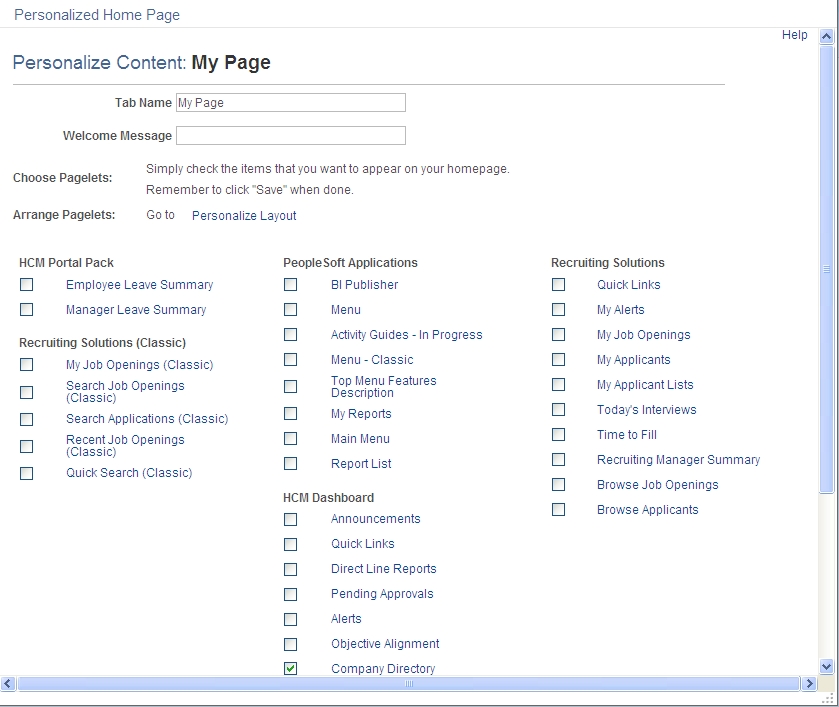
(Optional). Enter a tab name and welcome message.
This message appears in the header of your homepage or dashboard when you navigate to it.
Select the check boxes associated with the pagelets that you want to appear on your personalized homepage or dashboard.
The portal administrator presets the available selection of pagelets. You can preview each pagelet by clicking the pagelet name, which opens a pagelet preview in a smaller window. If a pagelet is not available to you, you will receive a message in the pagelet. Any links in the pagelet are disabled.
Click the Save button.
Note: You can click Personalize Layout from here to immediately begin laying out how the pagelets will appear on your homepage or dashboard.
Use either of these two methods to personalize your homepage or dashboard layout:
Drag and drop pagelets.
Use the Personalize Layout page.
Dragging and Dropping Pagelets
You can rearrange pagelets on your homepage or dashboard by dragging and dropping them between columns, as you see in this example:
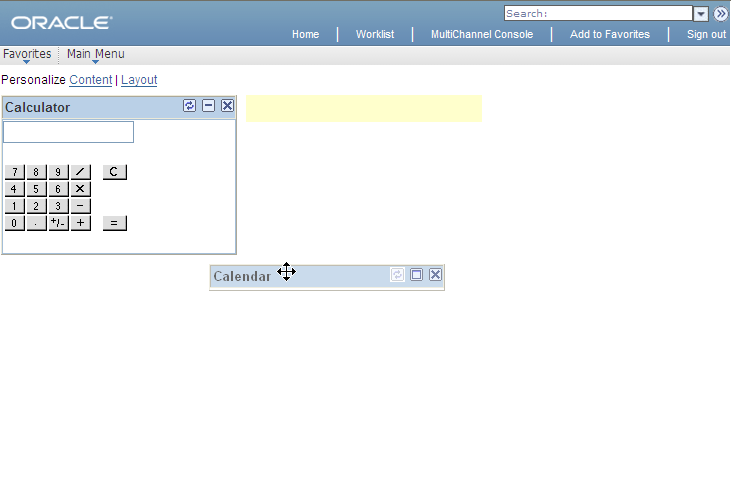
Image: Example of dragging the Calendar pagelet to change the homepage layout
This example illustrates dragging the Calendar pagelet to change the homepage layout.
Access the homepage or dashboard.
Note: The homepage or dashboard must already be configured with one or more pagelets.
Move your cursor to the pagelet header.
The cursor changes shape to indicate that you can drag the pagelet.
Click the pagelet header.
The system automatically minimizes the pagelet when you click the mouse button.
Drag the pagelet to a new location.
When your pagelet header is in the new space, the background of the browser window changes color. This color change represents the new location. If you are changing columns, at least 50 percent of the width of the header must be in the new column before the system identifies the new location.
Note: If your mouse has a scrollable wheel, you can scroll the wheel while you press the mouse button to facilitate the movement of pagelets below the visible area of the browser window.
Release the mouse button.
The pagelet maximizes automatically in the new location unless you manually minimized the pagelet.
Note: You cannot move pagelets that the portal administrator configures as required-fixed. You also cannot move pagelets if you do not have the appropriate permissions to personalize the page.
See Managing Homepages.
Using the Personalize Layout Page
Access the Personalize Layout page (from the homepage or dashboard, click the Personalize Layout link).
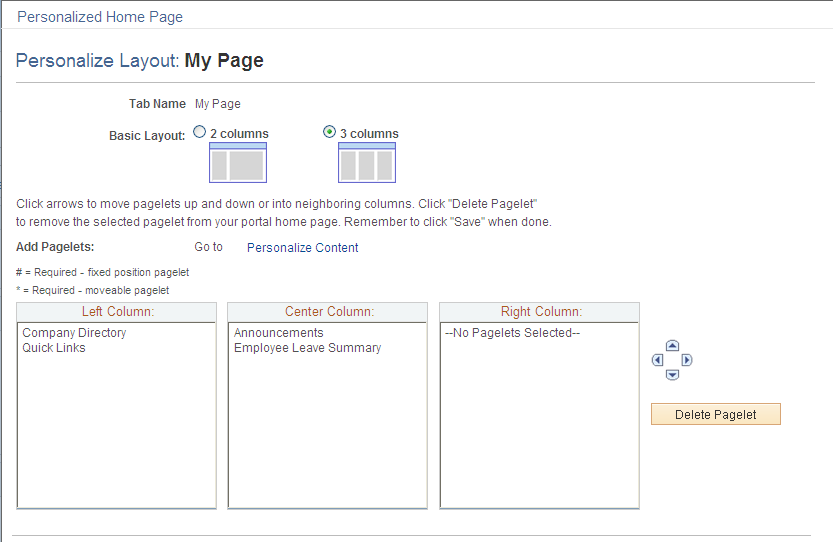
Image: Example of a Personalize Layout page
This example illustrates the fields and controls of the Personalize Layout page for an example homepage.
|
Field or Control |
Definition |
|---|---|
| Basic Layout |
Select to display the pagelets in either two or three columns on the homepage or dashboard. A two-column layout results in one narrow column on the left side of your homepage or dashboard and one wider column to the right. A three-column layout results in three narrow columns of equal width. If you place a wide pagelet in a narrow column, the column stretches to accommodate the wider pagelet. Note: The system moves required pagelets (indicated by an asterisk [*]) from the third to the second column when you switch from a three-column to a two-column layout. |
| Columns |
The pagelets selected on the Content page are listed in the column sections. If the basic layout is two columns, the pagelets are divided into left and right columns. If the basic layout is three columns, the pagelets are divided into left, center, and right columns. Note: A number sign (#) indicates a required fixed position pagelet. An asterisk (*) indicates a required moveable pagelet. For example, #Signon indicates that the Signon pagelet cannot be moved to a different location on the homepage. You cannot assign required fixed pagelets to the right column in a three-column layout. |
 |
Use to position the pagelets. Select the desired pagelet (or multiple pagelets) and then click the arrows to move the selected pagelet above a pagelet, below a pagelet, to the next column on the right, or to the next column on the left. |
| Delete Pagelet |
Select the desired pagelet and then click this button to delete the pagelet from your homepage or dashboard. |
| Return to Home |
Click to view your new choices. From the homepage or dashboard, you can choose to minimize a pagelet or remove it altogether. Use the minimize and remove buttons in the pagelet header to do so. When you minimize a pagelet, the system replaces the minimize button with the restore button. Click the restore button to fully open the pagelet again. Clicking the remove button opens the Removal Confirmation page for that pagelet. Select Yes-Remove or No-Do Not Remove. |
To arrange the layout of a homepage or dashboard:
Select a basic layout option.
Select the pagelet name.
Click the directional arrow buttons to position the pagelets.
Click the Save button.