To add and map a planning center user:
1. Navigate to Financial Planning and Forecasting and select Planning Center User Map to display the Planning Center User Map window.
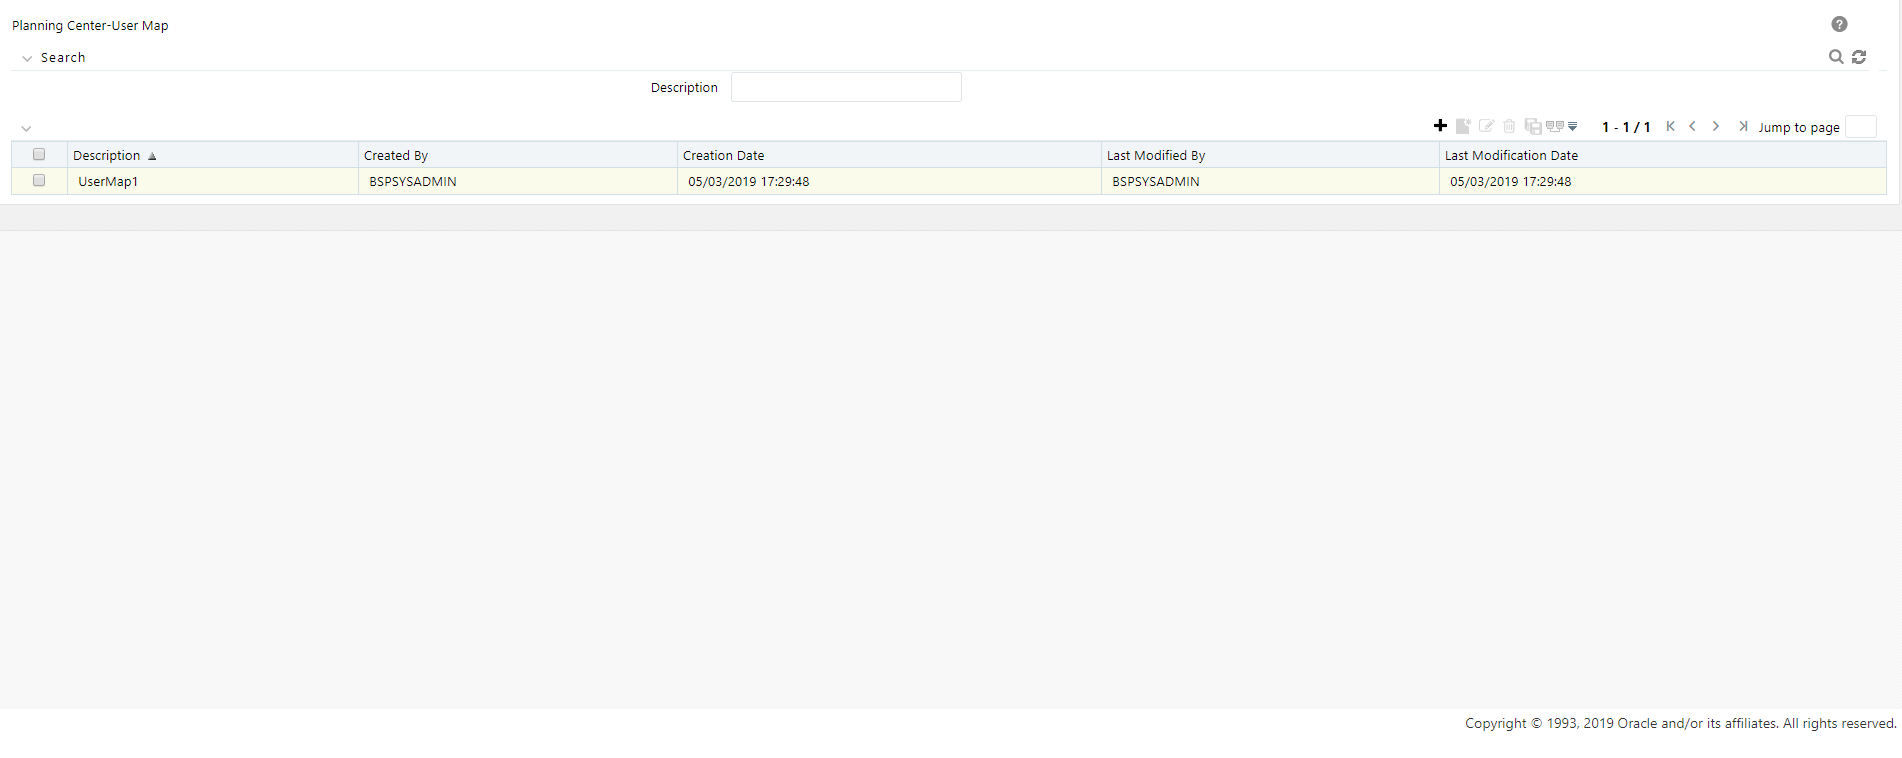
Figure 13: Planning Center - User Map window
This window displays the user maps that have already been created with the following details:
§ Description
§ Create By
§ Created Date
§ Last Modified By
§ Last Modification Date
2. To add a new user map, click the  icon on the window to display the Planning Center-User Map window.
Figure 14: Planning Center - User Map New Addition window

3. Enter the following details:
Under the Map Description section of the window:
§ Name: The name of the user map.
§ Description: The description for the user map.
Under the Map Definition section of the window:
§ Planning Center: Click the  icon to display the Hierarchy page. Select the planning enter and click the
  icon to move it to the Selected Members section and then click Ok.
§ Users: Click on the  icon to display the Hierarchy page. Select the available user(s) and click the icon to move it to Selected Members section and then click Ok.
4. Click Save. This will add the newly created user map to the Planning Center User Map page.