4 Translate Data
You can create, modify and delete translations of data in Merchandising. This can be done in two different ways.
-
for a single entity at a time
-
by viewing all entities that have translatable values and translate them in a centralized page.
Translate Multiple Entities
The Translations page is a centralized page where you can see all entities that have translatable values in Merchandising.
Perform the following procedure to translate an entity:
-
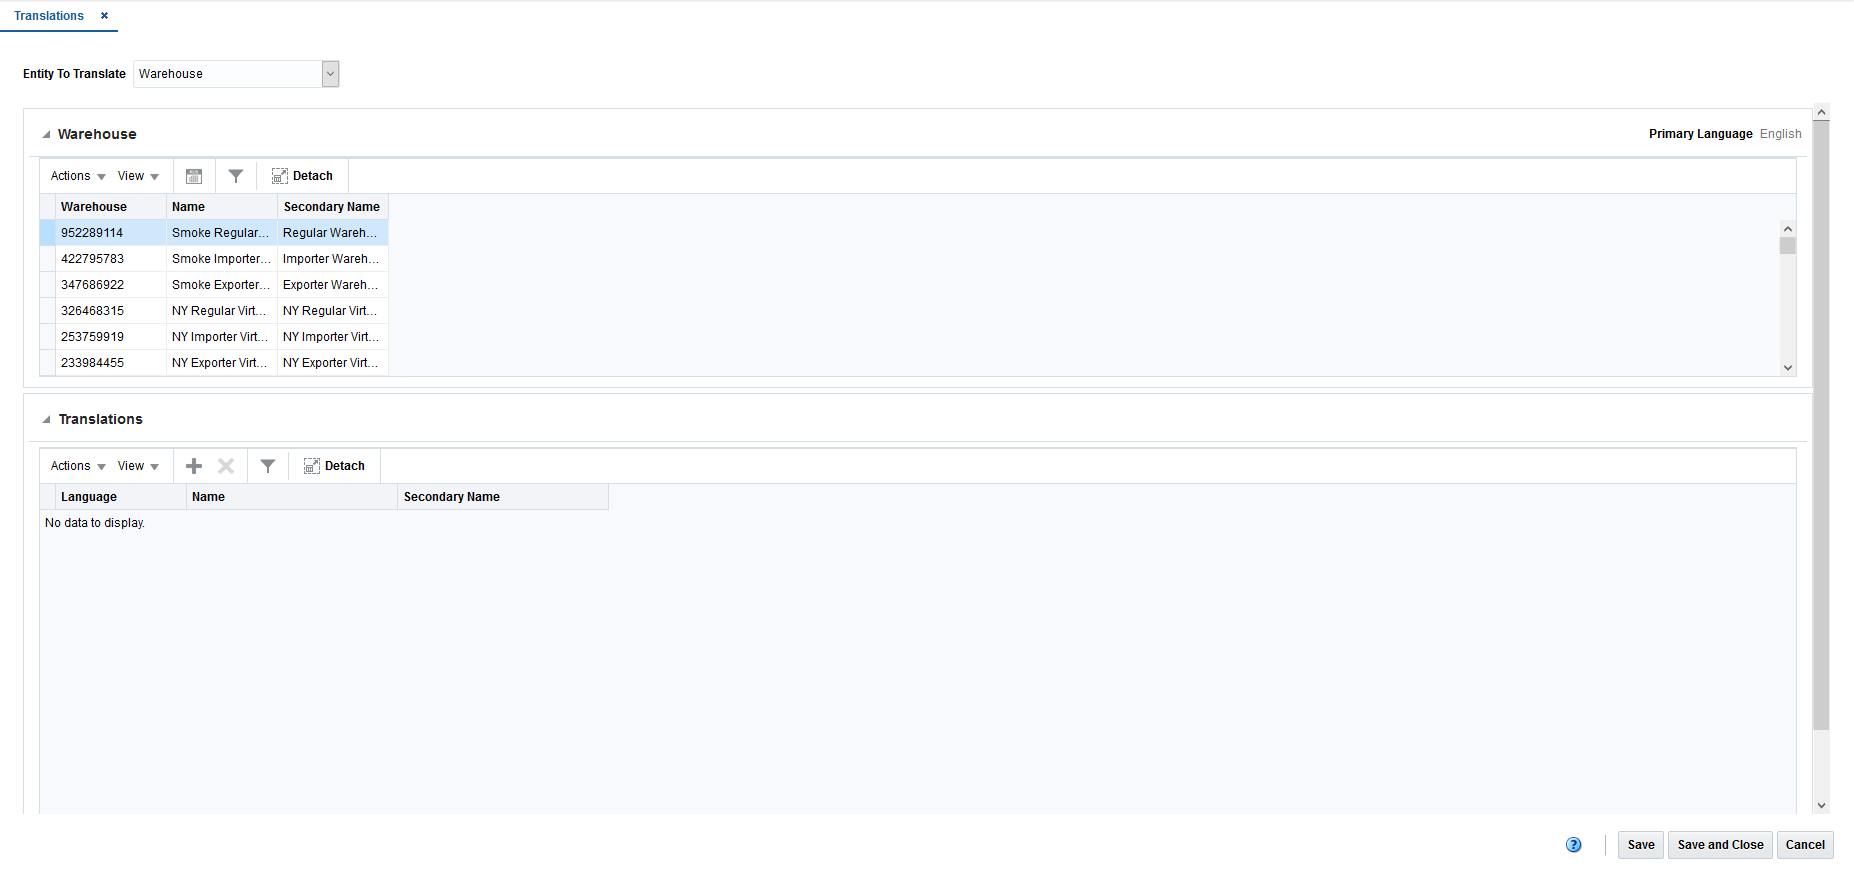
From the Tasks menu, select Application Administration > Translations. The Translations page appears.
Depending on the entity to translate you have selected in the header, the title of the search results section varies.
For example, if you select an Entity to Translate of 'Warehouse', the title of this section will be 'Warehouse' and a list of all existing warehouses in the system will display in the table. You can select the row containing the desired warehouse to see any existing translations in the Translations table below.
Translations
The Translations section contains all available translations of the selected entity to translate. Existing translations can be modified directly in the table.
Use the Actions Menu and icons to apply actions to the table. In addition to editing existing translations, you can add new translations or delete existing translations. For more information about how to add translations, see the Add a Translation section.
Translate a Single Entity
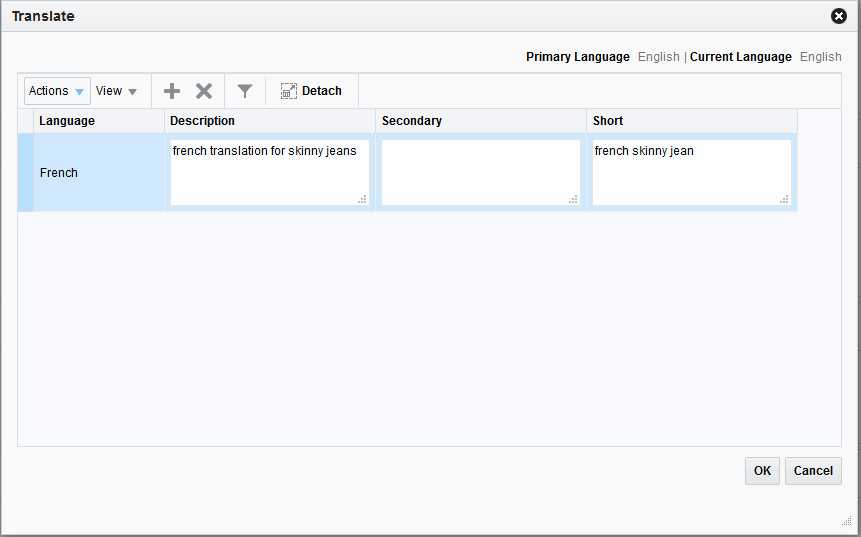
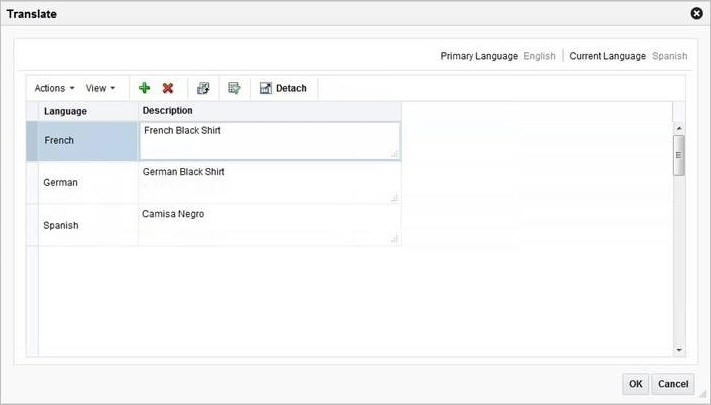
The Translate page for a single entry displays the primary language and the current language in the top right corner. The table of the Translate page displays the language and the corresponding description for the entry. Existing translations can be modified directly in the table.
There are two scenarios you may encounter when translating a single entity:
Add a Translation
To add a translation, follow the steps below.
-
Select Actions > Translate or use the Translate icon
 , if available. The Translate page appears.
 -
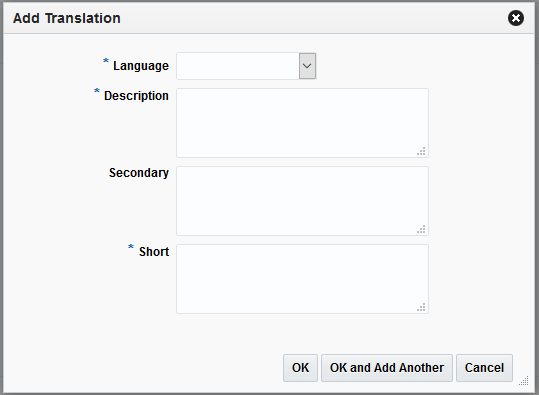
In the table, select Actions > Add, or use the Add icon
 . The Add Translation pop-up appears.
 -
In the Language field, select the desired language from the list. This field is a required field.
-
In the Description field, enter the desired translation. This field is a required field. Depending on the entity being translated, there may be more than one translation field that is required to be entered. For example, item descriptions have up to three descriptions that can be translated - the long description, the secondary description, and the short description.
-
Then choose one of the following options.
-
Click OK to add the translation to the table and close the page.
-
Click OK and Add Another to add additional translations.
-
Click Cancel to reject all entries and close the page.
-
Edit a Translation
To edit a translation, follow the steps below.
-
Select Actions > Translate or use the Translate icon
, if available. The Translate page appears. -
Edit the description directly in the table (the fields are in-line editable).
Note:
The Language field cannot be edited. If a desired language is no longer wanted, the row should be deleted and a new row added for the desired language. -
Click OK to update the translation and close the page.