10. Configure Oracle JET
Oracle JavaScript Extension Toolkit (Oracle JET) is a complete yet modular JavaScript development toolkit helping developers build engaging user interfaces. Based on industry standards and popular open-source frameworks, Oracle JET further adds advanced functionality and services to help developer build better applications faster.
For more information, refer to https://www.oracle.com/application-development/technologies/jet/oracle-jet.html
The following steps are to be performed to configure Oracle JET through the Weblogic Console:
10.1 Create Data Sources for Oracle JET
- Login to Oracle Weblogic 12c console (http://hostname:port/console).
- On successful login, the following window is displayed.
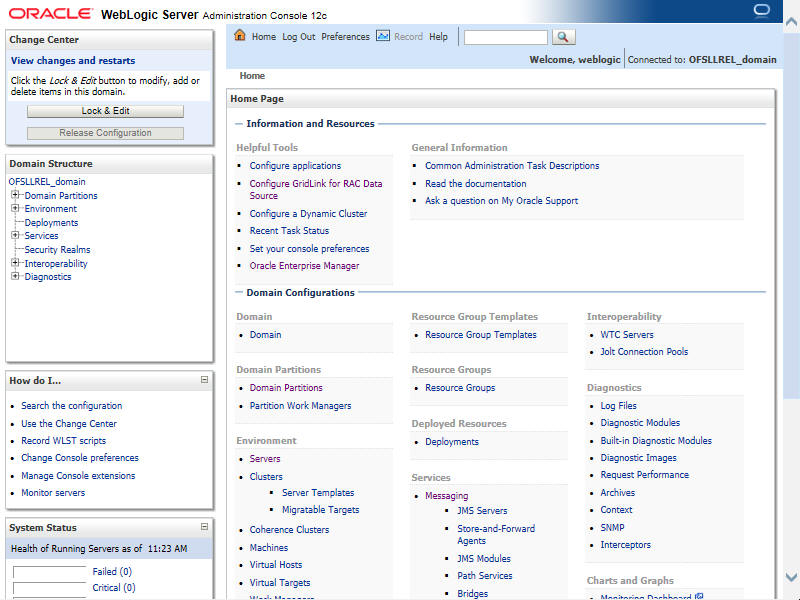
- Click Domain Name > Services > Data Sources. The following window is displayed.
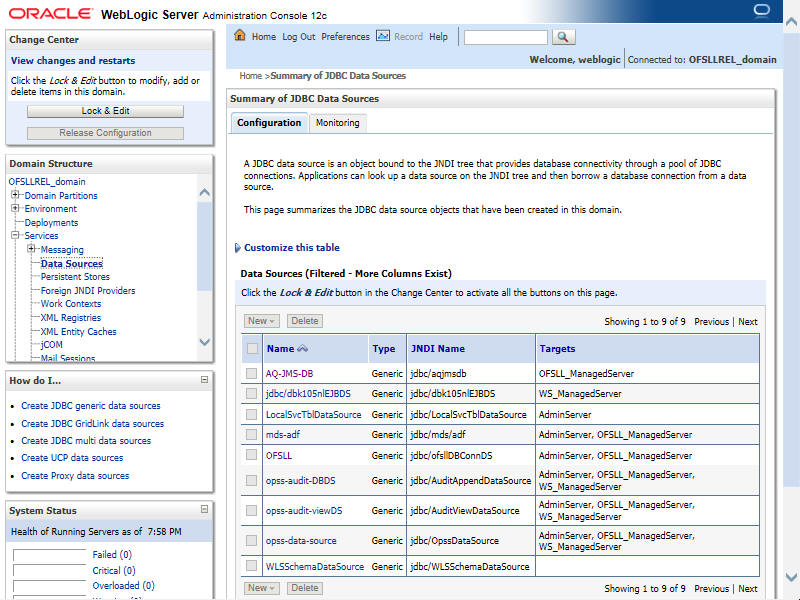
- Click ‘Lock & Edit’ button on the left panel. Click ‘New’ on right panel and select ‘Generic Data Source’.
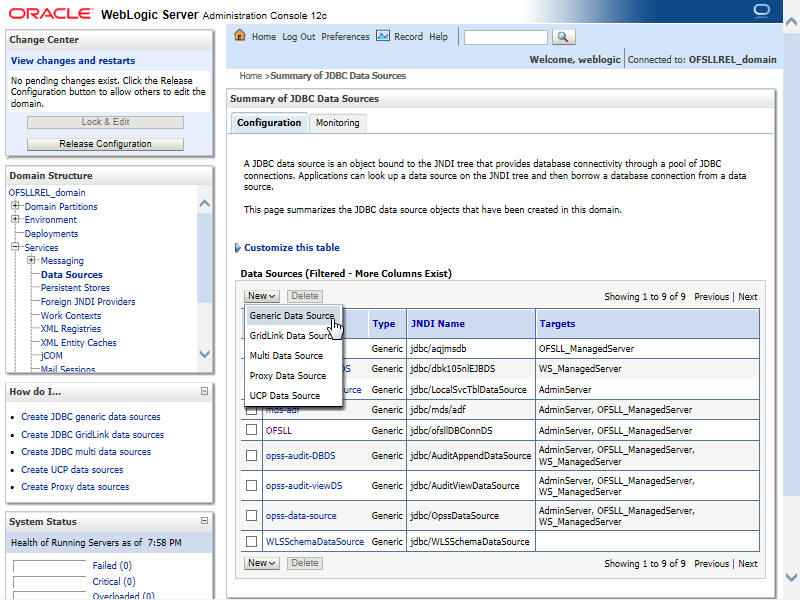
- The following window is displayed.
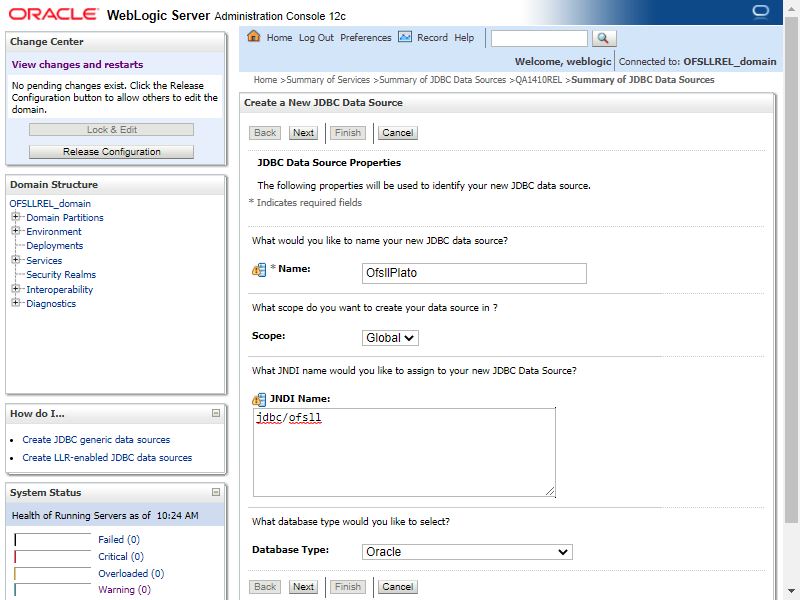
- Specify the following details:
- Enter Data source Name as OfsllPlato
- Enter the JNDI Name as ‘jdbc/ofsll’.
Note
If required, you may specify any other JNDI name, but ensure to use the same JNDI name during other configuration steps.
- Select ‘Oracle’ as Database Type.
- Click ‘Next’. The following window is displayed.
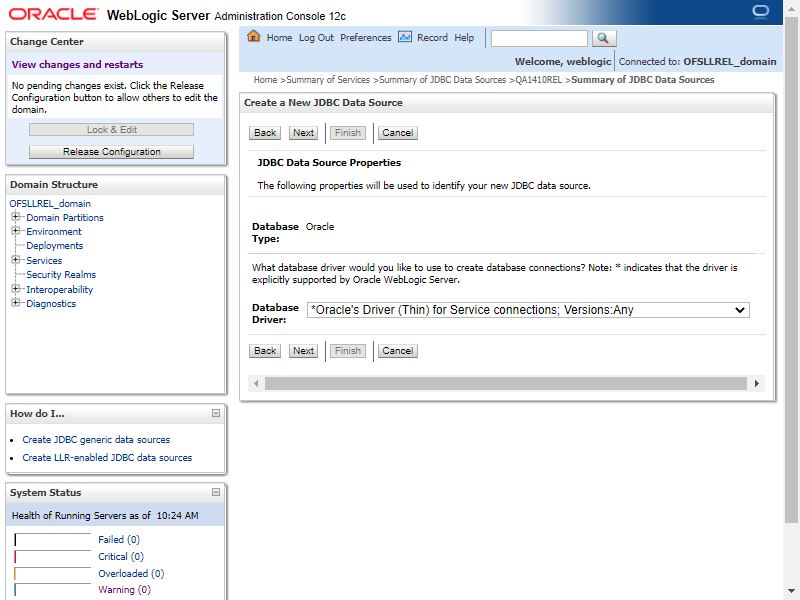
- Select the Database Driver ‘Oracle's Driver(Thin) for Service connections; Versions:Any’.
- Click ‘Next’. The following window is displayed.
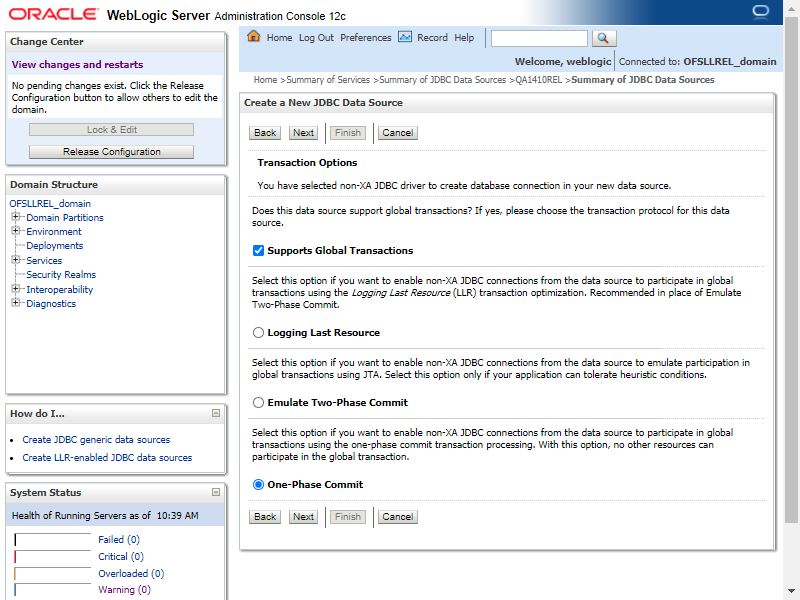
- Click ‘Next’. The following window is displayed.
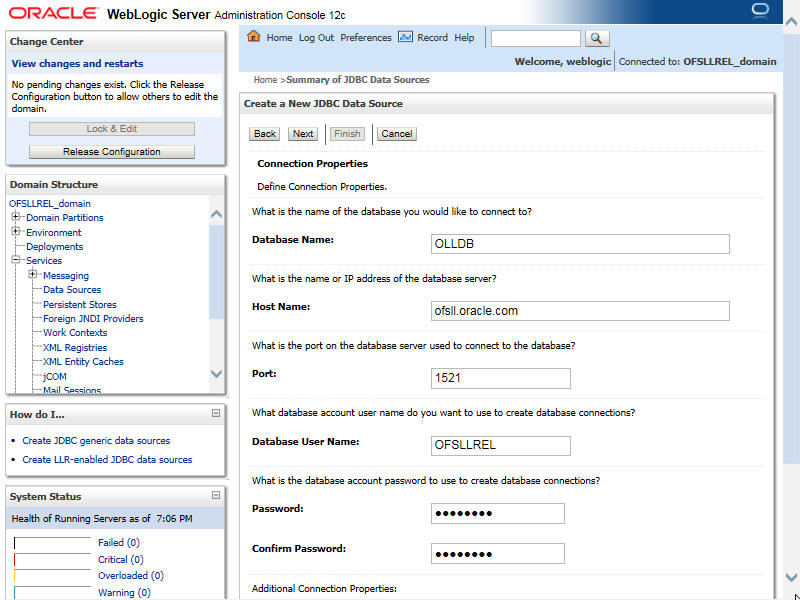
- Enter your Database details. For more information, contact your system administrator.
- Click ‘Next’. The following window is displayed.
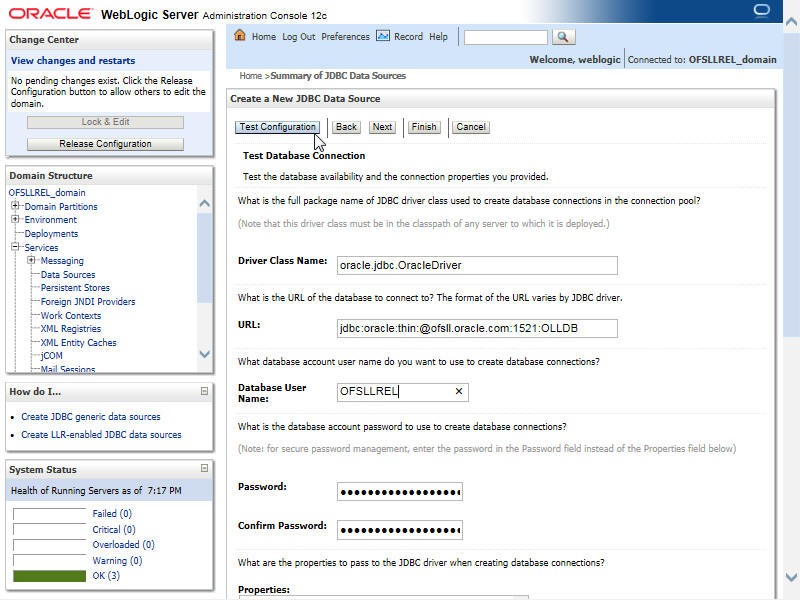
- Click ‘Test Configuration’. On completion, displays a confirmation message as ‘Connection test succeeded’.
- Click ‘Next’. The following window is displayed.
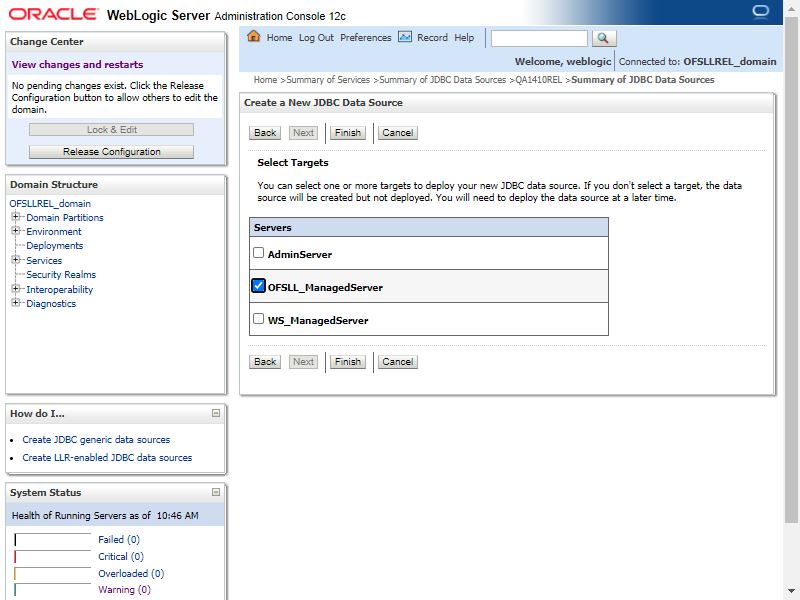
- Select target Server as ‘OFSLL_ManagedServer’.
- Click ‘Finish’ to activate the changes.
Update the following parameters in JDBC Data Source Connection Pool:
- In weblogic console, select Services > Data Sources > select the OfsllPlato data source > Connection Pool.
- The initial capacity and Maximum capacity is defaulted to 45. If the number of concurrent users are more, then this needs to be increased.
Similarly create 'Plato' data sources by following the steps mentioned in above section (Create Data Sources for Oracle JET).
- Create data source name as Plato
- Update the JNDI as jdbc/PLATO
- Select Services > Data Sources > select the Platodata source > Connection Pool.
- Update the initial capacity and Maximum capacity, if the number of concurrent users are more.
10.2 Deploy Oracle JET
- Login to Web Logic application server enterprise manager (e.g.:http://hostname:port/em)
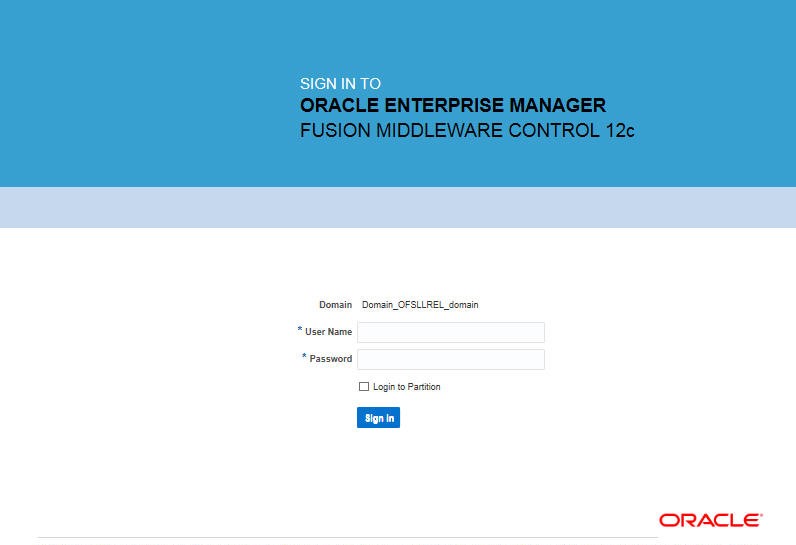
- Enter valid login credentials. The following window is displayed.
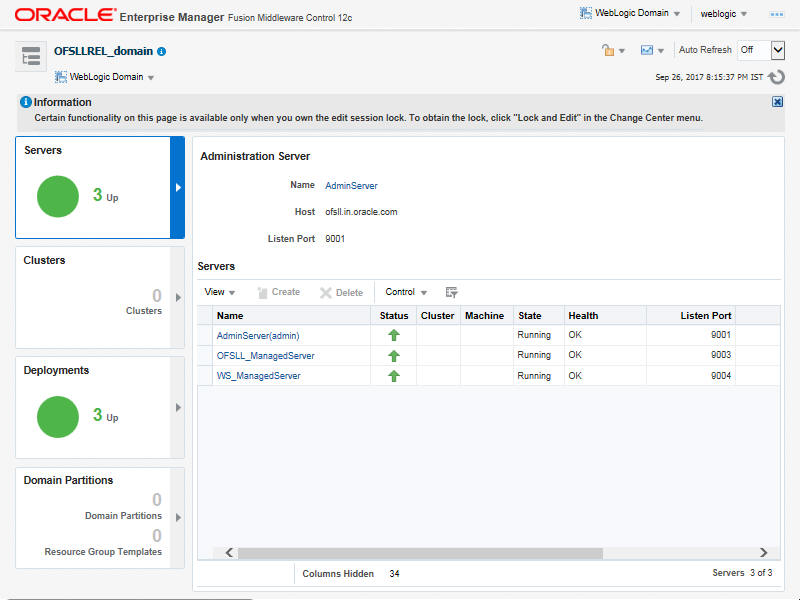
- Select ‘Lock & Edit’ option in the lock drop-down list available in the header.
- Click ‘Deployment’ in the left panel. The following window is displayed.
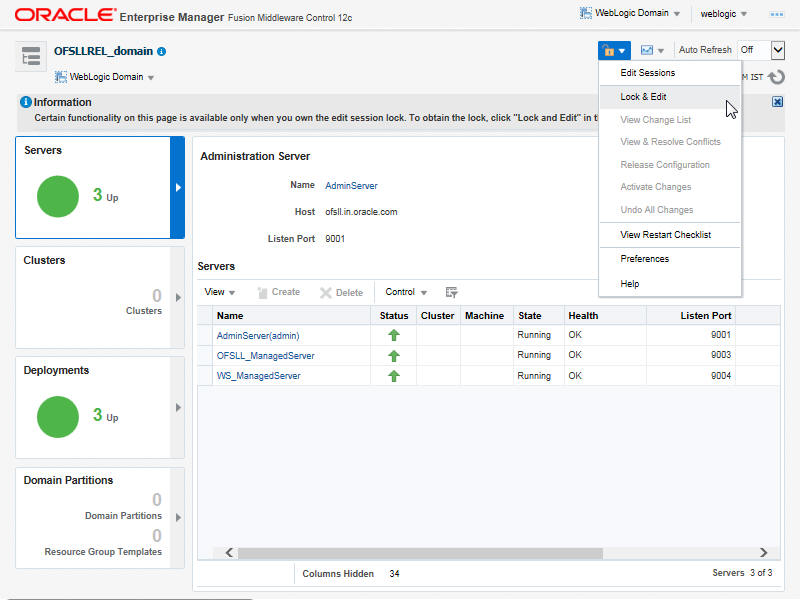
- Select ‘Deploy’ from the Deployment drop-down list. The following window is displayed.

- The following window is displayed.
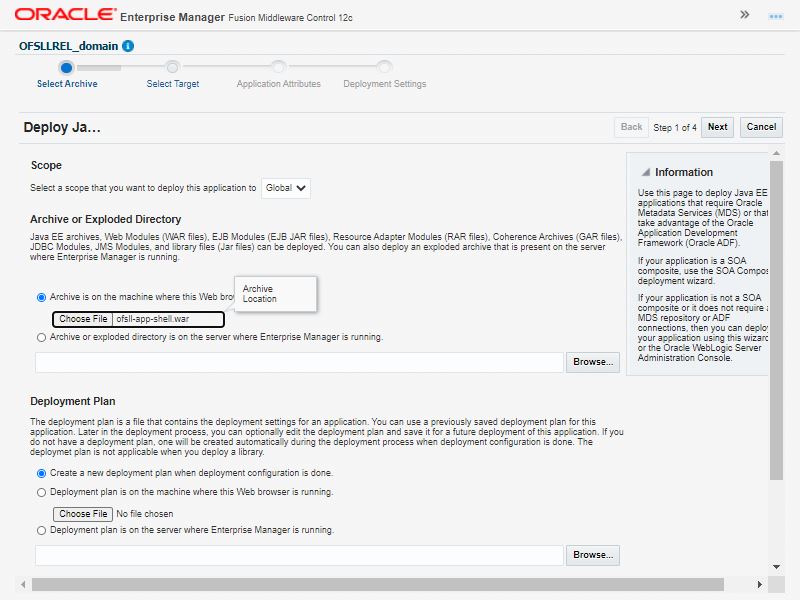
- Browse to the folder containing the ofsll-app-shell.war.
- Click ‘Next’. The following window is displayed.
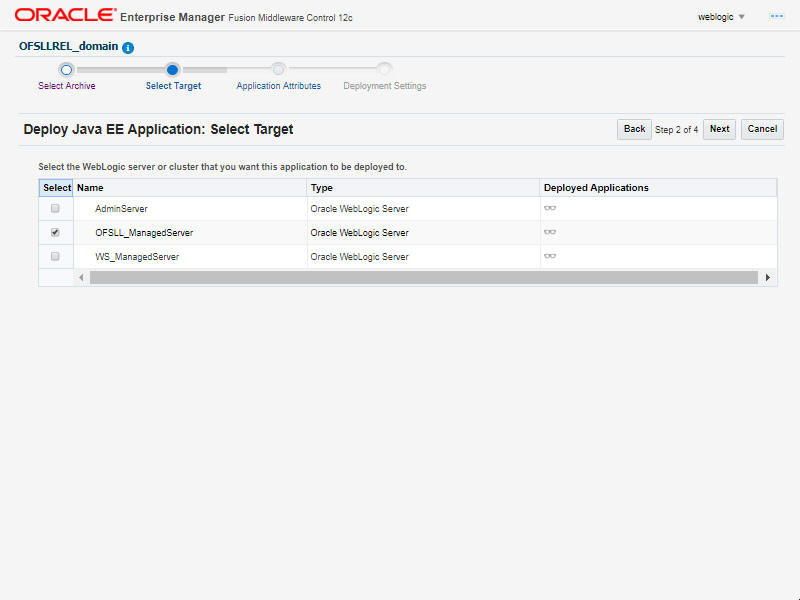
- Select the server on which the Oracle JET application needs to be deployed.
- Click ‘Next’. The following window is displayed.
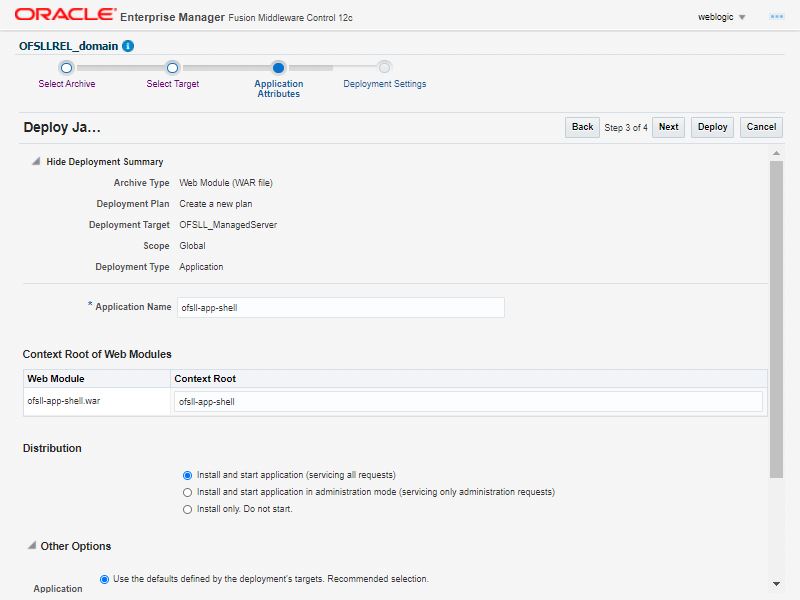
- Select the option ‘Install and start application (servicing all requests)’.
- Check the context root and click ‘Next’.The following window is displayed.
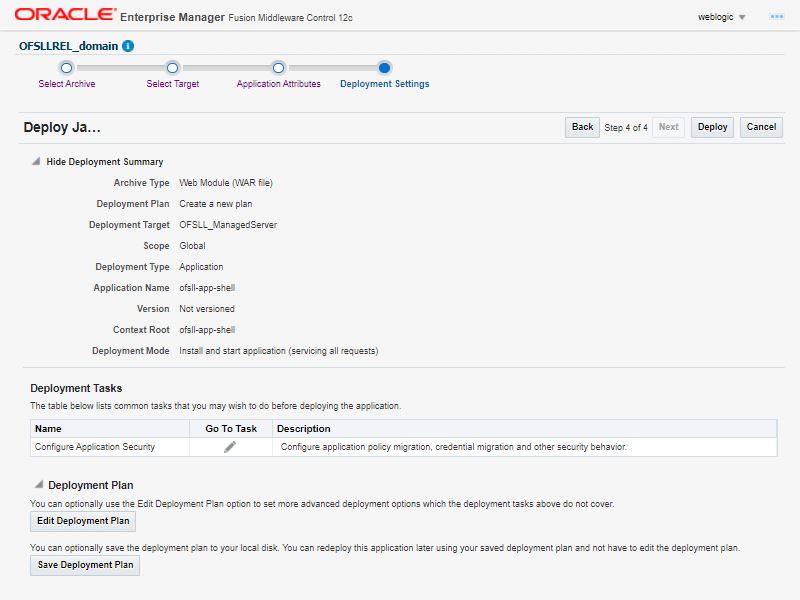
- Click ‘Deploy’. On successful deployment, the following window is displayed.
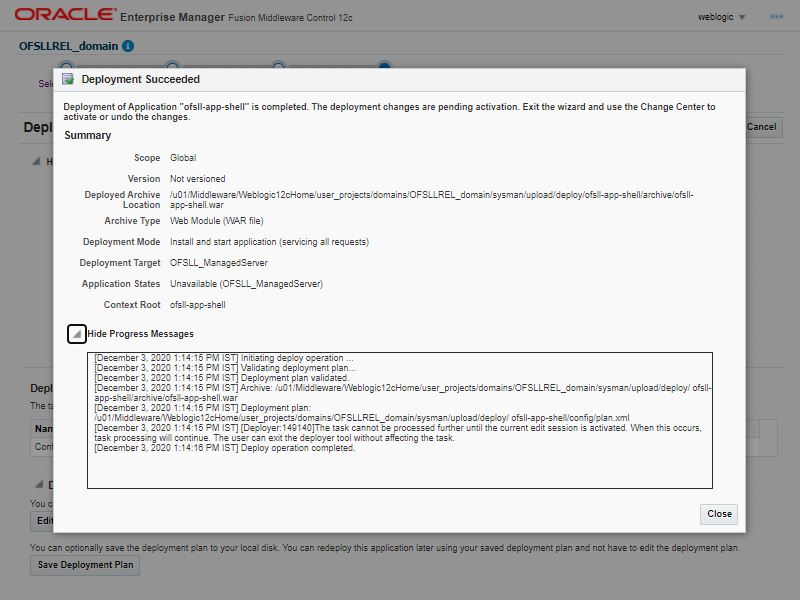
- Click ‘Close’. Post deployment, you need to activate the changes by selecting ‘Active Changes’ option from ‘Edit Session’ drop-down list as indicated in step 4 above.
- Similarly, deploy ‘ofsll-servicing-api-14.10.war’ following the steps indicated above (Deploy Oracle JET).
- Update the startManagedWebLogic.sh file ($MW_HOME/user_projects/domains/mydomain/bin directory) as indicated in below parameters:
- JAVA_OPTIONS="${JAVA_OPTIONS} -Dapigateway.url=https://<hostname>:<portno>/ofsll-servicing-api/"
- export JAVA_OPTIONS
On configuring the above parameter, restart the weblogic server.