Weblogic Container Security
Create Group in Weblogic Security Realm
User created in Application server realm should be same as user created in the Rules Palette for application security.
For example, user with access to search or create policy in OIPA, can perform the CRUD operation (GET/POST/PUT/DELETE) on /policies API.
Similarly user with only search access for OIPA application can perform GET operation on /policies API (Applies to all the API's supported for the current release).
Though user has access to ADMIN role (i.e. SL_ADMIN) in the application server realm, the API will return response as Unauthorized if the user does not have authorization from the palette for a specific entity.
1. Navigate to <Domain>/Security Realms/myrealm/Users and Groups/Groups.
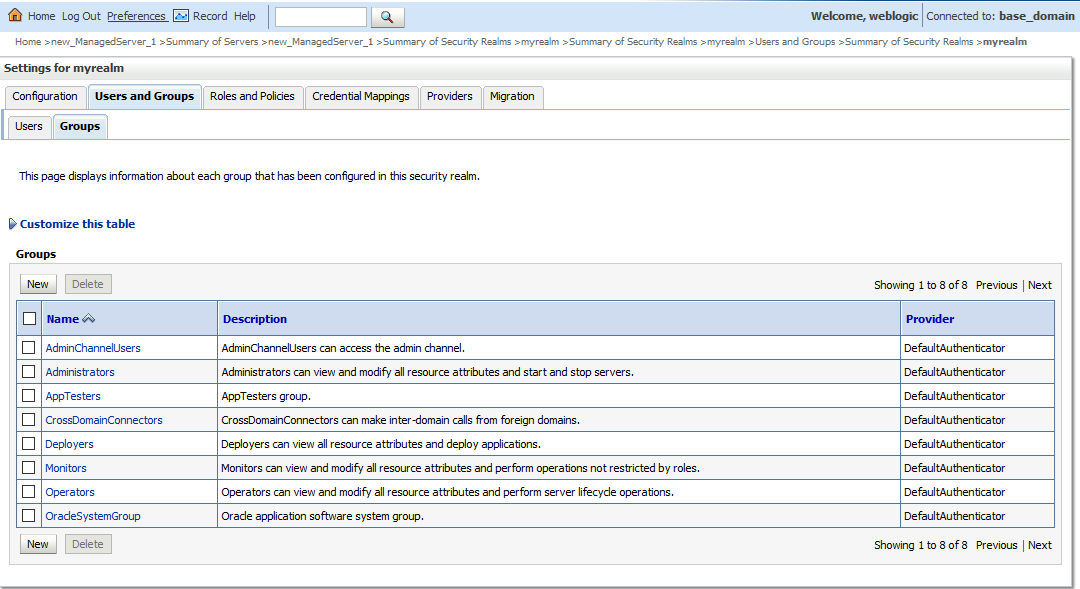
2. Click on New.
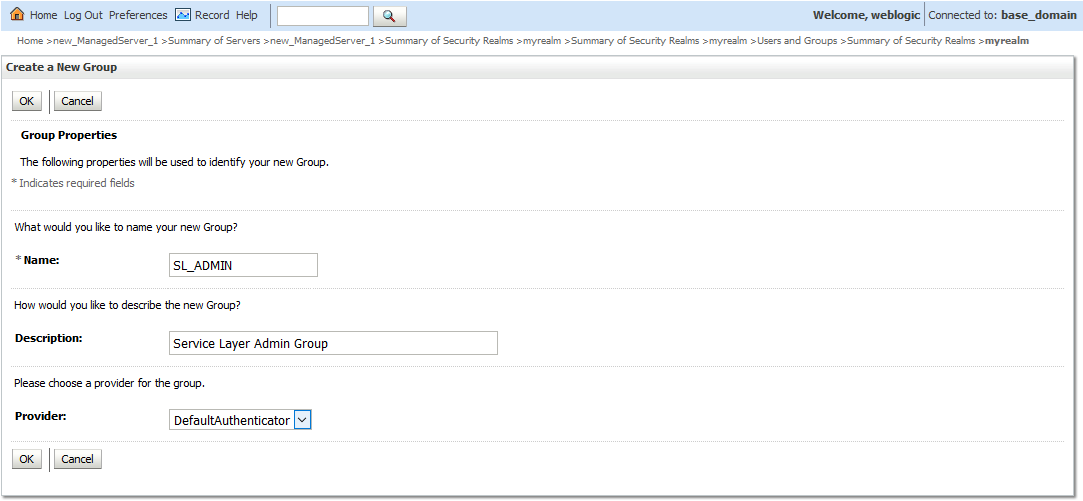
3. Create a new Group called SL_ADMIN (Service Layer Admin) Group.
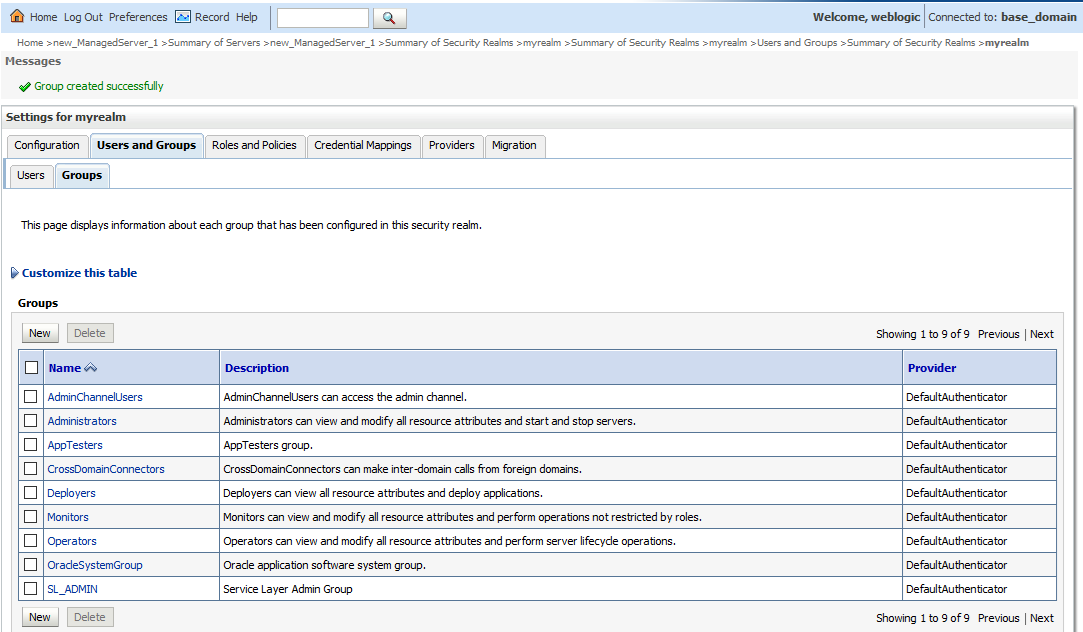
4. Group created successfully.
Create User in WebLogic Security Realm
1. Navigate to <Domain>/Security Realms/myrealm/Users and Groups/Users.
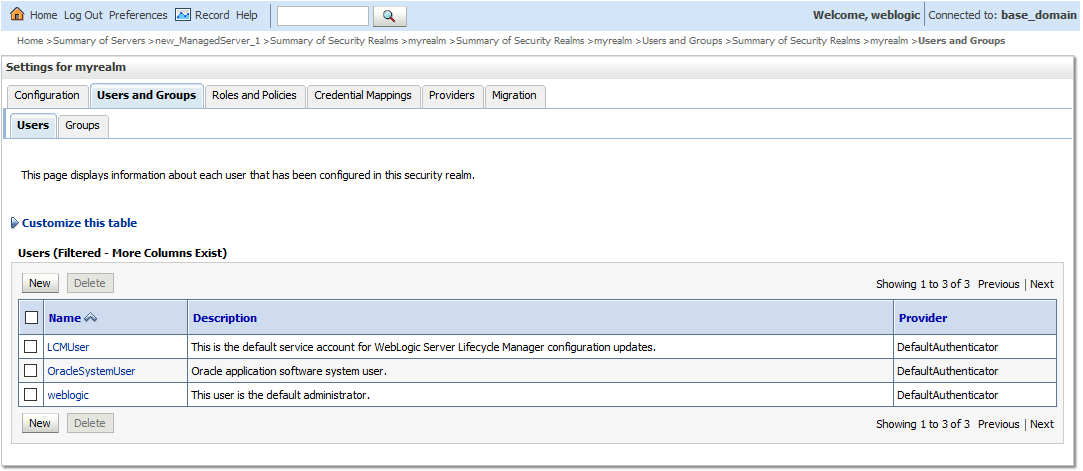
2. Click on New.
3. Create a new User called sladmin (Service Layer Admin ) User.
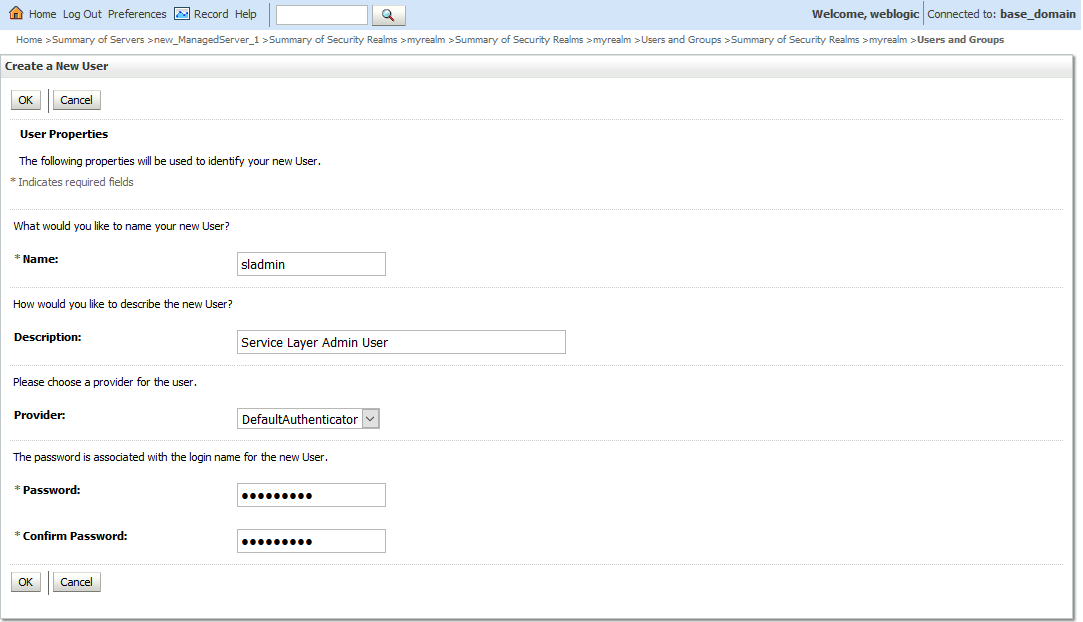
4. User created successfully…
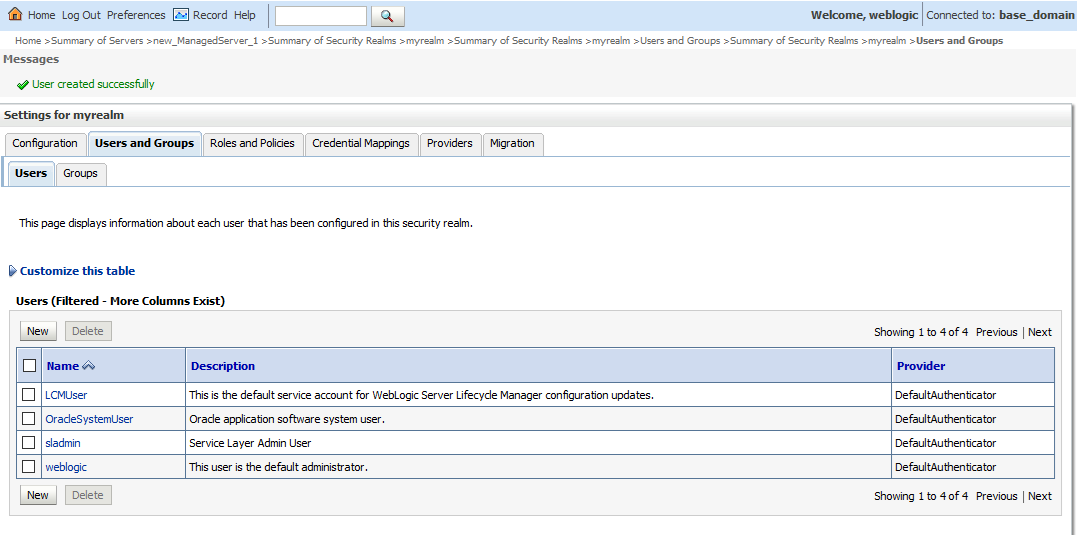
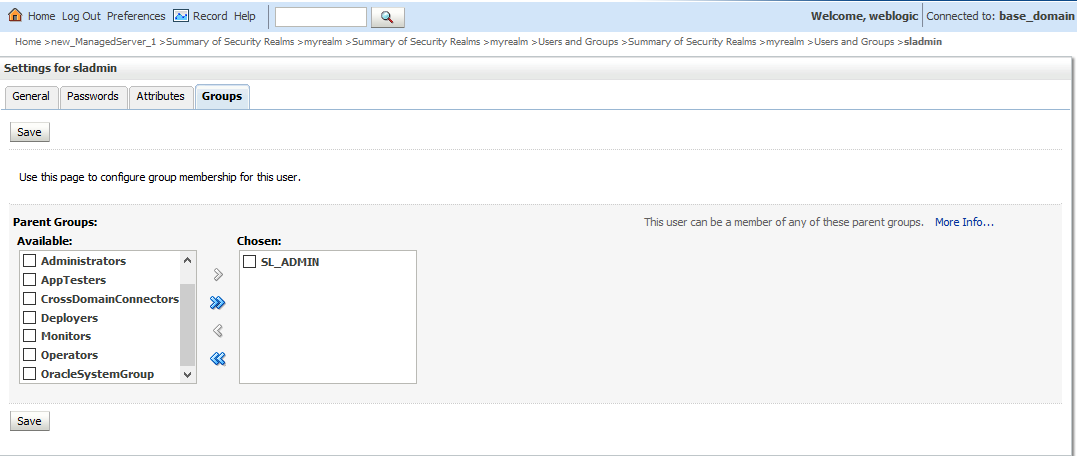
5. Click on the newly created user sladmin and navigate to Groups tab.
6. Add the group SL_ADMIN from available groups to chosen groups and SAVE.
Create Global Roles in Weblogic Realm
1. Navigate to <Domain>/Security Realms/myrealm/Roles and Policies/Realm Roles
2. Expand Global Roles
3. Click on Roles link from the roles grid.
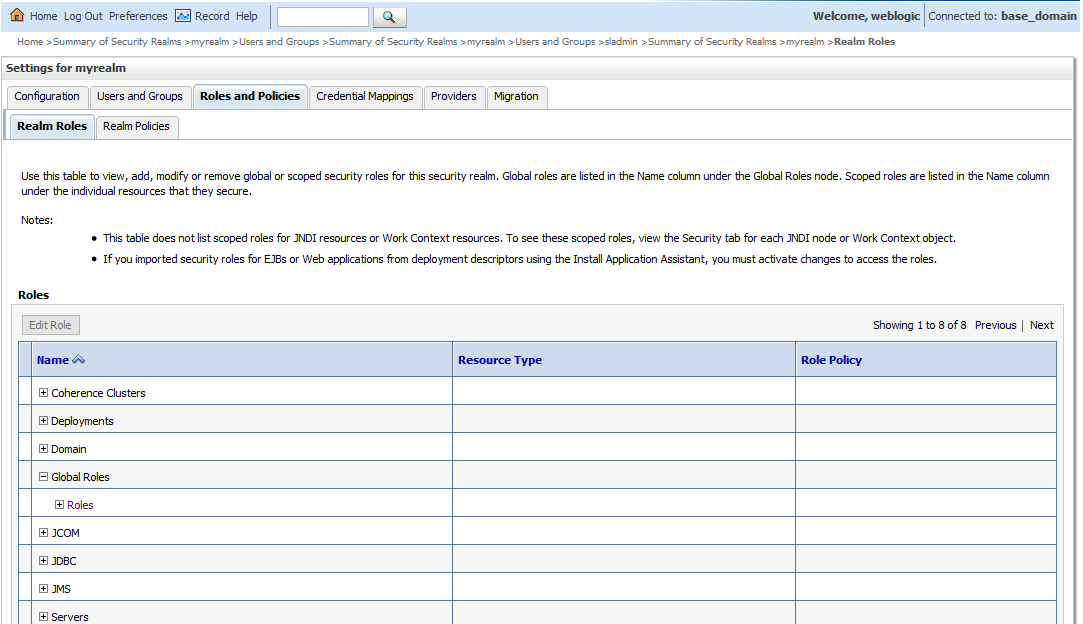
4. Global Roles page will open…
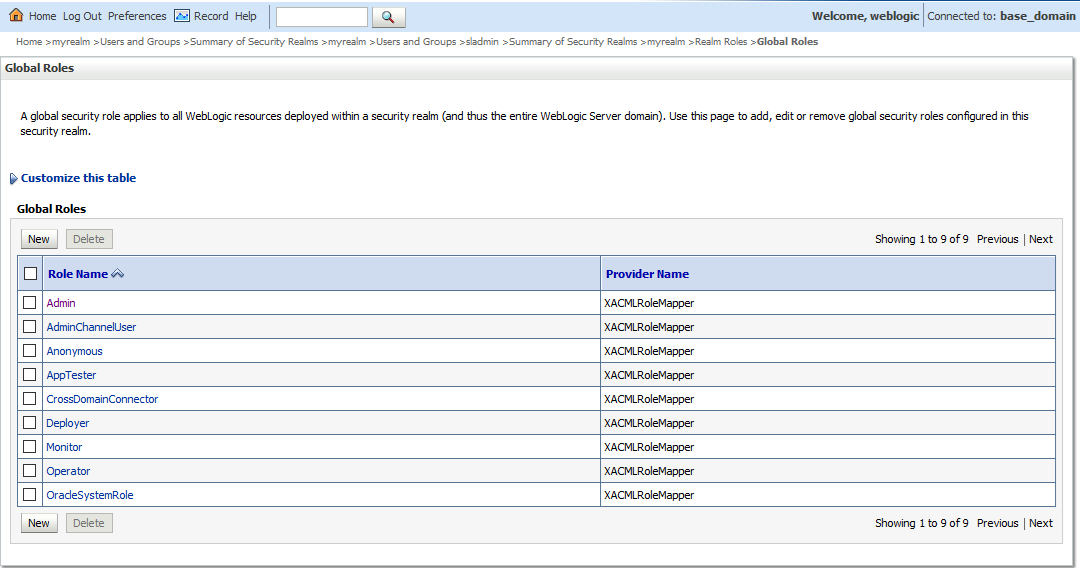
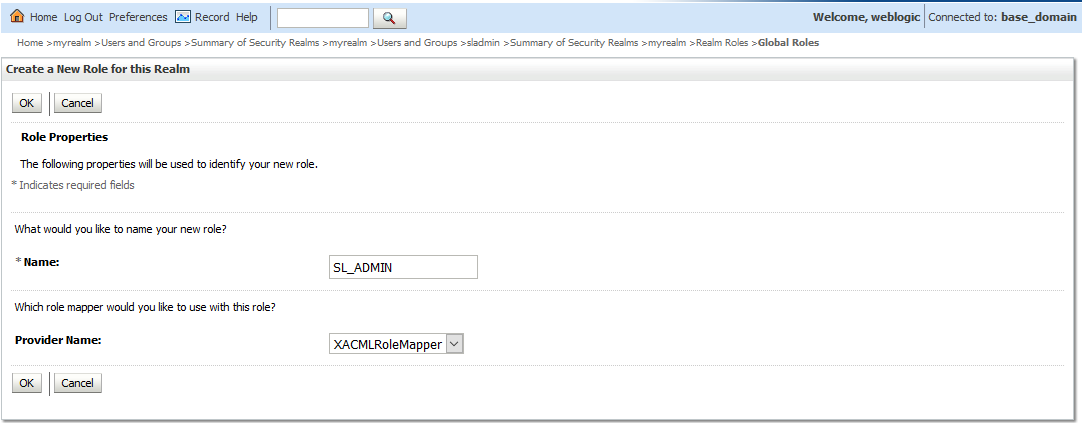
5. Click New to add a new Global Role called SL_ADMIN role and click OK.
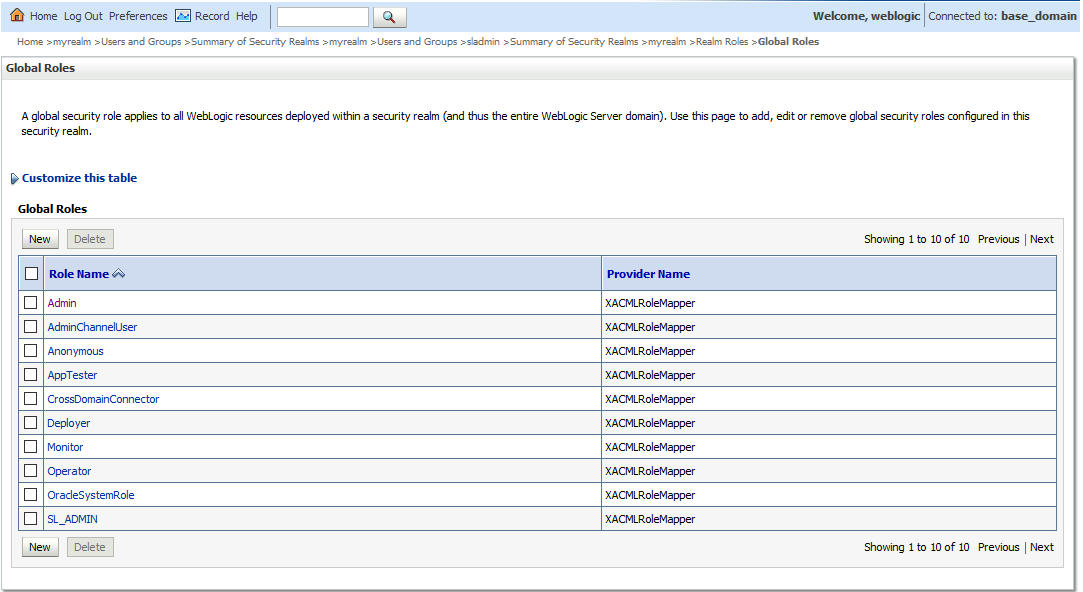
6. Click on newly created role SL_ADMIN
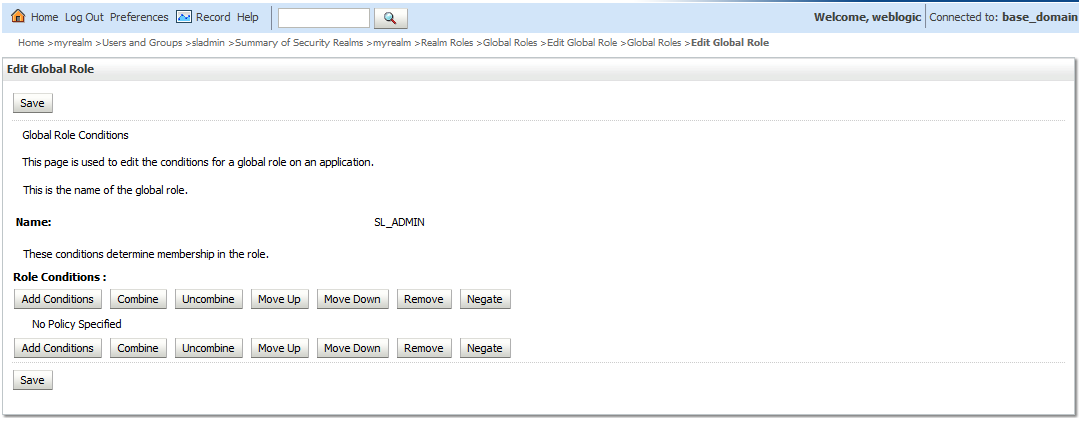
7. Add role conditions by clicking on the Add Conditions button
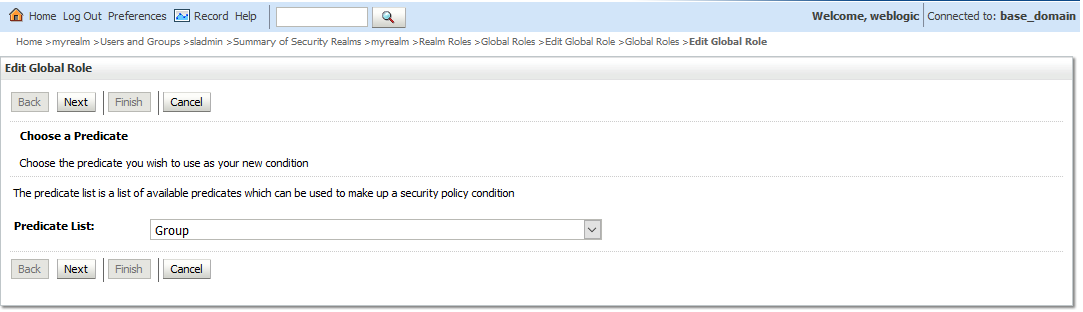
8. Select Group from the Predicate list and click Next.
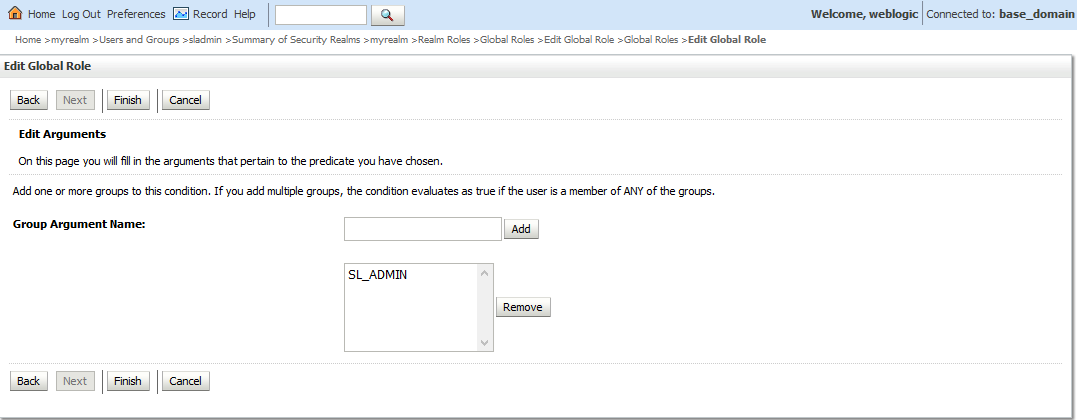
9. In the Group Argument Name, enter SL_ADMIN the group name and click Add button.
10. Click Finish to complete the process.
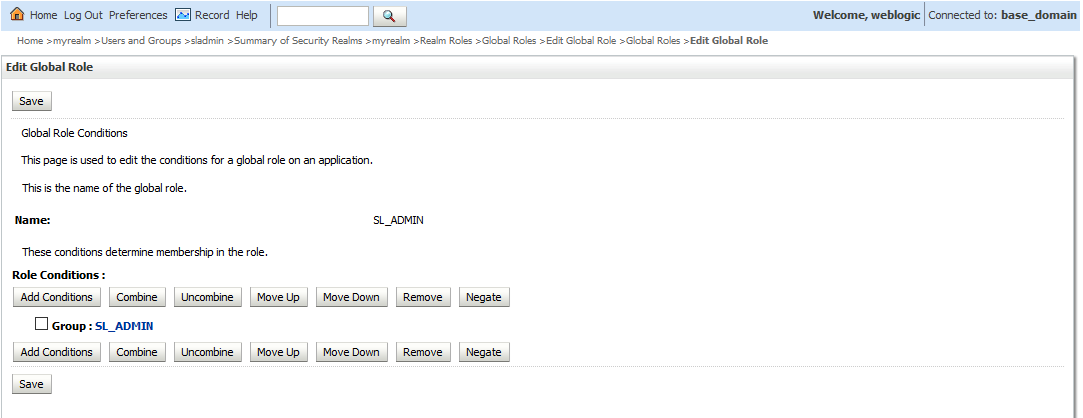
11. The next screen will associate SL_ADMIN group with SL_ADMIN global Role. Please note that both group name and role name are identical to depict the mapping between them. The group name and role name can be different. The role name must match the name defined in the deployment descriptor file of the application (web.xml and weblogic.xml). Group name could be any given name.
12. Click SAVE to save the changes.

13. Now, deploy the application. Once application is deployed and active restart the admin, and managed server instances for changes to take effect.