Managing Primitive Elements
These topics provide an overview managing primitive elements and discuss how to:
Add primitive elements.
Define primitive element properties.
Add enumerated values.
You build out a document structure by adding elements to a document tree.
Use the action toolbar on the Document Builder - Documents page to add elements to documents. As described elsewhere in this topic, the Action Toolbar features buttons to add primitive, compound, and collection elements, both child and peer elements, to documents.
Note: After you add an element to a document, you must define the element properties before you can save the document.
To add a primitive element to a document, on the document tree you select the element to which to add a primitive child or primitive peer element. On the Action Toolbar you click the Add Primitive Child or Add Primitive Peer button.
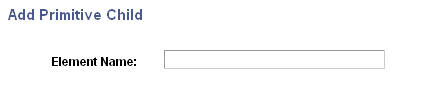
If you are adding a primitive child element, the Add Primitive Child page (IB_LOGICALCOLL_SEC) appears. Use the page to name the new primitive child element. :
Image: Add Primitive Child page
The following example shows the Add Primitive Child page.
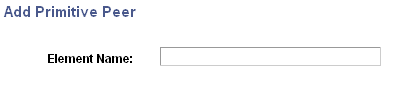
If you are adding a primitive peer element, the Add Primitive Peer page (IB_LOGICALCOLL_SEC) appears. Use the page to name the new primitive peer element.
Image: Add Primitive Peer page
The following example shows the Add Primitive Peer page.
Note: The Add Primitive Child and Add Primitive Peer pages use the same IB_LOGICALCOLL_SEC object.
To add primitive elements (child or peer) to documents:
Access the Document Builder - Documents page ().
On the document tree, click the element to which to add a primitive child or primitive peer element.
On the action toolbar, do one of the following:
Click the Add Primitive Child button to add a primitive child element.
Click the Add Primitive Peer button to add a primitive peer element.
If adding a primitive child element, the Add Primitive Child page appears; if adding a primitive peer element, the Add Primitive Peer page appears.
In the Element Name field, enter a name for the new primitive element.
Click the OK button.
The element appears on the document tree and you may define its properties.
When you add a primitive element data type to a document, the properties that you can define for the element appear on the right side of the Document Builder - Document page.
Image: Document Builder - Document page
In this example, a primitive element data type is selected. The element properties available to define for the new primitive appear to the right of the document tree.
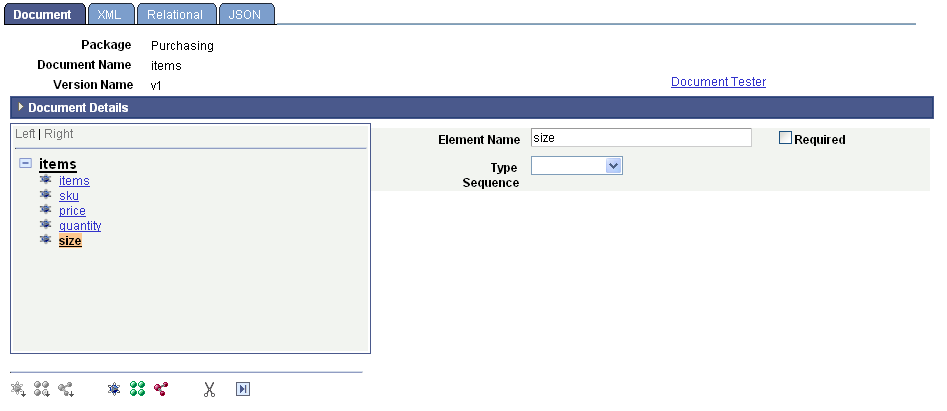
The element data type determines the available properties to define. The primitive data types supported are described elsewhere in this topic.
See Data Types.
The following table describes the properties that you can define for primitive data type elements. Except where noted, the properties in the table are applicable to all primitive data types supported by the system:
|
Field or Control |
Definition |
|---|---|
| Add Enumerated Values and Show Enumerated Values |
Click the link to define accepted values and their descriptions for a data type. You can define enumerated values for the following primitive data types: Character, Date, DateTime, Integer, String, and Time. |
| Date/Time Format |
From the drop-down list, select one of the following ISO standard date/time format options:
|
| Decimal Length |
Enter the number of digits to include to the right of the decimal point. This property is applicable to the Decimal primitive data type. |
| Description |
Enter a long description of the element. |
| Element Name |
Enter the name of the element as it will appear in the XML document. |
| Length |
Enter a length for the element. This property is applicable to the following primitive data types: Binary, Character, Decimal, Integer, String, and Text. Note: For a decimal primitive element, the decimal length is included as part of the overall length. |
| Required |
Select the check box to indicate that the element must be included in runtime XML and defined as a required element in the XML schema. |
| Sequence |
The system assigns this read-only field. The sequence number is used for indexing with the PeopleCode API for documents. |
| Sub-Type |
Select a value from the drop-down list box to further define the data type. This property is applicable to the following primitive data types: Integer, String and Text. The valid values for these data types are:
|
| Type |
From the drop-down list box, select a primitive data type. The valid values are discussed elsewhere in this topic. See Data Types. |
| Unbound Maximum |
Select the check box to indicate that the length of the element is unlimited. This property is applicable only to the binary primitive data type. |
You can define allowed values, or enumerated values, for some primitive data types.
An example of enumerated values is a list of acceptable state abbreviations that can be used in a primitive element called State that is a string.
In the Documents Builder, you can define enumerated values for the following primitive data types:
Character.
Date.
DateTime.
Integer.
String.
Time.
Use the Set Enumerated Values page (IB_ENUM_SEC) to set enumerated values. You access the page by using the Add Enumerated Values link that appears on the Document Builder - Documents page when you define properties for one of the primitive data types in the previous list.
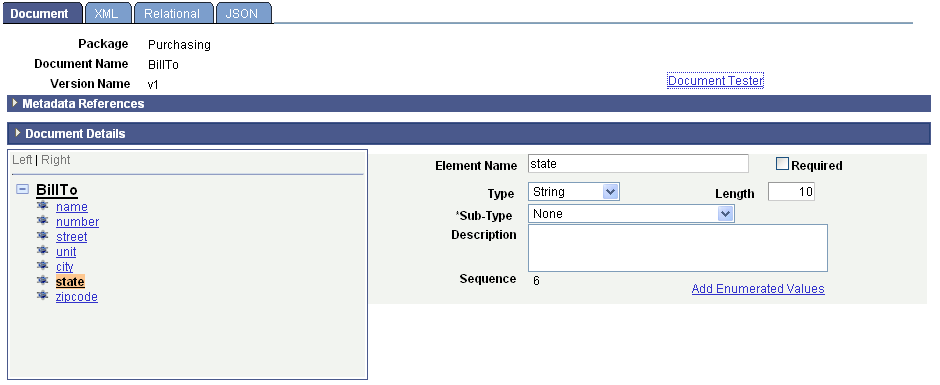
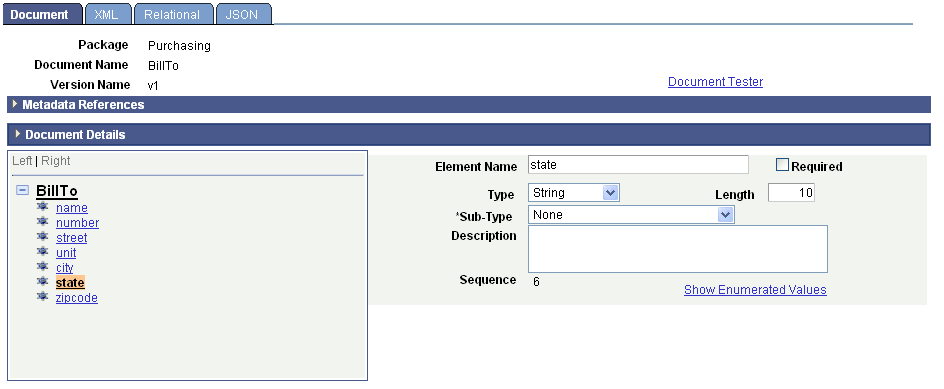
Image: Document Builder – Document page
The following example shows the Add Enumerated Values link that appears when you define a primitive element called State that is a string:
Click the Add Enumerated Value link to access the Set Enumerated Values page.
Image: Set Enumerated Values page
This example illustrates the fields and controls on the Set Enumerated Values page. You can find definitions for the fields and controls later on this page.

To set enumerated values, enter an acceptable value in the Value field and then a description for the value in the Description field. In the previous example, the Value column shows the acceptable abbreviations and values that the State element can contain for several of the United States. The Description field shows information about each of the values.
When enumerated values exist for a primitive data type, when you are working in the properties section a Show Enumerated Values link appears instead of a Set Enumerated Values link.
Image: Document Builder – Document page
The following example shows the properties section for the State element after enumerated values are defined. Note that a Show Enumerated Values link appears. Click the link to view or modify defined enumerated values.
To set enumerated values:
Select
The Documents Builder - Documents page appears.
In the document tree, select the element for which to add enumerated values.
The properties for the element appear on the right side of the page.
Perform one of the following actions:
Click the Add Enumerated Values link to add values.
This link appears if no enumerated values are defined for the element.
Click the Show Enumerated Values link to modify existing values.
This link appears if enumerated values are already defined for the element.
Enter enumerated values and descriptions:
In the Value field, enter an acceptable value for the element.
In the Description field, enter a description for the value.
Click the Add a Row button (+) to add additional rows of values and descriptions.
Click the OK button.
The Documents Builder - Document page appears.