Working With Field-level Prompts and Validation
This section provides an overview of field-level prompts and validation and discusses how to use lookup and calendar prompts.
Some edit box fields are linked to database prompt tables, which store values for information shared across your organization, such as department IDs, country codes, and state codes. These tables are called prompt or lookup tables because you prompt the system to look up and present a list of valid field values that reside in the prompt table. Prompt fields are defined so that the system compares the values that you enter to values that are in a prompt table to ensure that your values are valid.
Many fields validate against prompt tables. For example, currency codes and country codes are each stored in their own tables: the CURRENCY_CD_TBL and COUNTRY_TBL tables. Fields prompting against these kinds of prompt tables appear on the page as edit boxes with a lookup button to the right.
|
Field or Control |
Definition |
|---|---|
 |
Click to open the Look Up page for the current field. |
 |
Click to open a small calendar that displays the current month. |
Note: Alternatively, you can press ALT+5 while in a prompt or calendar field to open the lookup page or the calendar, respectively.
You can perform a full or a partial search using lookup prompts.
To perform a full search, click the Look Up button. The Look Up page opens as a stationary modal page on top of the primary page. The primary page is grayed out and inaccessible while the prompt page is active. When the Look Up page opens, the Search Results grid displays all valid values for that field up to the maximum row count. Click the field title in the Search Results grid to change the field values sort direction. To narrow the search results, you can enter partial data and click the Look Up button. Click the Advanced Look Up link to narrow the search, both by searching based on more than one field at a time and by using a variety of search operators. When the field value that you need appears in the Search Results grid, click the value link to populate the prompt field on the primary page with the selection.
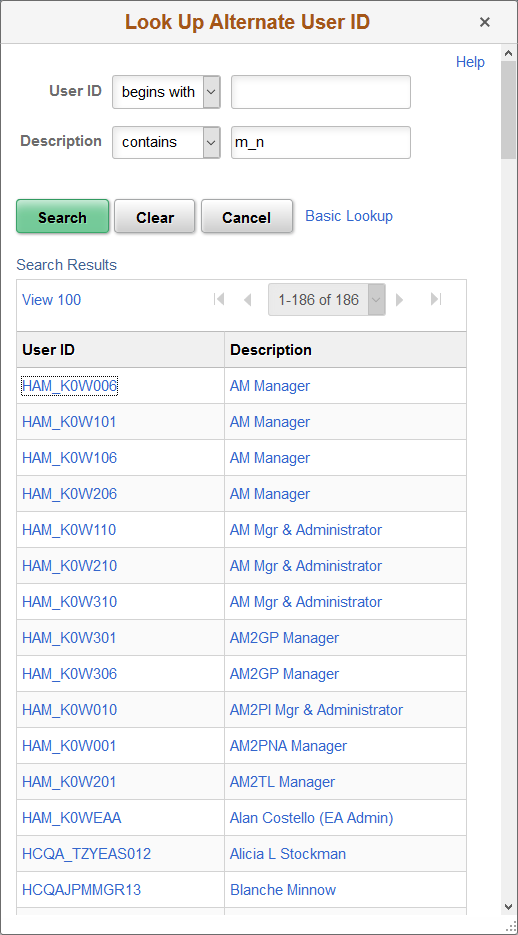
PeopleSoft applications support three wildcard characters (%, _, /) to help you search for data in character fields. On search pages and look up pages, wildcard characters only work with the begins with and contains operators.
Image: Example of a Look Up page using a wildcard character
The following example illustrates using a wildcard character on a Look Up page. Similar to prompt fields, use of the % and _ wildcard characters is supported.
Note: Your system administrator might exclude extremely large tables from automatically prompting for performance reasons.
Note: Application developers can use Application Designer to disable the partial search feature on lookup pages.
Look Up Page Properties
All Look Up pages share certain characteristics. All Look Up pages are modal and appear over the primary page, which is grayed out. When working with these pages, you can:
Resize the page.
Close the page from the title bar close icon.
Note: The New Window, Personalize Page, and Copy URL links do not appear on the modal prompt lookup page.
Do not use the browser Back button when accessing prompt windows in AJAX mode. Use application links and buttons to navigate PeopleSoft applications. Clicking the browser Back button in some browsers can cause the spinning processing message to appear. To stop it, press the Back button again or click the browser Stop button and close the lookup prompt window.
When entering information in a date field, you can select the calendar prompt button to the right of the field to help you choose a date. You can also enter the current day's date by entering today in the date field. Press Tab to exit the field; the current date appears. This feature can also use languages specific to a locale.
Image: Calendar prompt window
This example shows the calendar window that appears when you click the calendar prompt button.
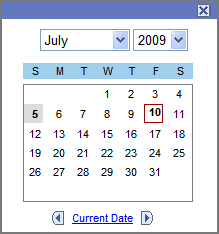
To change the calendar month, select the drop-down list box arrow for the month. To change the year, select the drop-down list box arrow for the year. Click the correct day of the month to select the day. Press Esc to cancel and close the calendar.