3. Configuring OA Publisher
After installing OA Publisher, the next step is to configure OA Publisher.
To configure OA Publisher
- Launch configuration window and browse to $BI_HOME/bin (for example, BI_HOME is /u01/Middleware/Weblogic12cHome/bi).
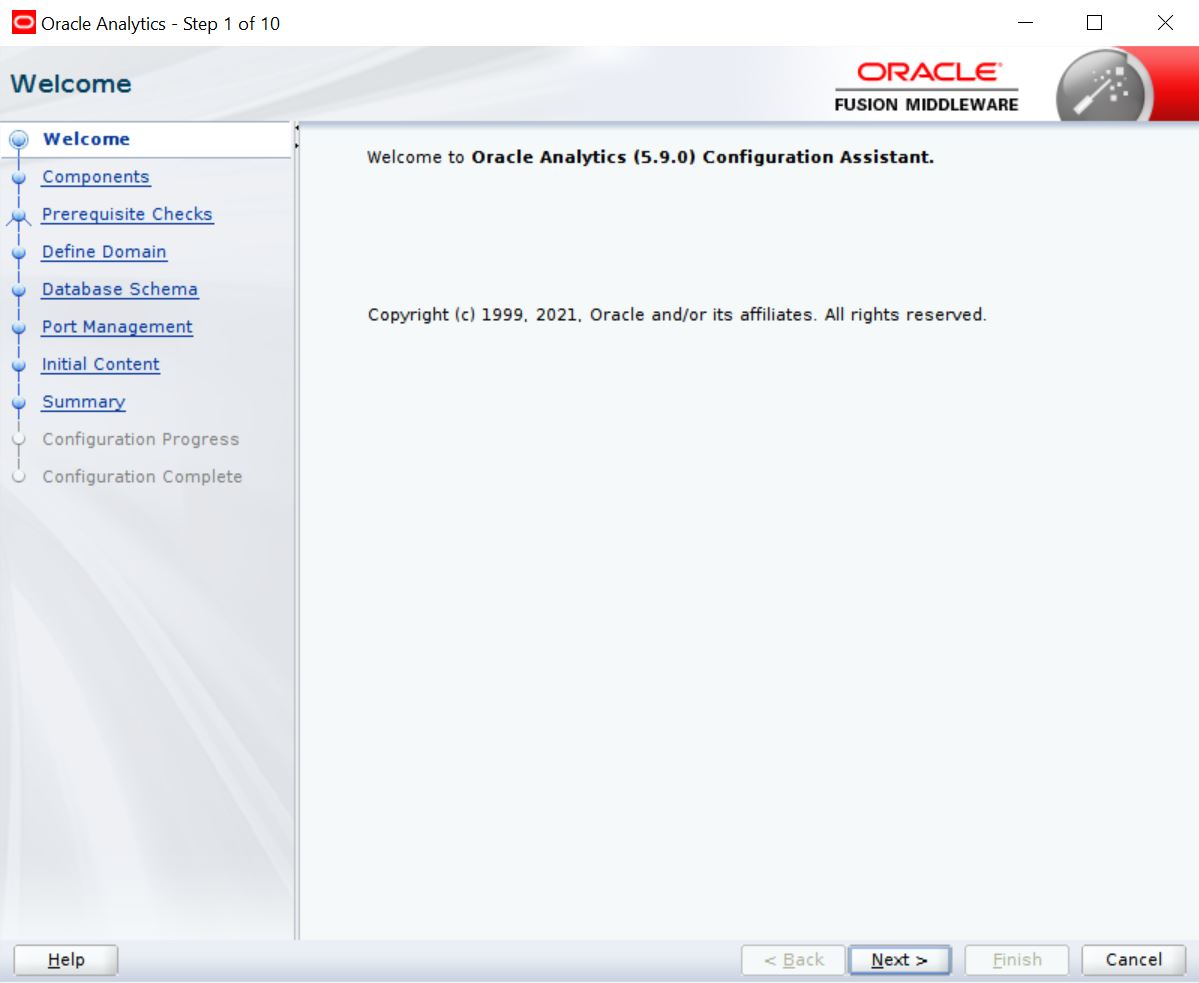
- Run ./config.sh. The following window is displayed.
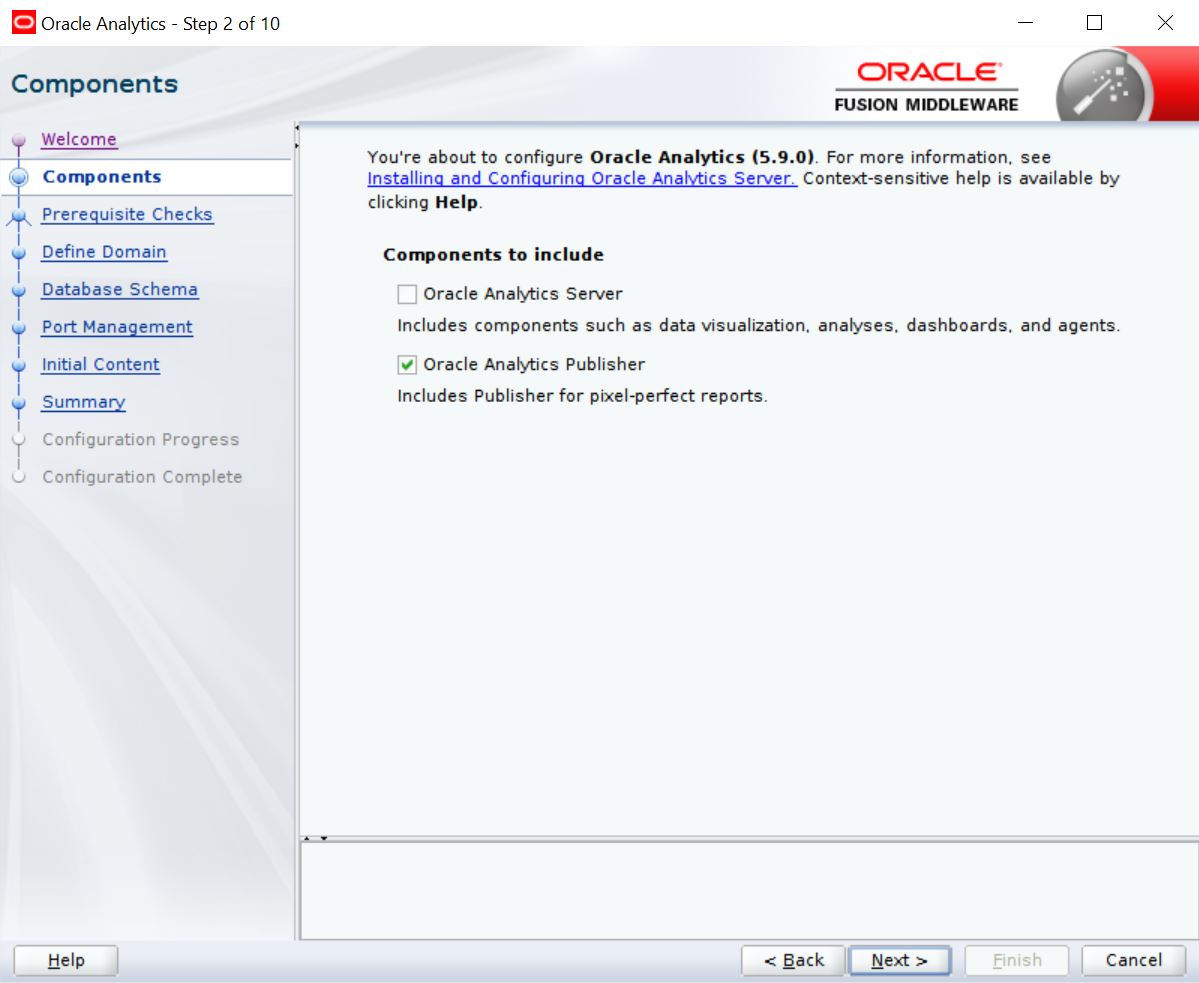
- Select the option ‘Oracle Analytics Publisher’ and Click ‘Next’.
- Click ‘Next’. The following window is displayed.

- Enter the User Name, Password and Domain Name for OA Publisher domain. Click ‘Next’. The following window is displayed.

- Select the option ‘Create New Schema’ and specify the Schema prefix, Schema password, database type, user name, password, simple connect string.
- Click ‘Next’. The following window is displayed.

- Click ‘Next’. The following window is displayed.
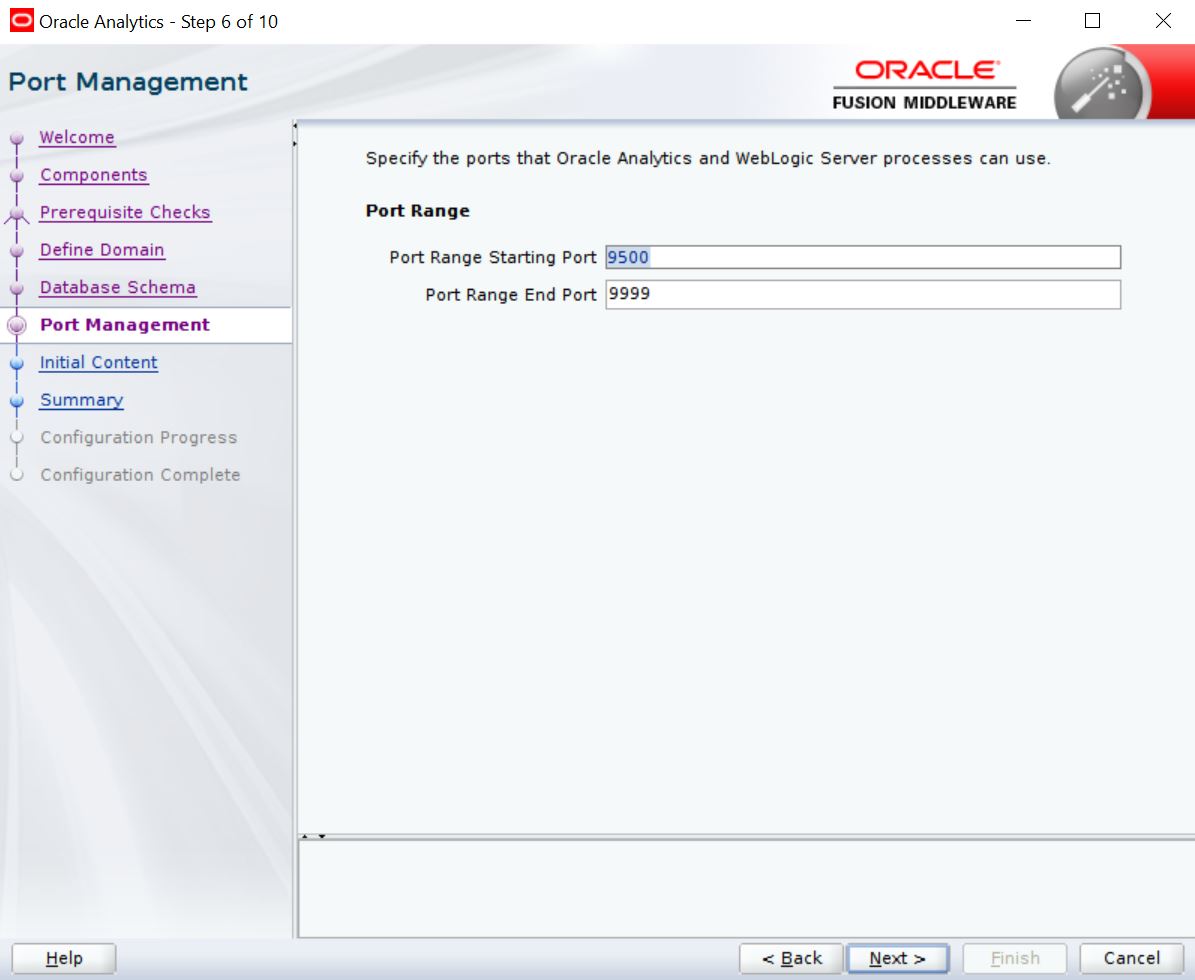
- Click ‘Next’. The following window is displayed.

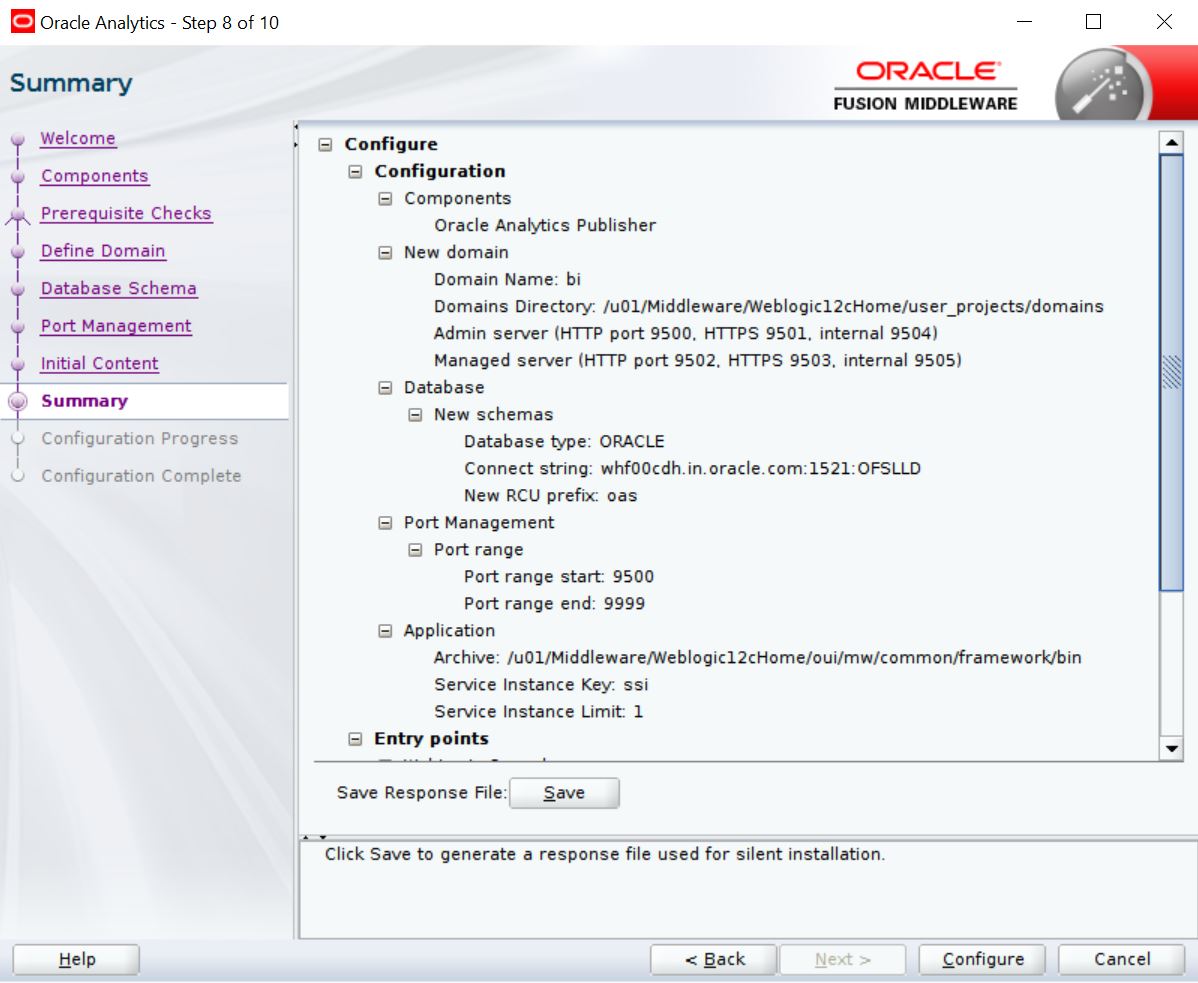
- Click ‘Configure’. The following window is displayed.
- Click ‘Next’. The following window is displayed
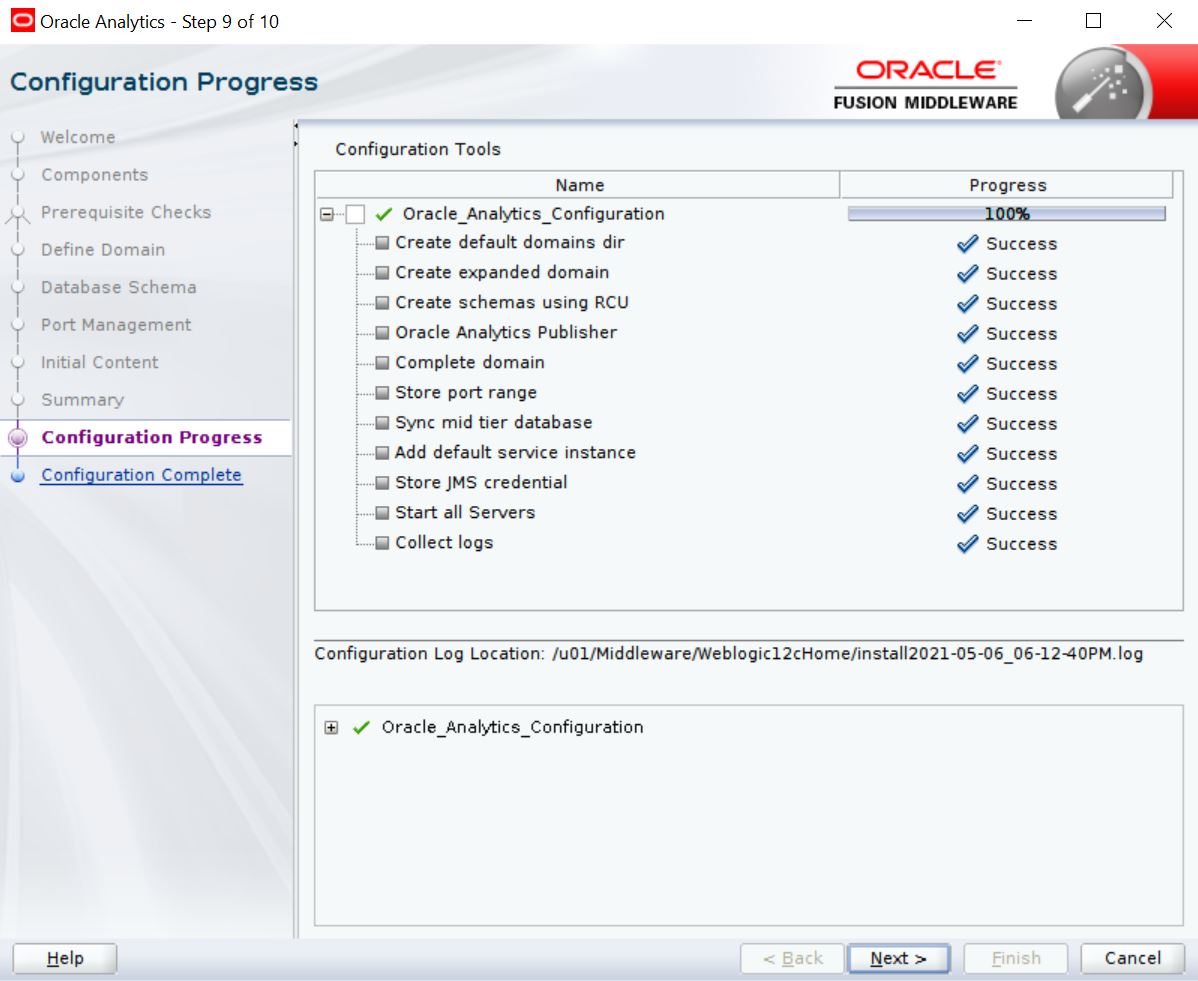
- Click ‘Save’ and save the Response File.
- Click ‘Finish’. The application will create a new domain for OA Publisher with the details as highlighted in the above screen.
3.1 Verifying Successful OA Publisher Deployment
Successful OA Publisher deployment can be verified by launching the OA Publisher URL http://hostname:<port>/xmlpserver.