2. Upgrading the Oracle Financial Services Lending and Leasing Database
2.1 Pre-requisites
- It is assumed that an earlier version of Oracle Financial Services Lending and Leasing is installed.
- This is to check the printing capability.
2.2 Audience
This document is intended for system administrators or application developers who are upgrading Oracle Financial Services Lending and Leasing Application.
2.3 Conventions Used
Term |
Refers to |
Home Directory/$OFSLL_HOME |
Oracle Financial Services Lending and Leasing Home Directory |
Application |
Oracle Financial Services Lending and Leasing |
2.4 Upgrading Application Database
An upgrade is a process of updating an existing version to its higher version. For example, upgrading Oracle Financial Services Lending and Leasing from 14.11.0.0.0 to 14.12.0.0.0.
Before you start with the upgrade process, execute the following grants as sys user. This facilitates to have materialized view to be created in OFSLL:
grant CREATE MATERIALIZED VIEW TO ${USERID};
Note
Oracle Financial Services Lending and Leasing also supports direct upgrade from 14.10.0.0.0 to 14.12.0.0.0 version.
- To upgrade from 14.11.0.0.0 to 14.12.0.0.0, refer to Upgrade to 14.12.0.0.0 section below.
- To upgrade from 14.10.0.0.0 to 14.12.0.0.0, perform the below steps and then continue with instructions in Upgrade to 14.12.0.0.0 section.
To perform Direct Upgrade from 14.10.0.0.0 to 14.12.0.0.0, do the following:
- In OFSLL 14.12.0.0.0 Release Bundle, navigate to ofslldb.zip\infrastructure\indexes, delete the file ‘upgrade_in_rel_ofsll_14_12_0_0_0.sql’.
- Copy ‘upgrade_in_rel_ofsll_14_10_0_0_x_to_14_12_0_0_0.sql’ file available under ofslldb_p8.zip\data_fix folder to OFSLL 14.12.0.0.0 Release Bundle \ofslldb.zip\infrastructure\indexes folder.
- In the folder ofslldb.zip\infrastructure\tables, delete the file 'upgrade_tb_rel_ofsll_14_12_0_0_0.sql'.
- Copy 'upgrade_tb_rel_ofsll_14_10_0_0_x_to_14_12_0_0_0.sql' file available under ofslldb_p8.zip\data_fix folder to \ofslldb.zip\infrastructure\tables folder.
- Create one sql folder each under ofslldb.zip\seed_data\us\combination_data and ofslldb.zip\seed_data\us\system_data to move the respective sql files in the next step.
- Copy the file 'upgrade_seed_data_combination_14_10_0_0_x_to_14_12_0_0_0.sql' available under ofslldb_p8.zip\data_fix folder to \ofslldb.zip\seed_data\us\combination_data\sql\.
- Copy the file 'upgrade_seed_data_system_14_10_0_0_x_to_14_12_0_0_0.sql' available under ofslldb_p8.zip\data_fix folder to \ofslldb.zip\seed_data\us\system_data\sql\
2.4.1 Upgrade to 14.12.0.0.0
Choose ‘2’ as the installer option at the ‘Selecting the Install Type’ stage, then the script runs the upgrade installer.
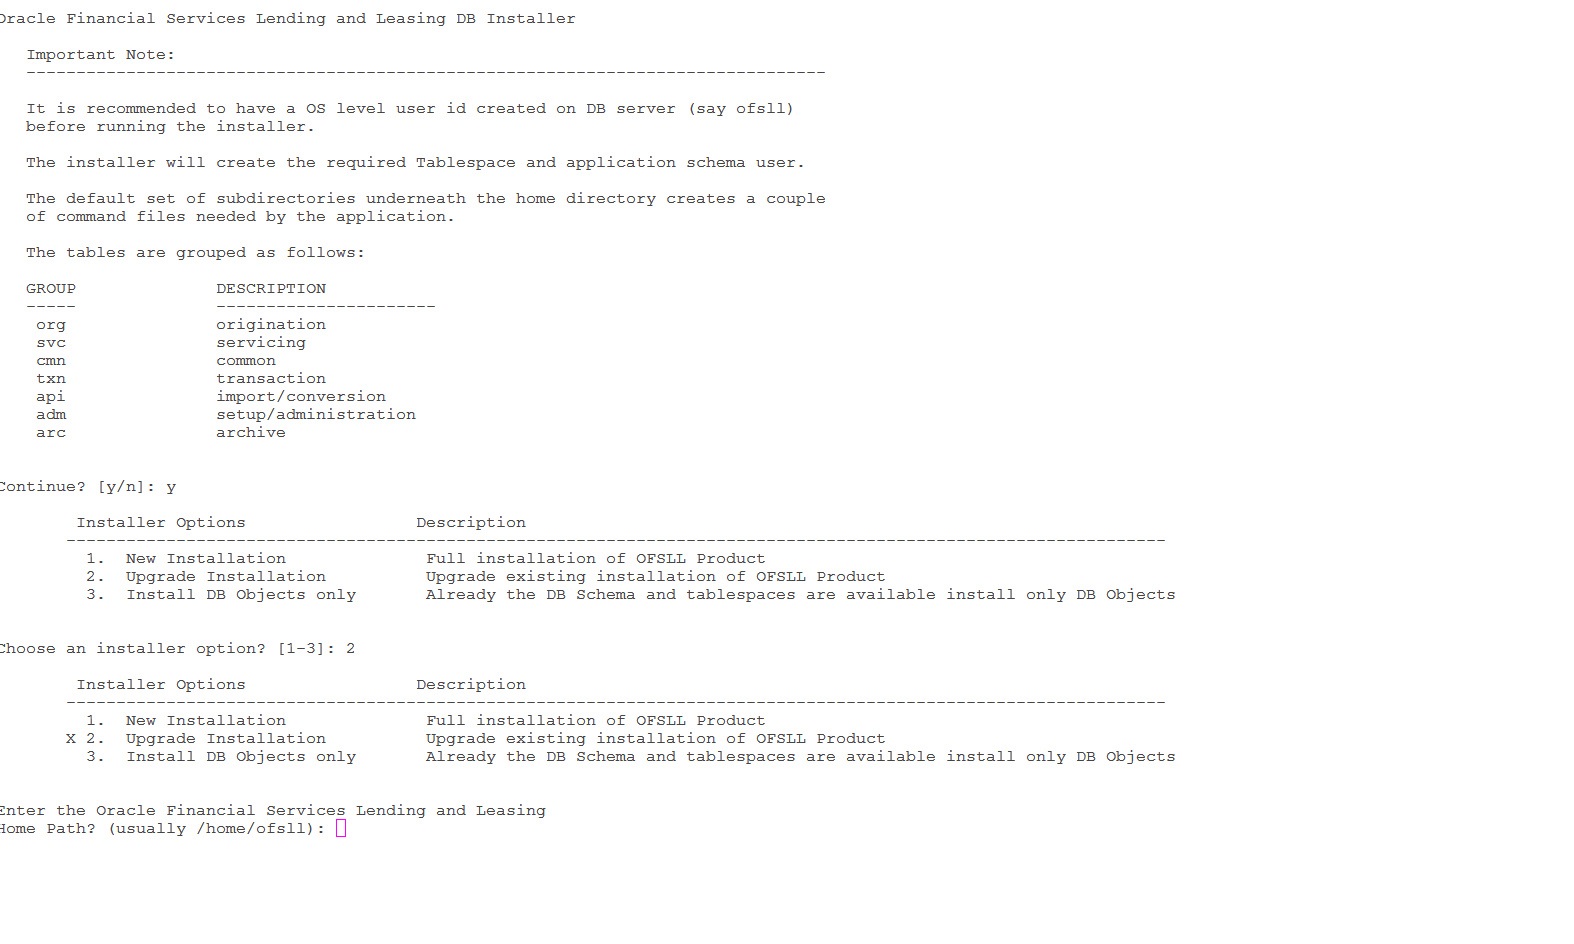
Respond to the prompts and continue. For more details, refer to ‘Installing Upgrade’ section in Database Installation Guide.
While installing the upgrade, the installer performs the following tasks:
- Stop the running services, if any.
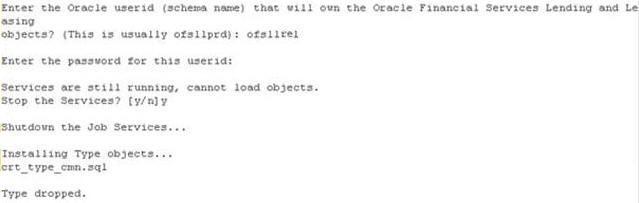
- In case you see the below prompt to stop the queue for loading objects, press ‘Y’ and press Enter to confirm.

- In case the Schema is EBR (Edition based Redefinition) enabled,
- You will be prompted as below. Press 'Y' and enter to continue.

- Enter the Edition name and press enter. Confirm 'Y' when prompted.

- Install the upgrade
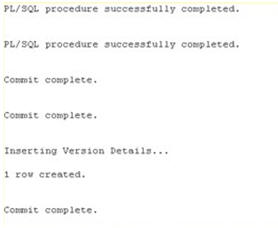
- Recompile the invalid objects and complete installation.

- Install the database object of web services by referring to the instructions detailed in chapter 2 ‘Installing WebServices Database Objects’ of WebServices Installation Guide.
- Grant access/permission by doing the following:
- Grant java file permissions for the directory objects created by executing the script ‘set_java_perms.sql’ available in dba_utils folder. For more information, refer to the process detailed in section 2.5 of Database installation guide.
- Post upgrade, you need to execute the following db script available in dba_utils folder.
- To provide access to all the new ‘Screens’ and/or ‘Web Services’ for a specific responsibility, execute set_screen_access.sql
- To provide access to all the new Reports, Transactions, Correspondence for a specific responsibility, execute set_rpt_txn_cor_access.sql
In the prompt, enter the user responsibility. You can also specify ‘ALL’ to provide screen access to all the users in bulk.
Further, you can customized the access through Setup > User > Access screen as detailed in setup guide.
Note
- Post upgrade, if there are any invalid java stored procedures noticed, please recompile the respective units manually.
- In case where ‘Edition based Redefinition’ (EBR) is enabled, the default edition of database is to be modified/switched to the new edition. This is to be done by system administrator only after both Database Patch and Webservices Patch objects are installed as mentioned in chapter 2 and chapter 4.2 and when all the database objects are in valid state.
2.4.2 Upgrade Application
Perform the below steps to upgrade OFSLL Application:
- Copy the latest OfsllCommonCSF.jar from OfsllQueueApp.ear/lib/ available in the staging area to $DOMAIN_HOME/lib.
- Undeploy the existing Application.
- Deploy the Application (Refer to chapter 5 in the Application Installation Guide for details on redeployment of applications).
- Similarly undeploy and deploy the web services (For more information on deploying Restful WebService, refer to section - 'Deploy RESTful WebServices' in 'WebServices Installation Guide').
2.5 Updating the Reports
Refer OAS Installation Guide for details on updating the reports.