4 General Handling
Changing Onboard/Ashore Status
When passengers/crew pass through the Security Gate to go ashore or board the ship, they are required to either swipe, scan, or tap their board card on the devices made available at the security gate. Once the board card is swiped, the account status changes from onboard to ashore or vice versa.
Alternatively, you can manually change the status using the account search. The Security Officers typically perform this process for passengers who lost their board card while on shore.
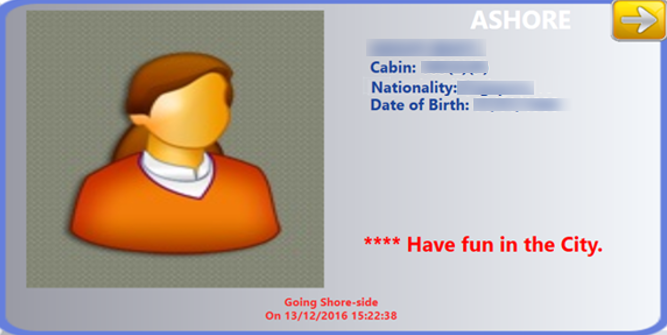
Figure 4-1 Account Information Tile

-
From the main window, double-click the Onboard or Ashore Information Board to bring up the list of accounts.
-
In the Show People Currently Onboard / Shore-Side list panel, use the side scroll bar to search for the account or filter the search by category.
-
Place the cursor in the Search text box launch the On-Screen Keyboard (OSK) and enter the passenger’s name or cabin number,
-
Select the account from the account grid and click the Going Ashore or Going Onboard icon on the ribbon bar to change the account status or double-click the name field.
-
At the Confirmation prompt, select Yes to proceed or No to return to previous window. If you select Yes, the account information appears in the Ashore Status or vice versa.
Auto Check-In Guest
Apart from scanning and recording the passengers movement at the Security Gate, you can also check in embarking guests. This function requires the following parameters. See Parameters for more details.
-
Check-in through WPF Security
-
Enable CheckIn Message
-
Check-in Message Pop-up duration
Note:
If the Enable CheckIn Message parameter is enabled, the system prompts you to confirm the check-in and indicate the duration to process the check-in base on the value defined.-
At the Main Window, swipe the expected checked-in passenger’s card through the Magnetic Stripe Card Reader (MSR).
-
At the Check-in dialog box, select Yes to check-in the guest. The passenger’s details appears on the Onboard Information Board.
Auto Check-Out Guest
The application can automatically check out passengers at the gangway . This requires some Parameter setup. See Parameters for details.
-
In the Main Window, swipe the expected check-out passenger’s card through the Magnetic Stripe Card Reader (MSR).
-
At the Check-out dialogue message, select Yes to check-in the guest. The passenger’s details appears on the Ashore Information board.
Crew Disembarkation Handling
Similar to Auto Check-Out Guest, the function is also available to crew disembarking from the ship. See Parameters section for details.
When disembarking crew swipe their board card through the MSR. The system prompts an Ashore Denied Override dialog box with the following message: ‘The person is ashore denied; do you want to override the onboard status?’. Click Yes to change the account status to Ashore and display a “Crew Disembark Today” statement on the Ashore Status Information board.
Message Handling
You can set up an alert to prompt messages entered in the Management module that are marked for delivery at the gangway. This function requires Parameter settings. See Parameters section for details.
The system prompts an alert on the WPF Security window at the point when the passenger swipes, scans, or tabs their board card on the card reader devices, allowing the Security Officer to read out the message to the passenger. Click Yes at the message sets the message as Acknowledged in the system.