5 Contract

The Contract configuration page allows you to set up and manage a contract template.

Contract Category

The Contract category enables you to assign/group similar contracts. You can either use the pre-defined category when setting up a contract or create them during contract creation.

Figure 5-1 Contract Category
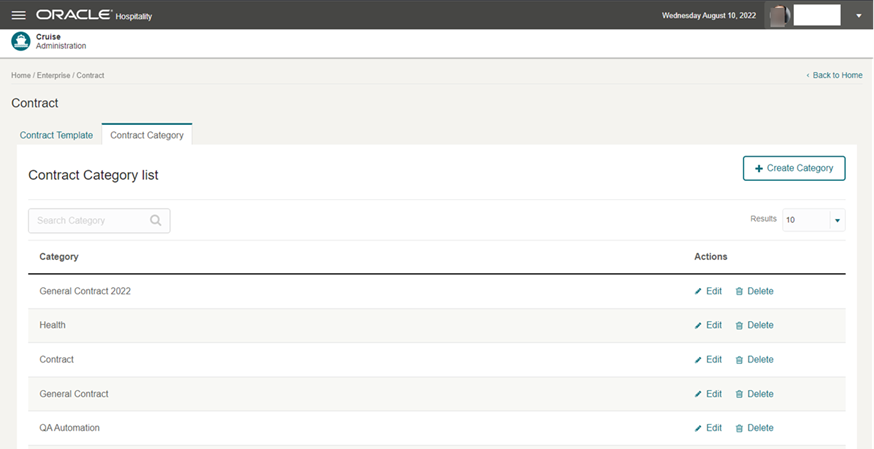

This figure shows the Contract Category

Creating a Contract Category

  1. From the Hamburger, select Administration, select Enterprise, and then select Contract.

  2. On the Contract Category tab, select Create Category.

  3. Navigate to the Add Contract Category page.

  4. Enter the Category Name.

  5. Click Save.

Modifying Contract Category

  1. On the Contract Category tab, locate the record and click Edit.

  2. Navigate to the Edit Contract Category page and update the category name.

  3. Click Update to save changes.

Deleting a Contract Category

To delete a category, locate the record and click Delete.

Contract Template

The Contract Template enables you to create different types of contracts, for example, general terms and conditions. If the contract is not ready for use or no longer required for the future, you can slide the status button to deactivate the contract or delete the contract if it is not in use.

Figure 5-2 Contract Template
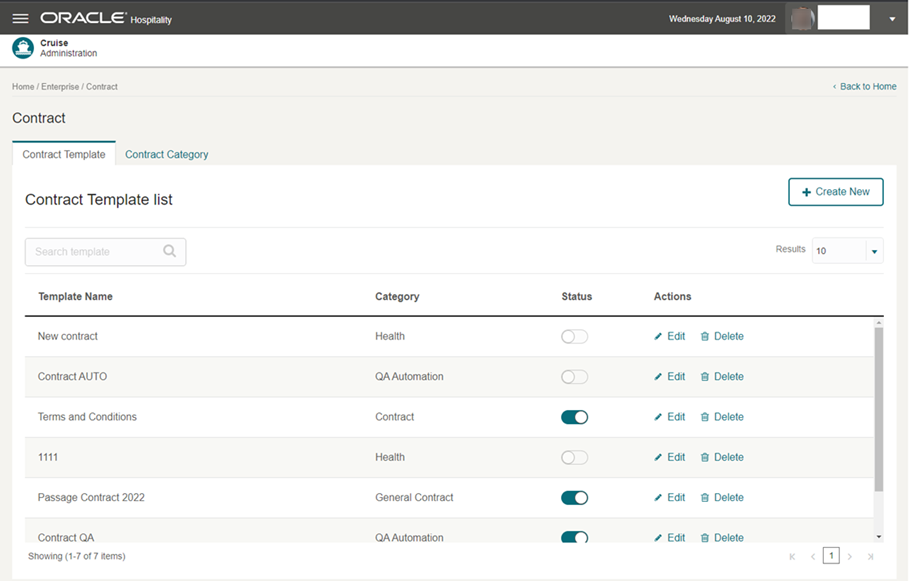

This figure shows the Contract Template

Figure 5-3 Contract Template Edit
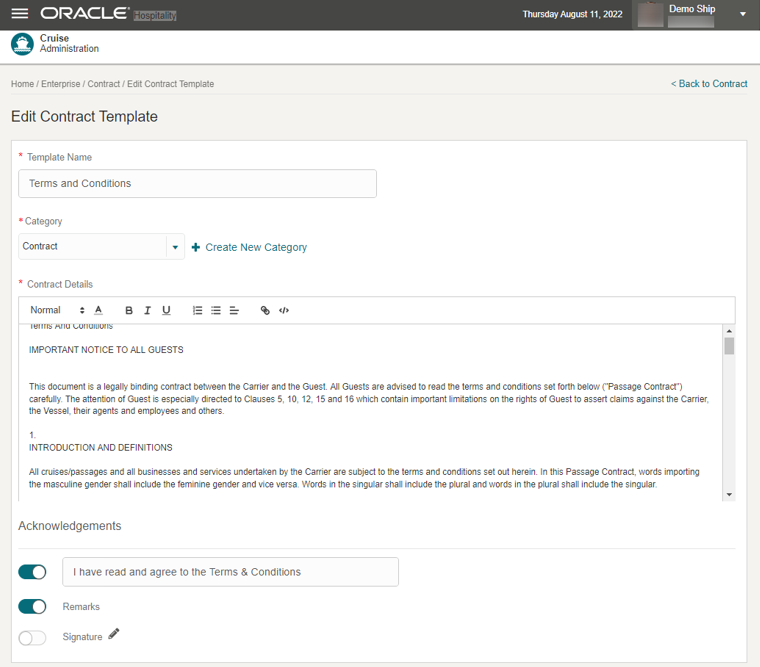

This figure shows the Contract Template Edit

Figure 5-4 Contract Template New Category
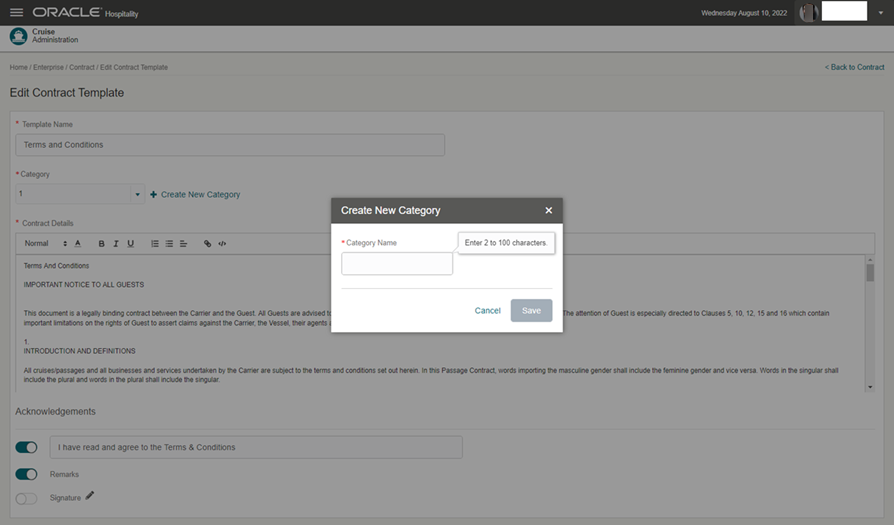

This figure shows the Contract Template New Category

Creating a Template

  1. From the Hamburger, select Administration, select Enterprise, and then select Contract.
  2. On the Contract Template tab, click Create New.
  3. Navigate to the Add Contract Template page.
  4. Enter the following information and click Save.
    • Template Name: Enter the name of the template.

    • Category: Select the category code.

    • Contract Details: Enter a contract description.

    • Terms and Conditions: Slide to set this as mandatory. Once enabled, the guest must acknowledge the contract at check-in before proceeding to the next step.

    • Text box: Enter a Terms and Conditions description.

    • Remark: Enable if you need to show the remark in Check-In, Check-In Wizard, or Contract page.

    • Signature: Move the slider to set this as mandatory. Once enabled, the guest must sign the contract page at check-in before proceeding to the next step.

Editing a Template

  1. On the Contract Template tab, locate the template record and click Edit.
  2. Navigate to the Edit Contract Template page.
  3. Enter the relevant information and click Save.

Deleting a Template

To delete a Contract Template tab, locate the template record and click Delete.

Creating New Category in Contract Template

  1. On the Contract Template tab, Category field, click Create New Category.
  2. Enter the Category name in the Create New Category prompt and click Save.