23 Partial server outage with both NOAM servers failed with DR-NOAM available- Recovery Scenario 5.1.5
For a partial outage with both NOAM servers failed but a DR NOAM available, the DR NOAM is switched from secondary to primary then recovers the failed NOAM servers. The major activities are summarized in the list below. Use this list to understand the recovery procedure summary. Do not use this list to run the procedure. The actual procedures’ detailed steps are in Procedure 5. The major activities are summarized as follows:
Switch DR NOAM from secondary to primary
Recover the failed NOAM servers by recovering base hardware and software.
- Recover the base hardware.
- Recover the software.
- The database is intact at the newly active NOAM server and does not require restoration.
If applicable, recover any failed SOAM and MP servers by recovering base hardware and software.
- Recover the base hardware.
- Recover the software.
- The database in intact at the active NOAM server and does not require restoration at the SOAM and MP servers.
This procedure performs recovery if both NOAM servers have failed but a DR NOAM is available.
Check off () each step as it is completed. Boxes have been provided for this purpose under each step number.
If this procedure fails, contact My Oracle Support (MOS), and ask for assistance.
Table 23-1 Procedure 9
| STEP # | Procedure | Description |
|---|---|---|
| 1 | Workarounds |
Refer to Workarounds for Issues not fixed in this Release to understand any workarounds required during this procedure. |
| 2 | Gather Required Materials |
Gather the documents and required materials listed in Section 3.1 Required Materials |
| 3 | Switch DR NOAM to Primary |
Refer to DSR / SDS NOAM Failover User's Guide [2] |
| 4 | Recover the Failed Software |
For VMWare based deployments:
For KVM/Openstack based deployments:
For OVM-S/OVM-M based deployments: Run the following procedures from reference [1]:
Note: While executing Procedure 8, configure the required failed VMs only (NOAMs/SOAMs/MPs) |
| 5 | Recover Failed SOAMs |
If ALL SOAM servers have failed, run procedure 2 |
| 6 | DR-NOAM VIP GUI: Login |
Establish a GUI session on the DR-NOAM server by using the VIP IP address of the DR-NOAM server. Open the web browser and enter a URL of: Figure 23-1 NOAM guidadmin 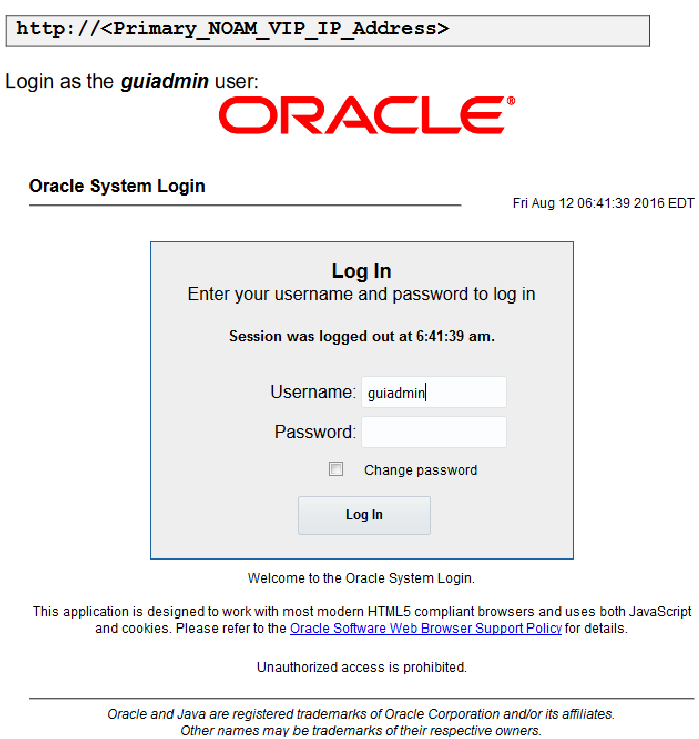 |
| 7 | DR-NOAM VIP GUI: Set Failed NOAM Servers to Standby |
Navigate to Main Menu -> Status & Manage -> HA Figure 23-2 HA 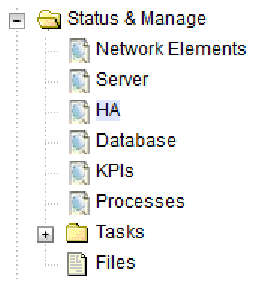 Select Edit Set the Max Allowed HA Role drop down box to Standby for the failed NOAM servers. Select Ok Figure 23-3 Cancel  |
| 8 | R-NOAM VIP GUI:D Export the Initial Configurati on |
Navigate to Main Menu -> Configuration -> Servers. From the GUI screen, select the Failed NOAM server and then select Export to generate the initial configuration data for that server. Figure 23-4 Configuration servers  |
| 9 | DR-NOAM VIP GUI: Copy Configurati on File to Failed NOAM Server |
Obtain a terminal session to the DR-NOAM VIP, login as the admusr user. Run the following command to configure the failed NOAM server: Figure 23-5 Copy configurartion  |
| 10 | Recovered NOAM Server: Verify configuratio n was called and Reboot the Server |
Establish an SSH session to the Recovered NOAM server (Recovered_NOAM_xmi_IP_address) . Login as the admusr user. The automatic configuration daemon will look for the file named “TKLCConfigData.sh” in the /var/tmp directory, implement the configuration in the file, and then prompt the user to reboot the server. Verify awpushcfg was called by checking the following file Figure 23-6 Install  Now Reboot the Server: Figure 23-7 init 6  |
| 11 | Recovered NOAM Server: Verify Server Health |
Run the following command on the failed NOAM server and make sure that no errors are returned: Figure 23-8 verify server health  |
| 12 | Repeat for Additional 2nd Failed NOAM |
Repeat steps 8-11 for the 2nd failed NOAM server. |
| 13 | Perform Key exchange between Active NOAM and Recovered NOAMs |
Perform a keyexchange between the newly active NOAM and the recovered NOAM servers: From a terminal window connection on the active NOAM as the admusr user, exchange SSH keys for admusr between the active NOAM and the recovered NOAM servers using the keyexchange utility, using the host names of the recovered NOAMs. When prompted for the password, enter the password for the admusr user of the recovered NOAM servers. Figure 23-9 Key exchange |
| 14 | Navigate to Status & Manage -> HA |
Figure 23-10 HA 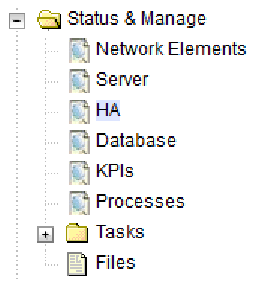 Click on Edit at the bottom of the screen. For each NOAM server whose Max Allowed HA Role is set to Standby, set it to Active PressOK |
| 15 | NOAM VIP GUI: Restart DSR application |
Navigate to Main Menu->Status & Manage->Server, Figure 23-11 HA  Select each recovered NOAM server and click on Restart. Figure 23-12 Restart  |
| 16 | Recovered NOAM servers: Activate Optional Features |
Map-Diameter Interworking (MAP-IWF) and/or Policy and Charging Application (PCA) Only Activate the features Map-Diameter Interworking (MAP-IWF) and Policy and Charging Application (PCA) as follows: For PCA:
Establish SSH session to the recovered active NOAM, login as
admusr. For MAP-IWF:
Note: While running the activation script, the following error message (and corresponding messages) output may be seen, this can safely be ignored:Note:
|
| 17 | Switch DR NOAM Back to Secondary |
Once the system have been recovered: Refer to DSR / SDS NOAM Failover User's Guide [2] |
| 18 | NOAM VIP GUI: Perform Keyexchan ge with Export Server |
Navigate to Main Menu -> Administration -> Remote Servers -> Data Export Figure 23-13 Data export 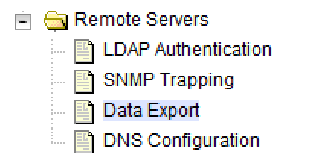 Click on Key Exchange at the bottom of the screen. Enter the Password and press OK Figure 23-14 SSH exchange 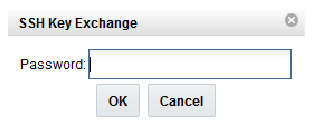 |
| 19 |
Recovered Servers: Verify Alarms |
Navigate to Main Menu -> Alarms & Events -> View Active Figure 23-15 View active 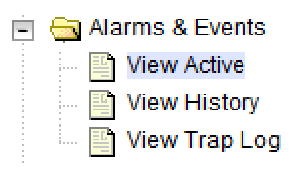 Verify the recovered servers are not contributing to any active alarms (Replication, Topology misconfiguration, database impairments, NTP, etc.) |
| 20 | NOAM VIP GUI: Recover Standby/Sp are SOAM and C- Level Servers |
If necessary, refer to Procedure 3 to recover any standby or Spare SOAMs as well as any C-Level servers. |