Managing Write-Access to Documents
This section discusses how to:
Restrict write-access to documents.
Clear restricted write-access to documents.
When you restrict write-access to a document, it becomes read-only.
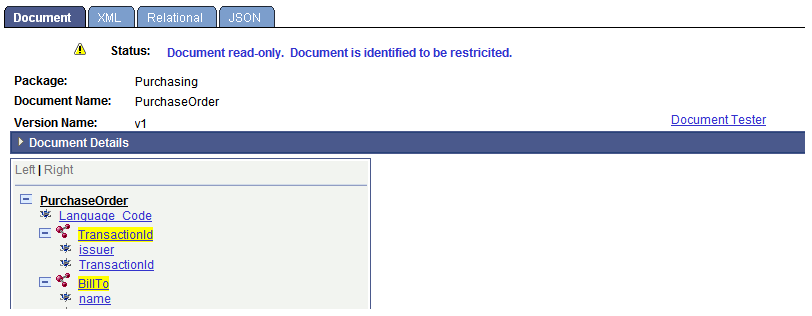
When someone accesses a document that is read-only, a status message appears at the top of the document definition that indicates it is a restricted document and is read-only.
The following example shows a document with restricted write-access. The status message at the top of the page indicates that the PurchaseOrder document is a restricted document.
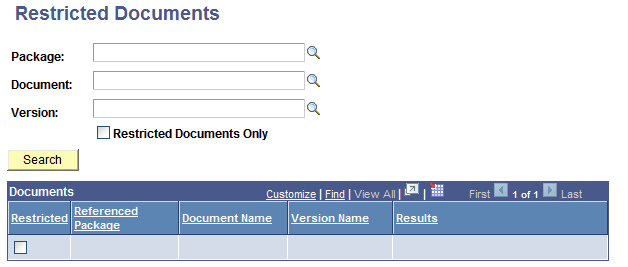
Use the Restricted Documents page (IB_DOCUMENT_RSTRT) to restrict write-access to documents. To access the page, select
This example illustrates the fields and controls on the Restricted Documents page. You can find definitions for the fields and controls later on this page.
To restrict write-access to documents:
Access the Restricted Documents page (PeopleTools, Documents, Document Administration, Restrict Documents).
Search for the document or documents for which to restrict write-access.
See Searching for Document Definitions.
The search results appear in the Documents grid at the bottom of the page.
Select the Restricted check box next to each document for which to restrict write-access.
At the bottom of the page, click the Update button.
In the Results column next to each selected document, the message Document restricted appears.
To clear restricted write-access to documents, use the Restricted Documents page (IB_DOCUMENT_RSTRT) shown in the previous section.
To clear restricted write-access to documents:
Access the Restricted Documents page ().
Search for the document or documents for which to clear restricted access.
To search for a specific document, enter one or more values in the following fields: Package, Document, Version.
To display all restricted documents in the system, select the Restricted Documents Only check box.
Click the Search button.
The search results appear in the Documents grid.
Observe that the Restricted check box is selected next to all documents with restricted access.
Clear the Restricted check box next to each document for which to clear restricted write-access.
At the bottom of the page, click the Update button.
In the Results column, the message Document unrestricted appears next to each document for which you cleared restricted access.