Renaming and Deleting Queues
You can rename and delete queue definitions using the Queue page (IB_HOME_PAGE3) in the Service Administration component (IB_HOME_PAGE).
The Queues page contains two sections: a Delete section that enables you to delete a queue definition and a Rename section that enables you to rename a queue definition.
To access the page, select and select the Queues tab.
When you first access the page, both sections are collapsed. Click the section-header arrow buttons to expand and collapse each section.
This example illustrates the Service Administration – Queues page.
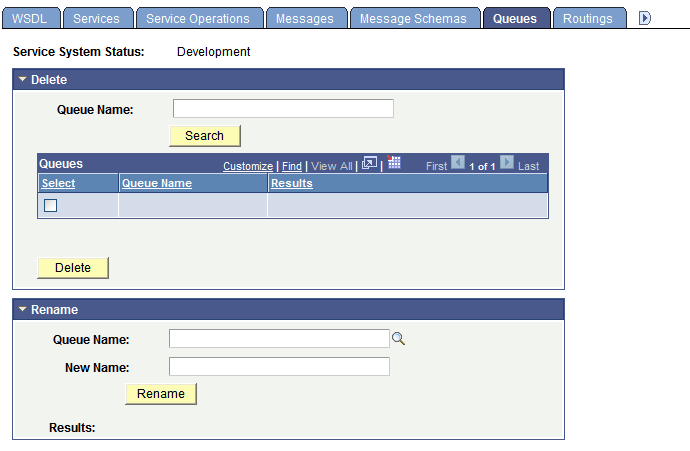
The top of the page displays a Service System Status field with the current setting, as defined on the Service Configuration page. This setting affects the ability to rename and delete queues.
See Understanding Configuring PeopleSoft Integration Broker for Handling Services.
To rename a queue definition:
Access the Services Administration - Queues page ( and click the Queues tab).
Click the arrow next to the Rename section header to expand the section.
In the Queue Name field, enter the queue definition to rename, or click the Lookup button to search for and select the queue to rename.
In the New Name field, enter the new name for the queue definition.
Click the Rename button.
To delete a message definition:
Access the Services Administration - Queues page ( and click the Queues tab).
Click the arrow next to the Delete section header to expand the section.
In the Queue Name field, enter the name of the queue definition to delete, and click the Search button.
Search results appear in the results grid.
In the results grid, select the check box next to the queue or queues to delete.
Click the Delete button.